
The advent of the modern aftermarket parts industry turned amateurs into craftsmen. As the industry addressed its needs the market only clamored for more, resulting in a rich catalog of problem-solving parts. Forget updating a car; you can build one entirely from scratch using all aftermarket or reproduction goodies.
But the industry isn’t without flaw. Of course there are poorly designed parts to blame but even the best designed and built ones don’t fit all cars the same. Loose manufacturing tolerances were the rule and not the exception when our cars were made and more than one properly designed part has been blamed for not fitting a sloppily built car.
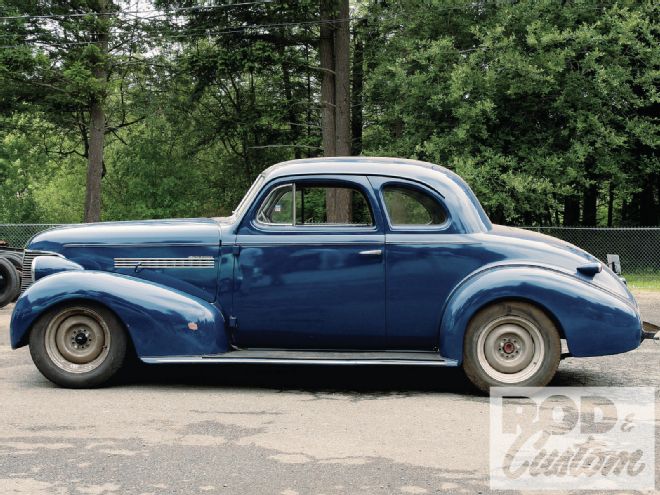
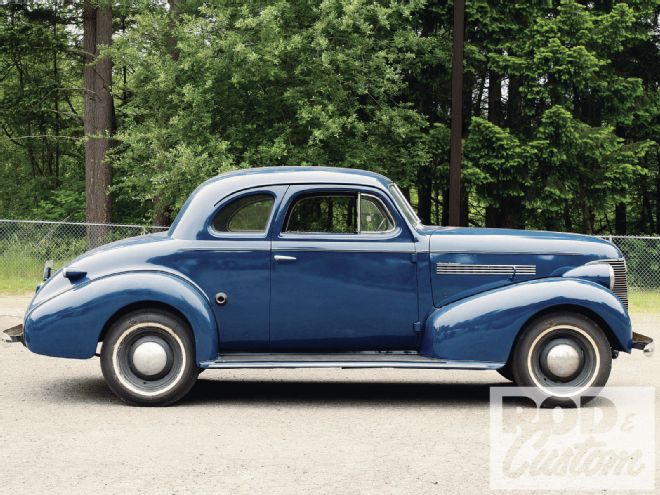
And sometimes we’re our own worst enemies. Whether someone didn’t know to specify or another to ask, a seemingly insignificant detail about the ’39 Chevy at Thun Field Rod & Custom went overlooked, specifically whether it came with a beam axle or independent front suspension. And as Marshall Woolery found out after he’d removed the stock front suspension there really is a difference in the frame, albeit minor. Sal Solorzano at Total Cost Involved Engineering confirmed it, and even though he said beam-axle ’39s, like Woolery’s customers aren’t exactly common, he said someone should’ve still confirmed it. We didn’t know where the mix-up was but Solorzano still offered to correct the issue. Fortunately it was easier to make the part fit than it was to return it for the correct one.
 Just because it’s possible to install the front suspension with the sheetmetal intact doesn’t mean it’s a good idea. Woolery and his pop, Gary, yarded this clip off to get better access. We suggest you do too.
That wasn’t the extent of the problems either. Even though the beam axle and IFS frames share the same general shape two more critical parts didn’t fit the way the instructions specified. We chalked it up to the frame’s manufacturing tolerances. Then Woolery realized that we could save a ton of work down the line simply if we retained a chunk of a part that the instructions said to remove entirely.
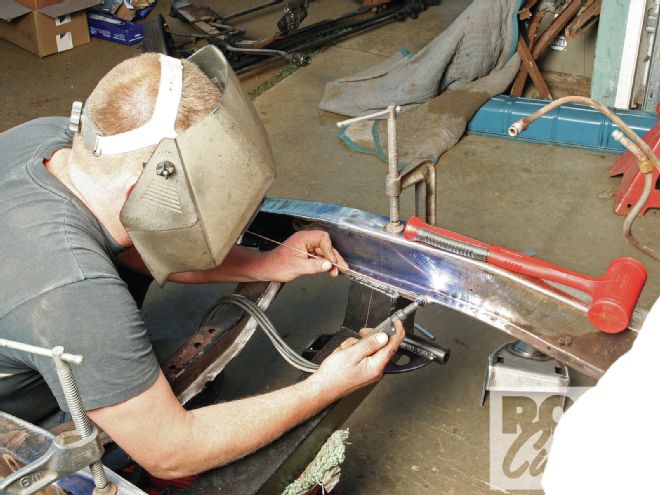
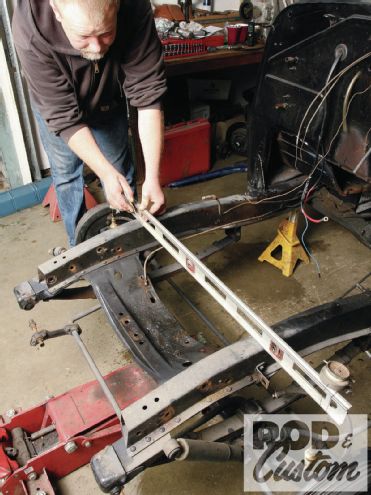 Mark the wheel centerline for reference. Woolery hung plumb bobs off the edge of a level and scribed the lines. He emphasized them by center punching along the lines.
An opportunity arose within these issues: we can learn from the ways that Woolery used to address them and the opportunities he encountered in this car’s transformation. It underscores the frequently overlooked idea that the difference between a good car and a great one are not necessarily in the parts but in the way they’re put together. In other words, details matter. And over the next few months we’ll show just how they do.
Bolt-In or Weld-In?
 He determined that the frame and suspension were square early on but Woolery still verified if the crossmember sat square in the chassis when aligned with the centerlines. It did.
Total Cost Involved markets this kit as a bolt-in assembly but a few of its parts—specifically the upper-arm mounts and spring cups—weld in place. It’s a bit misleading but there are legitimate reasons for both installation methods and it has to do with the frame design, not convenience.
Chevrolet employed what many call top-hat frame construction from the late ’30s to 1954. The thinner-gauge top and sides of each framerail form a C-channel of sorts that flares out at the base. Riveted to those flanges are heavier-gauge steel strips. What emerges is a boxed frame section that’s stronger than a conventional C-channel, a property that let Chevrolet build relatively strong frames without having to resort to excessively thick materials or bulky crossmembers.
But the design imposes some unique requirements. The frame flange prevents the crossmember from wrapping around the framerails, a requirement for a suitable weld-in installation. Furthermore, to weld it to the chassis would mean attaching it to the bottom plate and along the very edges of the flange, neither of which is very strong.
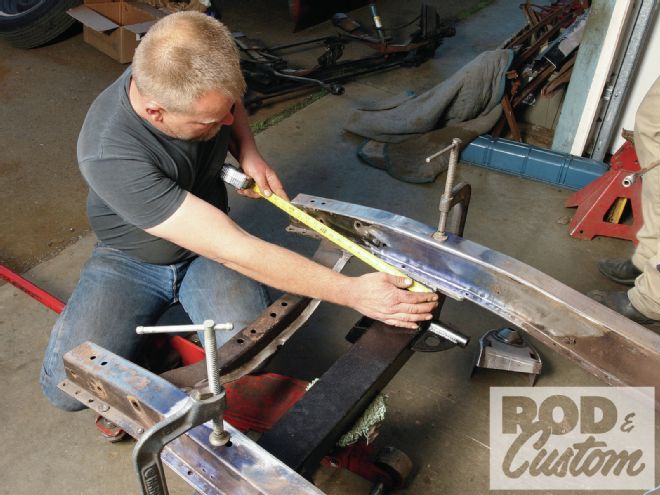
 Total Cost Involved intended this crossmember for cars that had IFS so its holes didn’t align with those in the beam-axle frame. Woolery ultimately drilled them through and bolted the crossmember in place, but for the time being he tacked it in at the corners.
Instead, Total Cost Involved designed this one to bolt to the frame flanges. The bolts approximate the rivets that Chevrolet used in the sense that they capture both layers where they’re strongest: along the centers of the flanges. That Chevrolet attached pretty much all structural components to those flanges indicates that it’s likely the best method for the application. It’s not impossible to approach or even exceed the same structural integrity with welding but it would require considerably more work to weld the crossmember to both layers of each framerail.