Let’s face it; nobody likes dialing three and getting the busy signal. It’s frustrating and even sometimes embarrassing. If one of your buddies blows your doors off as the result, you’ll never hear the end of it. Swapping out the spongy stock shifter for a more affirmative short-throw shifter is one of the quickest, easiest, and cheapest things you can do to improve how your Camaro feels from the driver’s seat. And, it’s something you will notice every time you drive it. The folks at Barton Industries know that, which is why they went to great lengths to design the highest-quality short-throw shifter possible for your TR-6060. Boasting a 45-percent reduction in throw, plus a more solid mechanical feel, Barton is so confident in its product that it comes with a 30-day money-back guarantee. We were delighted to work with the crew at Torq in Miramar, Florida, in covering the installation of Barton’s shifter to show you how it’s done.
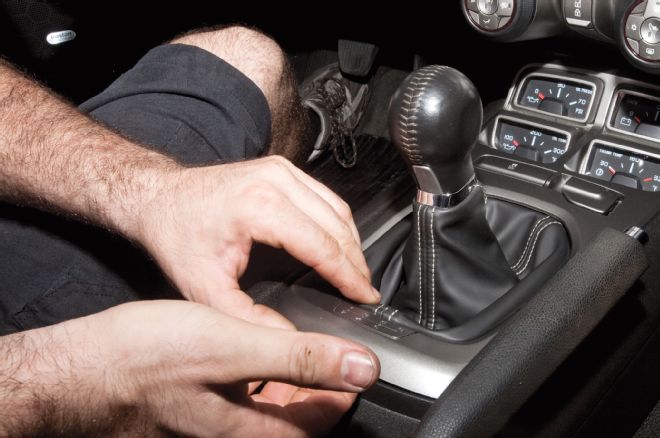
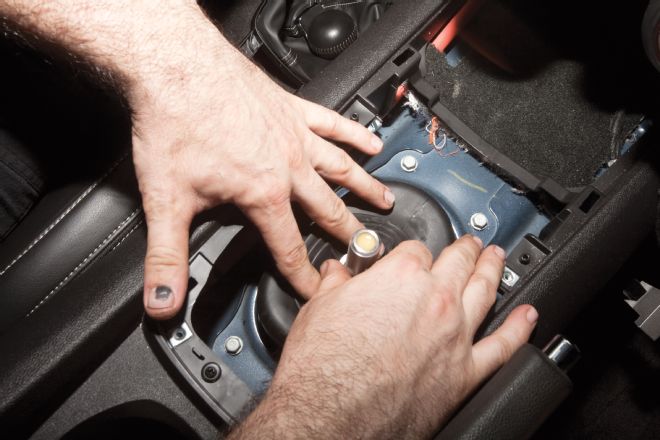
01. Torq’s head technician, Mark Hoffman, got started on the shifter install by unsnapping the gauge cluster panel by hand. No need to disconnect any wiring; the panel can just lay off to the side.
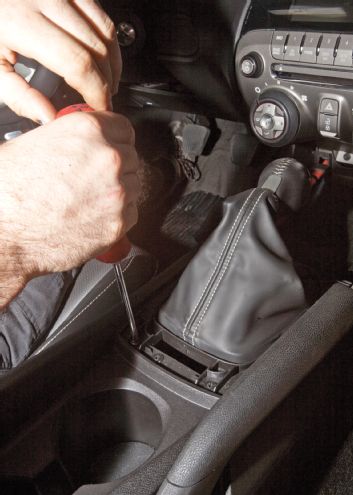
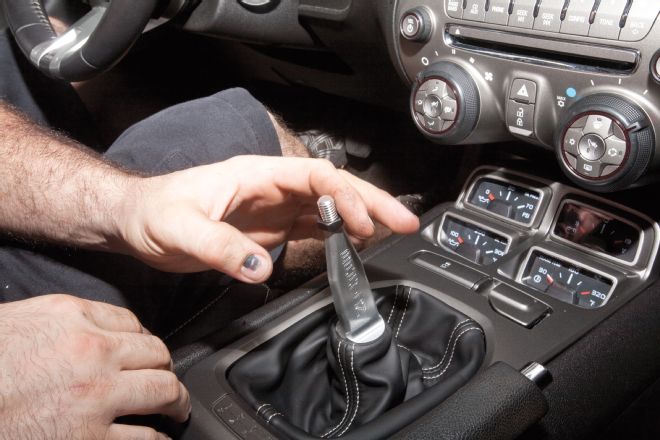
02. A Phillip’s head screwdriver removes the dust boot. Afterward, Mark pulled upward on the shift knob and it came off as one piece.

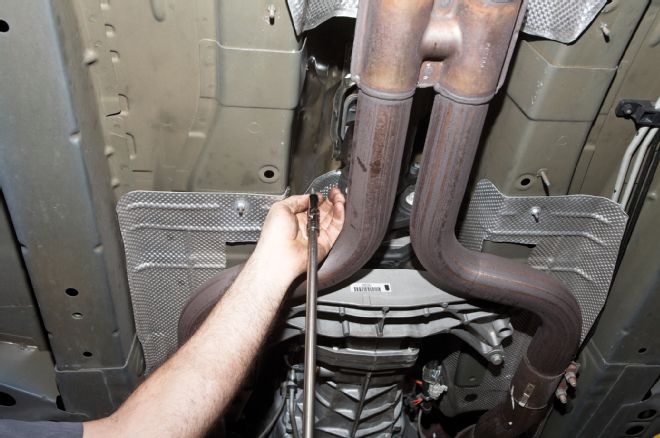
03. After raising the car up on the lift, a 15mm socket loosens the four transmission crossmember bolts (about 1/2 inch down). This allows access to the shifter from below.
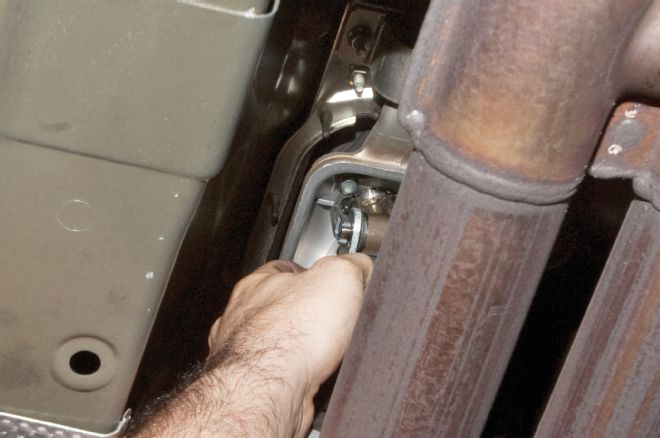
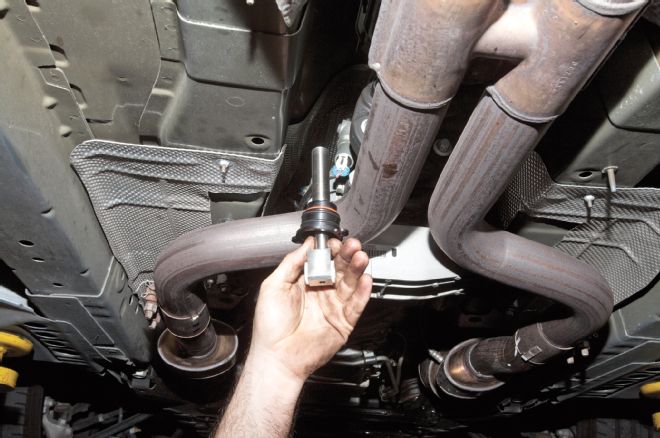
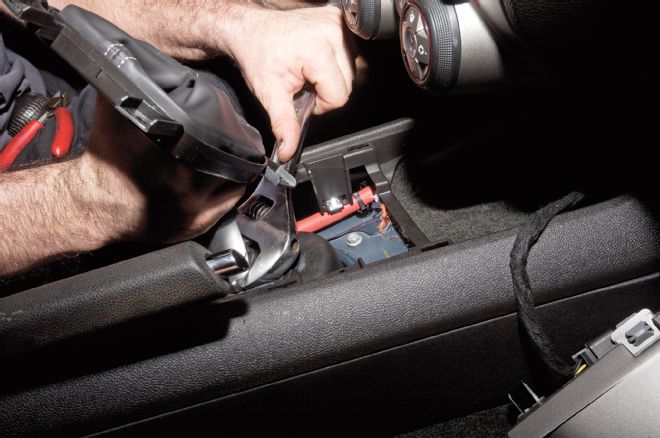
04. After pulling the black rubber dust boot out of the way, a flathead screwdriver is used to remove the clip on one side of the shift-linkage connecting rod. This piece will be reused with the new shifter.
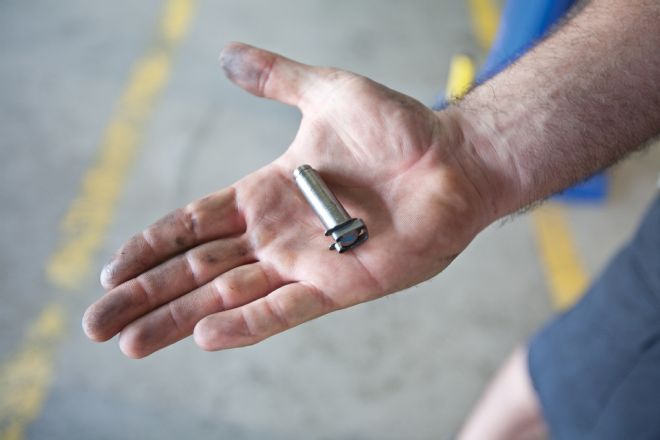
05. After sliding the pin out, you can see how it is retained by the clips.
06. Two bolts on the mounting plate must also be removed, which secure the shifter to the trans. The shifter comes right out after pulling down firmly.
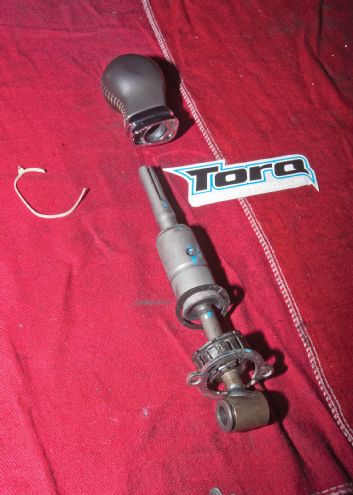
07. Here is the removed stock shifter and knob. At the bottom you can see the connecting rod, which was retained by the pin with clips on both ends, and the mounting plate with two holes on either side.
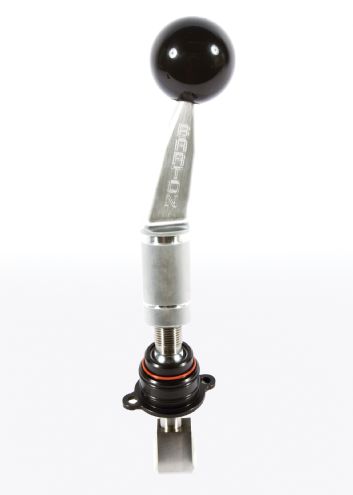
08. Barton Industries Short Throw Shifter (Option 1) includes the flat stick with either a black, white, or yellow shift ball for $235. If you like the look of the stock shift knob select Option 3, or Option 2 if you want both options. This shifter is even available for V-6 models. The shifter assembly, stick, shifter ball, two jam nuts, and a zip-tie are included along with a great set of step-by-step instructions (with clear pictures).
09. The Barton shifter assembly is installed in two pieces. The bottom piece slides up through the tunnel, the two mounting plate bolts are torqued to 7 ft-lb, the pin is inserted and clipped in to reattach the shift linkage. Barton recommends greasing the outer black O-rings prior to installation. If the shifter is oriented properly, the letter “D” (on the very bottom of the shifter assembly) will be on the driver side.
10. After reinstalling the rubber dust boot and tightening the trans crossmember bolts (45 ft-lb), Mark moved top-side to thread down the jam nut. Later, the stick will screw onto the shaft to the desired height. Barton recommends at least 12 turns down, but for the shortest throw go all the way down and back off 1 turn (as Mark did).
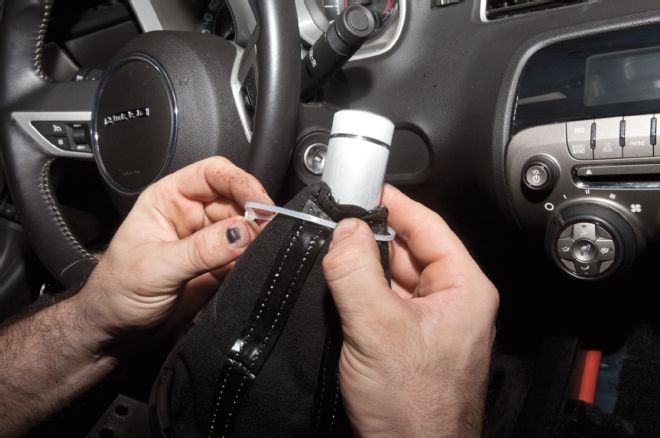
11. The leather boot is turned inside out and zip-tied to the stick, resting in the groove just below the flat part.
12. The stick screws onto the shaft, and a 1-1/16-inch wrench is used on the jam nut to lock it in place. After that, the leather boot can be screwed back down and the center gauge cluster can be snapped into place.
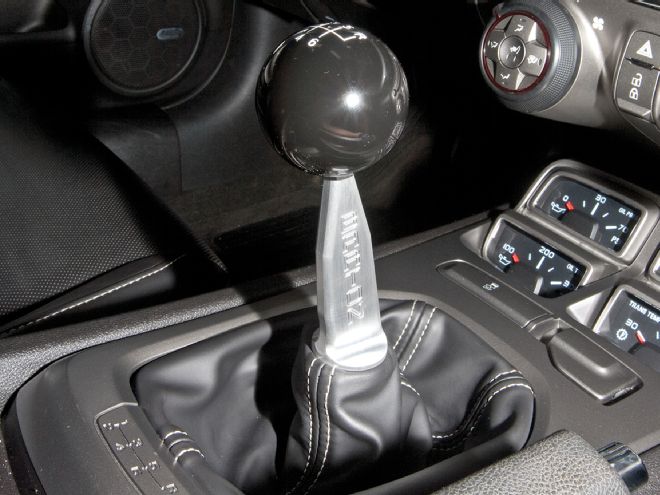
13. The second jam nut threads on top of the stick—be careful not to overtighten. Adjust until the logo on the shifter ball is oriented correctly and you are done! Of course, it is always good to row through the gears first and then take it on a testdrive.