There’s no two ways about it—a truck that looks like new on the inside will work like new. The reasoning is new parts not only look better, they aren’t broken so everything will work as it was designed to. Air-conditioning vents open and close, the gauges and radio work, and so on.
A real important first step after removing the seat and pulling out the carpeting or rubber floormat is to make sure there aren’t any rust holes through the floor or cab corners that will allow rain water to enter the cab. Rust holes also allow noxious exhaust fumes inside. If you find some areas where you can see daylight coming through, you’re in for slapping a little glop of sealant on, or if it's more serious, welding in new replacement floor panels.
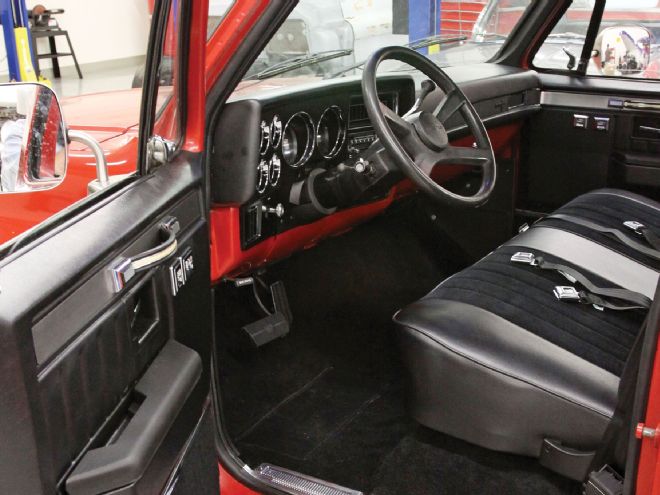
If you’re sure your truck is properly sealed up, then it’s time to move on to installing a new carpet and upholstery kit, dashpad cover, and instrument bezel. To take care of repairing the A/C or heat that isn’t going where it’s supposed to, there’s a new vent outlet actuator and chromed vent outlets to cure the problem. A crummy old AM radio that doesn’t work anymore can be easily replaced with an AM/FM stereo, complete with an MP3 adaptor. Take a look at the before-and-after photos of our subject 1985 C10 Silverado and you’ll see revamping a truck’s interior can make a person change their mind about buying a new truck.
 There’s not much difference between 1973-87 C10 truck interiors, although there are some minor variations that require knowing the year model to get the correct fit. To upgrade earlier C10 interiors, 1981-87 year model interior cab moldings can be installed into 1973-80 trucks.
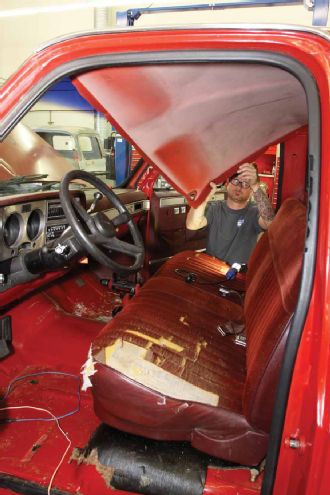
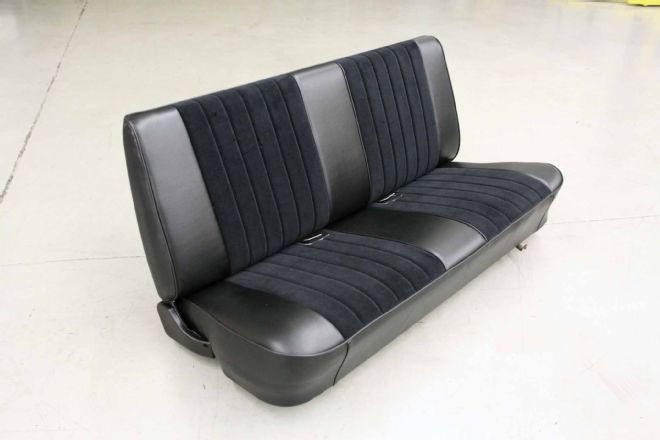 California Auto Upholstery in Garden Grove, California, proved the LMC Truck re-upholstery kit can be installed to look as nice as a custom-upholstered seat costing much more. Take your time, pay attention to detail, and you can achieve the same professional results.
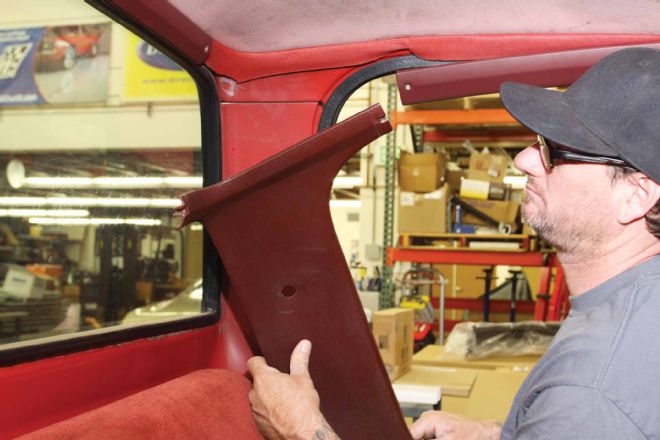 The first step to replacing the factory original headliner with a new ABS plastic headliner was to remove the interior cab molding components.
 The first step to replacing the factory original headliner with a new ABS plastic headliner was to remove the interior cab molding components.
 With all the interior cab moldings and visors removed, a slight downward tug released the headliner from the ceiling of the cab.
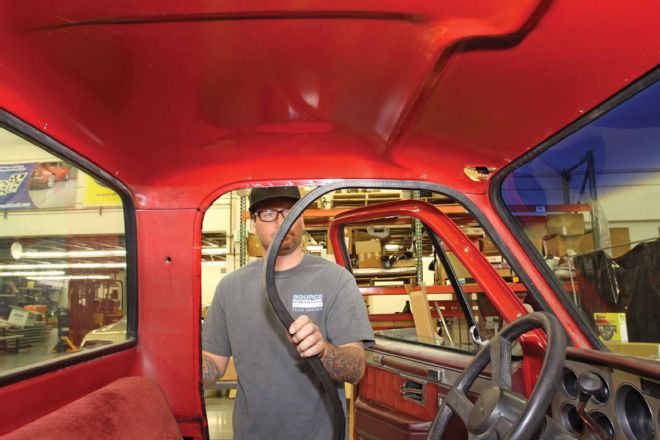 The old weatherstripping was pulled off and the new weatherstripping was pushed back into place by hand.
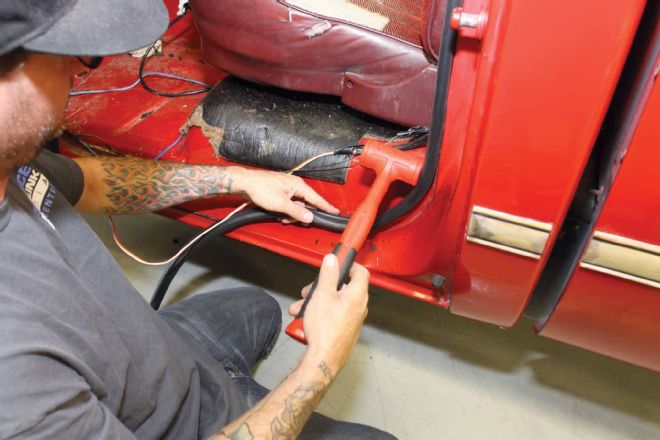 A soft-blow hammer worked great to tap (fit) the weatherstripping into tight corners. Where the weatherstrip joins at the bottom center of the door opening (sill) the weatherstripping was butted together and the excess overhang cut off.
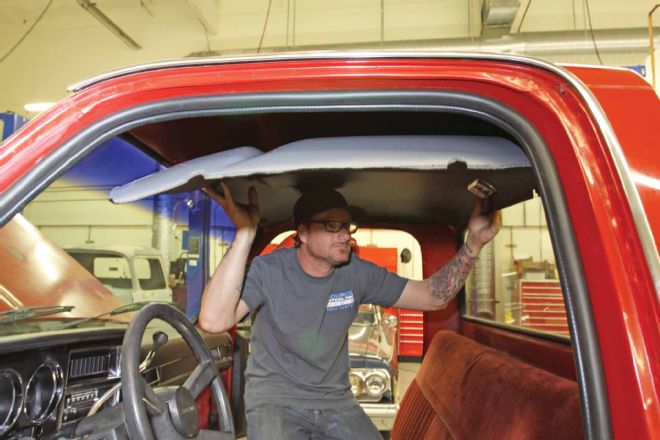 Jason balanced the new headliner on his head and then lifted it into place.
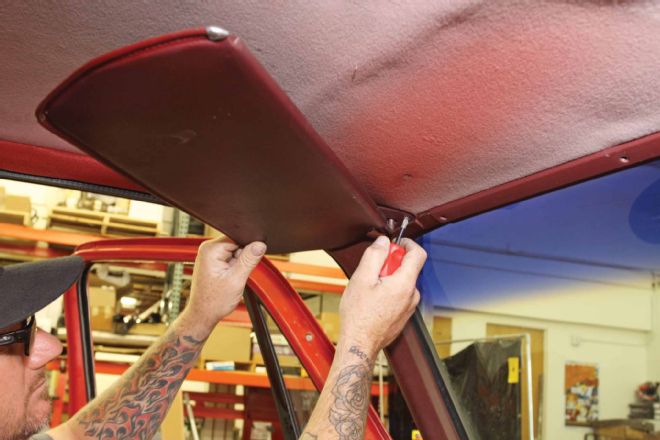
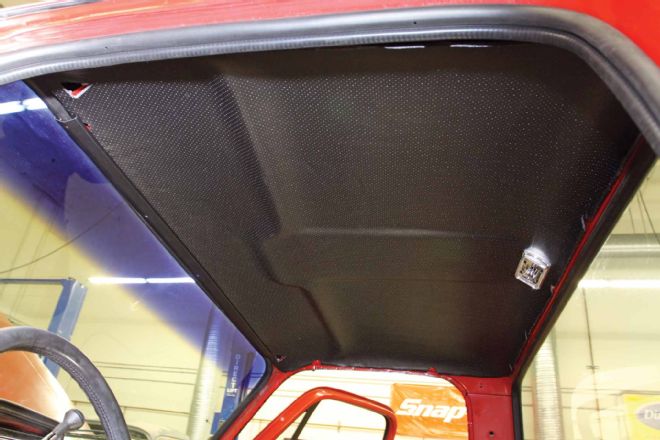 With the help of a second person, the front and rear center interior cab moldings were installed to hold the new headliner in place.
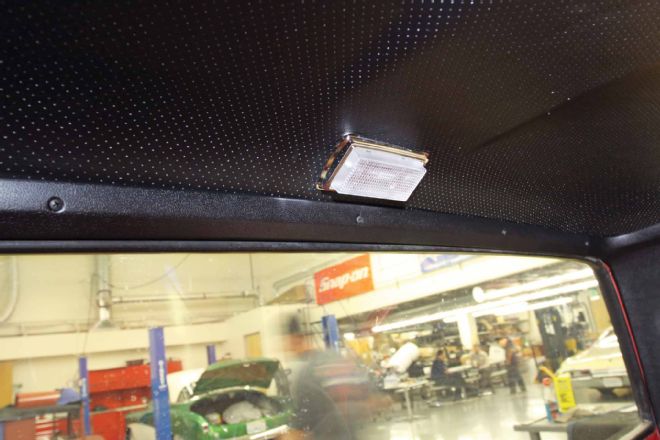 Notice the much cleaner look a new LMC Truck crystal-clear dome light lens provides. To really turn up the light an LED bulb was installed as well.
 When joining the side interior cab moldings into place with the center interior cab moldings make sure they overlap properly (see photo).
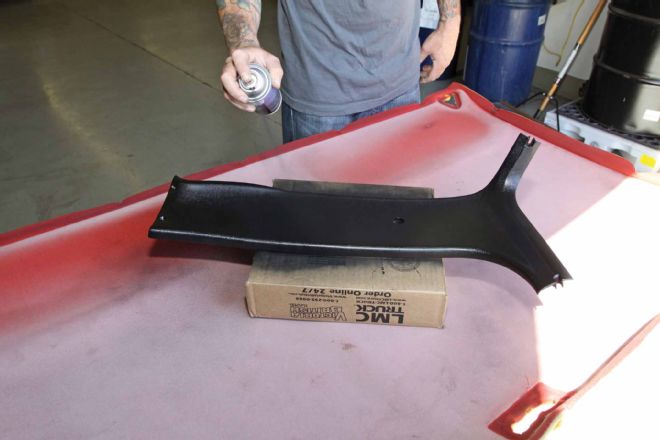 Spraying black ColorBond on black plastic parts adds a nicer looking finish, or if a color change such as red to black is desired.
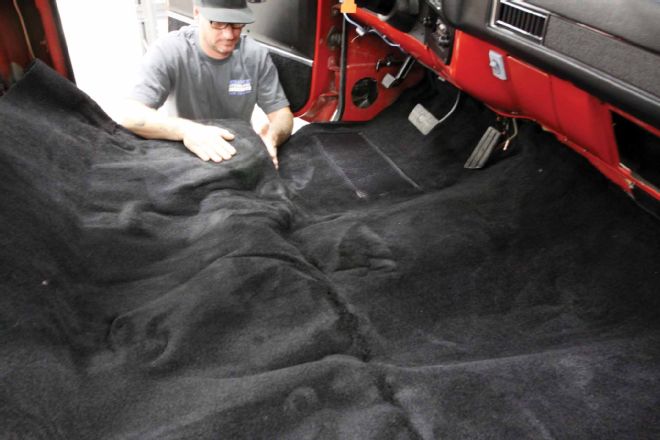 Spread the carpet out completely and allow it to relax. Then start at the tunnel and achieve a good fit by working the carpet into place with your hands.
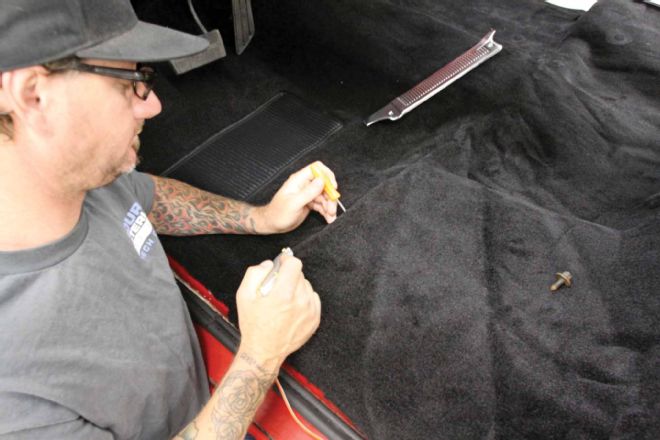 Once a good fit is achieved in all areas, locate the seat boltholes with a scratch awl and screw the seat bolts in snug to hold the carpet into place.
 Move to the passenger side and repeat the process. Trim away overhanging carpet with scissors or a razor knife.
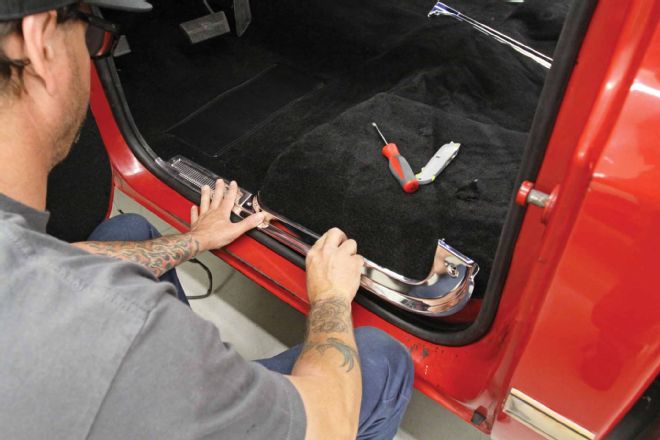 Position the doorsill plate into place, and locate the screw holes with a scratch awl. Screw the sill plate down snug with the included screws.
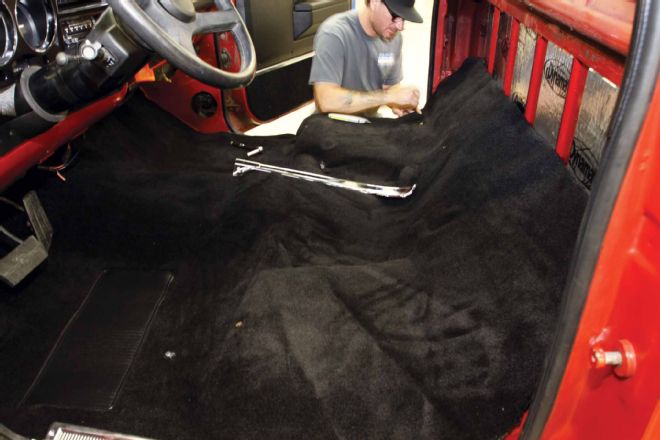
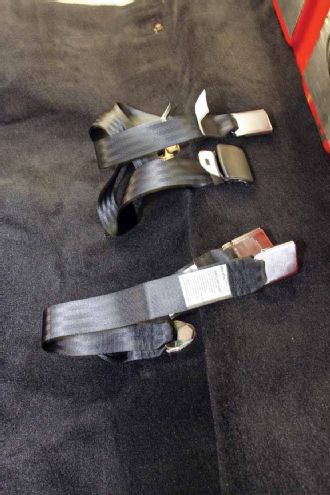 Locate the seatbelt bolts in the cab floor and install the seatbelts before installing the seat.
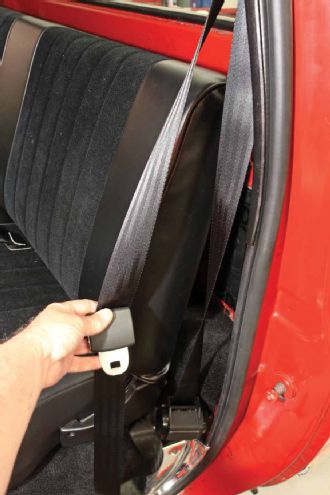 Install the shoulder harness top bolt located inside the B-pillar. Install the seatbelt retractor bracket at a 45-degree angle to doorsill. Bolt the seatbelt retractor to the bracket.
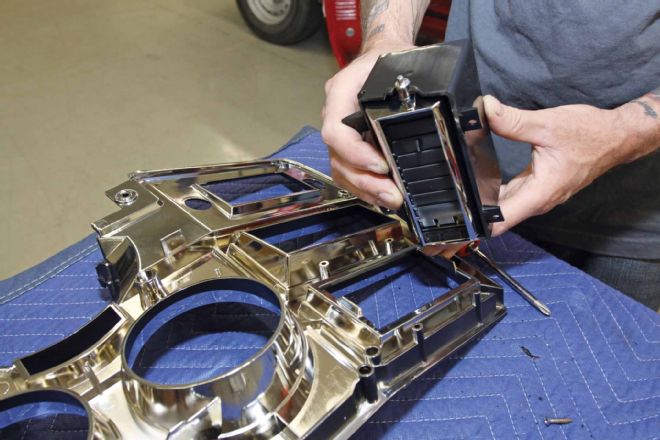
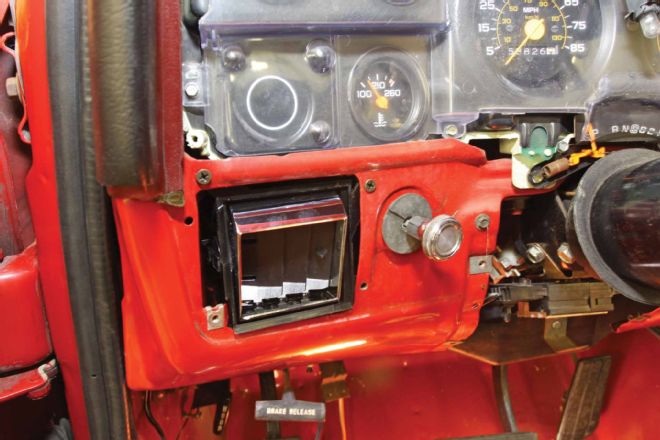
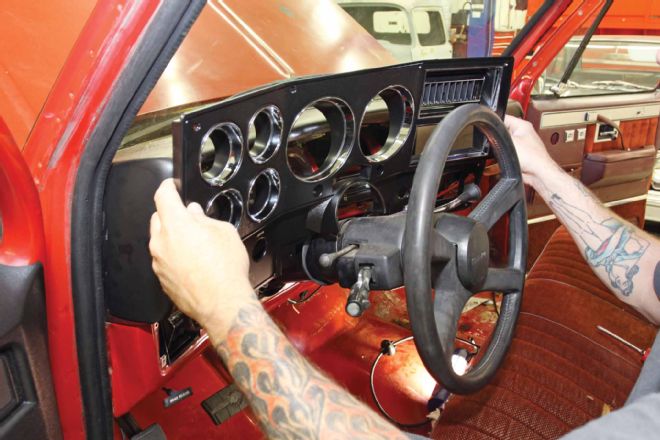 To change the dash bezel, remove all retaining screws and lift it up and away from the gauge cluster and dashboard. As shown here reverse the steps to install the new replacement bezel.
Install the new A/C heat vent outlet on the dash bezel before refitting to the gauge cluster.
To change the dash bezel, remove all retaining screws and lift it up and away from the gauge cluster and dashboard. As shown here reverse the steps to install the new replacement bezel.
Install the new A/C heat vent outlet on the dash bezel before refitting to the gauge cluster.
 For an easier installation, the dashpad can be removed to replace the two attached vent outlets and the dash molding whether it is with or without A/C. However, it can be installed with the dash still in the truck.
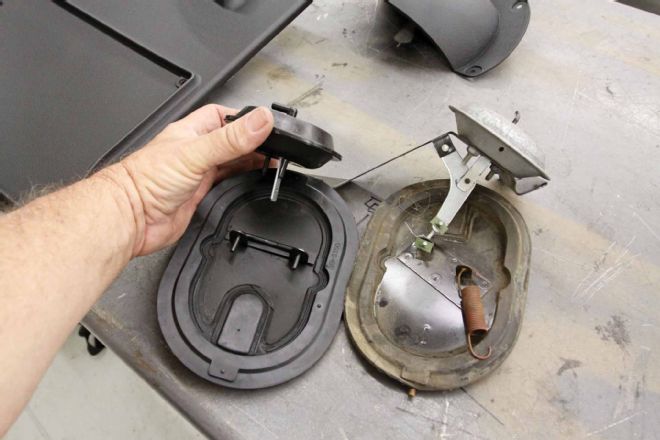 Remove the passenger side kick panel to access the vent bezel located behind the vent cover (plastic half-bubble). A defective air vent actuator can prevent the A/C from working at full cooling capacity.
 Connect the air vent actuator to the air vent valve. Make sure parts move freely.
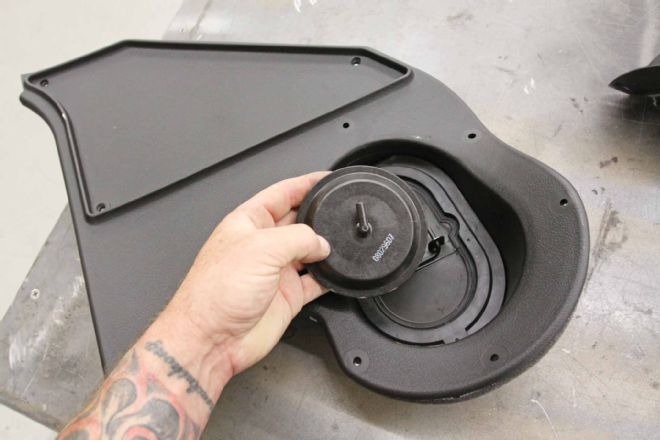 The new vent valve is installed into the kick panel.
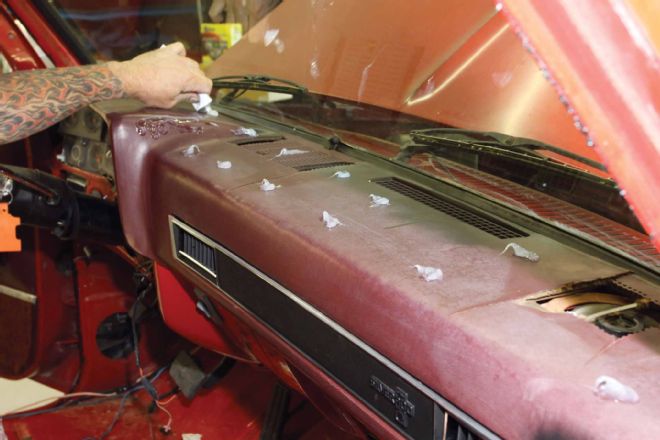 A molded plastic dash cover is much easier to install than a new dashpad and costs less. The first step to installing a dash cover is to level (sand or cut) the cracks in the original dashpad, then prepare with a good solvent. Next dab the included silicone adhesive evenly onto the dashpad. Notice black ColorBond was sprayed on the defroster vents.
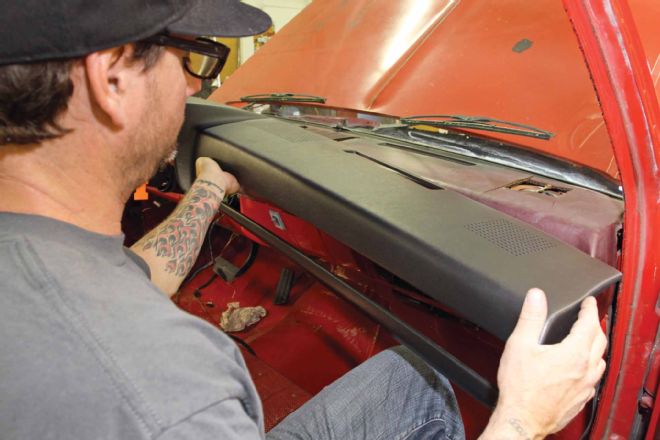 Line up and then push the new dash cover over the dashpad firmly down into the silicone adhesive.
 As soon as possible, place weights on top – clamp Vise-Grips in front, and run a brace to the front seat to keep the dash cover held tightly in place while the silicone adhesive dries.
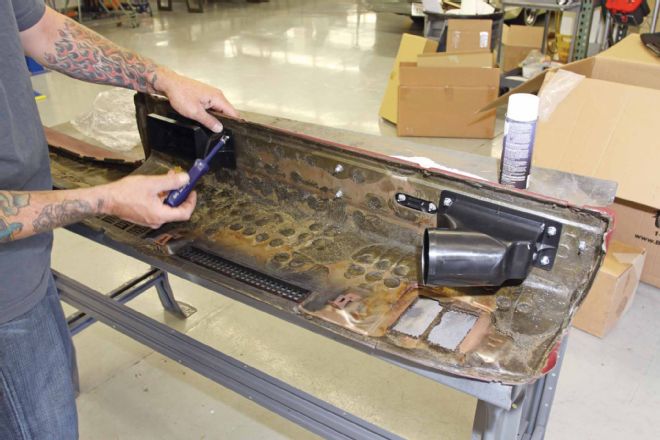
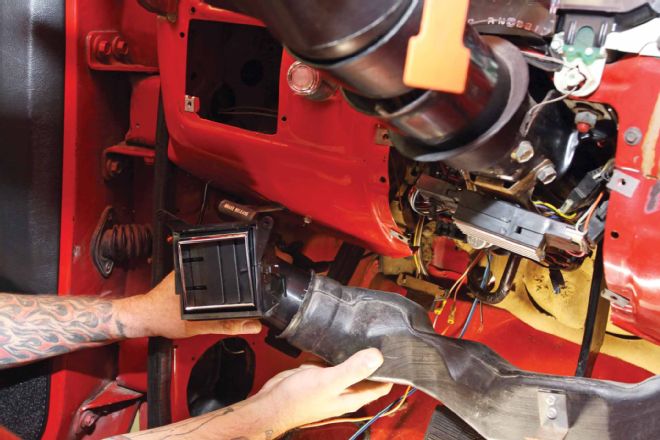 Extract the old A/C heat vent by undoing mounting fasteners on crossover duct and A/C heat vent. Wriggle the crossover duct away (apart) from the old A/C vent and remove from behind dash.
 To install, insert the new A/C heat vent from underneath and lift into place behind the dashboard.
 Next, wriggle the new A/C heat vent onto the crossover duct and position (lift) into place – install mounting screws.
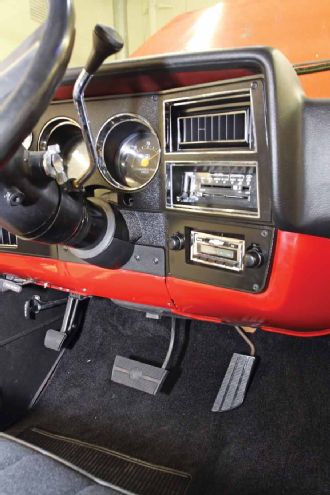 This angle shows how nice the dash bezel, dash cover, AM/FM stereo, pedal pad and carpet kit look after being installed.
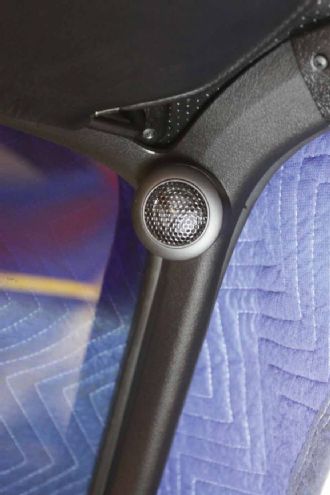
Location is everything. The A-pillar trim set for ’81-87 C10s with built-in tweeters is the cleanest, most custom way we could find to boost the sound quality of high notes emitting from the AM/FM stereo.
This angle shows how nice the dash bezel, dash cover, AM/FM stereo, pedal pad and carpet kit look after being installed.
Location is everything. The A-pillar trim set for ’81-87 C10s with built-in tweeters is the cleanest, most custom way we could find to boost the sound quality of high notes emitting from the AM/FM stereo.
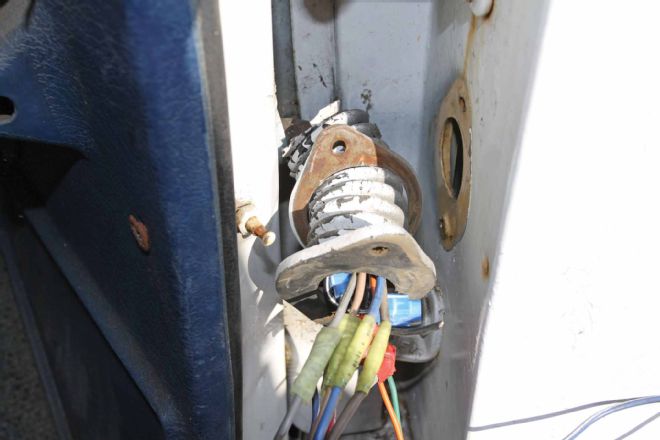
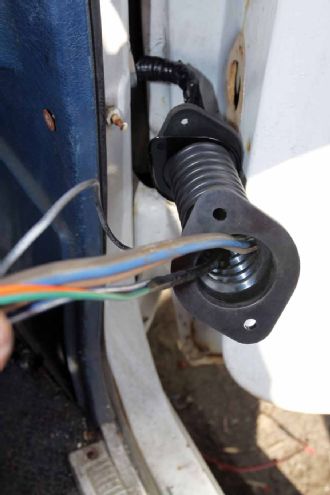
 From unsightly paint overspray to completely rotted-out with holes, check the condition of the door conduit. To replace the door conduit all of the door’s internal wiring must be disconnected.
Install the new door conduit with retainer over all the wiring intended to be re-installed inside the door.
From unsightly paint overspray to completely rotted-out with holes, check the condition of the door conduit. To replace the door conduit all of the door’s internal wiring must be disconnected.
Install the new door conduit with retainer over all the wiring intended to be re-installed inside the door.
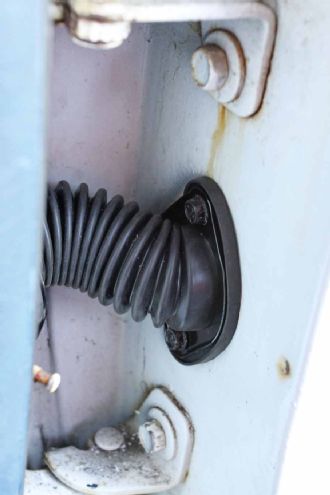
 Align the mounting holes in the door conduit retainer with the holes in the cab doorjamb and the door. Use hardware to secure the retainer in place.
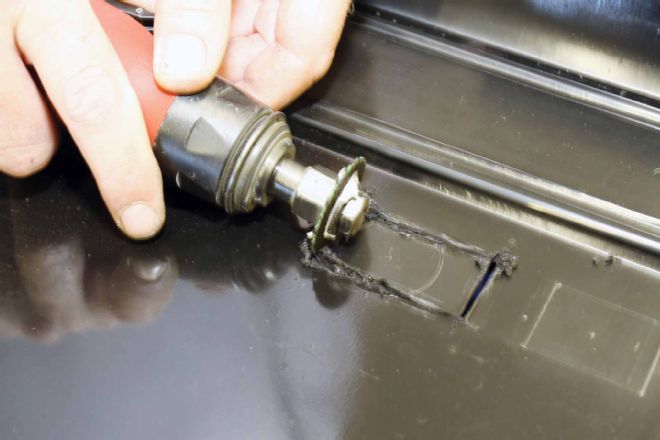
 For power window and door lock switches there’s a template marked on the backside of the door panel. A die-grinder is used to make the cut.
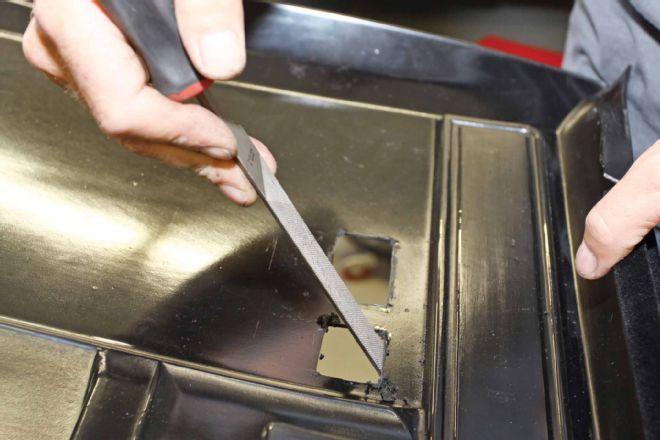
 A sharp file was used for the finishing work needed to square the hole.
 The finishing touch was to drill holes and install the screws included with the lower door panel carpet set.
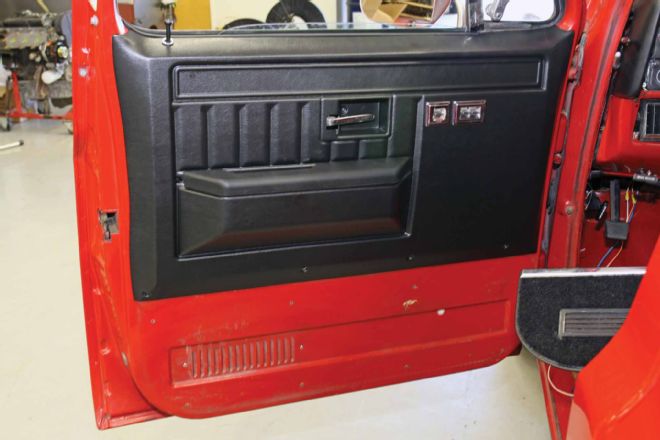
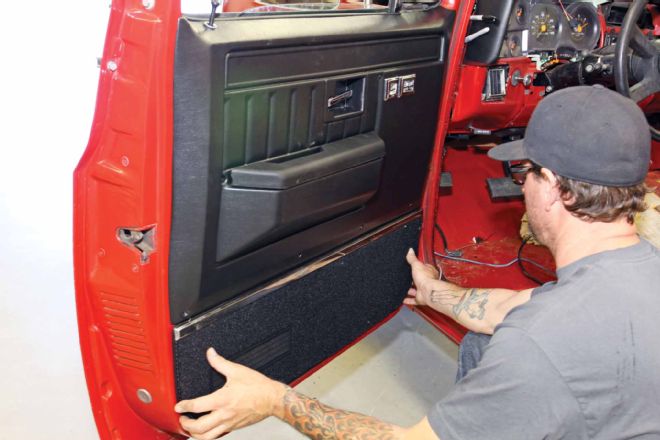 New door panels make a major improvement in appearance. The old ones unscrewed and popped up away from the door. The new door panel was hung over the door with the window down and then tapped down into place.