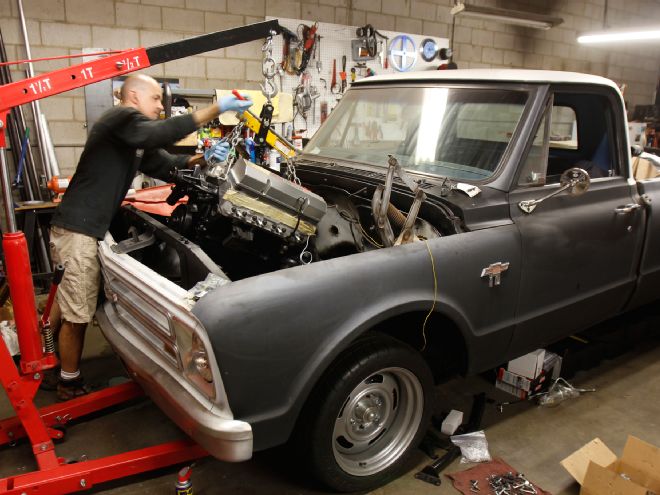
Progress continues on two of Car Craft's project cars—Truck Norris, our 1967 Chevy C10, and our 1972 Chevelle—and it's very satisfying, especially on Truck Norris, which has taken up residence inside the warehome for far too long. We need a functional pickup ASAP, so it's going back together with the parts we have sitting around right now: the 383 we built out of the 350 crate engine that was in it previously, the stock SM420 four-speed, and a brace of supporting upgrades.
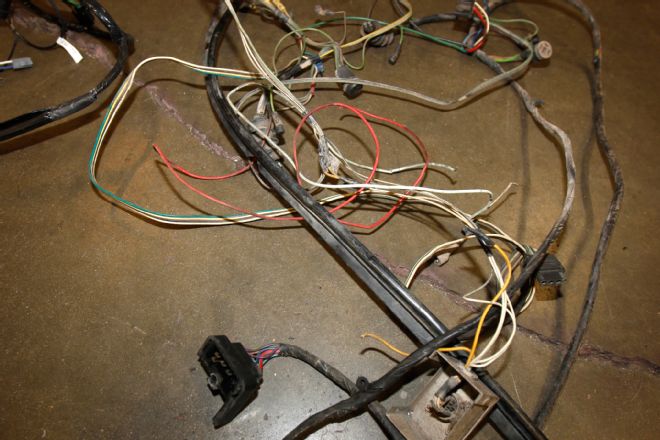
We need this pickup to be daily driver reliable, and one thing we have no time for is electrical problems. The truck's rear wiring harness was a butchered mess of splices and dead-end, taped-off wires, the result of a poorly installed trailer harness. We removed it and the engine-compartment harnesses for replacements from American Autowire, sold through Classic Industries.
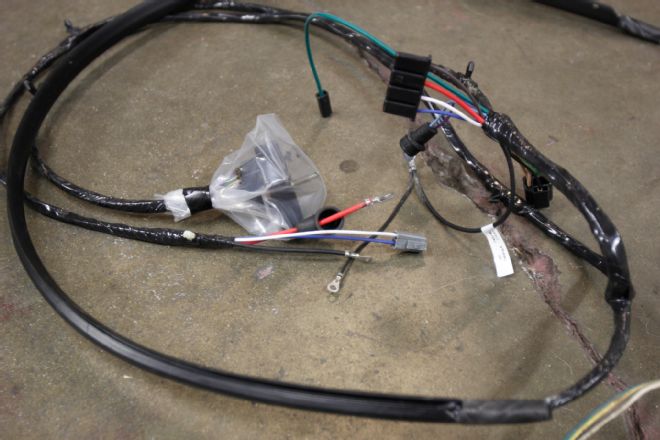
The new harnesses are exact replacements of the originals. This is the front engine-compartment harness, which includes the correct bulkhead connector and plastic channel that runs across the radiator core support to power the headlights and turn signals.
While the wiring was out, we took the opportunity to clean some of the grime behind the rear lights and treated the area with Eastwood's Rust Encapsulator.
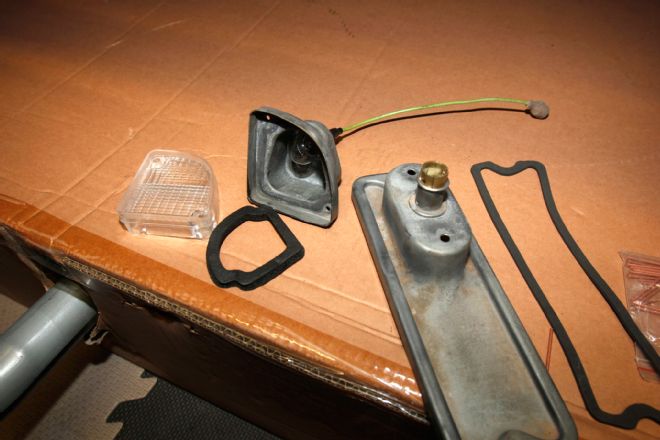
We also cleaned the lamp sockets with a wire brush and reassembled them with new back-up lenses from Rock Auto and gaskets from Brothers Trucks. We recommend using dielectric grease on the bulb receptacles. It protects electrical connections from corrosion, which is especially useful in an area like this as it becomes contaminated with dirt and moisture over time.
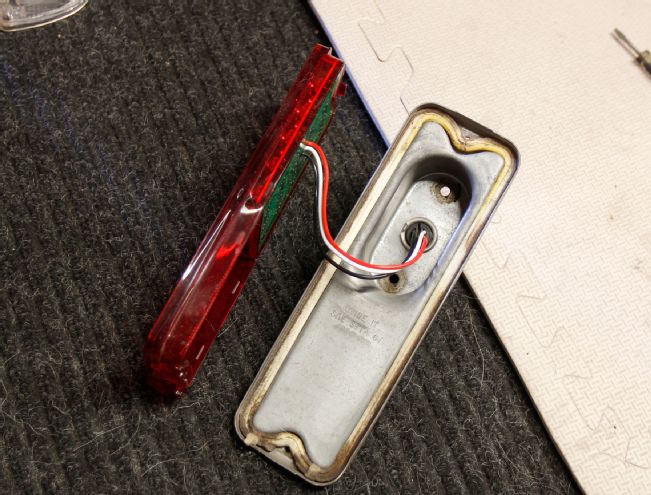
We reinstalled the taillights with these LED replacements from Classic Industries. The LEDs are built into the lens with a pigtail that plugs into the stock lamp socket.
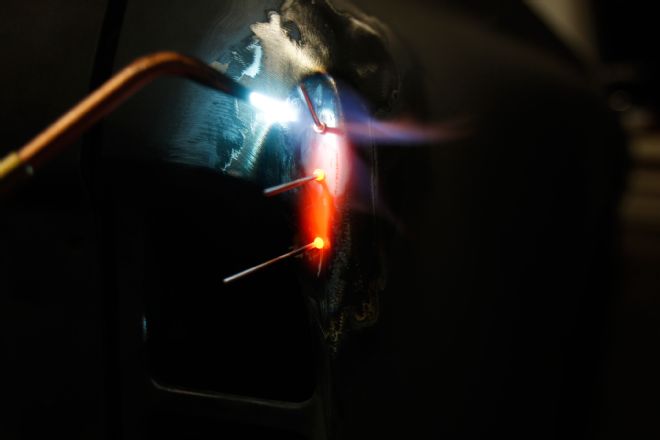
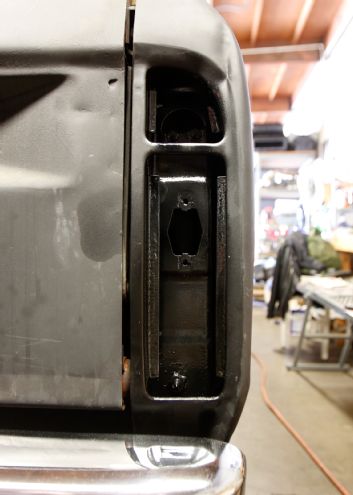
The area around the right backup light had a deep dent running through it that affected the way the light socket and lens fit into the opening, making them sit cockeyed in the panel. We pulled it out with our Harbor Freight Stud Welder Dent Repair kit and some hammer and dolly work. We used the stud gun to attach pins to various spots around the dent and heated the area with an acetylene torch to soften the metal, making it easier to shape. The dent runs right through a hard edge in the panel, which is already a work-hardened area and is difficult to reshape.
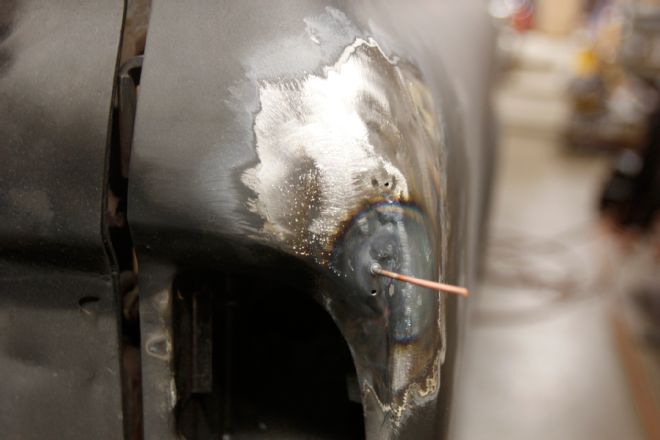
We started at the outer perimeter of the dent and gradually pulled it from the outside in to the center of the dent using the weld-on studs and a slide hammer. Sometimes the slide hammer will cause the stud to break free from the panel, leaving holes like you see above and below the remaining stud in this picture. That's normal. Don't stress too much over it. The holes are small and easily filled with a torch and some filler rod or a MIG welder. We are still working on this dent; the crease is almost gone, but we need to shrink the metal to the left of the dent more.
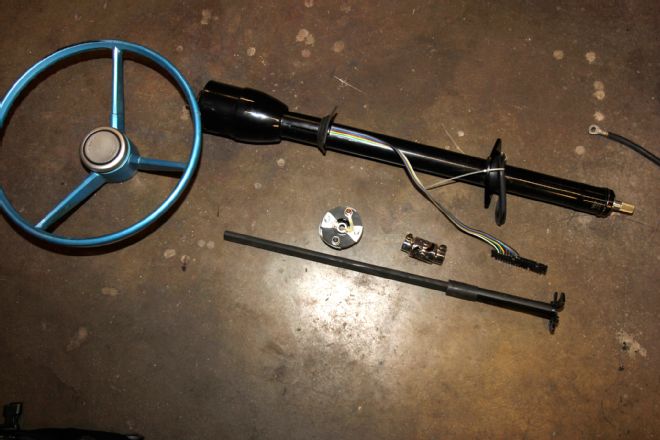
Our stock steering column was completely worn out, as indicated by the (at least) ¼-inch side-to-side movement of the steering wheel. CPP provided a replacement column, complete with a new steering shaft, universal joint, and steering coupler (rag joint). We will pair that assembly with our original 1967 steering wheel we purchased on eBay last year.
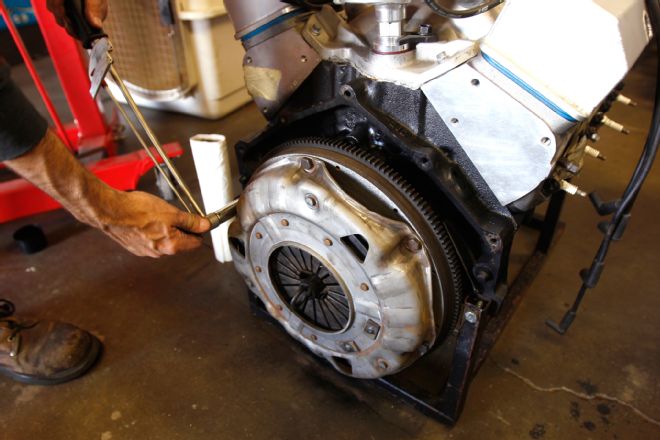
Prior to dropping the engine in place, we roughed up the flywheel and pressure plate with some 40-grit sandpaper and thoroughly cleaned all the mating surfaces with brake cleaner prior to assembling the clutch and torqueing it in place.
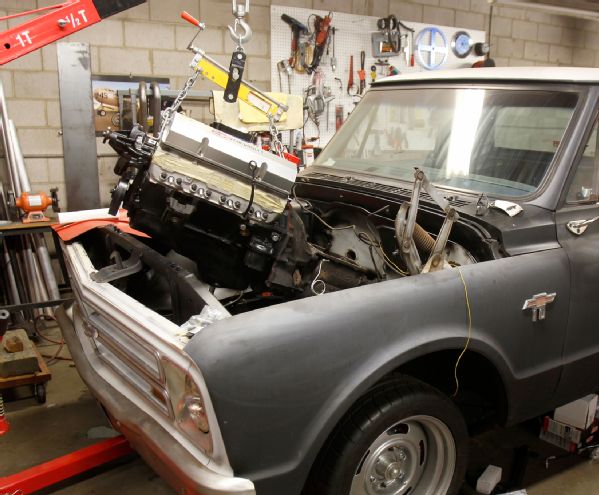
Though it's a physically small transmission, the SM420 four-speed weighs a formidable 135 pounds of unwieldy cast iron. We discovered early on that it's much easier to install the transmission to the engine outside of the truck, rather than installing it from the underside. We did that with the engine hanging from the hoist and the transmission on a moving dolly. Then, with the brake master cylinder out of the way and a good engine hoist load-leveler, it's actually quite easy to drop the pair into the truck. This is the 383 Chevy built by IMM Engines.
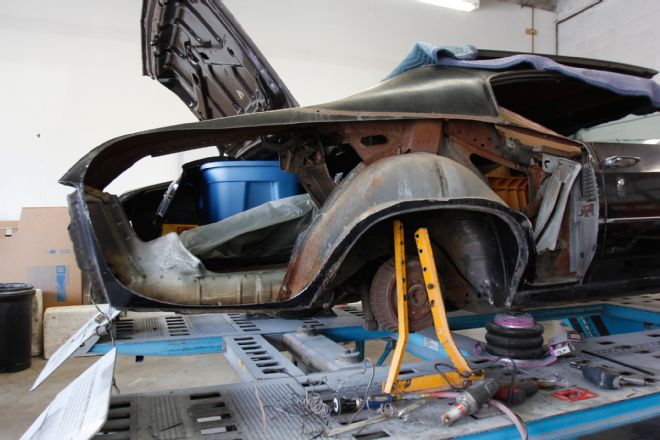
Meanwhile, as all this work is happening at the warehome, our 1972 Chevelle is at MASCAR Auto Body and Paint Repair in Costa Mesa, California, for some bodywork. Here is preview of the quarter-panel replacement. We will cover this work in more detail in an upcoming issue.