Now, we'd be the first to admit that by race car standards our Project Totally Gassed is being built to a very high level, but since it is a street-going, Gasser tribute car we wanted to have things built to the level that Big John Mazmanian would have appreciated. To that end it was determined that a very nice, stock-appearing dashboard would be appropriate in the car. Remember the Tri-Five Chevrolets were drag raced when they were nearly new as junior stockers, modified production cars, and Gassers, so many of the race cars did have stock-appearing dashboards.
To that end Editor Brian Brennan began his research into locating the best parts to create a dashboard that would appear stock, but have modern gauge movements for more accuracy than the 59-year-old stock gauges. (Remember that this all came about because artist extraordinaire Steve Stanford and ol' Brennan had too much time on their hands one Saturday afternoon. It wasn't long after that Stanford had brush to paper and here we go!) Brennan also knew there were many options and while there was a way to place a trio of gauges into the actual dashboard, most Gassers of the 1960s had the obligatory triple-gauge cluster hung under the dashboard directly in front of the shifter. It simply says 1960s hot rodding.
The project began with a very nice, original 1955 Chevrolet dashboard that had not been cut up, even the radio area of the dash was untouched, a rarity among early dashboards. Most of the trim was missing, but the dashboard itself was in good condition. After disassembly the dashboard was media blasted and a coat of epoxy primer was applied. The dashboard was then test-fit to the new Woody's Hot Rodz and Real Deal Steel body. Happily, the dashboard bolted right in, a testimony to both the condition of the original dashboard and the accuracy of the reproduction all-steel body. After that quick test-fit it was time to build the dashboard as one of the sub-assemblies of the Gasser project.
The building process began by block sanding the dashboard and when all the minor imperfections were gone we covered it with a few coats of PPG satin black urethane paint. When all the components arrived it was just a matter of laying the dashboard down on a soft padded workbench and assembling all of the parts. Building sub-assemblies during a project is a great way to provide inspiration for the entire project and get that all-important sense of completion needed to keep you moving forward. As it turned out the dashboard project was a lot of fun. It involved a few catalogs from companies like Danchuk Manufacturing and Custom Autosound, along with shipping the gauges off to Classic Instruments. A quick call to Summit Racing was all it took to find the period-perfect Sunpro Tach and mounting kit. Keep this in mind when doing your own project. We called American Autowire in advance and told them what we wanted to do and they provided the additional wiring in one of the 1955 Chevy kits that accounted for the extra electrics, such as the Classic Instruments Sky Drive GPS, Sunpro tach, and Classic Instrument gauges mounted to the bottom of the dash. (American Autowire also took into account that we will have three Classic Instrument gauges mounted to the firewall—couldn't resist this over-the-top treatment.)
In the end we have a dashboard that at first glance could be mistaken for stock, but the differences, while subtle, are also substantial. Follow along as we build a new old dashboard for our Project Totally Gassed.
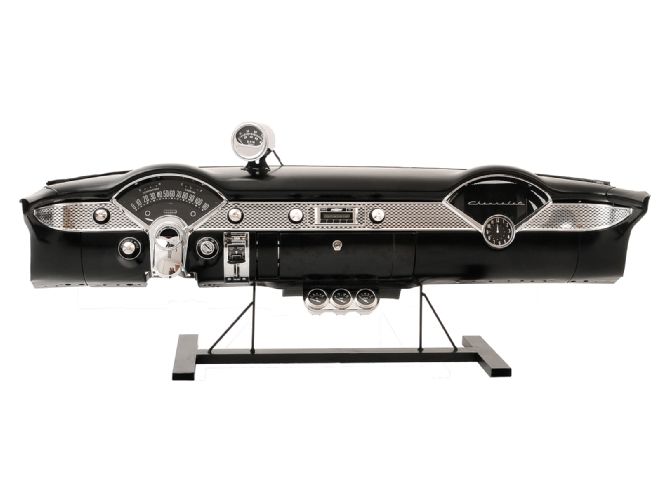
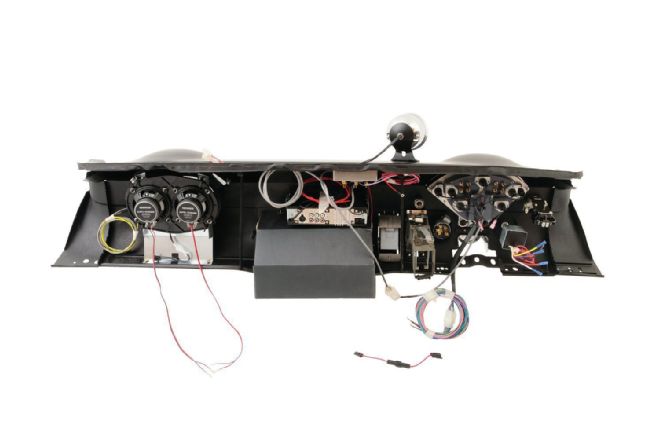 1. Everything fit perfectly and with plug-in gauges and stereo components the wiring is very sanitary.
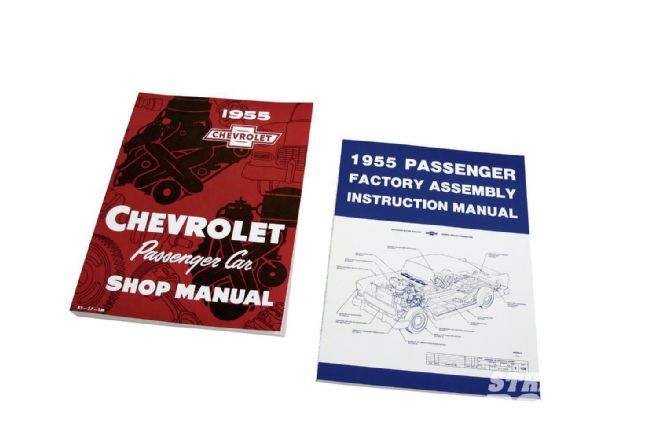 2. Building any car requires knowledge and it is hard to beat having a good old manual on the workbench while you disassemble and reassemble. With that in mind we ordered these ’55 Chevy assembly and owner manuals from Danchuk.
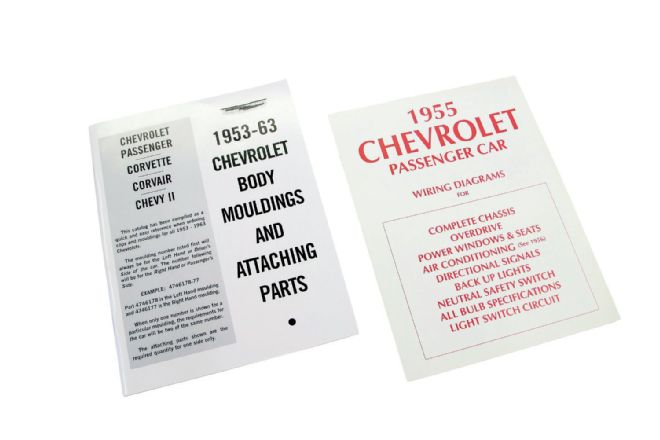 3. Danchuk also offers a catalog of body molding attachment parts and a wiring diagram for the ’55. The body molding catalog was a great help for ordering the proper clips and screws to hold pieces in place, the wiring diagram is perfect if you are running basically factory wiring.
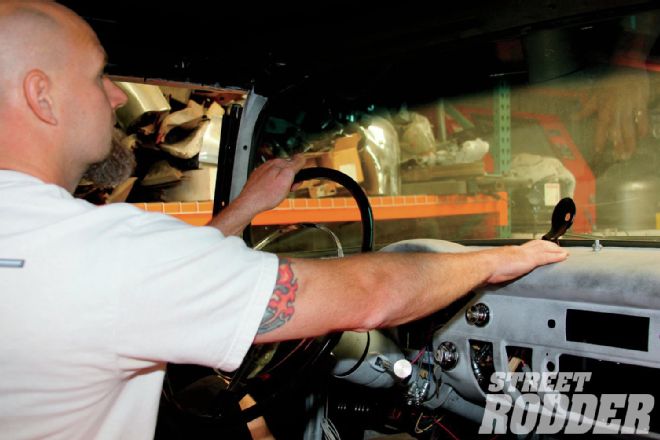 4. We located the proper position for the dash-mounted Sunpro tach while we had the dashboard in place for a test-fit. This is best done with the seat bolted in place, too.
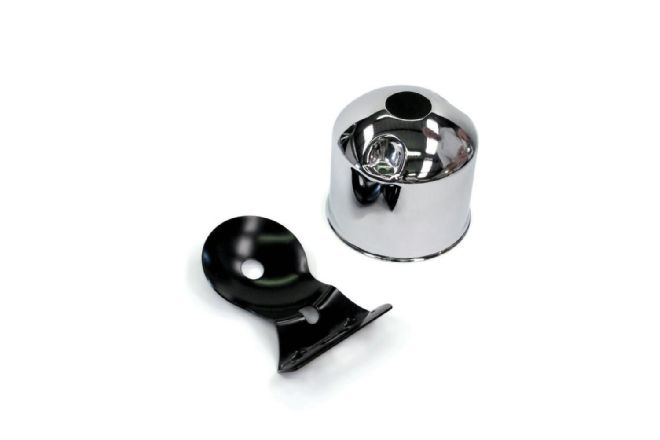 5. Sunpro offers this dash mounting kit that includes a chrome-plated metal cup and the mounting stanchion. We were pleased with the quality and happy the cup was metal.
 6. After block sanding the dash several times we laid down a couple coats of PPG semi-flat black urethane. Then it was time to install the Sunpro tach using their mounting bracket and cup. We ordered both items from Summit Racing.
 7. Two holes were drilled in the finished dashboard to facilitate the mounting of the Sunpro bracket.
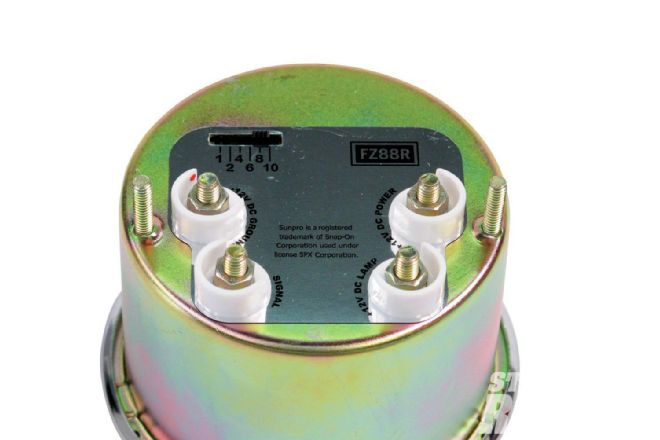 8. Wiring was simple and the threaded lugs on the back of the tach make for very secure connections.
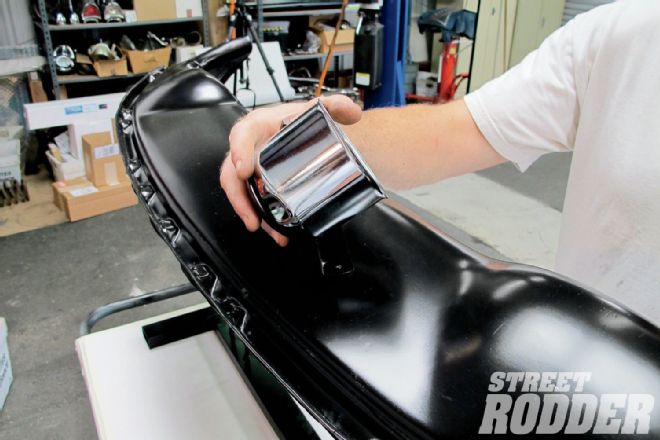
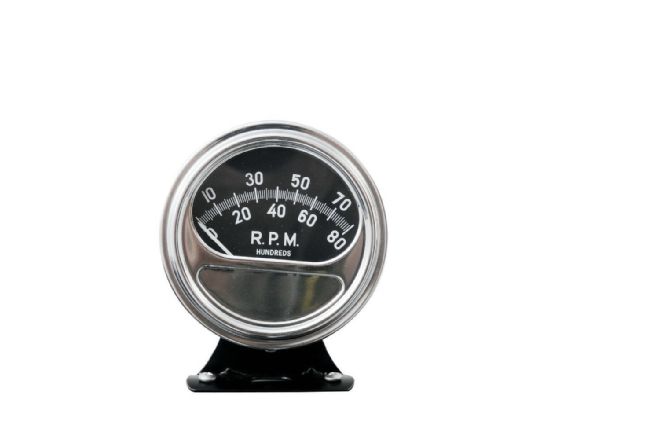 9. After pre-wiring the tach and passing the wires through the back of the cup we mounted the stanchion to the dashboard and then mounted the cup to the stanchion. It is hard to beat the look of a vintage-style tach mounted atop the dashboard.
 10. Since we were working with just a bare dashboard we were pleased to find that Danchuk has every piece for the ’55 dashboard, and the quality is first class.
 11. Factory style and size screws were used to attach the trim to the dashboard, the process is simple but work carefully to avoid damaging that new trim with a slipping screw driver.
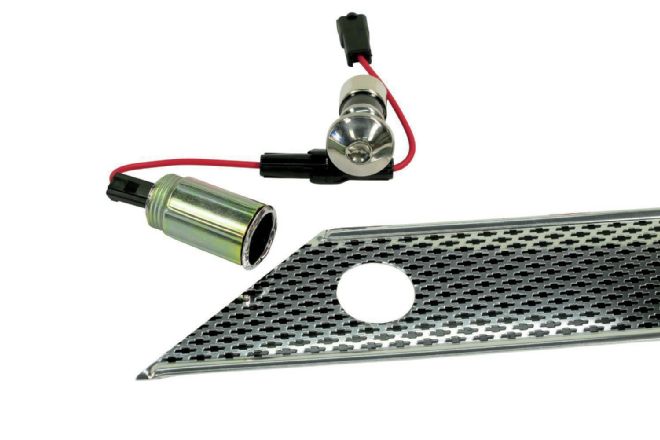 12. The cigarette lighter is an all-important accessory in any hot rod dash. There was a time you’d use that to light up a Lucky, but today the important thing is to charge your cell phone or GPS. Our Classic Instruments Sky Drive GPS is mounted and hidden within the dash workings.
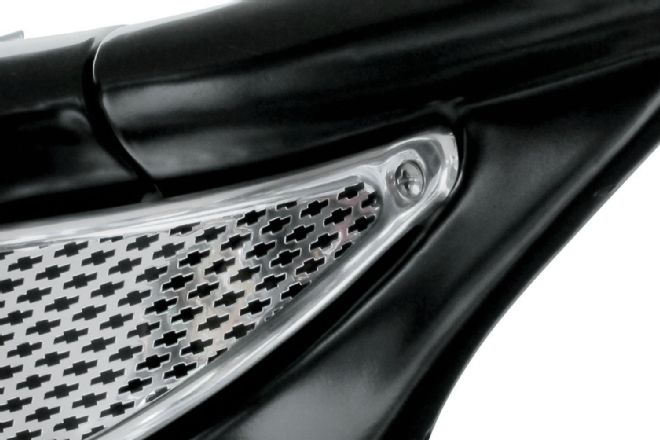
 13. Part of the all-new dash trim from Danchuk was this clock and speaker bezel that goes on the passenger side of the dashboard. The ’55 Chevy dash has perfect symmetry thanks to the two V-shaped bezels.
 14. Once again Danchuk supplied all the required clips for the trim and every piece is held in place just the way the factory did it. The speed clips simply push on the studs of the Chevrolet script to hold them in place on the speaker grille.
 15. The devil is in the details and by using Danchuk-supplied screws we had the proper size chrome screws to hold the chrome bezel to the dashboard.
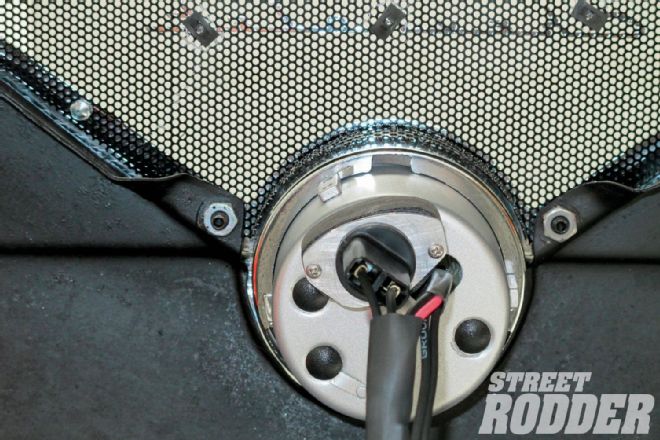
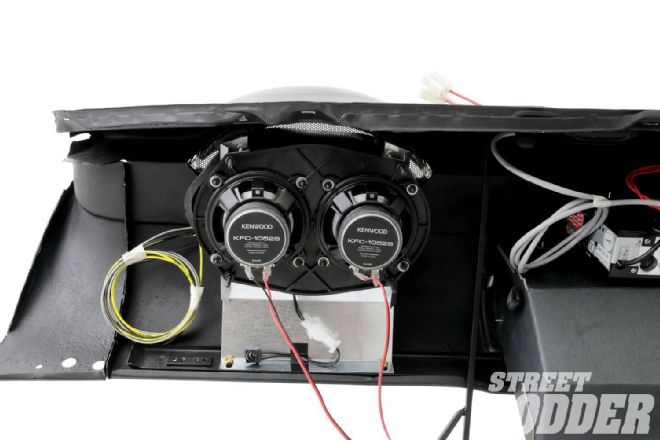 16. This speaker kit enabled us to place some serious sound behind the stock speaker grille. The twin Kenwood speakers from Custom Autosound will have enough power to fill the front seats with music.
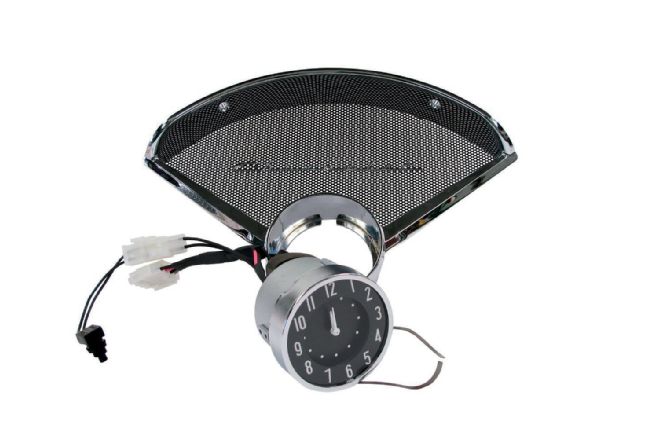
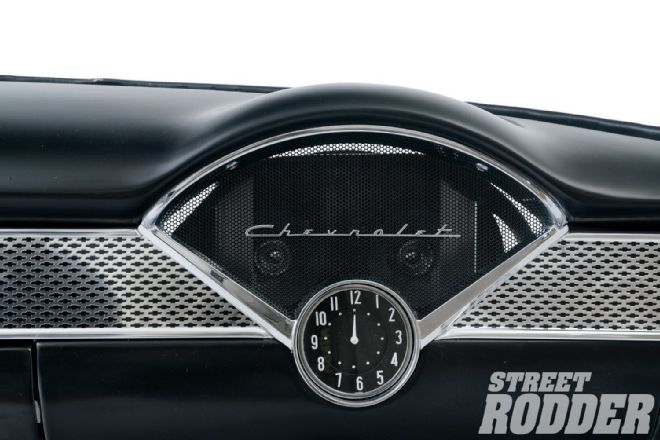 17. An original size and appearing clock looks great and we are really pleased with the look of the dash. Note we said “appearing”, as it is a Classic Instruments modern version of the original clock. Everything in sight is black, white, or chrome.
 18. The Classic Instruments clock and the associated light are all pre-wired into an American Autowire plug-in harness, keeping things ultra-clean and simple.
 19. Danchuk also came to the rescue when it was time to repair the glovebox. Not only did they have the glovebox but brand-new locks.
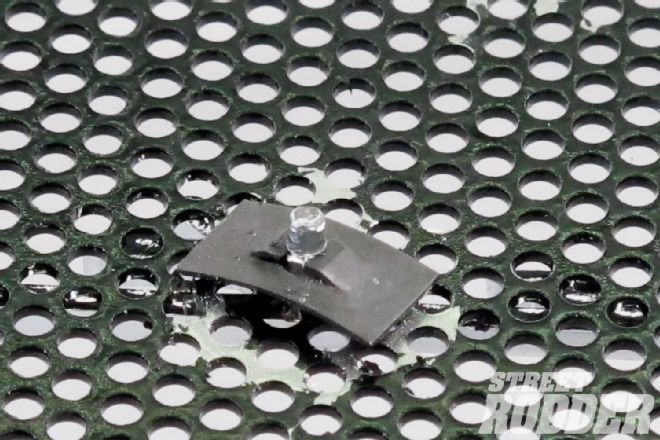
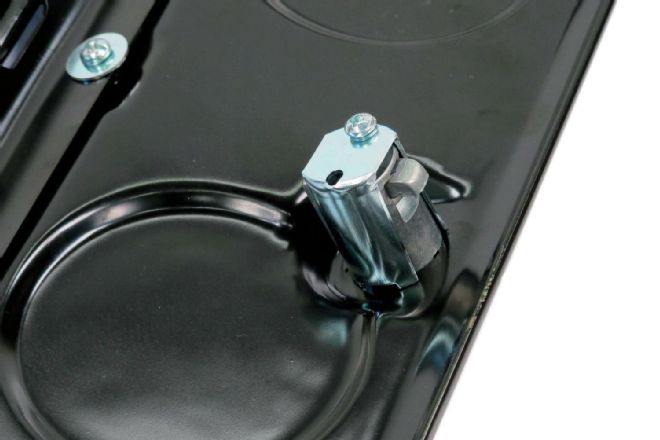
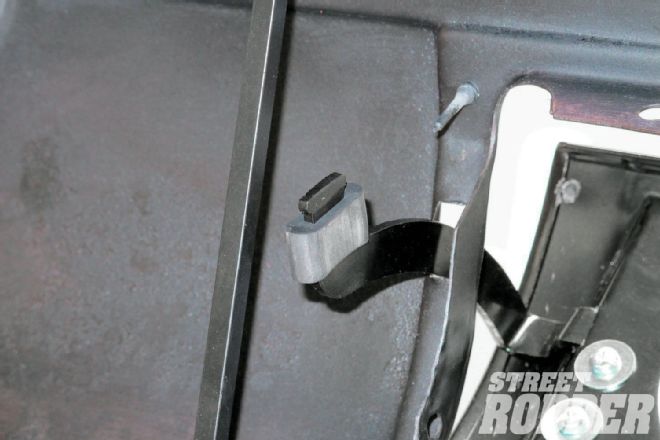 20. Talk about not-so-minor details, this Danchuk rubber stopper goes on the glovebox arm and provides the perfect stopping location. That way when the glovebox drops down it stops level so you and Betty Sue can sip your milkshakes on it at the drive-in.
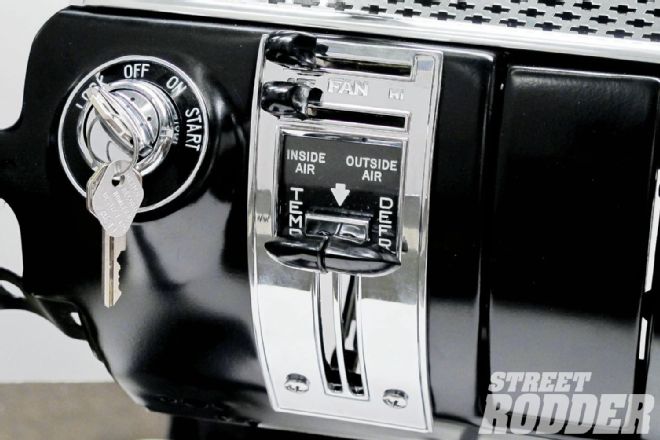
21. The Danchuk new ignition switch was a must and while there are no plans for A/C, we did ask Vintage Air to provide us with some heat for those brutal California winters!
20. Talk about not-so-minor details, this Danchuk rubber stopper goes on the glovebox arm and provides the perfect stopping location. That way when the glovebox drops down it stops level so you and Betty Sue can sip your milkshakes on it at the drive-in.
21. The Danchuk new ignition switch was a must and while there are no plans for A/C, we did ask Vintage Air to provide us with some heat for those brutal California winters!
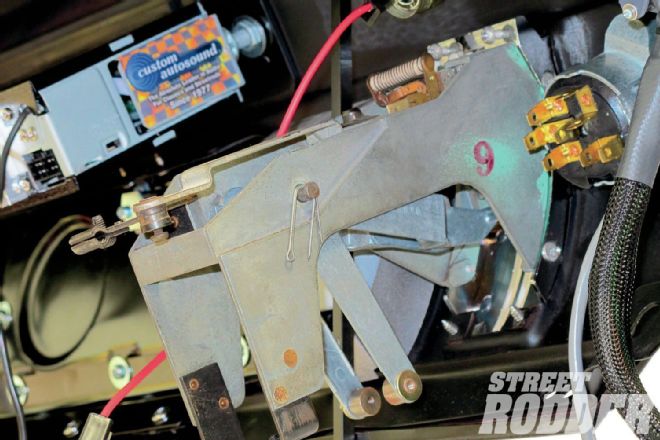 22. From behind you can see the heater controller is a fully functional unit that will control your fan speed, and divert air to the defrosters or the footwell, if desired.
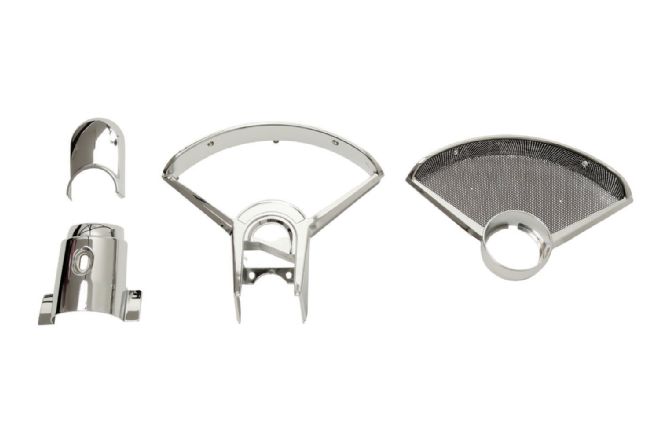 23. We have already installed the Custom Autosound speaker and Classic Instruments clock housing on the right, now it is time to install the Danchuk gauge cluster and steering column trim. Once again, notice the symmetry in the dash design.
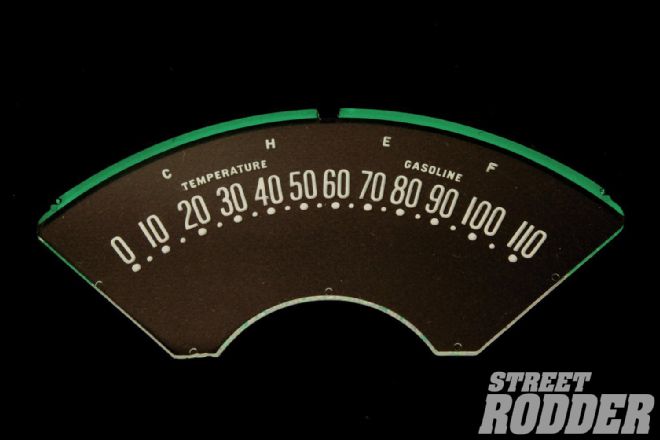 24. It doesn’t matter how nice your original dashboard may be, the Plexiglas face of the speedometer housing is always hazed and scratched. Once again Danchuk reproduces this piece for the Tri-Five Chevrolets.
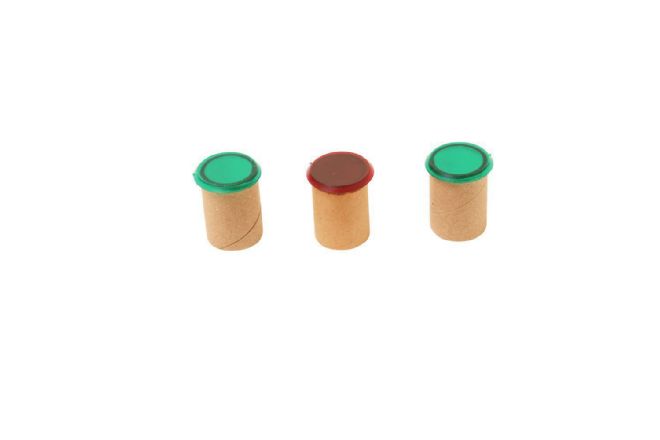 25. Turn signal indicators, high beam indicator, and “idiot light” lens are all available from Danchuk, too. Since we had Classic Instruments remanufacture our gauge cluster we didn’t need these pieces.