Despite their size, many ’50s vehicles have limited space for wider wheels, whether because of low wheel arches, making wide wheel removal difficult, strange chassis design (the 1958 Chevy comes to mind here), or just not making use of the available space, with inner wheelhouses placed several inches outside the chassis rails (F-100 truck anyone?). However, we doubt designers 60-odd years ago imagined people would be fitting tires wider than 6 inches or so.
That’s definitely not the case today, and if you want to fit wheels up to 13 inches wide on a Tri-Five Chevy, a combination of Classic Performance Products’ leaf spring relocation kit and Real Deal Steel’s wider wheel tubs will allow just that, offering 2-5/8 inches extra clearance each side of the car. The Real Deal Steel wheelwell tubs replace the majority of the stock wheelhouses; modification must be made to the inner panel brace structure, the trunk floor, as well as the upper and lower seat frames, as the tubs decrease the amount of space where the two seat halves mount. However, minimal trunk space is sacrificed. We followed along as the guys at CPP installed the new housings prior to relocating the leaf springs.
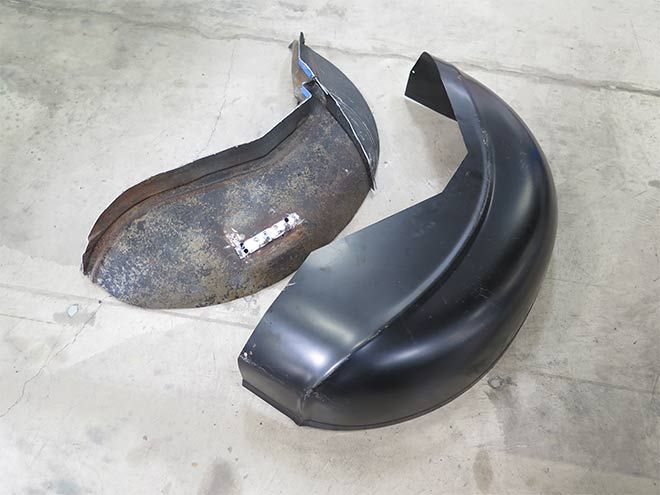
 Comparing the new wheel housing to the old, it’s obvious it’s wider than the original.
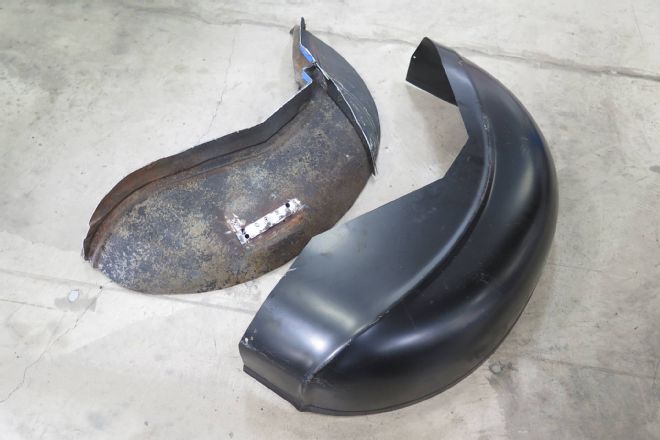
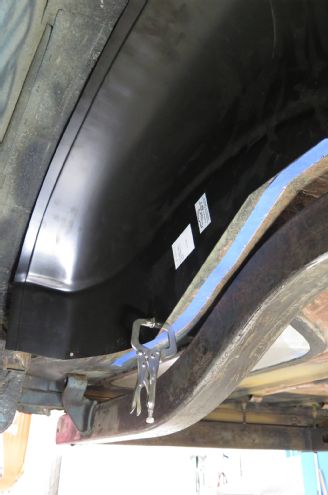
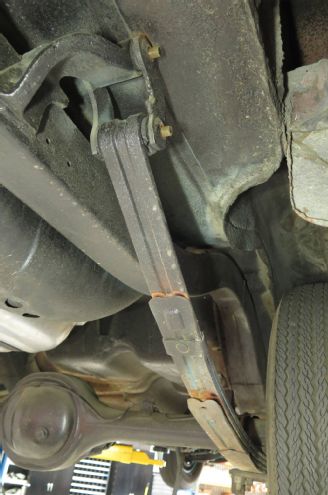 This shot of the stock leaf spring and wheelwell clearly shows how the springs mount outside the chassis rails.
 The first order of business was to remove the original rearend and springs.
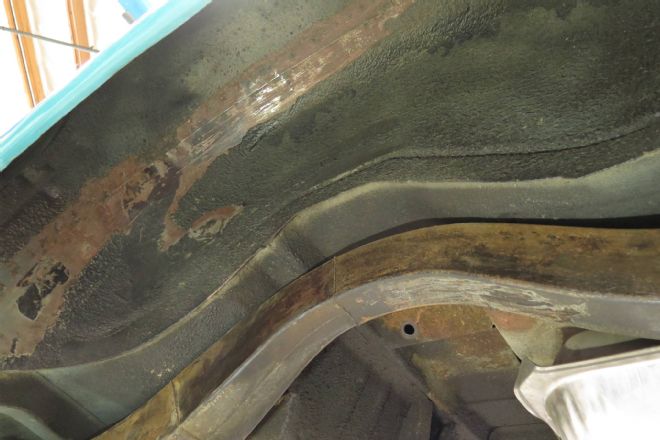 Installing the new wider housings will increase the usable space by moving the inner wall of the wheelhousing flush with the frame.
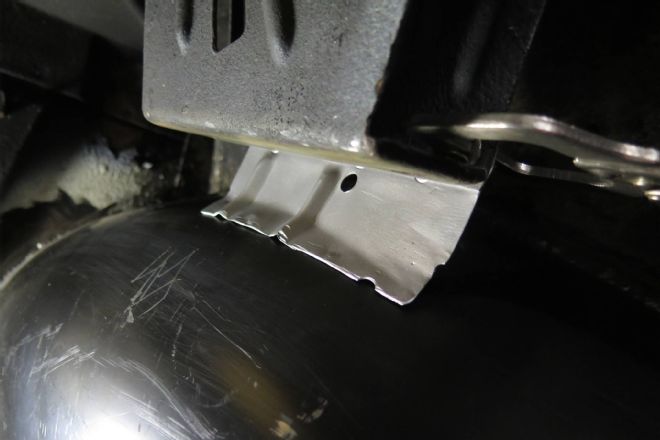
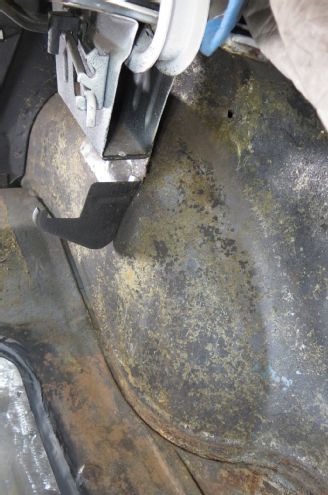 The stock inner wheelhousing will be removed, but the tulip panel/trunk hinge brace must also be modified to accept the wider housings.
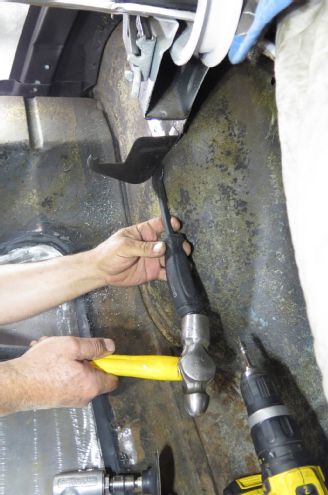 The spot-welds on the brace were drilled out at their lowest attachment points, a chisel used to free them. They can also be severed with a cut-off wheel directly above the spot-welds, the shortened brace welded onto the new housing once installed.
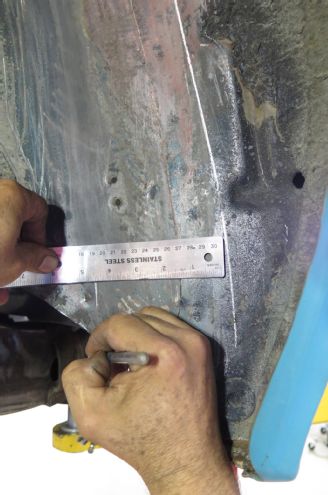
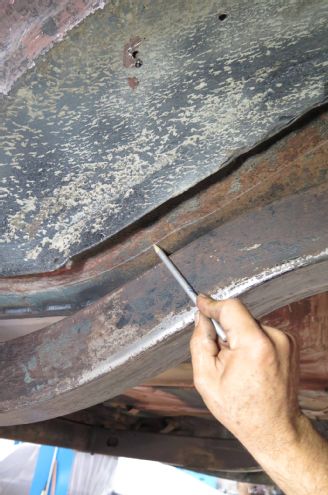 Using a light China marker, the outer edge of the framerail was transferred onto the sheetmetal above for a cutting reference point.
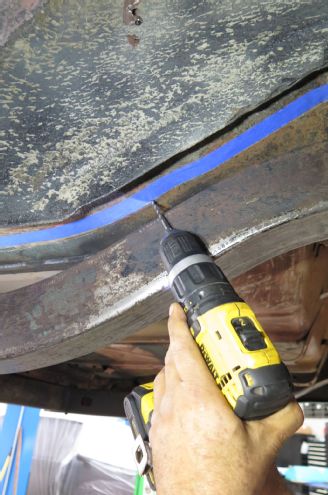 The line was then taped and a series of 1/8-inch holes drilled to transfer the cut reference line to the inside of the wheelwell.
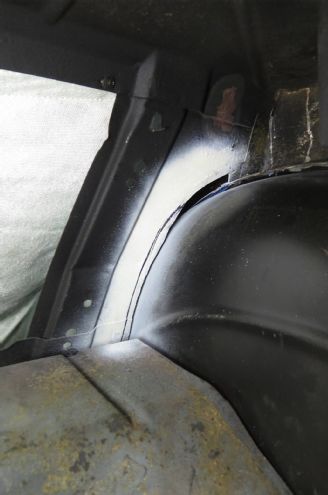
 The new wheel housing was mocked in place …
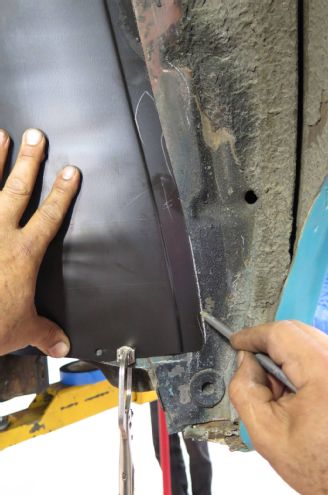 … and the outer profile, toward the fender lip, was transferred onto the original wheelwell.
 From there, a “rough” cut line was established, factoring in the added width of the new wheel housing minus the overlap.
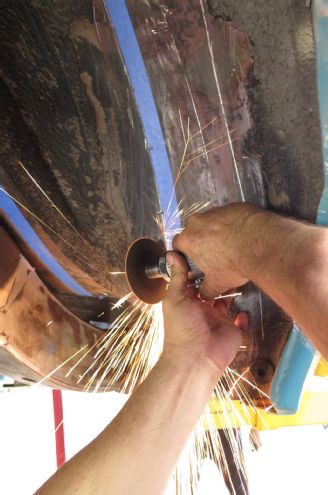 The cuts were started with a cut-off wheel …
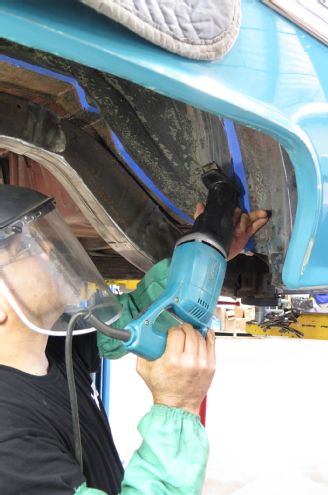 … then switching to a Sawzall.
 The same process was repeated on a line marked between the previously drilled holes on the trunk floor.
 In the rear seat brace area an air saw was used, owing to restricted access.
 The original inner wheelwell was then removed in one piece.
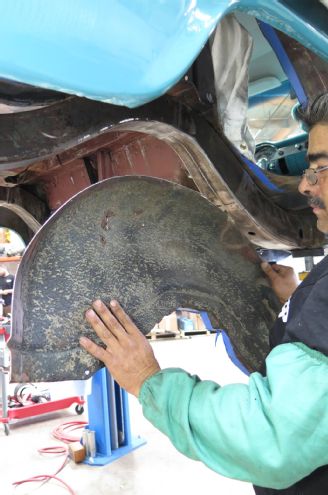
 Since the opening was cut undersize, the wider wheel housing was mocked in place to determine further trimming.
 The seat brace area was relieved to better match the curvature of the new panel …
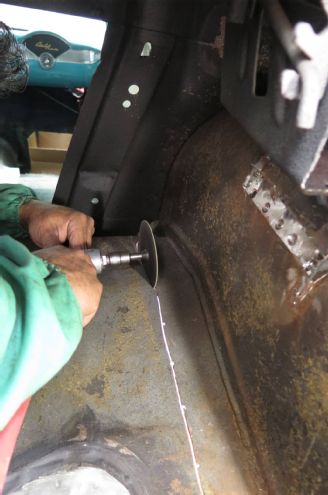
 … then dressed with a small air grinder.
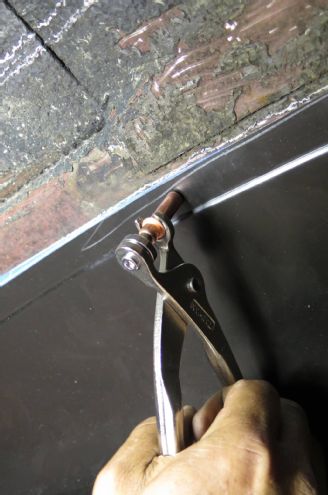 Once happy with the fit of the new panel, it was temporarily through the overlap attached using Cleco fasteners.
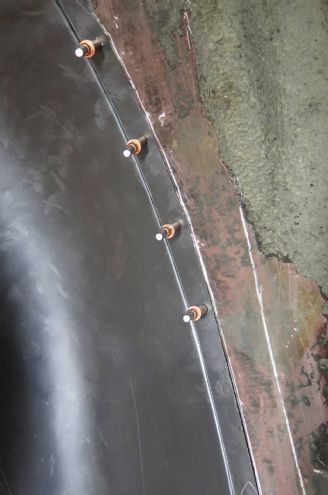 This process was repeated over the length of the new panel.
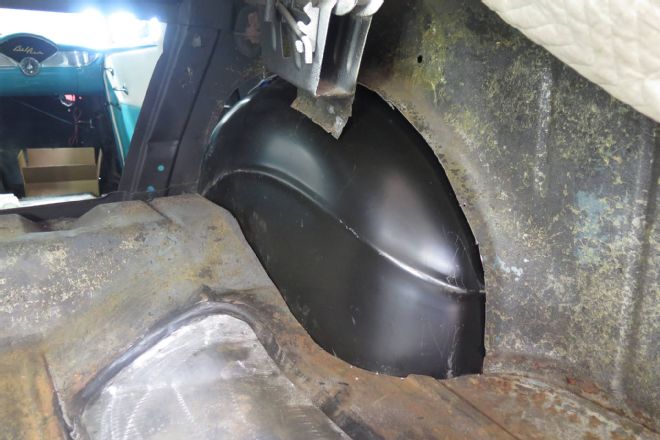
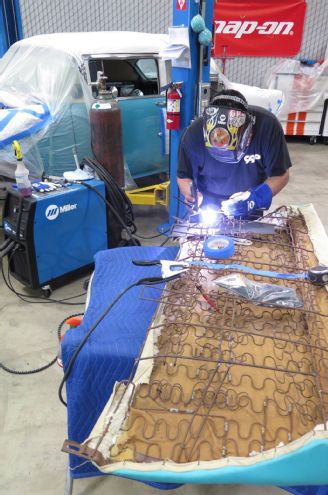
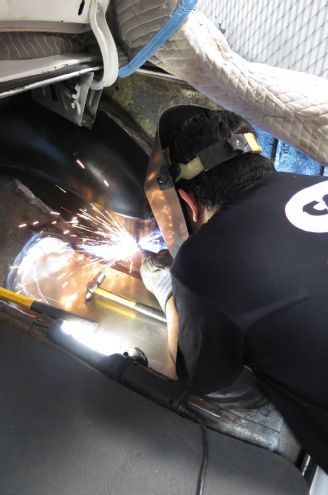 With the surrounding sheetmetal prepped, the housing was tack-welded in place. Its black coating is a weld-through primer.
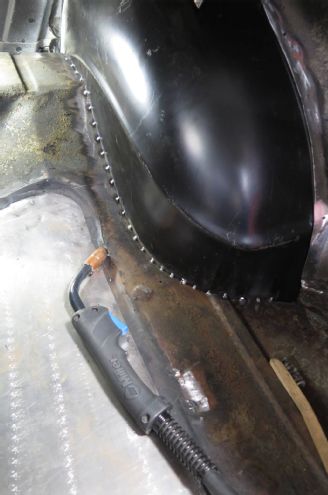 Tack welds at regular intervals would later be seam welded.
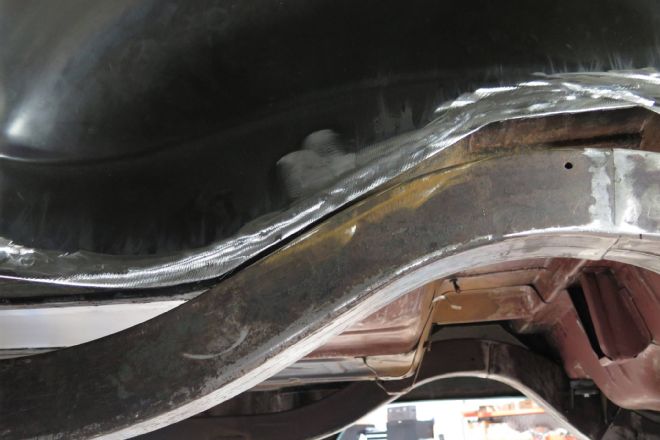 The lower edge of the new housing was shaped to match the contour of the framerail, then deburred.
 The trunk hinge brace, shown cut at the old spot-weld points, was recontoured to fit the shape of the new panel before being welded in place.
 Once the panel was finish welded all round and the Cleco holes welded shut, Eastwood seam sealer was applied over the joints. The masking tape makes for neat edges to the sealer once it is brushed on.
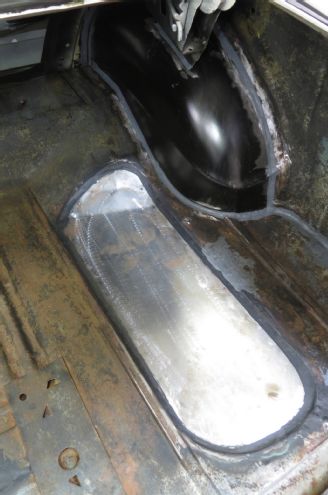 With all seams sealed and the surrounding sheetmetal prepped, the inside of the trunk was ready for paint.
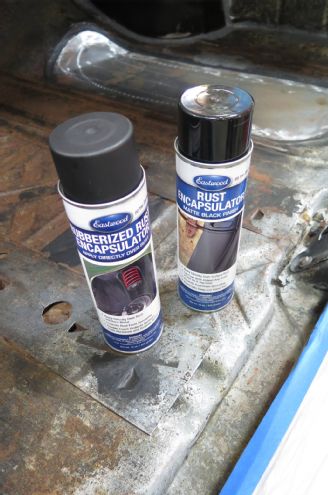 Eastwood Rust Encapsulator was used; the regular product used inside, and the rubberized version used on the underside, as it acts as an undercoating.
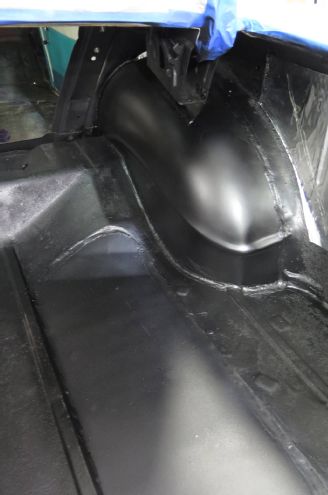 The Rust Encapsulator was applied to the wheelwells, floor, and inner quarter-panels.
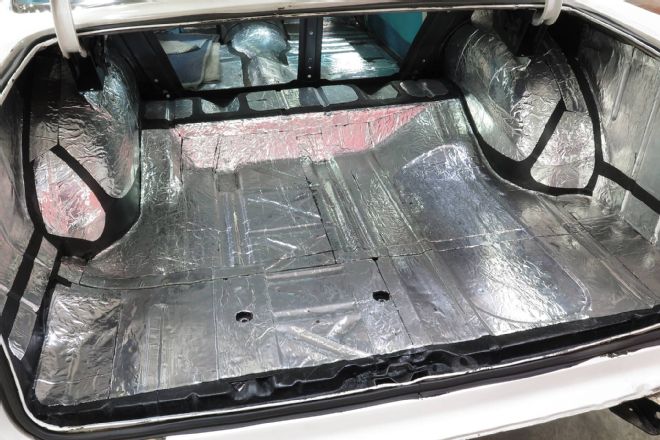 Hushmat was then installed on all trunk surfaces, as well as the underside of the trunklid itself.
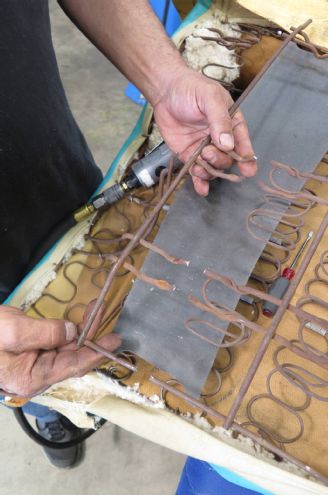 Lastly, the seat base and back frame structures need slight modification in order to fit the contours of the widened wheelwells.
 The seat mods can be done, if care is taken, without having to completely remove the upholstery and padding.