Perhaps you've heard about the benefits of sea salt over conventional table salt. You've seen various food products proudly declaring that they are made with sea salt implying that it's better for you than that other stuff. Well, that may be true for us humans but most definitely not for classic Mopar sheetmetal.
The owner of this 1970 Dodge Challenger thought he was buying a "desert car" from Nevada that had never seen a winter and therefore had never been exposed to road salt. The car had been "restored" once and looked fabulous, so it was believed to be a really solid car to take to Muscle Car Restorations in Chippewa Falls, Wisconsin, for John Balow and his expert crew to return to original factory condition.
Imagine everyone's surprise when chemical stripping revealed extensive rust in not-so-common places. For the most part, this Challenger rusted from the top down instead of from the bottom up, leading the guys at MCR to conclude that this must have been a coastal car, meaning it spent a lot of time near the ocean.
Fortunately, Auto Metal Direct has the needed parts to perform what we used to think of as more obscure repairs, like the rear package shelf and the filler panel between it and the decklid. Rust around the rear window opening is not uncommon but the damage here went way beyond that. Extensive rust repair is routine work for the crew at MCR and we'll show you some of their tips that will save you time and frustration while helping you get it right the first time.
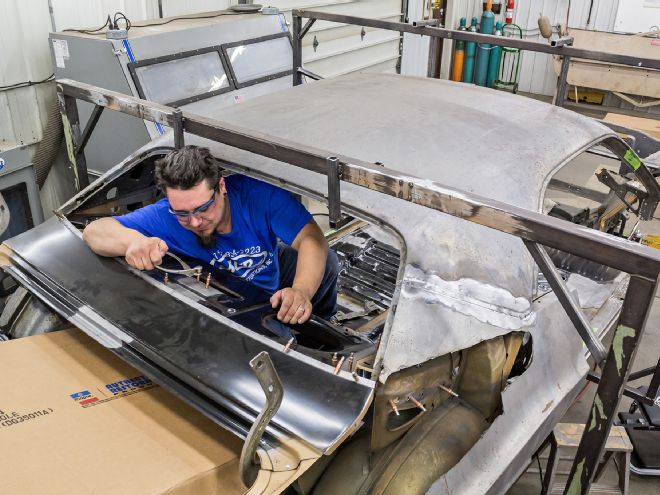
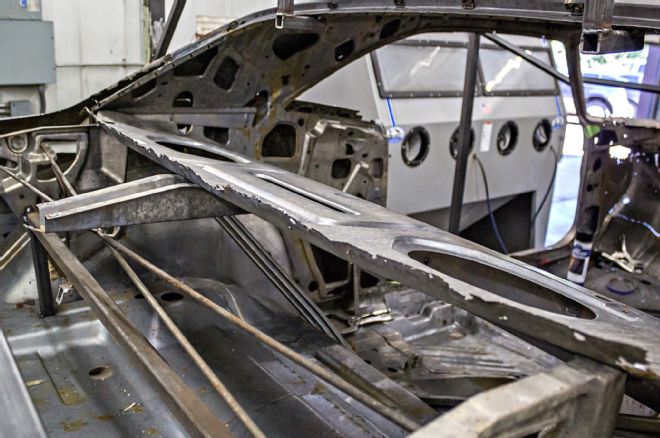
Ideally, this work would be done on a frame rack, but what's most important is that you can build the bracing structure around the car to hold everything in place as the various parts are replaced. Remember that these are unibody cars and that every part removed affects the structural integrity of every other part around it, and since single pieces are rarely replaced in isolation, adequate bracing is critical to be sure that exact reference points are maintained around the parts being replaced.
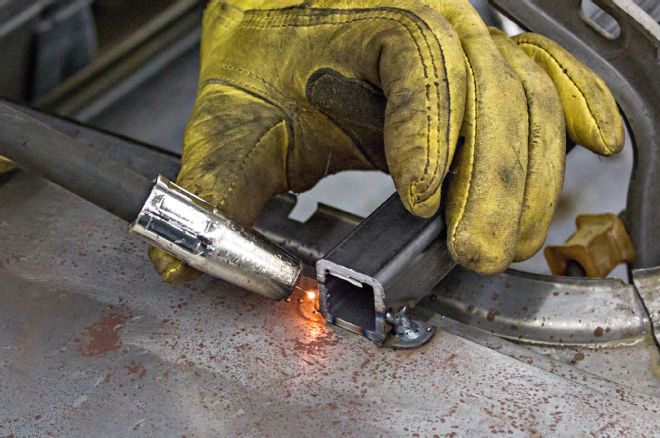
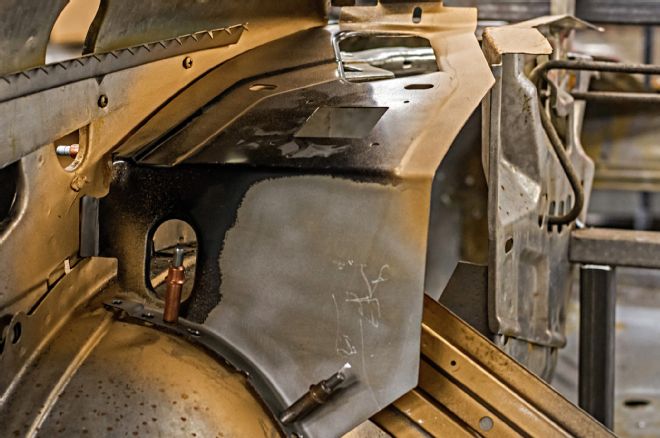
1. Before any metal is removed, tube steel braces are welded to the surrounding structure, in this case across the back of the trunk opening. Bracing was also attached to the top of the rear window opening. Original sheetmetal must not be allowed to move during the entire repair process.
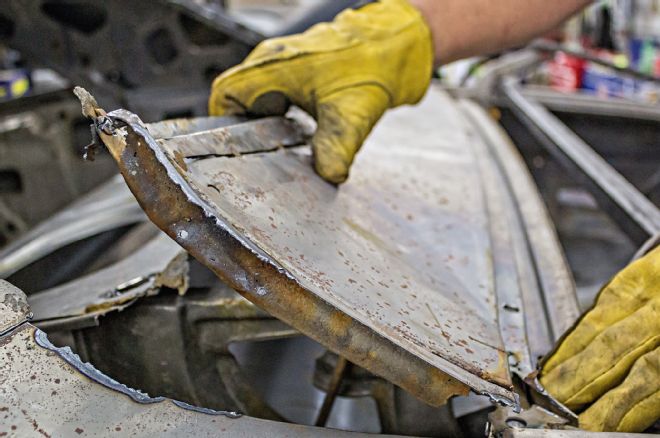
2. Sometime in the past, handmade patches were used to repair the top couple inches of this filler panel. The work is very crude but somehow the body filler didn't crack and the window didn't leak. Likely, replacement parts weren't available at that time so there was no other option. Fortunately, these types of replacement parts can now be ordered directly from AMD
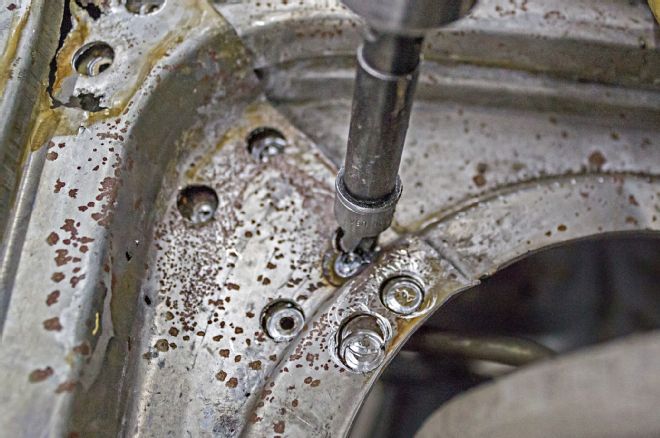
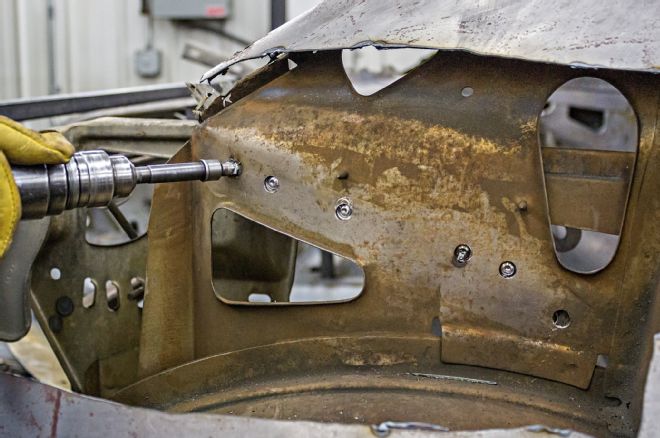
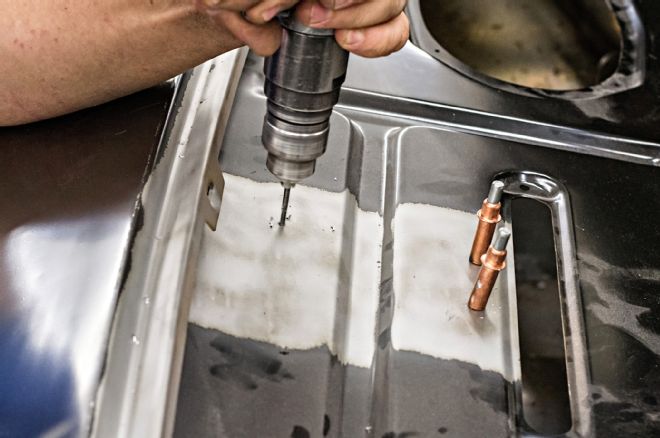
3. The tools that MCR uses for removing the factory spot welds are a Century 1/8-inch double-ended drill bit and a 3/8-inch Blair plug cutter. The bit is used to make a shallow mark in the center of the spot weld to provide a guide for the point of the plug cutter.
4. Since the quarters will also be replaced, it was easier to cut the quarter just outboard of the filler panel to remove it. Accessing the spot welds between the quarter and the panel, if the quarter was to be saved, could be done by cutting an access hole in the filler panel just inboard of the quarter.
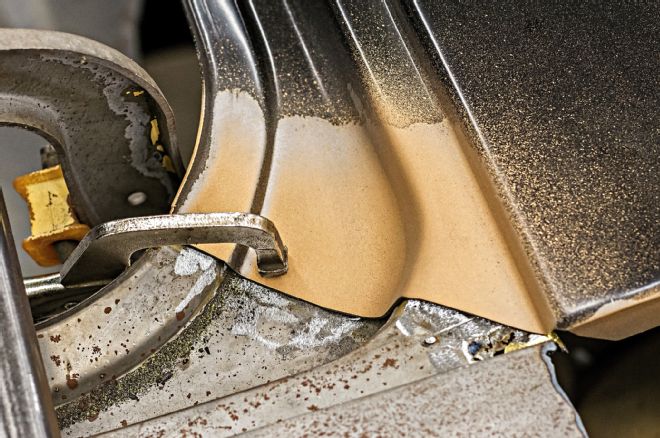
5. With the filler panel removed, the rusted edge of the package tray can be clearly seen. The previous repair was simply folded right over the top of this. Note the support brace that connects between the two parts. There are a few spot welds that need to be drilled out to release the panel from this.
6. The easiest way to reach the spot welds to remove the package tray is to remove a section of the quarter to gain access to them from the outboard side.
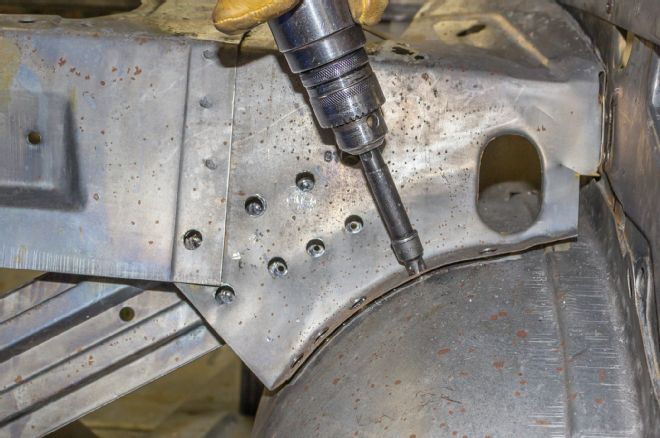
7. Inside the car, there are a number of spot welds that will need to be drilled to release the tray from the inner wheeltub and the rear seat support brace.
8. The package tray is in three parts. The small end units will need to be attached first. Start by clamping the parts in place and making whatever adjustments are needed achieve proper alignment.
9. MCR likes to use Cleco pins to temporarily hold parts in place until all the related components can be fitted. 1/8-inch self tapping sheetmetal screws can also be used.
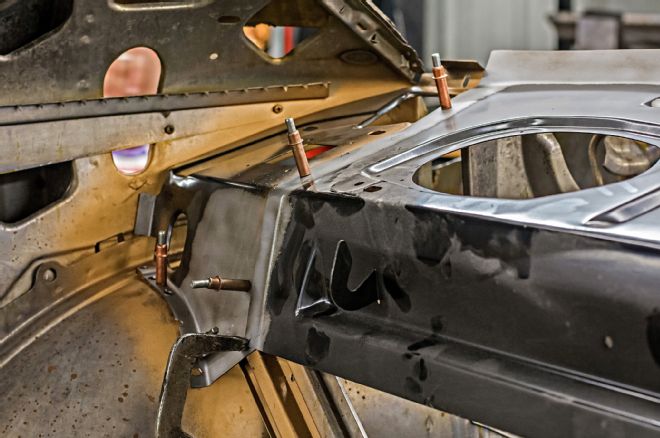
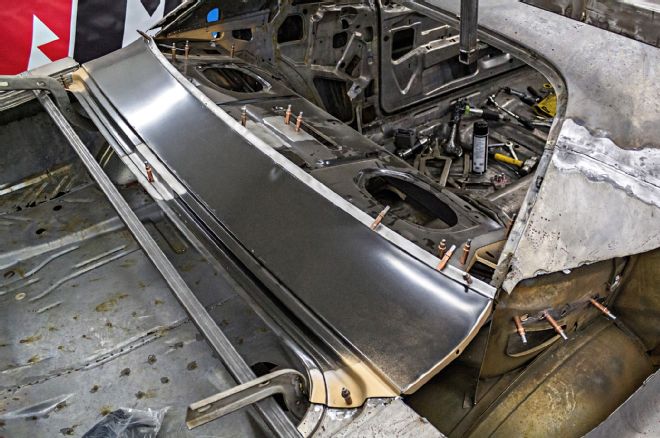
10. More Cleco pins and clamps are used to hold the main section of the package tray in place until the filler panel can be fitted. Nothing is welded until it can be confirmed that everything fits perfectly.
11. Here you can see how the package tray is held in place before the filler panel is fitted.
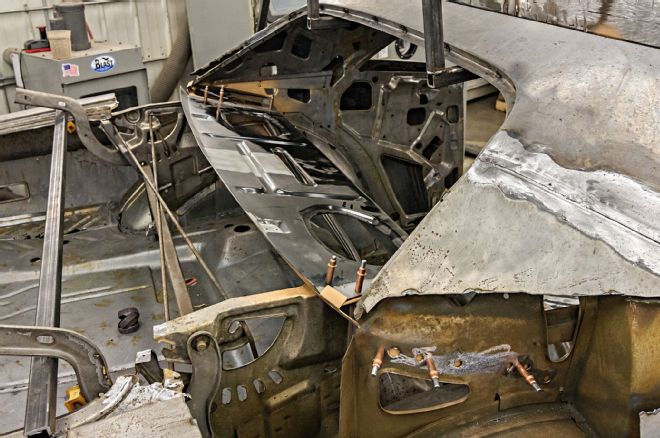
12. The filler panel needs to be fit very precisely since it touches the quarter, the trunk opening, and the decklid. This is why it is so important that the proper bracing be attached first so that none of the original parts can move while the work is being done.
13. AMD parts fit very well so you might be tempted to start welding everything together at this point, but MCR will wait until they can test-fit the decklid and both quarters to be absolutely sure that everything fits perfectly. If the parts are welded in place, then making even minor adjustments can be extremely difficult. Until then, everything will be held together with Cleco pins or sheetmetal screws.
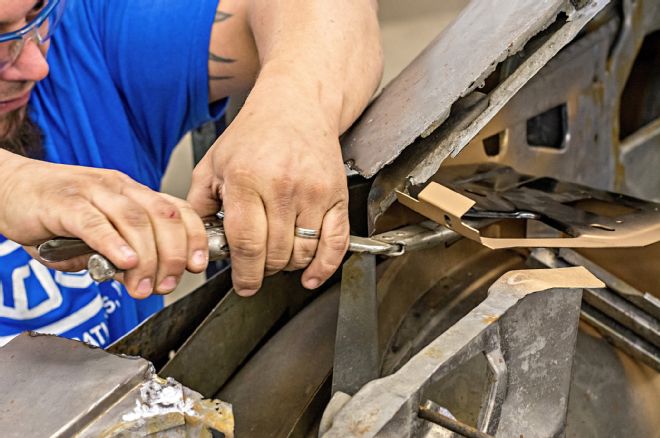
14. Use the old parts for a reference to place the filler panel/package tray support brace. It too will be held with Cleco pins and/or screws.

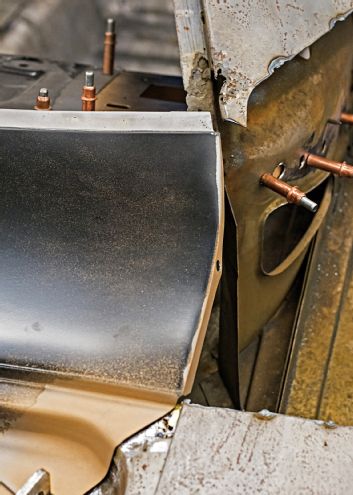
15. The seam between the filler panel and the package tray is very difficult to spot weld so plug welds are an acceptable option. Use pins or screws to draw the parts tight together on either side of each weld location. Do not allow even the smallest of gaps between the panels as they are welded.
16. While the package tray itself could probably be welded in place at this point, the filler panel will definitely wait until the quarters are installed and the trunklid is test-fitted to be certain everything fits perfectly.