Streamlining equals free horsepower and a tonneau cover over an open cockpit cleans up a lot of wind resistance, so it was on our "to-do" list for our turbocharged 2.0L Zetec-powered land speed race car. Now, we appreciate not many of you will need to fabricate a tonneau, but the same processes can be employed for numerous other panels.
We used 3003 aluminum sheet throughout for its workability, but there are no compound curves (well, OK, one small one) and almost all the fabrication was done using a slip roller, finger brake, shrinker/stretcher, and hammers and dollies. Even the curved sections that wrap around the rollcage were formed with nothing more exotic than a length of tubing matching the rollcage diameter, a vise, and bending an over-long piece of aluminum around the tubing, then trimming to length.
Not having a fully equipped fabrication shop shouldn't stop you having a go, you just have to think outside the box and use what you have to achieve the same results.
1 To form the large section over the passenger side of the car, we started with a 2x4-foot sheet of 16-gauge 3003 aluminum and roughed in the desired shape using a slip roller and brake.
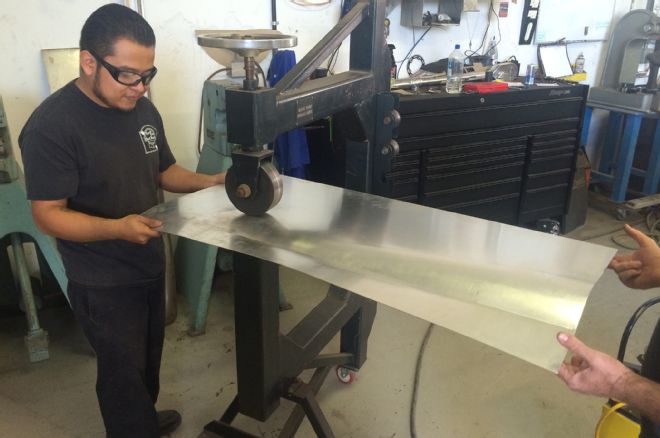
2 While at Circle City Hot Rods on other magazine business, employee Omar helped us straighten out the rear of the panel using an English Wheel. While curved to follow the cowl hoop at the front, the panel had to be flat at the rear, but the two previous operations had unavoidably buckled the aluminum badly in this area.
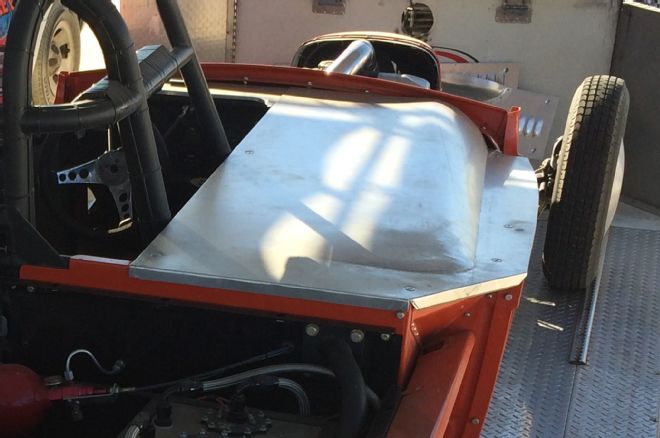
3 This explains the previous comment, and shows the panel better, but not finished, and attached to the car. Plenty of time with a planishing hammer and dollies saw the aluminum finished well enough for etch primer and primer filler, as we don't like using body filler on aluminum.
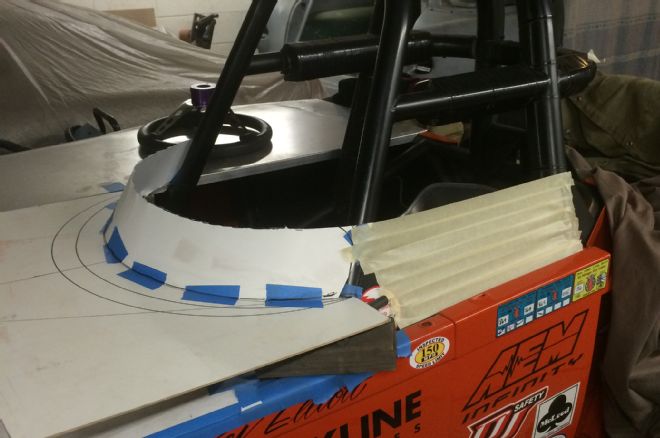
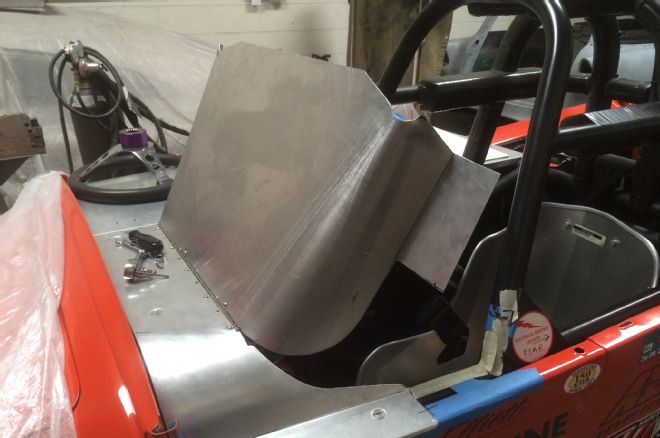
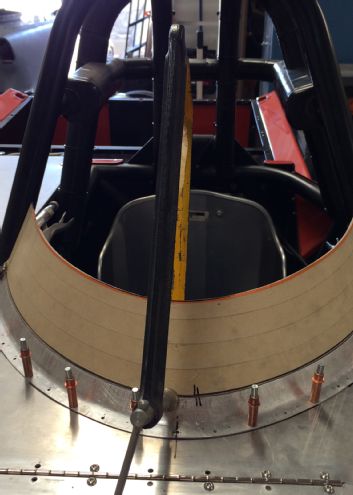
4 Using Masonite, we made templates for the driver side of the tonneau and the windshield. While this section will hinge forward for access, we still needed to be able to exit the car with the windshield in place so settled on a design with more curvature than shown here. We also decided to extend the tonneau partway of the cage, as depicted by the masking tape.
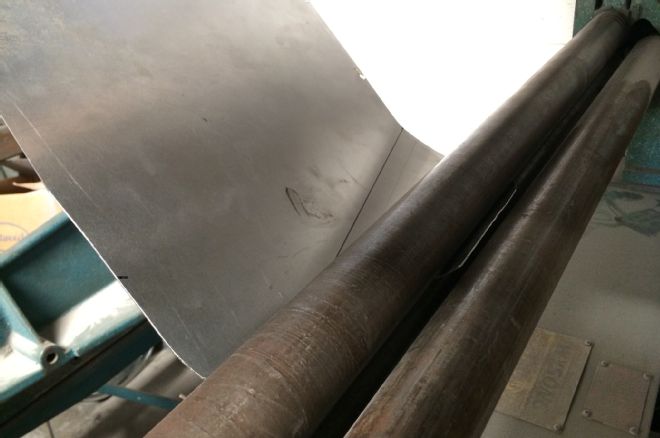
5 Again using the slip roller, we formed a curve in the aluminum. Keeping the piece stationary at the end nearest the camera, and "rotating" it through the slip roll (to the Sharpie line) provided a large diameter curve at the far end, with a small diameter at the other end.
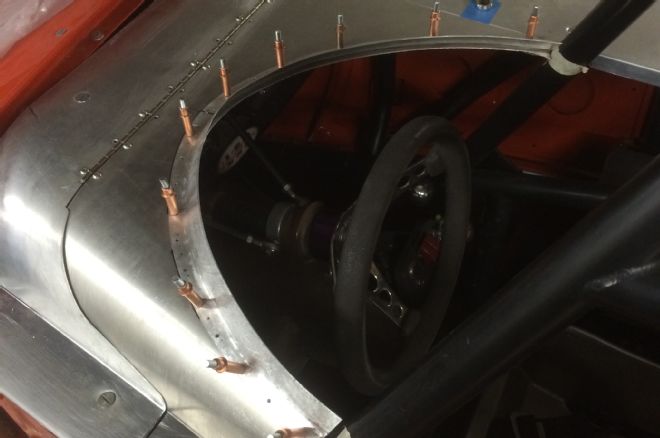
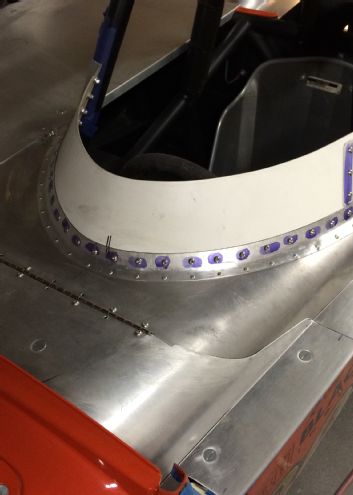
6 The resulting curve fits tightly at the rollcage, tapering to a larger curve as it moves through the forward section and matches the cowl hoop curvature.
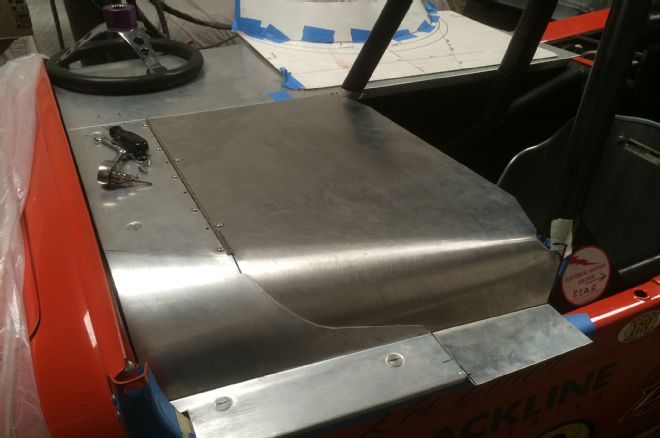
7 A stainless steel hinge from the local hardware store allows the rearmost section to hinge forward, tucking underneath the forward section as it is lowered.
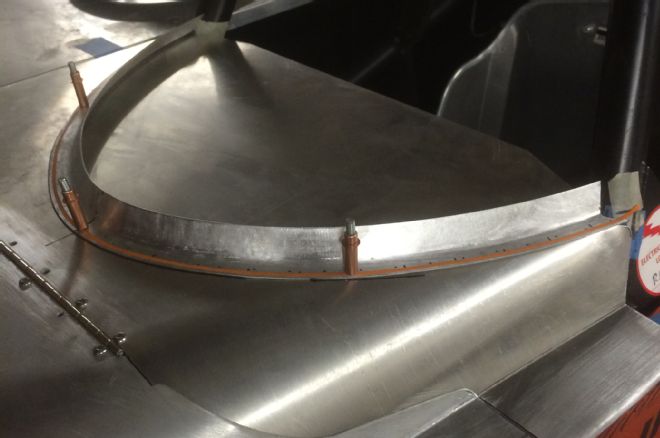
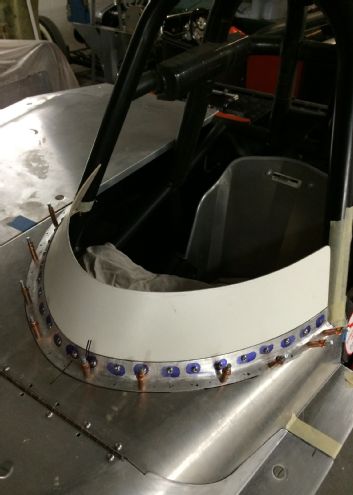
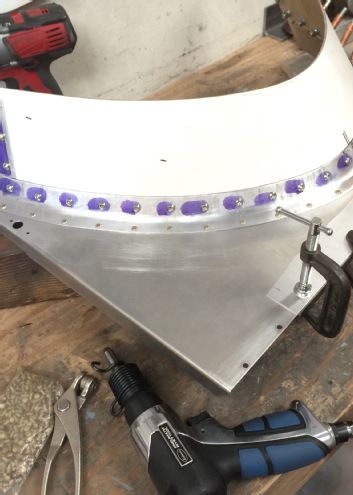
8 We used a brake to bend a 1x3/4-inch length of angle at 70 degrees, then used a shrinker on the upper section and a stretcher on the part that will rivet to the tonneau, to form the curved windshield support. Clecos hold it in place.
9 With all mounting holes drilled and Clecos every few inches, the tonneau was trimmed.
10 More Masonite was used as a template for the windshield. Note it doesn't match the angle of the cage at the rear.
11 We drilled and bolted the template to the support to ensure it fit all the way around, as the template would be used to form the Plexiglas version.
12 & 13 We then fabricated these small pieces to prevent the windshield folding in at the rear at speed, and again bolted them to the template.
14 The completed template. We made one final test to check we could exit the car with it in place at this point.
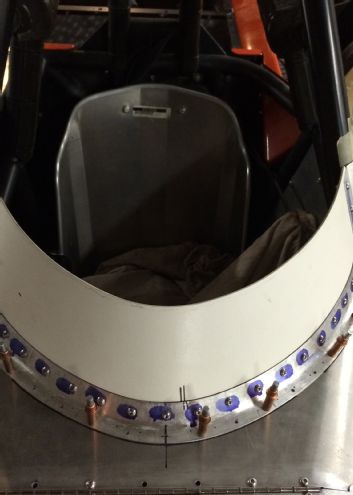
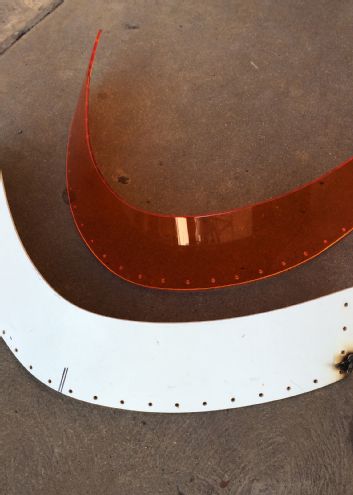
15 We used Eastwood's Solid Rivet Kit to replace the Clecos. Note we clamped a length of 1/2-inch-thick steel under the front of the panel, to keep it from buckling during the riveting process, with aluminum protecting the upper surface from the clamps.
16 The finished panel, with just the vertical pieces to be welded to the windshield support before it's ready for paint.
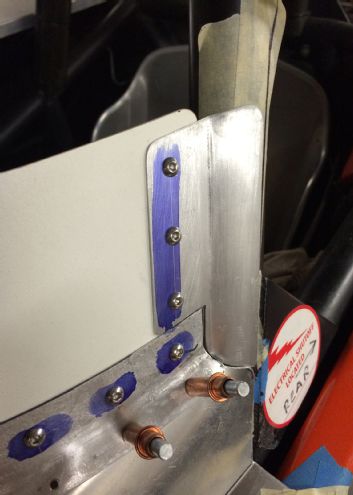
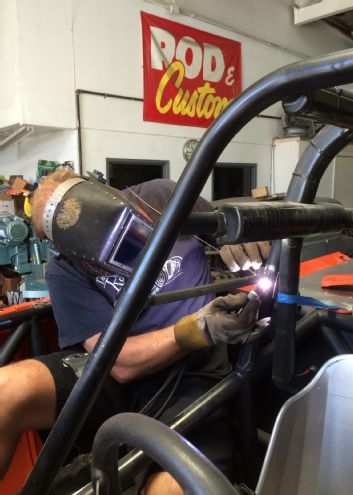
17 The extensions that mount to the cage required a couple of small-diameter tubes be added for them to mount to. Jimmy White at Circle City Hot Rods welded these in for us, as he'd welded the entire cage originally. While we can TIG weld, White is a master at welding around tubing, producing beautiful welds seemingly effortlessly.

18 With the rollcage repainted and padding re-installed the panels could be installed. We used nut inserts in the top edge of the body to retain the extension panels.
19 A local Plexiglas display company formed the windshield using our pattern.
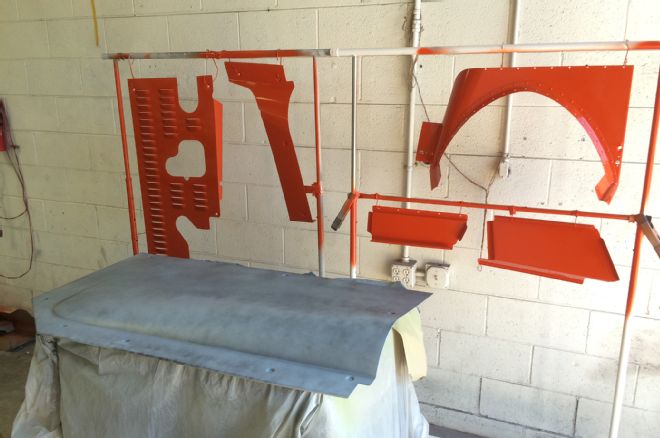
20 Looking like a life-size model kit prior to snapping the parts off, we used a couple of clothes rails to hold all the pieces, as well as a hood side panel we'd yet to paint. That color is Eastwood's Grabbin' Orange.
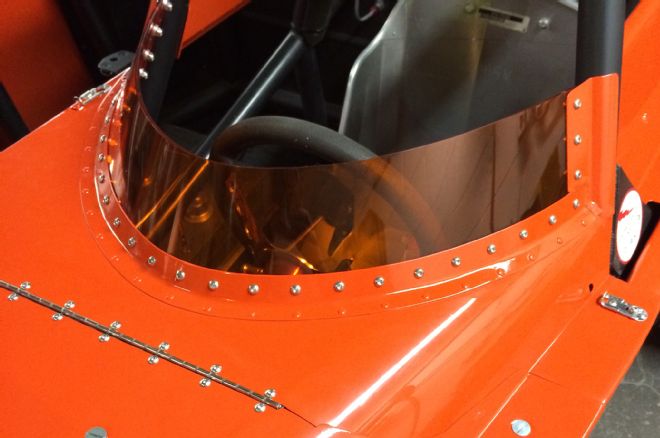
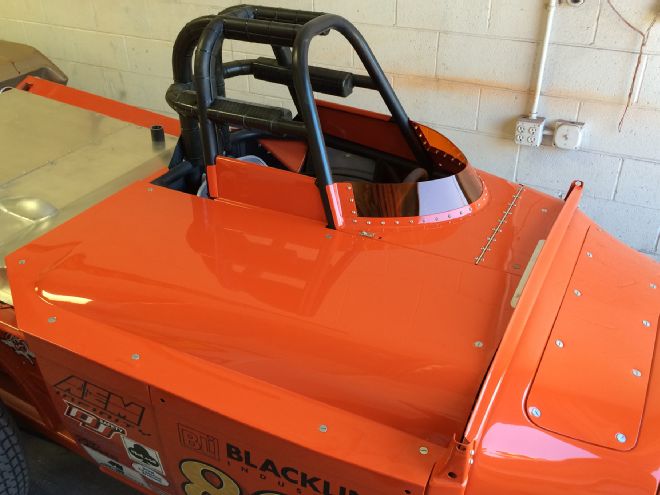
21 Stainless 10-32 button-head fasteners were used throughout. We're pleased we opted for orange Plexiglas!
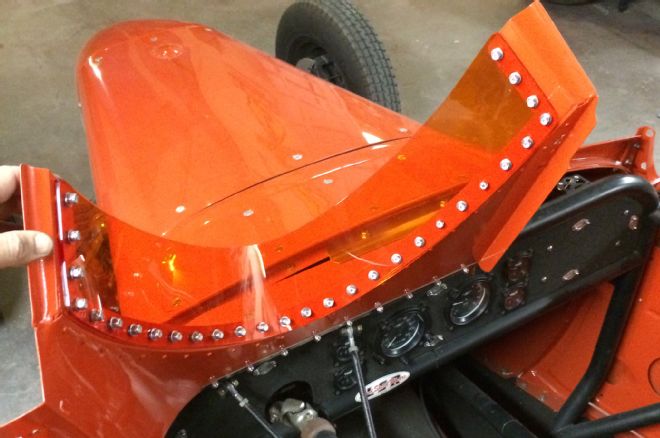
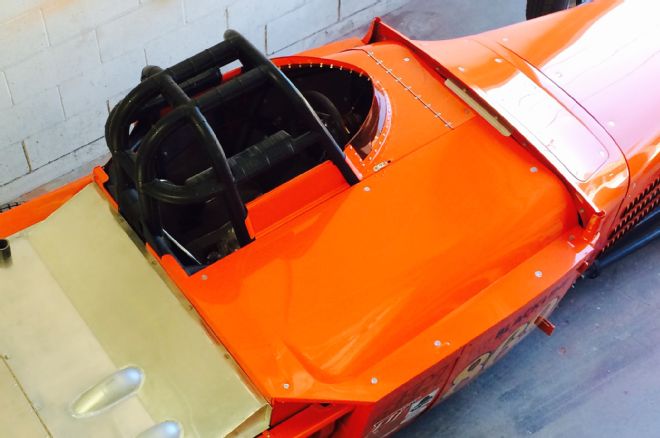
22 With this section hinged forward, entry is as easy as it was prior to making the tonneau. The steering wheel is on a quick-release hub from Speedway Motors.
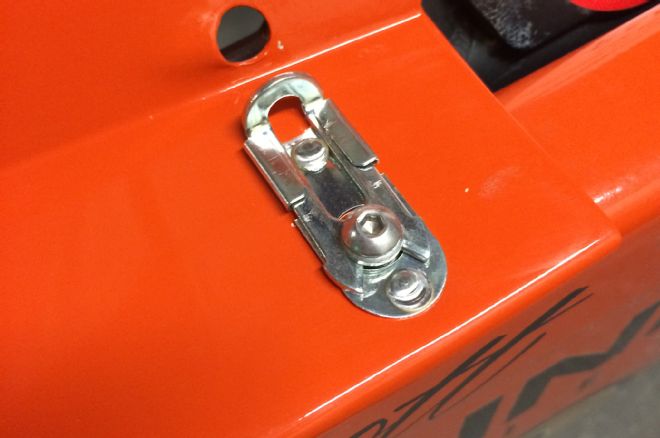
23 We found these fasteners online. While wanting the cockpit cover latches to be inside the car, we figured it made sense for a fire or rescue crew to easily be able to release the panel from the outside. We'll add cables to allow us to release the latches through the small holes in the tonneau.
24 We're pleased with the result, and hopefully it'll provide a little free horsepower thanks to a somewhat streamlined body.