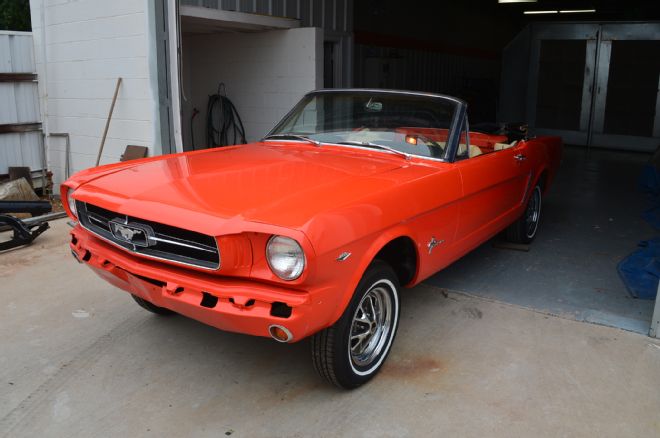
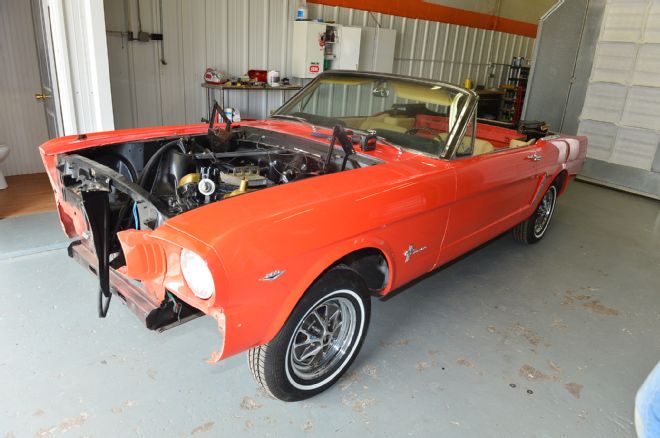
Some time ago we bought a 1965 Poppy Red convertible that had just been painted, it only need to be reassembled. No problem, right? Well, the 1965 passed from shop to shop for six years for various work, and during the process it acquired several chips in the paint. Eventually the car wound up at Jason White Restorations in Hereford, Texas, where owner Jason White told us our fenders and doors are out of alignment.
The story gets even better from there; as Jason removed the front end of the car, we were both shocked to see a wood screw come out of a headlight bucket, and inside one fender we found a patch of Scotch-Brite backing up a bolt; another example of the shade tree engineering the car had been subjected to. In fact, all of the factory nuts and bolts were gone. We called our buddy Randy at Dallas Mustang Parts and told him what we had on our hands, and he just laughed saying, “People try to scrimp by on nuts and bolts and clips all the time.” DMP sells factory fastener sets so we ordered up a complete set knowing that we were bound to find plenty more missing or incorrect hardware the deeper into the project we got.
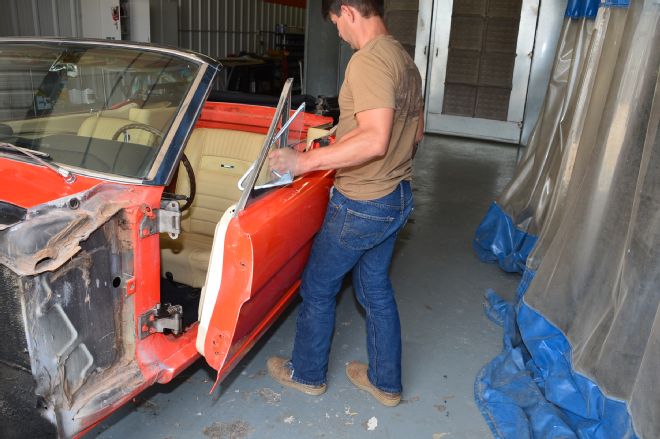
With the proper fasteners in hand, we had White show us how to properly line up the doors and fenders. It’s not that difficult of a task, it just takes patience and time.
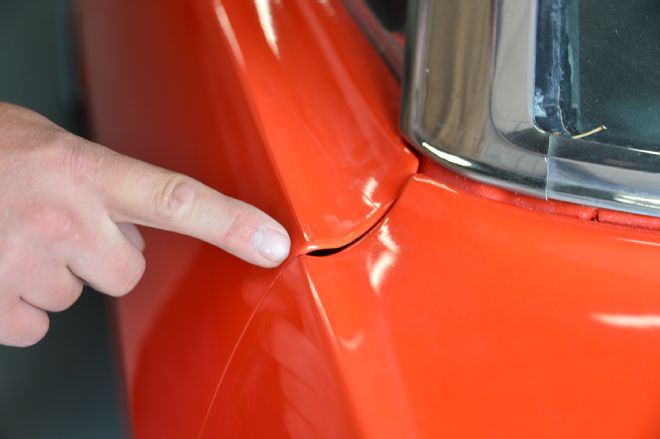
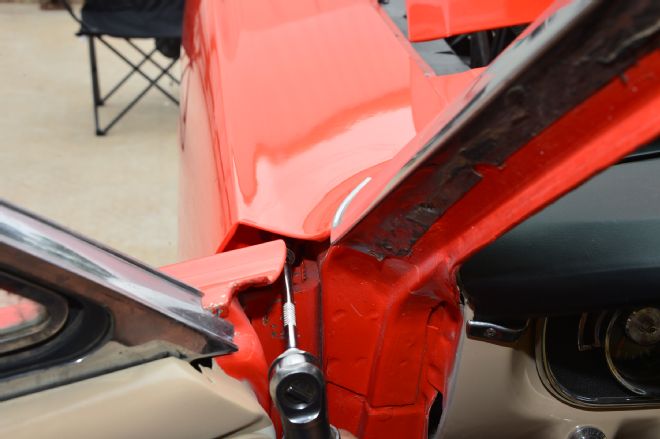
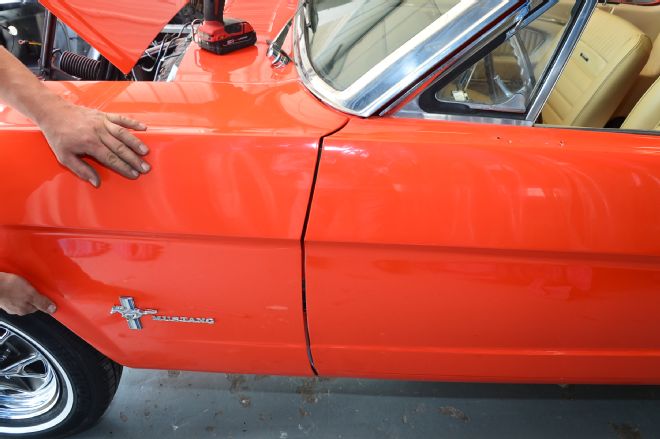
01 -02. This Poppy Red convertible looked sharp from a distance, but up close there were many chips, like this one at the edge of the door. It was caused by the door gap being too tight.
03. Look how far out of alignment the passenger side door is to the fender.
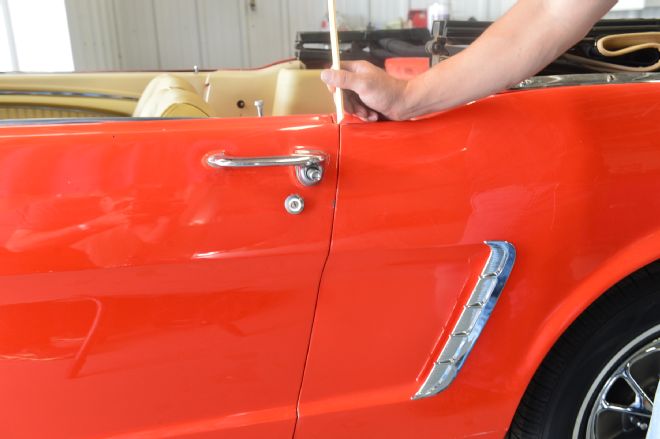
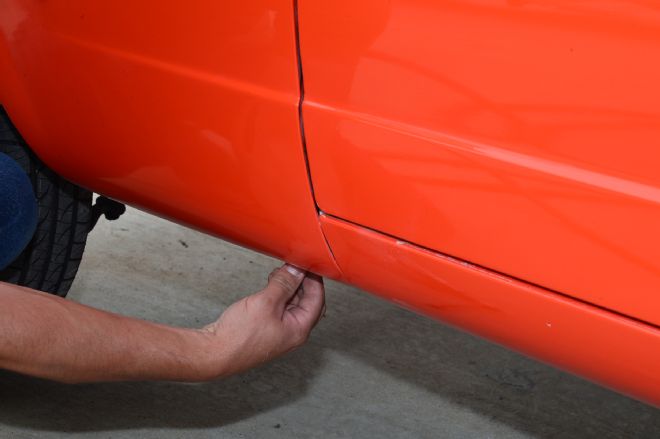
04. This paint stick (about ⅛-inch thick) would not fit, indicating the gap between the door and rear quarter was too narrow, causing chipping. You can use a paint stick like a ⅛-inch feeler gauge for fit to set your adjustment. Convertibles, White says, need a little more than a ⅛-inch gap due to more body flex.
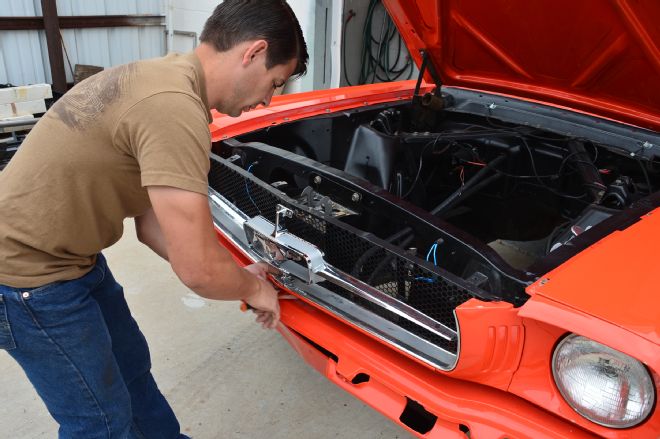
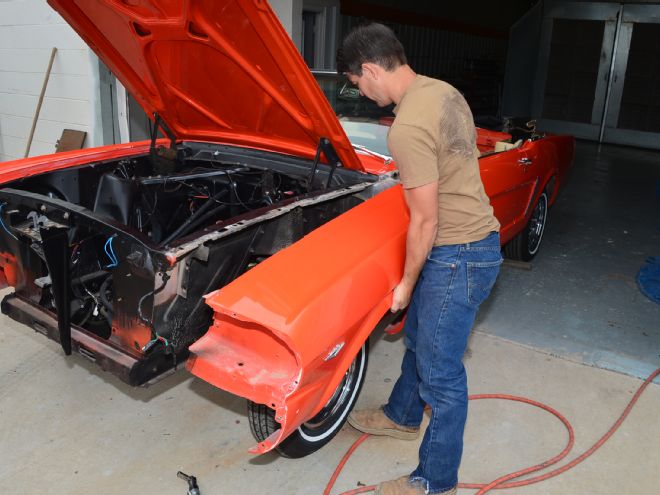
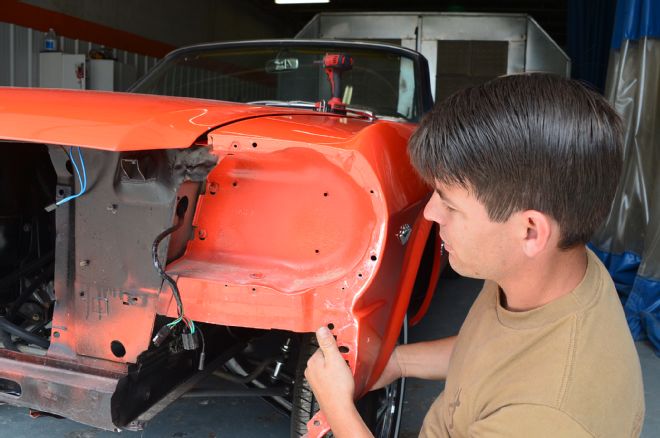
05. White began by removing the grille and frontend sheetmetal.
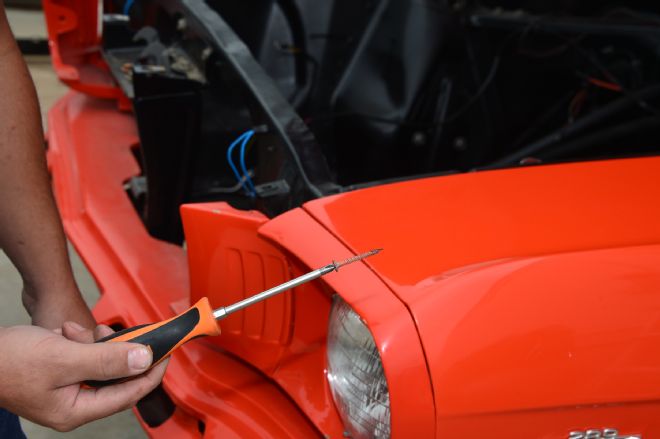
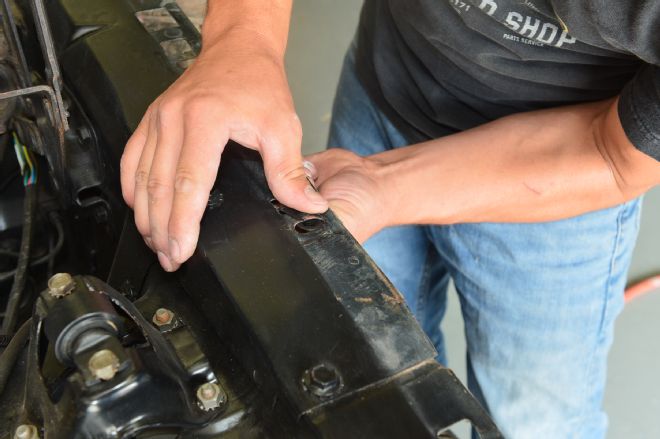
06. White found a wood screw in the headlight bucket, a sign of backyard engineering.
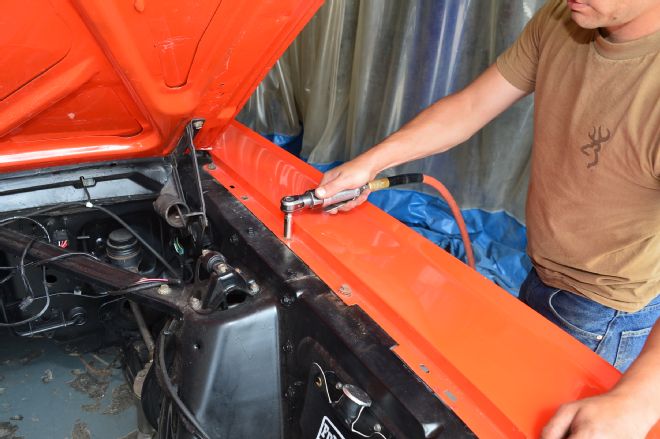
07. White removed the bolts running along the fender apron from the headlight bucket to the cowl.
08. There are also two bolts found behind the headlight bucket in the front of each fender.
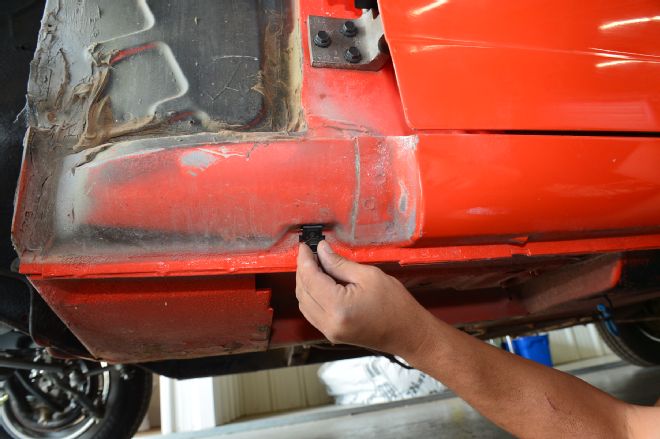
09. You’ll need an extension to get to one bolt inside the fender.
10. There’s also a bolt on the bottom of the fender at the rear near the door hinges. If your Mustang has rocker moldings they’ll need to be removed as well to allow removal of the fenders.
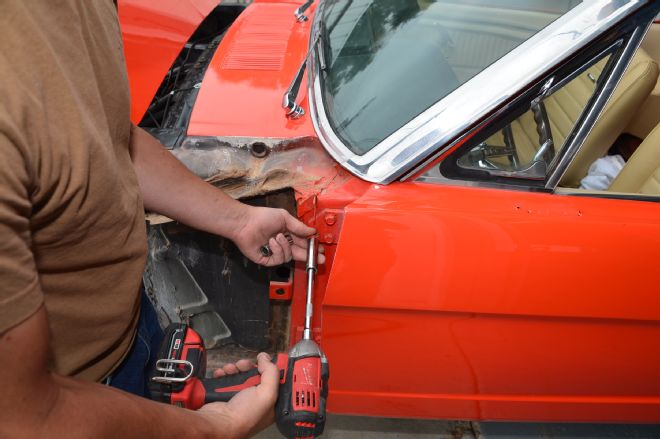
11. With the fender out of the way, remove and inspect the door hinges.
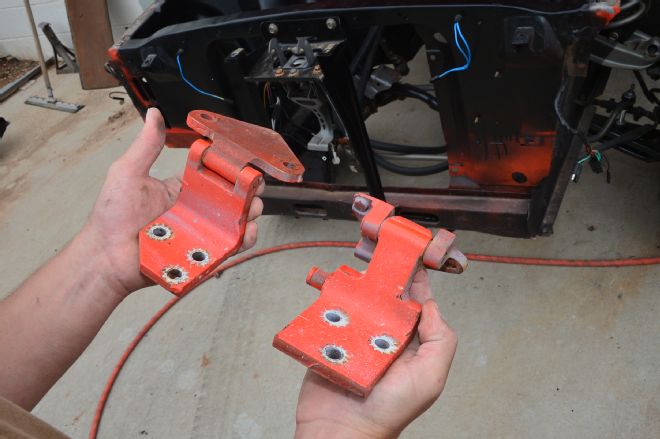
12-13. Our hinges needed to be rebuilt or replaced. White rebuilt the old hinges and bolted them back in place. One side of the hinge bolts to the A-pillar post and the other side bolts to the door.

14. We ordered a body bolt kit from Dallas Mustang that included all the nuts, bolts, washers, shims, and clips to secure the fenders and doors.
15. White snugged the bolts that secured the upper and lower hinges to the door and the A-pillar. The part of the hinge that bolts to the A-pillar support allows for adjustment vertically and horizontally—up and down and back and forth.
16. The part of the hinge that bolts to the door allows for adjustment of the door in and out.
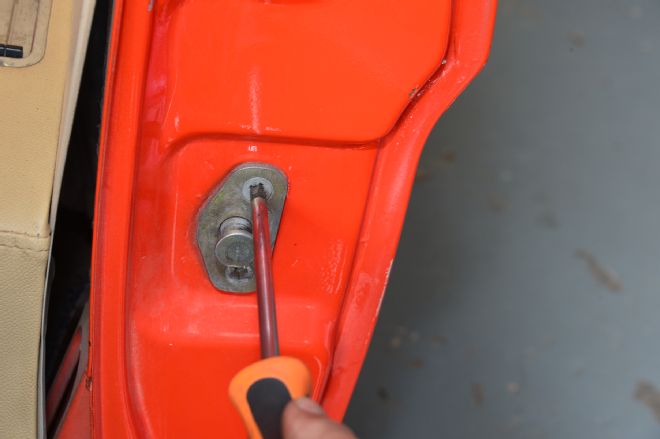
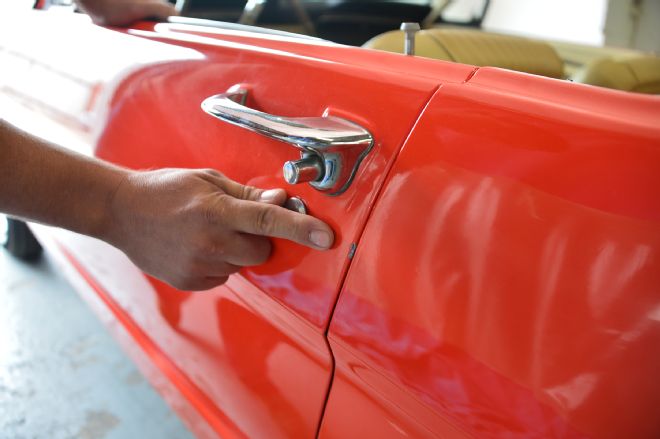
17. The striker plate on our car hit the center of our latch, and did not need adjustment. However, this latch can be adjusted up and down and back and forth.
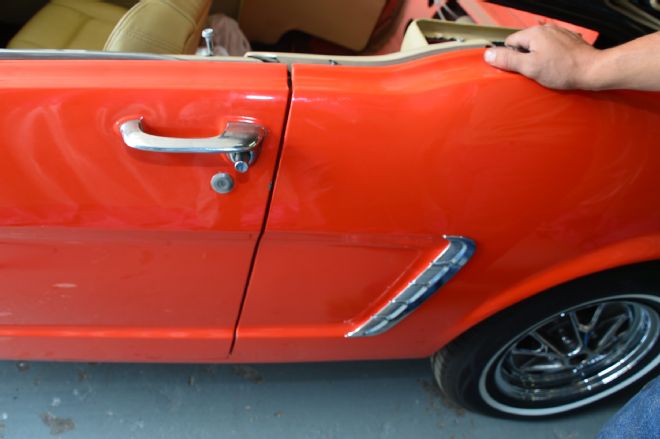
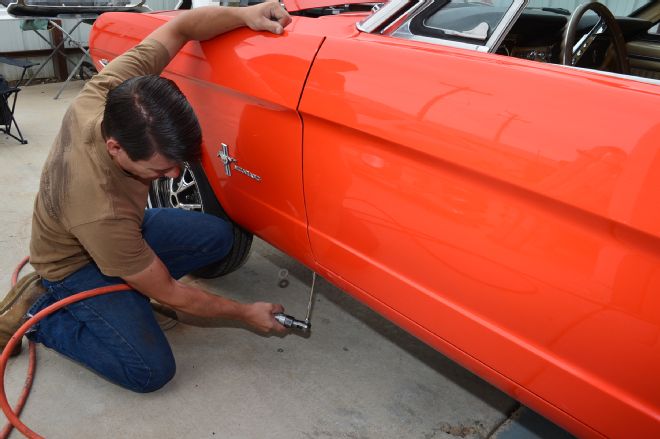
18. White adjusted everything to achieve about a ⅛-inch gap between the door and the rear quarter-panel.
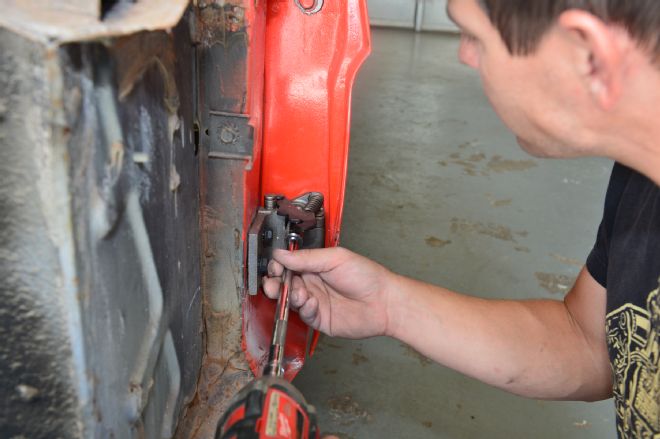
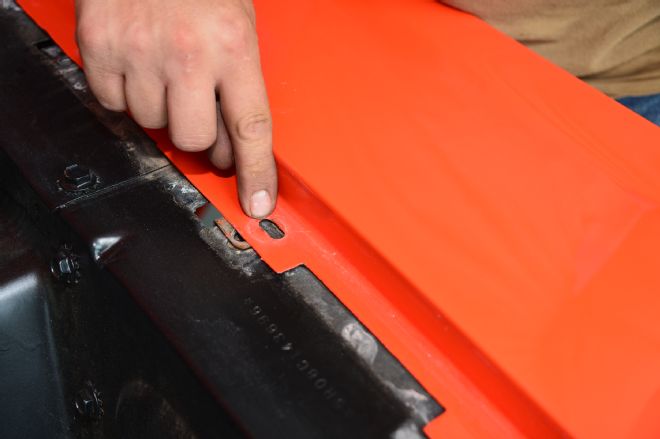
19. Slide the clips into the slots along the inner fender apron under the hood. Each clip moves back and forth at a right angle to the car to allow adjustment of the fender.
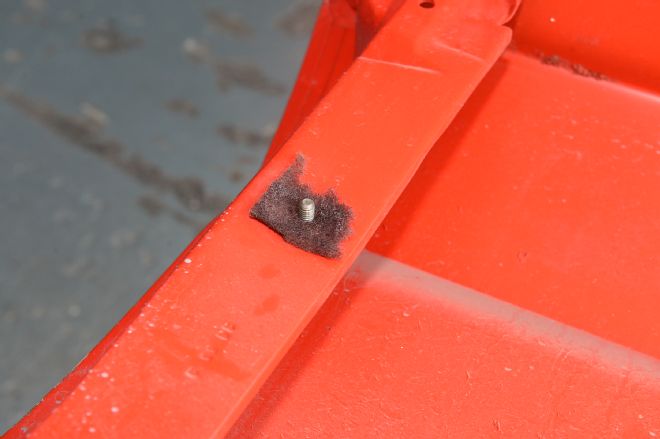
20. We found a piece of Scotch-Brite on the brace on the underside of the driver side front fender. Incorrect hardware provides little opportunity for factory alignment.
21. This bolt can be shimmed to adjust the bottom of the fender.
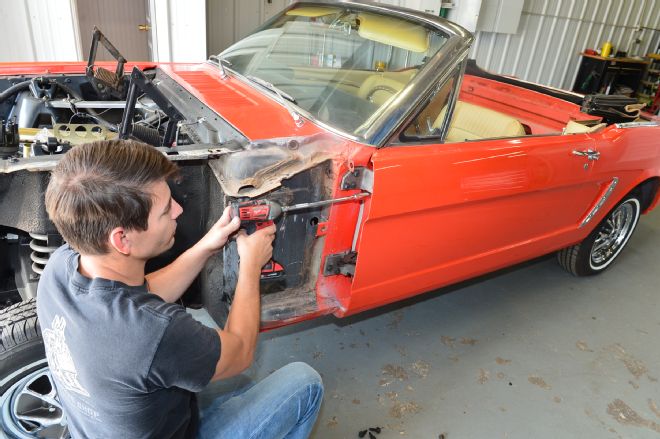
22. Set the fender in place. These oblong holes in the fender fit here and allow adjustment back and forth along the length of the body.
23. Move the fender side to side and back and forth to get just the right adjustment.
24. Our bottom fender bolt required three shims from the body bolt kit from Dallas Mustang Parts.
25. Once the fender is adjusted, tighten the bolts and the job is done.