F-100 stepsides have plenty of room under the rear arches for wide tires, but it's possible to easily go up to 12 inches wide if you cut into the bedsides and fabricate inner wheel housings, as the chassis rails are a good few inches inboard of the sides of the box. This was exactly the task that befell the guys at Kugel Komponents during the build of a 1966 F-100 to which they'd added their IFS and IRS systems.
Rather than fabricate the tubs from scratch, as we'd done on our project F-100 a few months back, they elected to use preformed tubs from Dynacorn, intended for use on a '66-'77 Bronco, and narrow them to suit. With the built-in swage lines, the finished job lends a factory appearance to the installation. Of course the job involved more than just narrowing the tubs and bolting them in, as the bedsides had to be cut too, the outer section of wood required notching on each side, and the subrails also had to be modified for clearance. But what's a little more fabrication when you're this deep in a project?
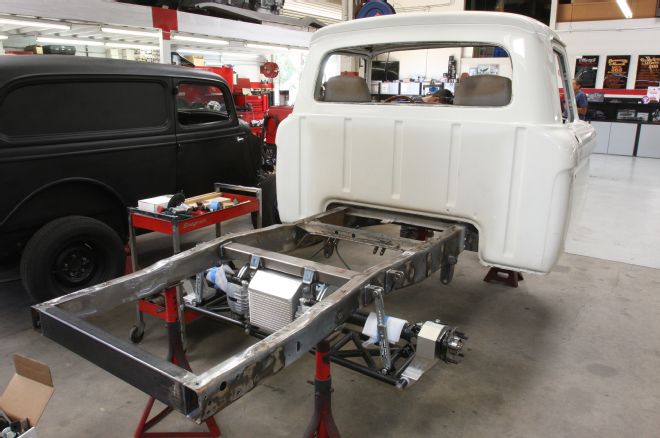
1 Here's the F-100, with Kugel's IRS installed. They boxed the frame and welded all the holes closed. It'll be powdercoated before the bed goes back on. Note the Kugel shock mockups in place of the coilovers, which not only save having them in place during the build, but also help determine the length of shock needed.
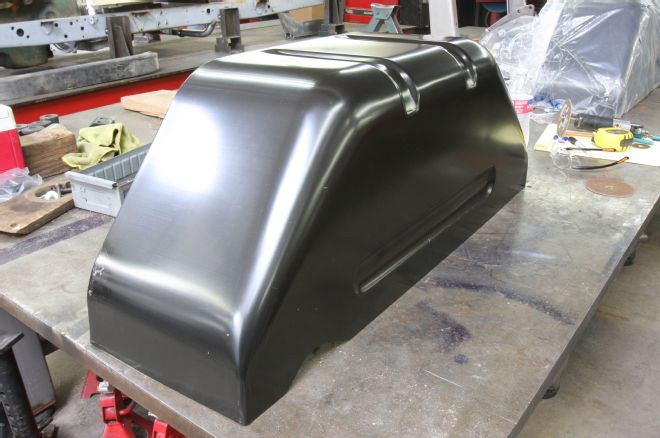
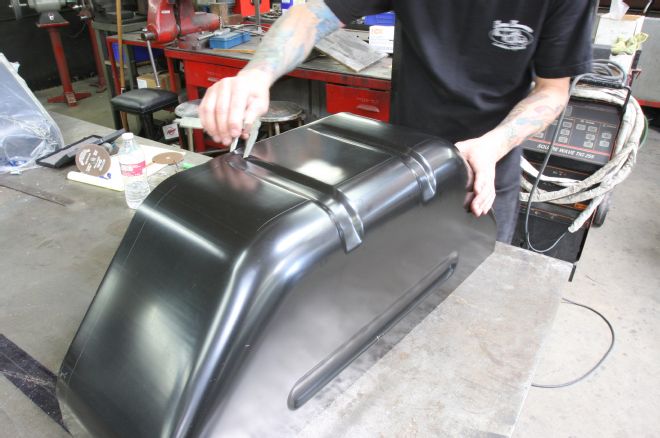
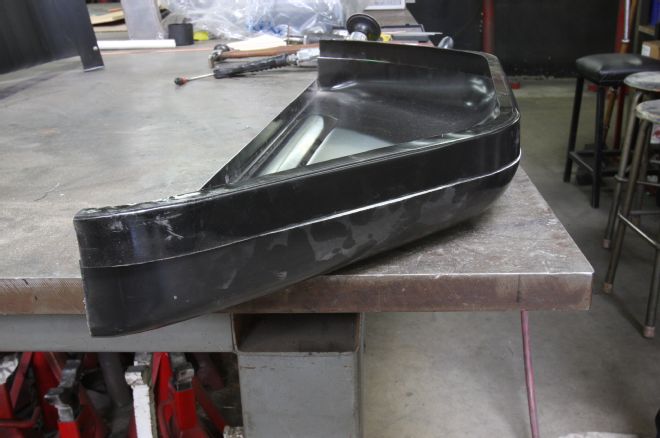
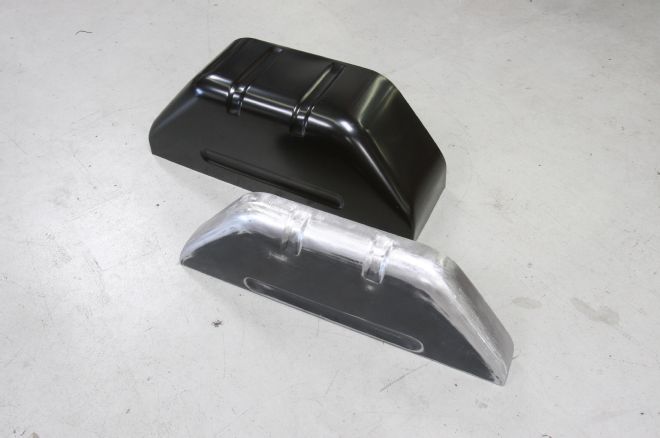
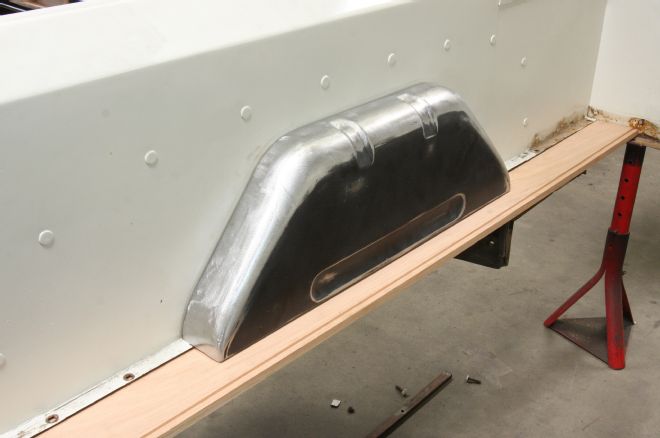
2 One of the Bronco wheel tubs as supplied.
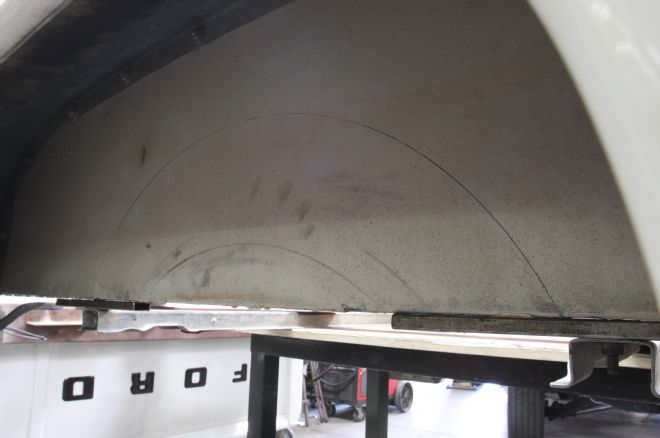
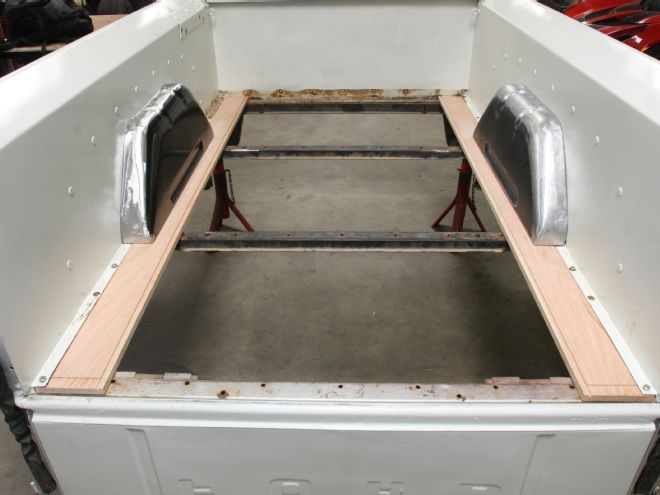
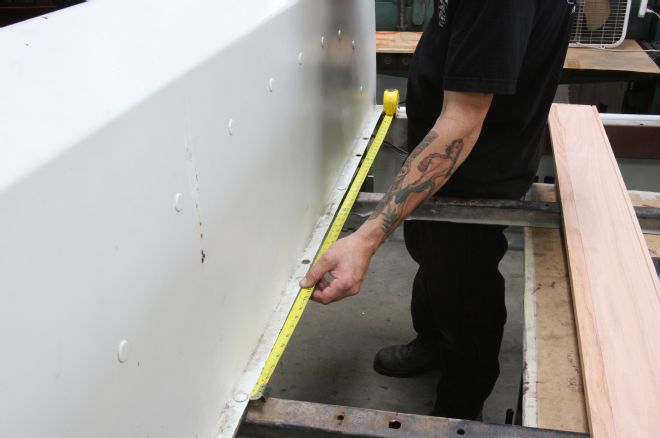
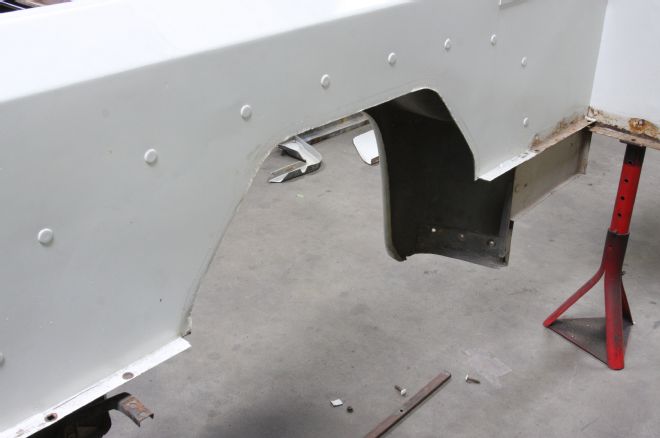
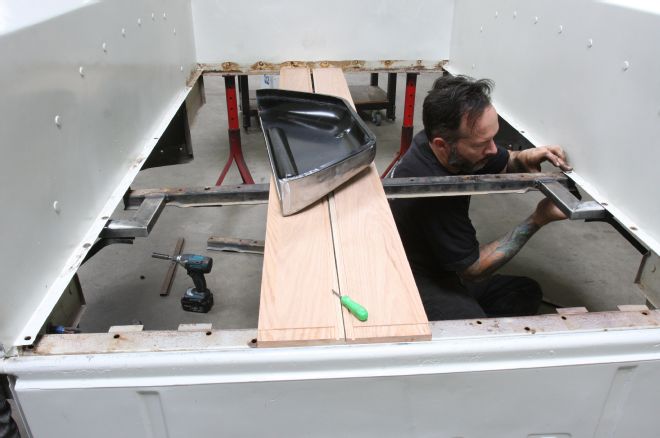
3 Prior to removing the bed, the bedsides were marked for tire clearance at maximum upward suspension travel, plus a couple inches. This determines where the top of the new tub will need to be.
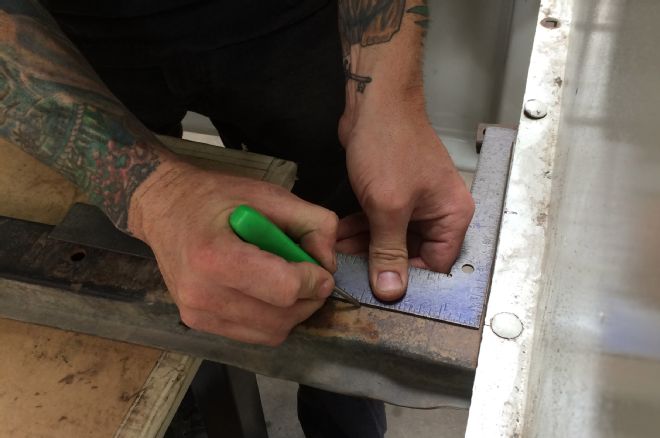
4 With the wheels and tires already bought, and the backspacing known, Chris Smith measures how wide the new tubs will need to be, and where they'll come on the first section of wood. As there are steel strips between each wood section, the inner edge of the tub needs to be located on the wood, not over the join for a neat appearance.
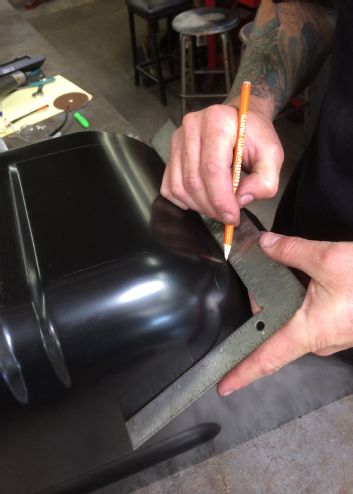
5 With the height of the tub determined, and the axle centerline known, Smith measured the length of the new tub. Unfortunately the front and rear landed precisely where the subrails mount!
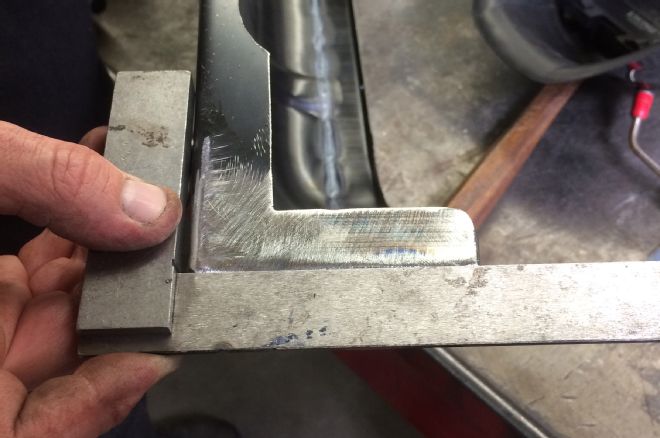
6 Using a square, Smith marked the tub longitudinally 2 1/4 inches from the inner edge.
7 Calipers were used to scribe a similar cut line 1 1/4 inches from the outer edge. When the middle section is removed and the two sides are welded back together, this will retain the flange through which the tub will bolt to the bedside.
8 Laying the tub on its side, another line was scribed 1 3/4 inches from the lower edge, just below the horizontal swage line. This line isn't a cut line, but marks where the lower edge will be bent to form a mounting flange.
9 A cut-off wheel was used to remove the sections needed.
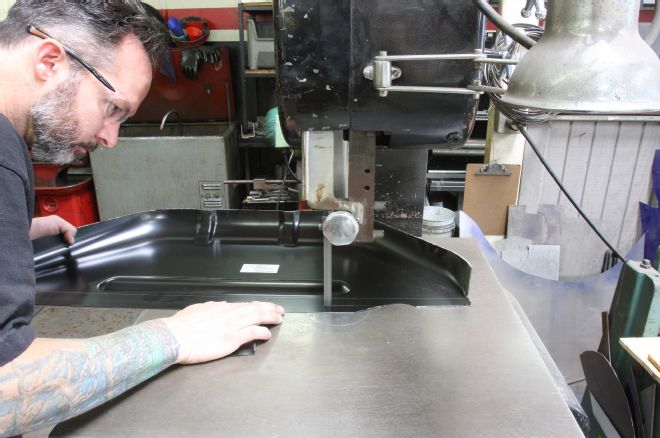
10 With the center removed, the two edges were almost ready to be welded together.
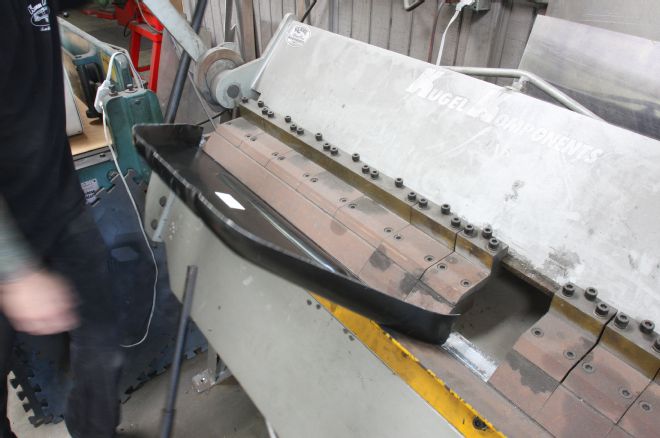
11 Smith trimmed the lower edge of the inner section on the bandsaw, to leave a 1-inch flange…
12 …then bent it to 90 degrees in a finger brake.
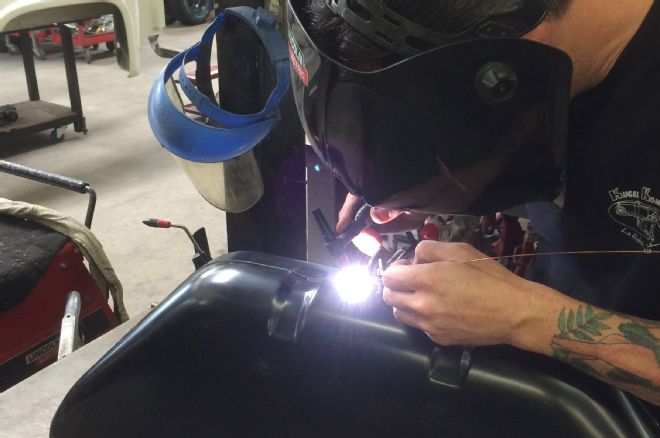
13 Though just laid against each other here, once clamped together, the two halves were a perfect match.
14 Once tacked, the clamps were removed and Smith TIG welded the join.
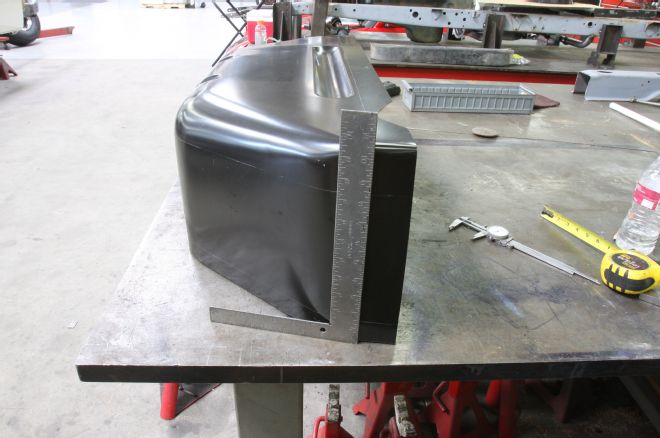
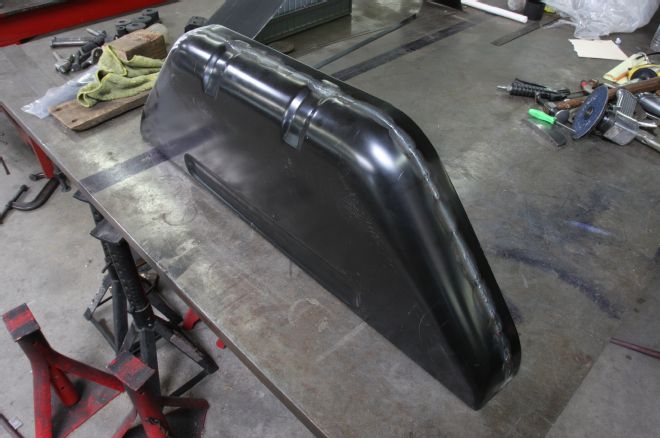
15 Once welded, we now have a 3 1/2-inch-wide mini tub.
16 The mounting flange was continued at each end of the tub and checked to be square.
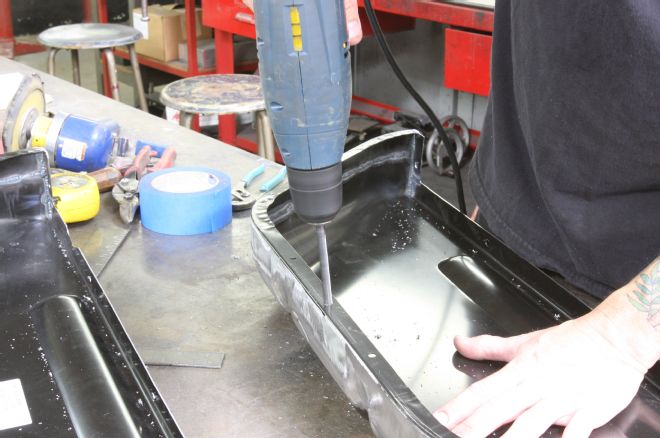
17 Before and after, with the weld dressed and sanded with a DA sander using 150 grit.
18 Mounting holes were drilled equidistantly around the flange.
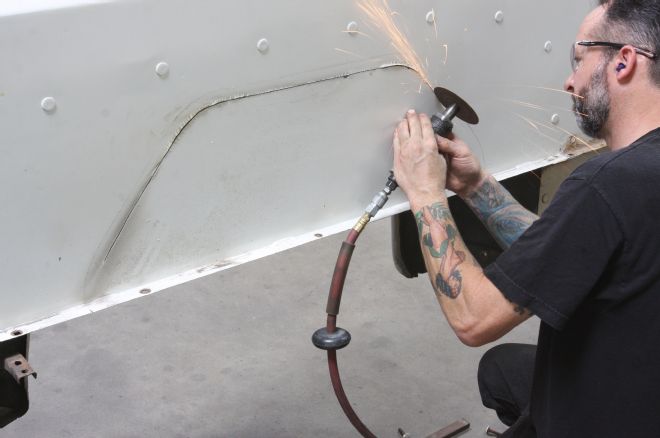
19 Knowing the position of the tub on the bedside, masking tape was laid on the wood, which was marked around the outside of the tub. The wood was then cut 1 inch inside this line, allowing for the mounting flange on the inside of the tub.
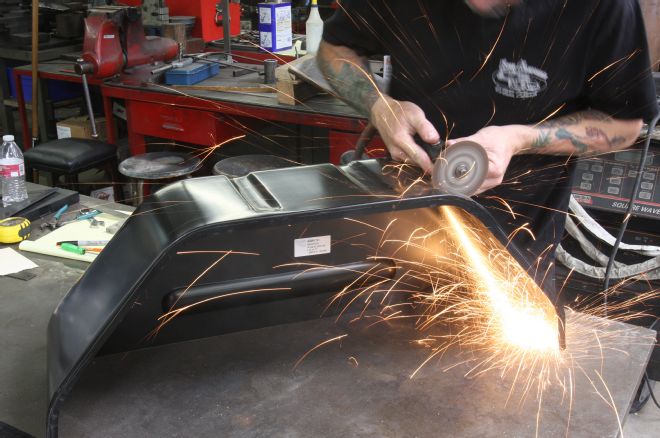
20 The bedside was also marked around the tub, and cut 1 inch inside the line.
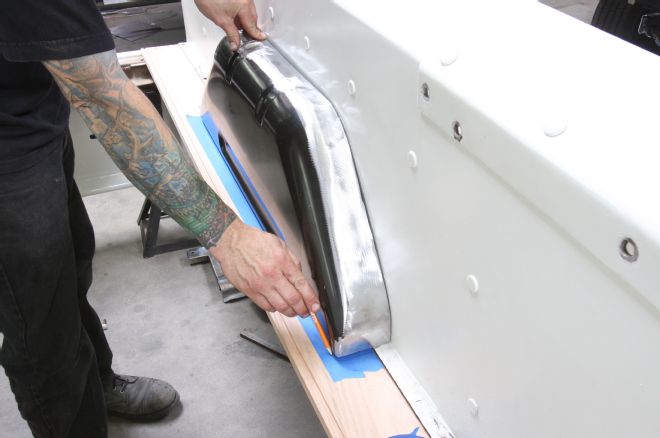
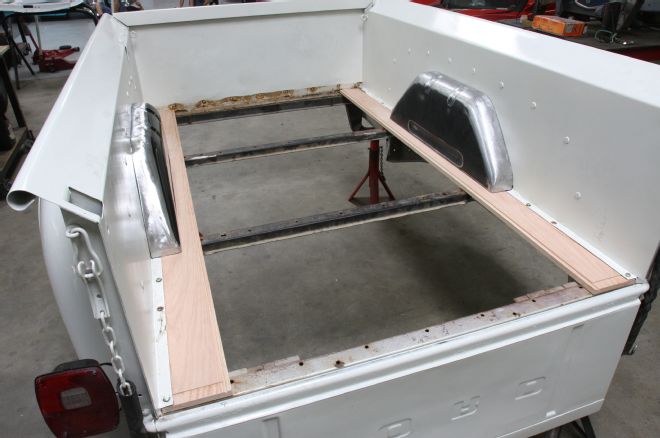
21 The bedside trimmed for tire clearance.
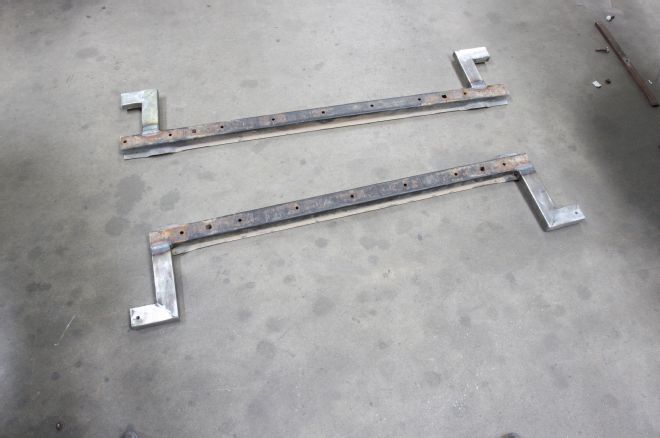
22 The tub installed, though the wood is mocked in place for now.
23 With the subrails bolted back in place and the wood and tub removed, each rail was marked 3 inches from the bedside flange.
24 The ends were then removed on the bandsaw, and these doglegs fabricated from 2x1 inch box section. Note the ends haven't been removed from the upper subrail yet.
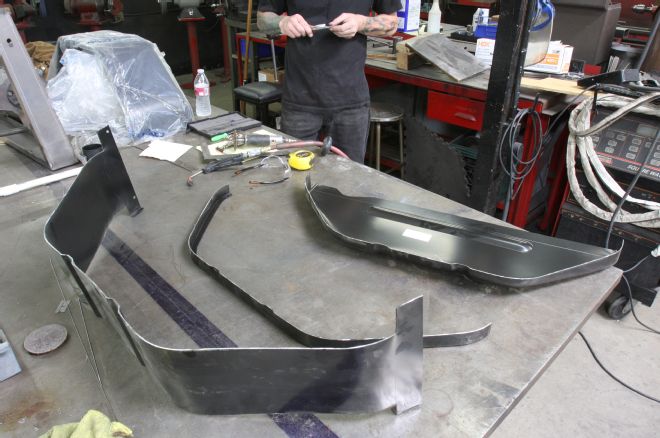
25 Looking from underneath, with the tub and wood bolted in place, you can see the reason for the dogleg on the subrails. They have to stay in their stock location as the bed mounting bolts pass through them. The doglegs simply locate the ends on the next bolt along the bedside flange.
26 There was no need to install the remainder of the wood at this point, as it'll all come apart for bodywork and paint, so this is where we leave the Effie for now.