We'd normally install insulation in a project car once all the paint is completed, but in an effort to keep stories coming we decided to paint the top half of the wagon thanks to Chopit Kustom, (714) 226-0860, and all the interior and the firewall, so we could install a headliner, glass, and start building up the interior and dash, as well as drop in the engine and trans. Before any interior trim or the headliner could go in, we covered all the sheetmetal that would be hidden under carpet or headliner with Dynamat. This is a lightweight elastomeric butyl and aluminum constrained-layer vibration damper, which serves to reduce road noise and "tin can" drumming that can occur with large, undampened metal panels.
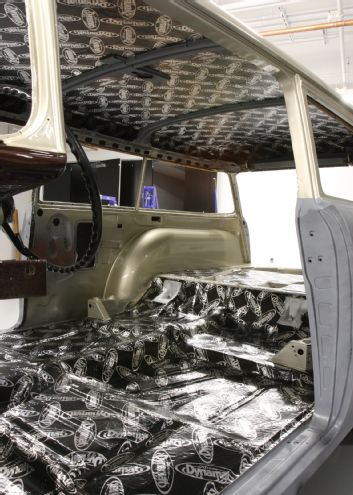
Last time we tackled such a job, Dynamat came in small sheets, roughly 12x24 inches if memory serves. Now it's available in much larger sections, either in 24x48-inch sheets or 33x18. We used seven of the larger sheets and six of the smaller to completely cover the inside of the roof, floor, and firewall of the wagon.
Once we'd finished the roof, we started at the rear of the floor and worked our way forward. This way, by the time we got to the firewall, with all its odd shapes and curves, we could use all the leftover pieces from the larger sheets. Dynamat will stretch to a certain extent, but with an area such as a firewall, it's easier to use smaller sections.
Once done, we went back and covered every joint with Dynatape. This 2-mil aluminum finishing tape prevents the very sticky adhesive backing from working out the joints and gives a professional appearance. It can also be used to attach wiring. We then covered the roof with 1/8-inch-thick Dynaliner, which provides acoustic isolation and excellent thermal insulation. It's also available in 1/4- and 1/2-inch thicknesses. It is not affected by oil and does not absorb water. Now for the headliner…
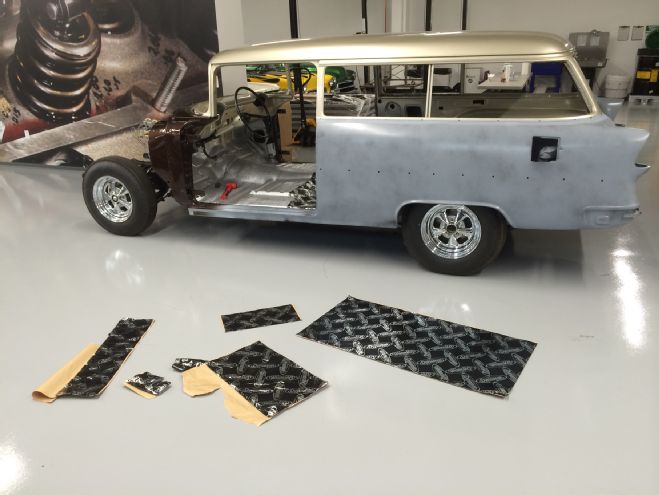
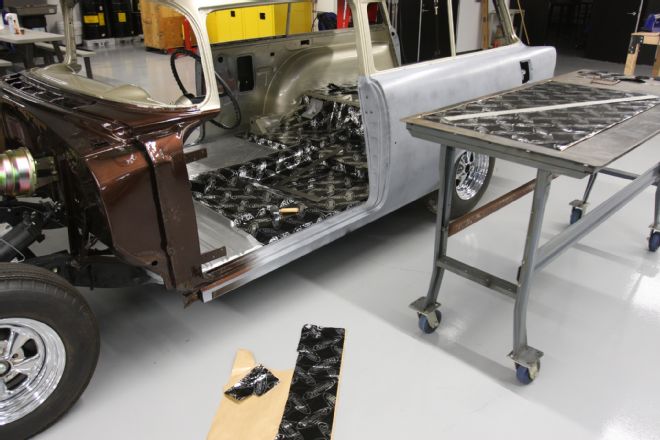
We painted the firewall and interior of our wagon and prepped the roof, then hauled it over to Chopit Kustom to have the top half sprayed in their booth. More on this at a later date. From there it went to our Tech Center, where we set about installing Dynamat.
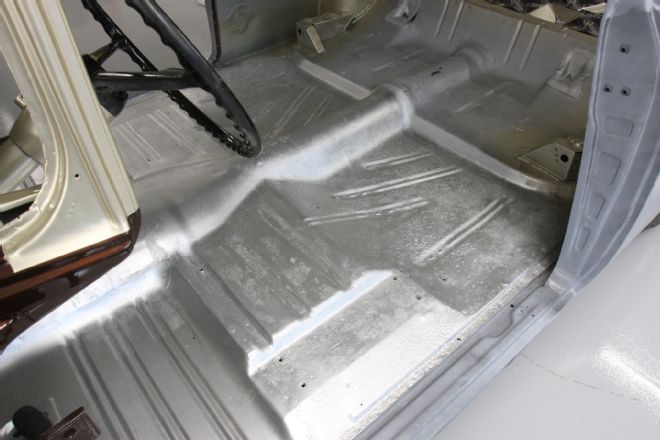
We like to paint under the dash of any project with a light color paint, as it makes wiring, and installing wiper motors, A/C, and the like so much easier, as visibility is increased. As it would be covered, we used the same rust-inhibitive brush-on paint to cover the floors. We'd previously sprayed the rear seat bases in body color.
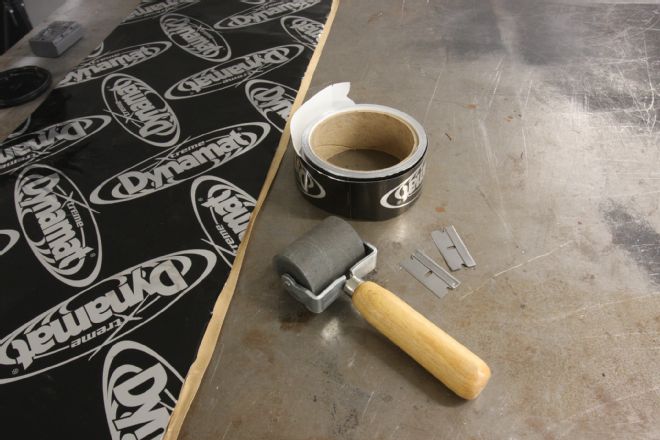
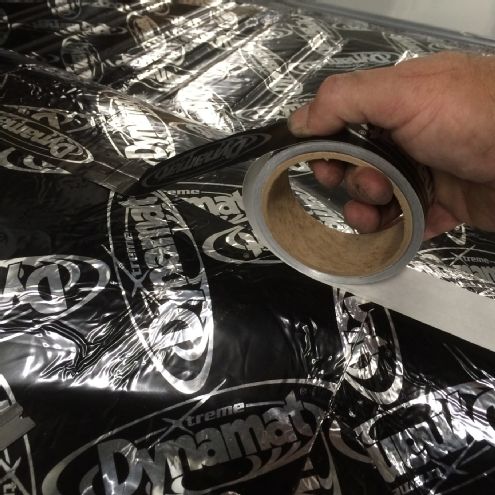
Installing Dynamat is pretty simple, using just the Dynaroller supplied, and a couple new razor blades. Scissors can also be used, but we like to cut the Dynamat in situ.
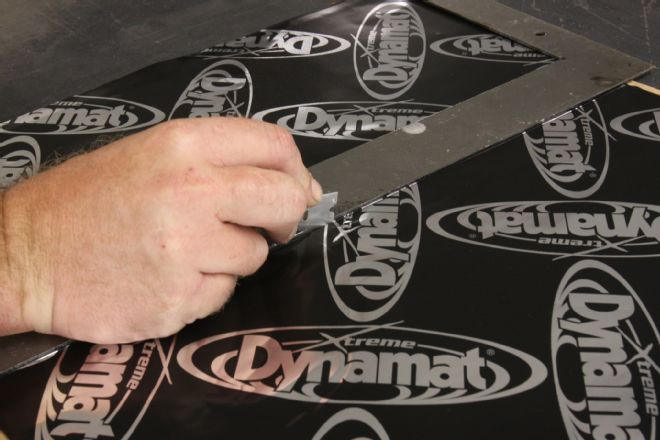
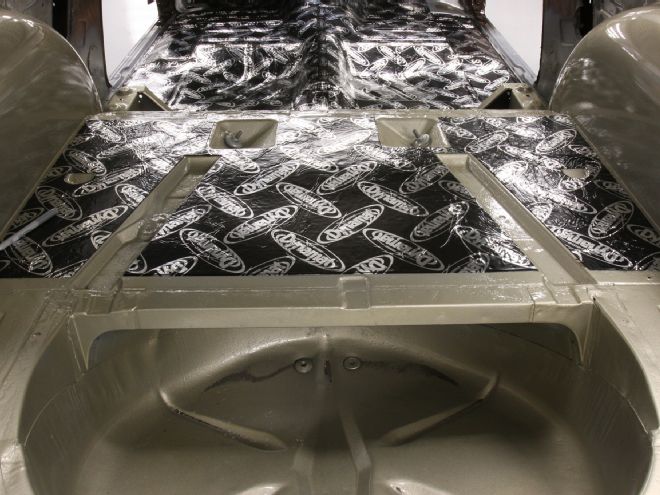
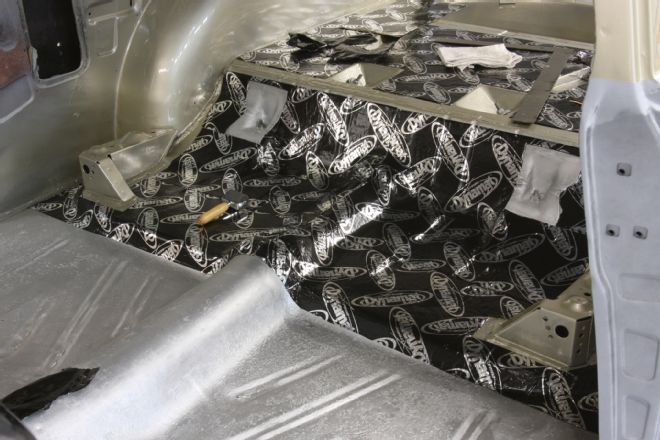
We started the floor at the rear, covering the front section of the cargo area with a single large sheet. This we trimmed to size using a square on a steel bench (remember if you cut the Dynamat using a blade, it will score the underlying surface).
We then installed it in the wagon, and before rolling it and securing the adhesive forever, used a smaller square to cut around the edges of the factory floor recesses.
Moving forward, the area under the rear seat was tackled. Working from the outside of the car, we cut around the raised sections, and once happy with the fit on the curves, trimmed the sheet along the top of the trans tunnel.
The area at the rear of the tunnel, where it meets the vertical section of floor, required a relief cut in the Dynamat.
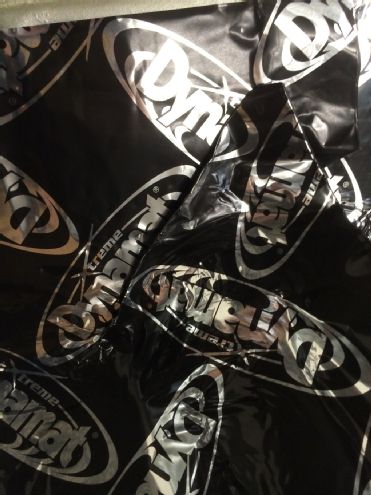
With this done, it could be pressed into place, then the blade used to trim along where the sections overlapped, making a flush joint.

The Dynaroller is used to not only press the mat into place, but working form an edge, helps avoid air pockets. If you do get a pocket that can't be rolled out, pierce it with a blade and then roll toward the piercing to release air.
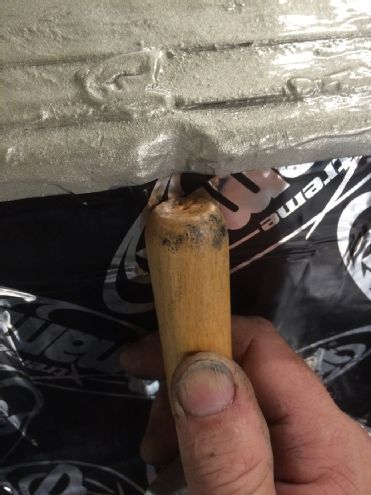
While not its intended purpose, the handle of the roller can also be used to press the mat into beads often found in floorpans.
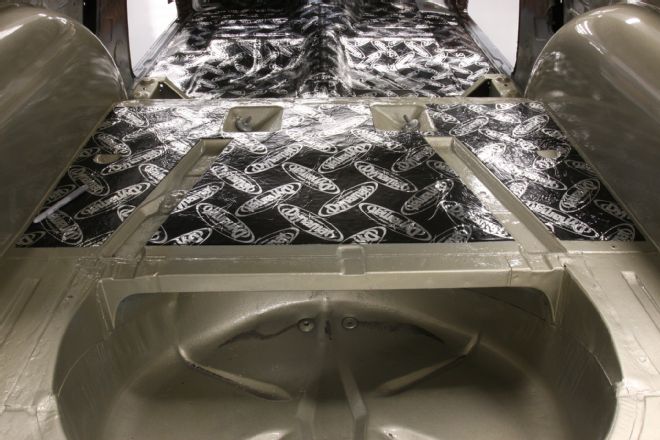
The rear section of floor is completed. Allow plenty of time for this job; it's more time consuming than you'd think if you're going to do it properly.
We tackled each side of the wagon separately, continuing to trim along the top of the tunnel as we worked forward. The seam, as well as all others, will be covered with Dynatape.
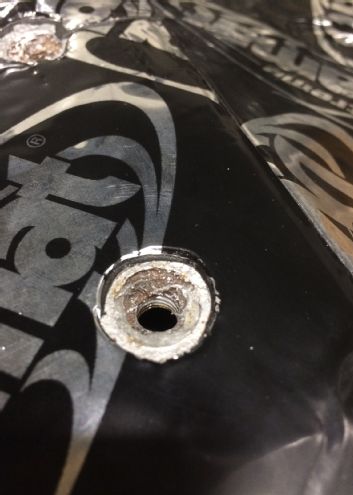
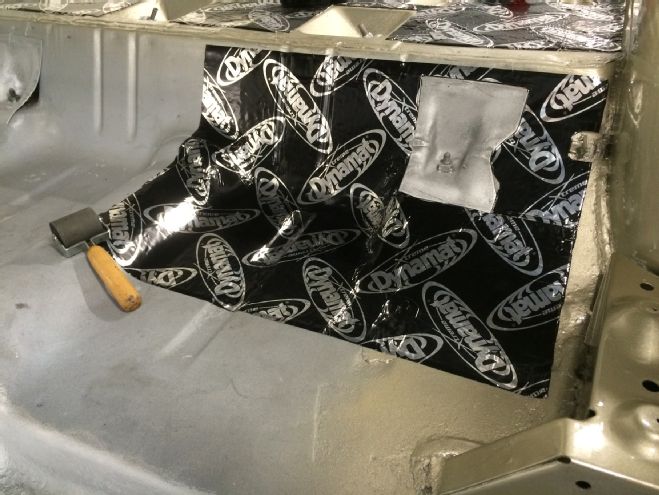
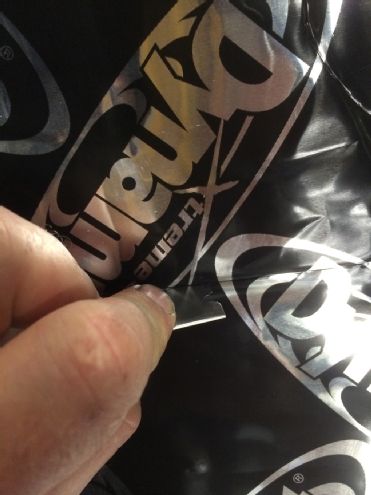
Don't forget to trim around important areas, such as seat mounting captive nuts. We'll run a tap through the threads before installing the seat.
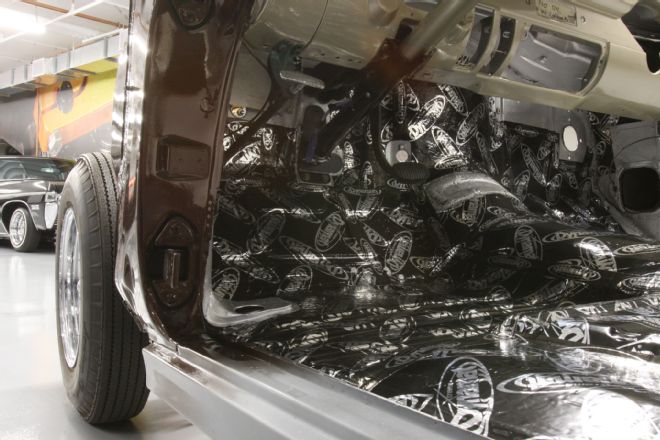
The firewall was tackled last, as with all the raised sections, and cutouts for the steering column, gas pedal, A/C, and fuse panel, it's the perfect place to use up all the offcuts from the larger sheets used elsewhere.
Once all the Dynamat was installed, every joint was covered with Dynatape for a seamless finish, even though we'd taken care to butt every sheet up against the next.
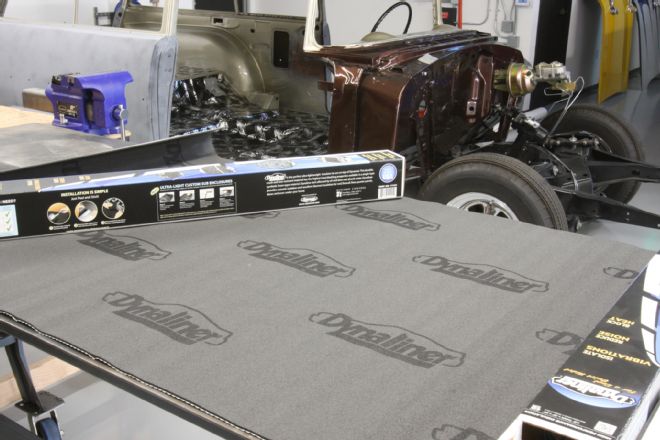
Dynaliner is the perfect ultra lightweight insulator to use on top of Dynamat. This durable crush and tear-resistant material has the highest heat blocking properties available in a single layer synthetic foam-type material. We used the 1/8-inch thick version on the roof.
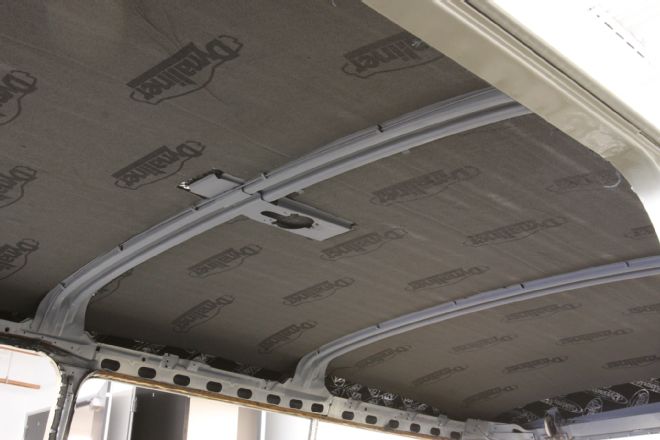
Three sheets (one sheet per box) were enough to cover the whole roof.