In our opinion, the 1969 Dodge Charger is one of the most gorgeous cars to ever come off of Ma Mopar's assembly line. It's a stunning shape with smooth, undulating body lines accented by door scallops that evoke the feeling of fighter jet inlets. The design is timeless and while the body lines are subtle, closer inspection will show them to be complex.
When last we left our Charger, Scott Dowdy of The Finer Details had just finished up replacing, smoothing, and prepping the firewall. The next step in the process of getting our B-Body ready for paint is to align the body panels. If you've never done it, be warned it can be an arduous task, particularly on a car like this, which has had a rough history. The car is a little bit of a Frankenstein between its original metal, aftermarket panels from AMD, and original parts highjacked off other cars. We're not saying that getting all of those sexy Charger lines to be uniform was a nightmare for Dowdy, but it wasn't quick or easy either.
"Whenever you set out to align a body panel—any body panel—you need two very important things," Dowdy says. "Patience and a boat-load of shims." The real trick is that there is no set formula for hanging a body panel and getting it perfectly straight. It's a lot of trial and error. You can't just tighten down the first bolt and then proceed to the next one in a clockwise fashion. You could, but there is a 99 percent chance that the panel will come out all warped. The proper way to do it is to tighten the bolts down gradually in an opposing direction. In other words, whatever bolt you start with, the very next one to get snugged should be its direct opposite, it's similar to tightening cylinder head bolts or beadlock rings on racing tires except for one difference. There is no set pattern to follow. Every panel is different and every car is different. In fact, you could have two '69 Chargers sitting next to one another and the front fenders will require different tightening patterns. Like we said, it's all trial and error.
Let's use the Charger's right front fender as an example. It is held in place by 13 bolts. Each one of those bolts could require any number of shims to get it properly hung, so you'll need to have a pile of different sizes at the ready. The first step is to snug the bolts down gently and begin adding shims until you get the panel looking pretty even all the way around. Then, you begin to tighten down each bolt, paying careful attention to how the panel acts as the bolts get tighter. Oftentimes as you tighten the bolts the panel will suck in on itself and become out of alignment. This is where you need patience because you could find yourself repeating the whole process, having to change the order in which you tightened the bolts in round one to something completely different in round two.
It is extraordinarily helpful to have another person assisting you in the process. One person can hold the panel while the other tightens it down. It's also a major benefit to have a second set of eyes looking at the panel to ensure that when it does alter shape you can quickly adjust. And trust us, it will alter the shape. Professionals like Dowdy can hang a fender by themselves but for the rest of us it is sure helpful to have an extra set of eyes and arms.
You can go through multiple gyrations to get one panel hung, and it might look decent, but upon closer inspection you find that it's not perfect. And to get it perfect you have to take some more drastic measures, like cutting, bending, filling, and grinding. As you can see in the pictures, Dowdy actually had to do that on our Charger's driver-side rear quarter-panel.
Hanging and aligning body panels is a time-consuming task in any restoration, so you need to plan to spend the time and keep your cool. When you step back from the finished product you'll realize that in the end all of the effort was worth it.
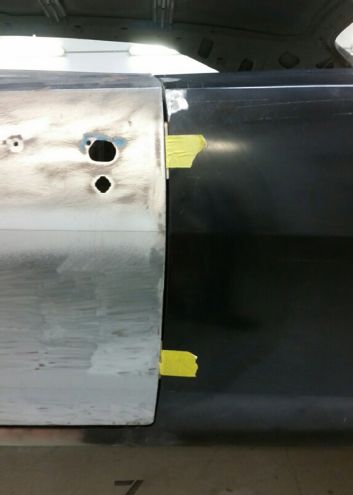
01 When Scott Dowdy of The Finer Details hung the passenger-side door, it didn't line up correctly with the rear quarter-panel. The blue chalk line was traced down the lip of the quarter-panel so that he had a point of reference to make the gap even.
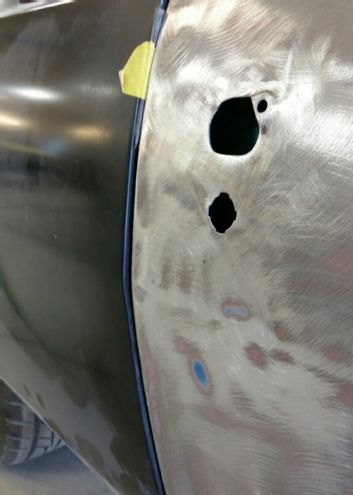
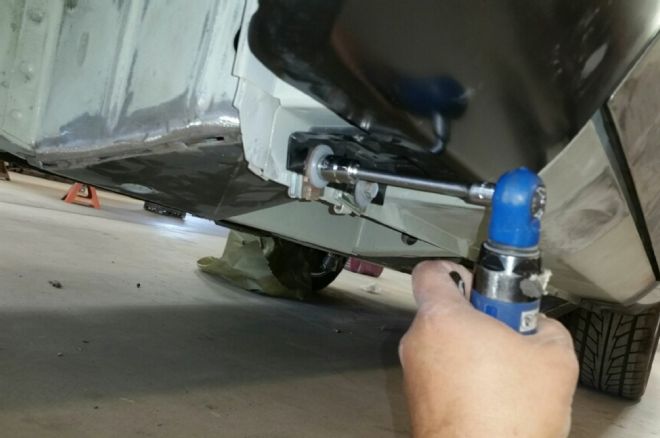
02 A big culprit of why the door appeared sucked in further than the rear quarter-panel was the location of the door striker pin. From the factory these strikers can be moved slightly inboard and outboard in order to get the door and quarter-panel to align, however, in our case with the striker slid all the way outboard the door was still sucked in as shown in the previous picture. Dowdy's solution was to extend the holes outward to allow the striker to be closer to the edge of the door jam.
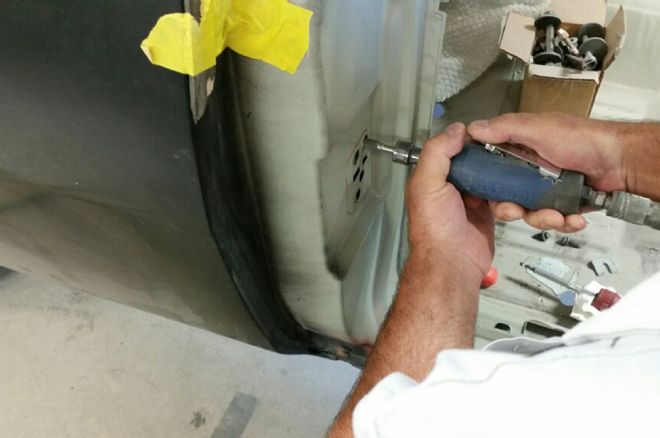
03 Three screws hold the striker receiver in place on the door. You can also see a shim placed behind the receiver.
04 With the striker further outboard, the door aligns perfectly with the rear quarter-panel. Dowdy essentially is working from the back of the car toward the front since the rear quarter panel is already hung and welded in place.
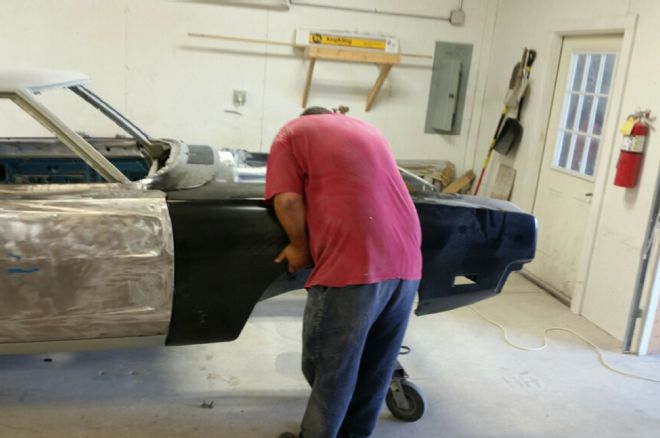
05 The next step is to hang the passenger's side front quarter-panel onto the car. It would be nice if Dowdy's helper would give him a hand here, but hey somebody has to take the picture!
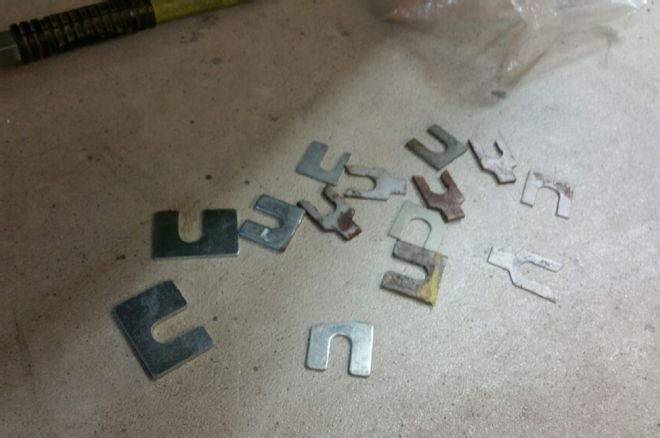
06 There are two things you need when hanging body panels: patience and a whole bunch of these things. Shims come in a variety of shapes sizes and thicknesses. If you're planning on tackling this on your own have plenty of these handy.
07 Dowdy snugs down one of the 13 bolts that hold the fender on using an air wrench. You can see that he used a different number of shims behind each of these two bolts, a necessity to get the panel perfectly aligned. This is actually a shot from the driver-side front fender but you get the idea.
08 This is a perfect example of how extreme you might have to go to get the perfect alignment on an old car like this. That's three shims in this picture, equaling close to a quarter of an inch. In the game of aligning body panels, that's pretty huge.
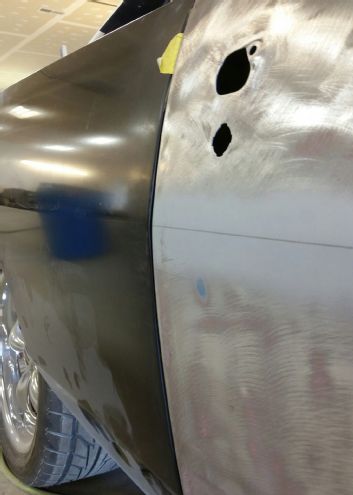
09 The driver-side door of this car was a little bit of a different animal. From this vantage point, it doesn't look too bad. The pieces of yellow tape are actually holding spacers in key locations that allow Dowdy to get the gap at just the right spacing from the door to the quarter-panel.
10 The driver-side door actually sits higher than the rear quarter-panel it's supposed to match, but it's not as simple as the angle of how the door hangs. Go back to the side shot of this door and notice that the gaps from top to bottom look pretty good. No, the problem is elsewhere.
11 When the original rear quarter-panel was welded to the roof, the process caused a slight variation in the way the panel hangs, causing a difference in the width of the top of the panel. This kind of misalignment, while small, is completely unacceptable to the crew at The Finer Details and would never make it out of their shop.
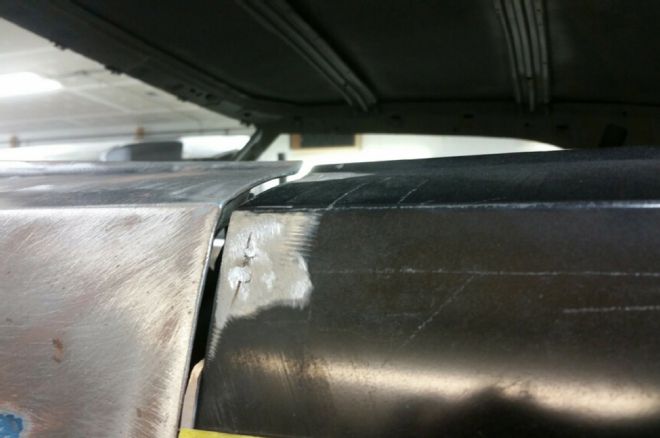
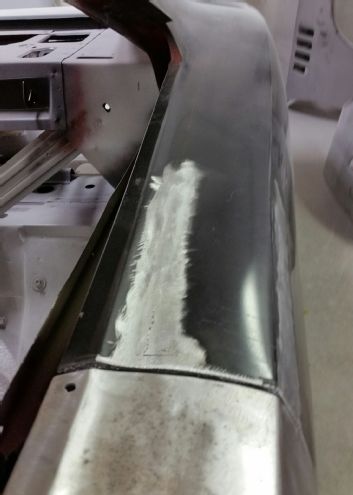
12 The solution is simple, but does require some skill. Dowdy breaks out the cutoff wheel and makes two nearly foot-long slices in the rear quarter-panel, one on the top as you see here.
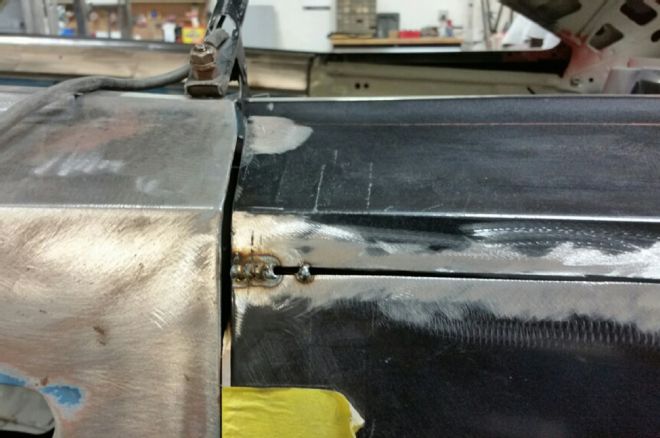
13 The other is along the side. Here, you can see the tack weld he put in to ensure the alignment was correct before beginning to fill the gap with a weld bead.
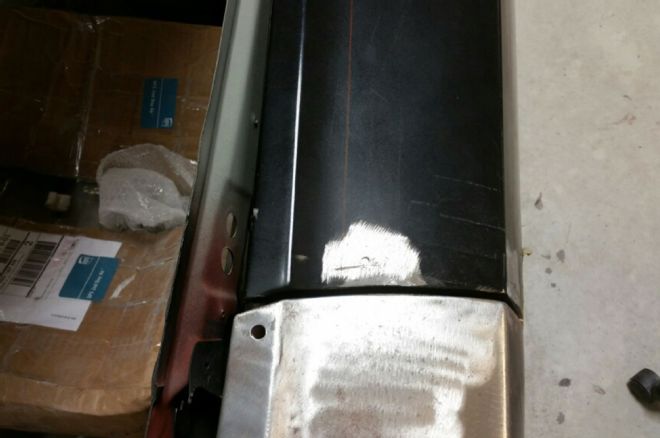
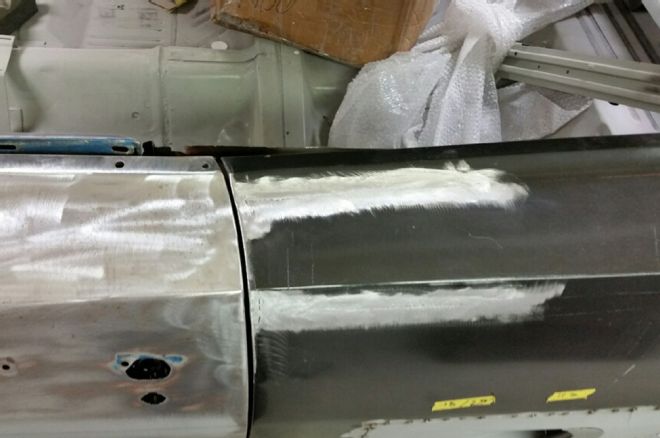
14 Dowdy filled both cuts with a bead then ground them smooth with a grinding wheel. Here is the result: a perfectly aligned panel worthy of The Finer Details high standards.
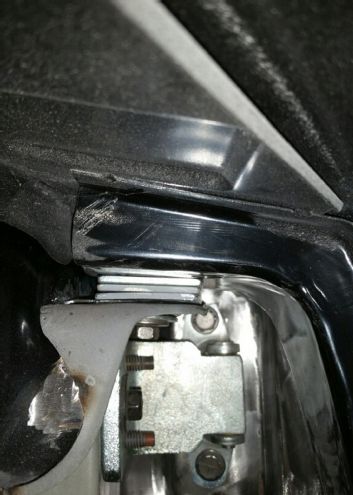
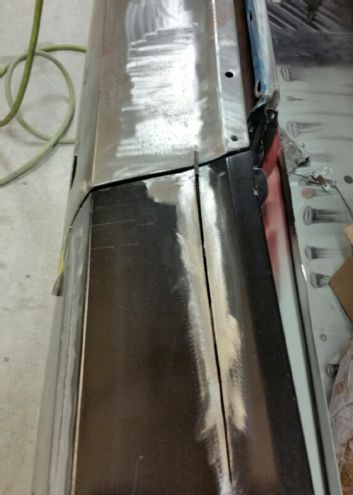
15 Looking down from the top you can tell just how perfect the alignment of the door to the rear quarter-panel actually is.

16 With all the body panels aligned and tightened down, our '69 Charger is ready for the next phase.