Here at STREET RODDER we're continuously exposed to awesome street rods as well as the opportunity to meet and associate with builders and fabricators of immense talent. As a result we get a chance to eyeball cool creations of every description. That said, every once in a while I run into something that really strikes me. In this case it's the handcrafted aluminum components on our all-steel, stretched-cab, Model A pickup project.
Since it's a stretched cab pickup one of the questions that arose during planning was, how do we utilize the extra space offered by the stretched cab (aside from the extra leg room)? One option was by locating the battery back there—a perfect choice since master aluminum crafter Frank Wallic designed and built the pickup's forward-tilting, bench-style bomber seat. But just mounting an unprotected battery back there just wouldn't cut it, neither aesthetic- nor safety-wise, so it was decided that an enclosure of some sort was in order. So when Wallic, having designed and fabricated the aluminum tilt-forward, bomber-style seat and matching seat riser (with storage area and doors), offered to build a battery enclosure to match, we gladly accepted his offer. So follow along and check out his handiwork; we think you'll be as impressed as we were—and perhaps it'll give you an idea for a cool battery box design of your own.
Frank Wallic
(303) 937-3778
f1932hog@aol.com
 This isn't just any old battery box, it's a one-off aluminum piece crafted with hints of ammo can by fabrication whiz Frank Wallic.
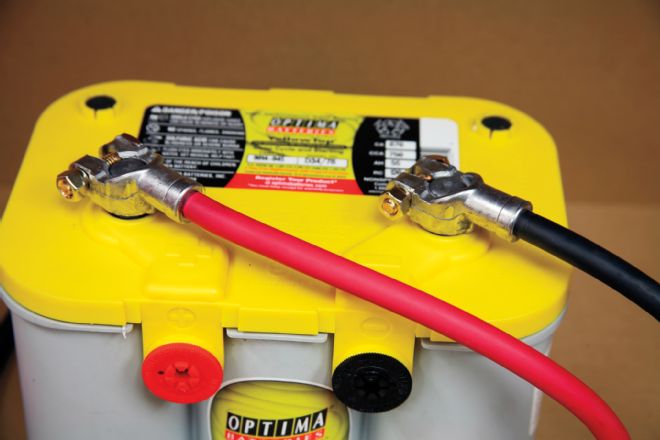
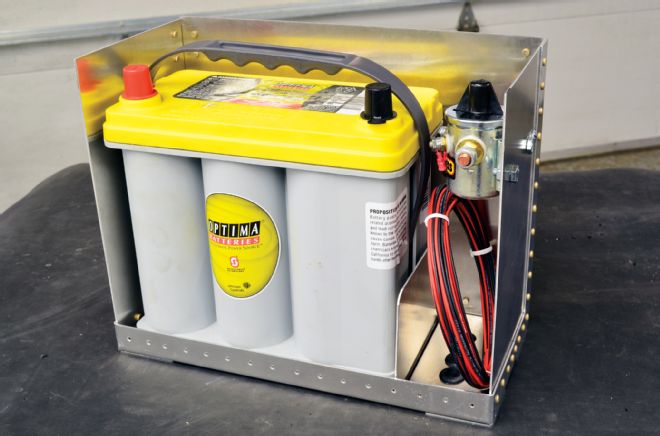
1. When it comes to cranking power for our project rods Optima batteries are our favorites. A Yellow-Top D51 dual-purpose cranking/deep cycle was our choice for the pickup. The D51 offered good dimensions for use behind the bomber bench at about 9.25-inches long, 5.02-inches wide, and 8.8-inches high.
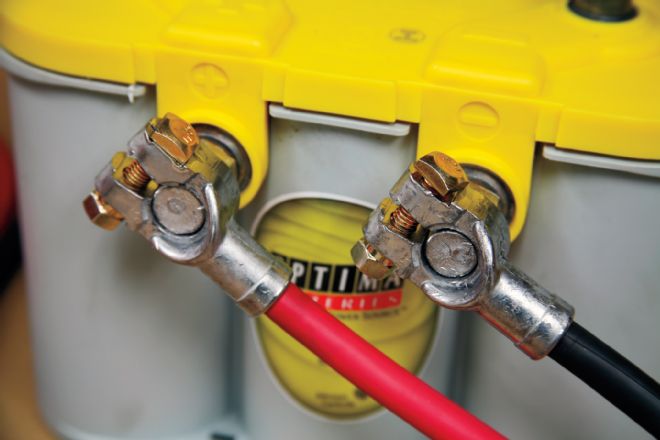

2-3. Speaking of Optima Yellow Top’s, other models like the D34/78 for example, are equipped with both top and side terminals providing two options—allowing the use of standard battery cable connectors or ring-terminals.
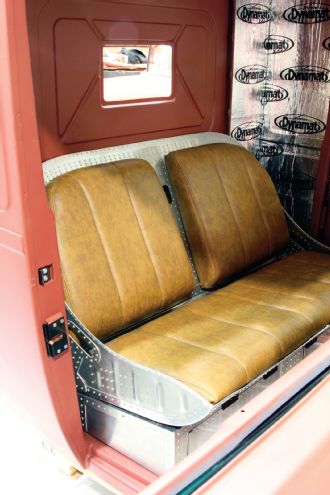
4. As I mentioned earlier, the pickup is outfitted with a custom Frank Wallic bomber-style bench seat. Wallic fabricated it with a pair of doored storage areas in the seat riser as well as the ability to tilt forward to gain access to the extra room behind the seat afforded by the stretched cab. The finishing touch to the seat assembly was the addition of seat back and bottom pads crafted and covered by Hot Rod Interiors by Glenn.
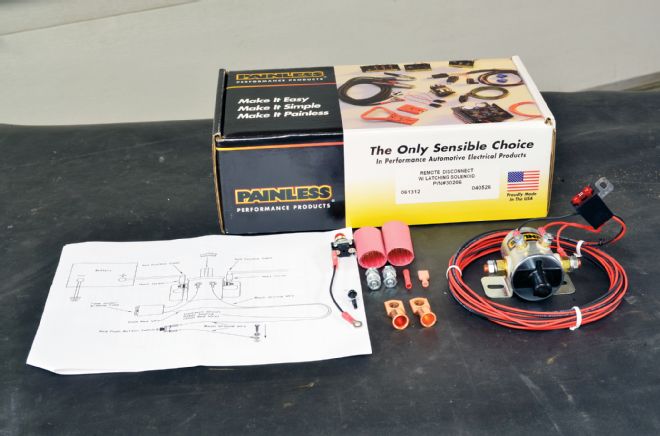
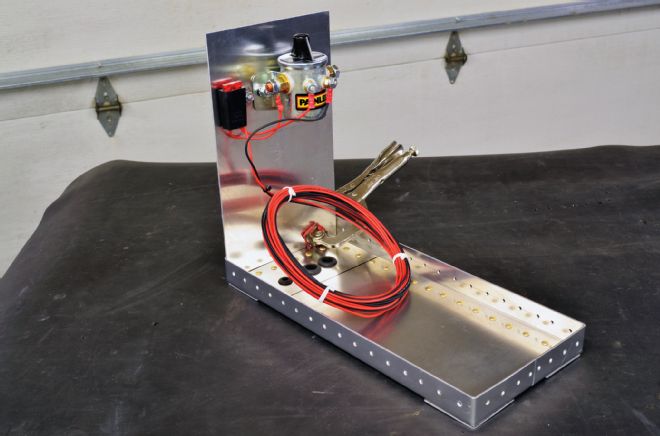
5. As a combination safety and anti-theft mechanism, a Painless Performance 30206 remote battery disconnect with latching solenoid was used as well. It was also decided that the unit would be housed inside the custom battery box along with the Optima battery.
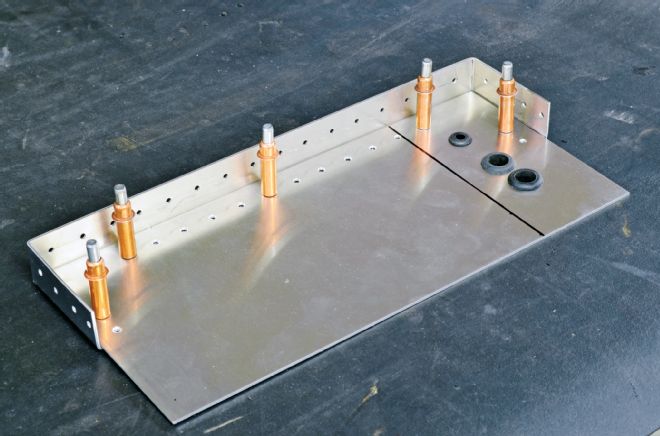
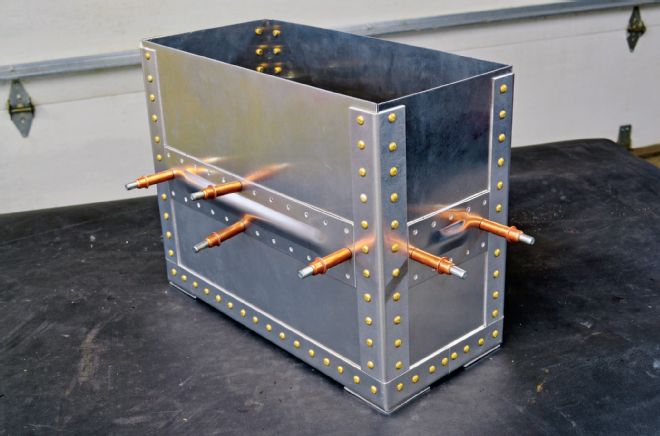
6. With the Optima battery's dimensions in hand and the idea for a box that matched his seat and riser assembly fresh in his mind, Wallic measured out and cut the aluminum panels and corner reinforcements needed to craft the container. Working from the bottom up he started with the floorpan and rear section of the corner supports (held in place temporarily by Cleco fasteners). As you can see, Wallic added a few inches to the length of the box as well as a trio of holes fitted with rubber grommets as a means for the cables and wires to exit.
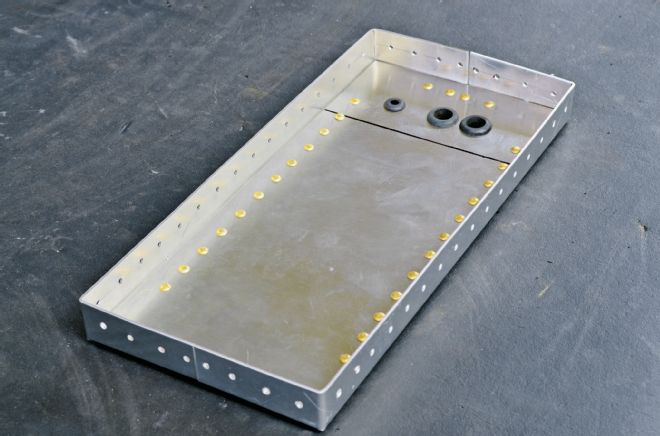
7. As is evident here, Frank prefers brass rivets over screws or welding. His liberal use of rivets is indicative of the aircraft styling popular with traditional hot rodders' love of post World War II styling.
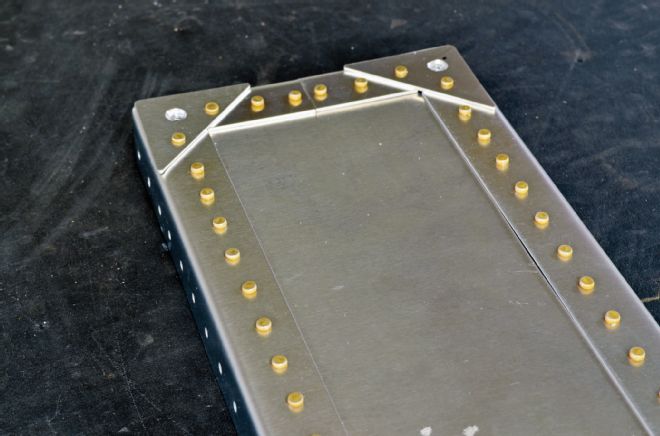
8. Wallic used triangular corner supports on the box base to reinforce and strengthen the assembly. You can also see two of the four holes that'll be used to mount the box to the pickup's floorpan behind the seat.
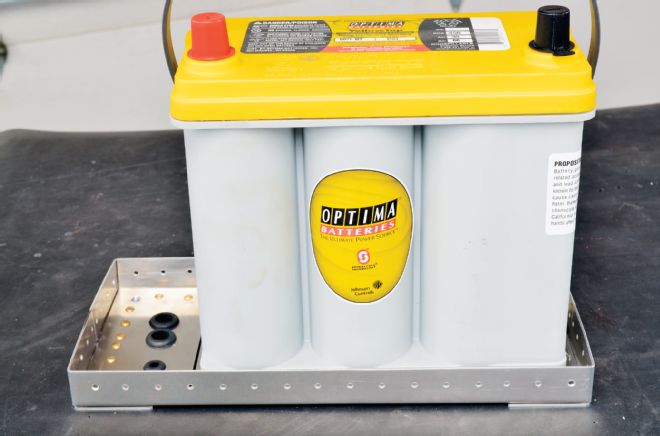
9. With the base completed the Optima D51 is set in place to test its fit. All looked well with a bit of an air gap around three sides of the battery and ample space on the cable/wire/vent hose exits on the fourth. The Optima D51 battery is equipped with a vent tube provision for venting, an important factor for enclosed mounting since all lead-acid batteries can vent flammable and toxic fumes in extreme overcharging situations.
10. Next, Wallic mounted the Painless Performance Remote Master Disconnect components to a side panel and tested its fit in the box base.
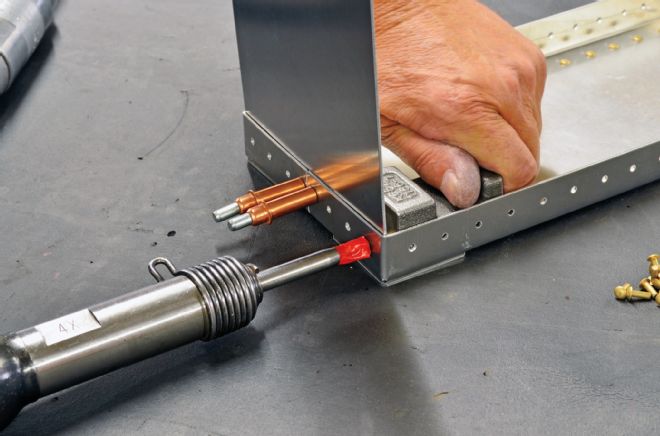
11. Satisfied with the fit, the first of the box sides is mated to the box base with the help of a couple of Cleco fasteners, an air chisel equipped with a riveting bit, and rivet set.
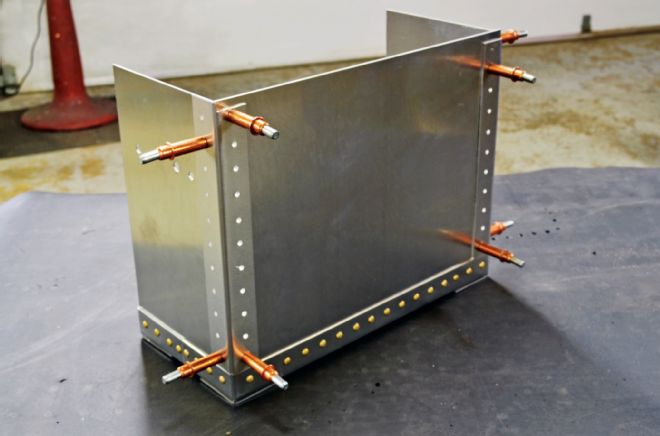
12. Two more box sides are put in position (again using Cleco fasteners to temporarily hold them into place). Notice the use of reinforcing strips at the junction of each panel—they not only strengthen the assembly but add to the box's character as well.
13. With the rivets set on three sides of the base and two of the vertical joints and the remote disconnect assembly mounted, the Optima D51 battery was again set in place to check the fit. If you look close you'll also see a small partial wall between the lower part of the battery and the cable and remote disconnect space—a neat bit of detail that not only looks good but also helps keep the battery from sliding over and contacting the contents of the space beside it.
14. Adding the bead-adorned wall reinforcement strips along the waist of the box greatly buttresses the box sides, enhancing both its strength and good looks.
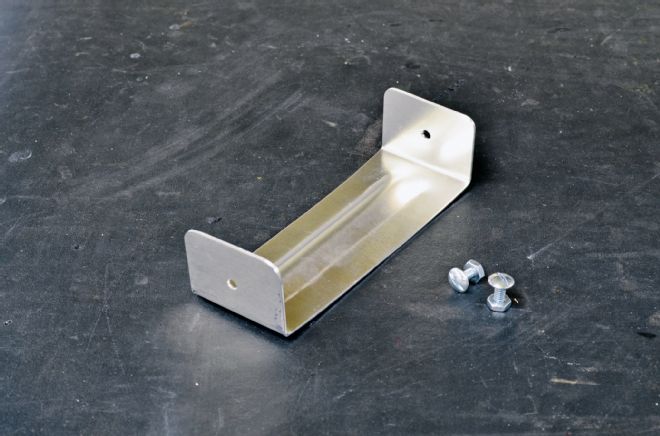
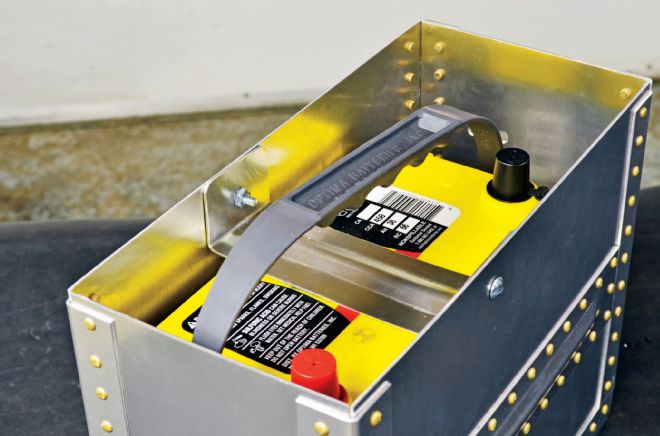
15. Once the bottom portion of the aluminum battery box was together and its multitude of brass rivets set, Wallic rolled a short bead into a strip of aluminum, took another measurement, and then bent up a small battery hold down, which he drilled and bolted into place.
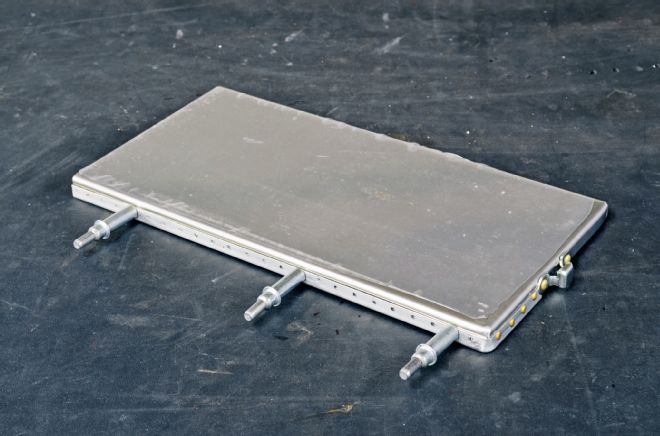
16. For the lid Wallic measured out another piece of aluminum sheet roughly an inch or so larger than the box's base and using a sheetmetal brake bent it into a three-sided pan, which would serve as the lid for the battery box. A narrow strip of drilled aluminum was formed to fit around the exterior of the lid lip, held in place by Cleco fasteners, and then riveted to the outside edge of the lid. If you look closely center right of the image you can see the top half of the latch located in the center of the lid side lip as well.
17. The final fabrication step was riveting a section of piano hinge to the lipless side of the lid and to the rear top section of the box as well as adding the lower section of the box latch to the opposite end in the same manner.

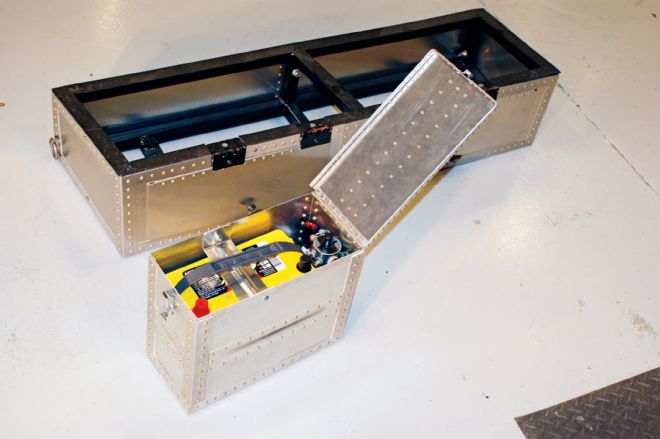
18. And here it is . . . the finished product. Pretty darn cool battery box, wouldn't you say? The brass rivets holding the unit together looks great, as does the final beaded reinforcing strip added to the lid top. The styling of the battery box matches the look and the craftsmanship of the bomber bench, so much so it's almost a shame to hide it behind the seat.
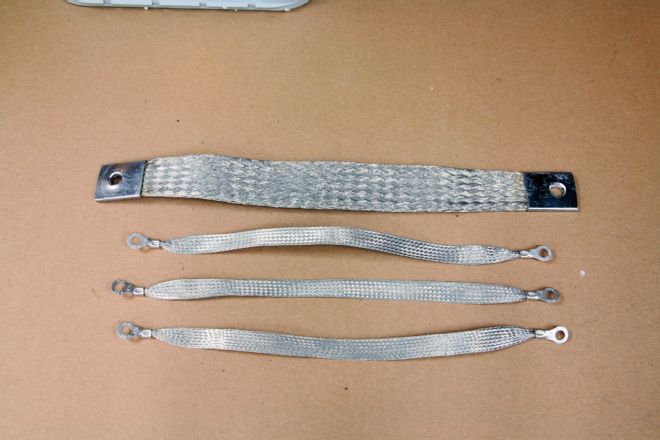
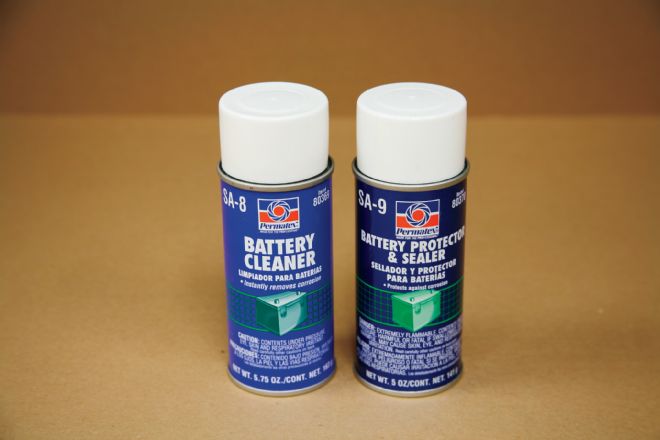
Though the battery will be high and dry protected in its aluminum battery box it's still a good idea to treat the terminals with a good battery protectant/sealer to help guard against ugly and possibly damaging corrosion. The sealer is something anyone can add to a battery at any time as long as the terminals are cleaned well beforehand using a battery cleaner like the Permatex products shown here. Another option for corrosion protection of electrical connections is the use of Dielectric grease or liquid electrical tape, again something along the lines of these Permatex brand products. While I'm talking about electrical accessories, here are a couple more that'll be used in connection with our Model A's new battery and box. One is a Painless Performance 40100 Battery Cable Kit, which consists of 16 feet of 1-gauge red positive cable, 3 feet of 1-gauge black negative cable, side-post adapters, and crimp ring terminals. The 40140 Ground Strap Kit shown consists of a 14-inch 1/0 heavy-duty strap, three 11-inch 10-gauge straps and self-tapping screws (also from Painless Performance).