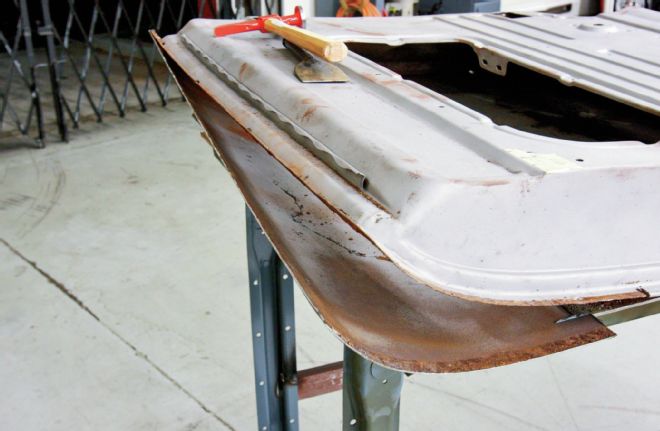
Repairing doorskins, either by replacing them entirely, or fitting lower repair panels, may initially seem beyond the scope of a home-builder. But why? There are no special, exotic, or expensive tools required. If you're tackling bodywork you will already have a welder, hammers, and dollies.
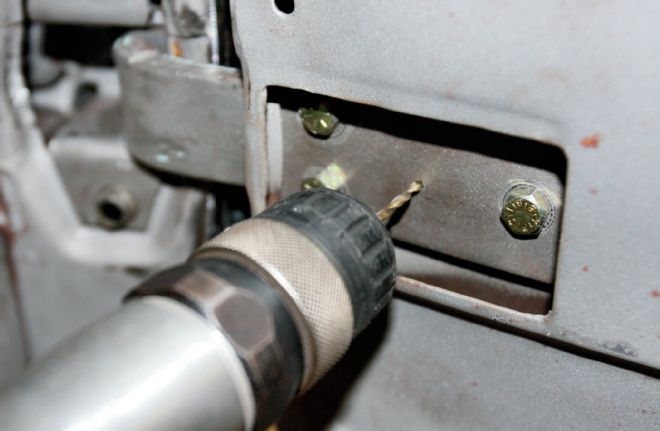
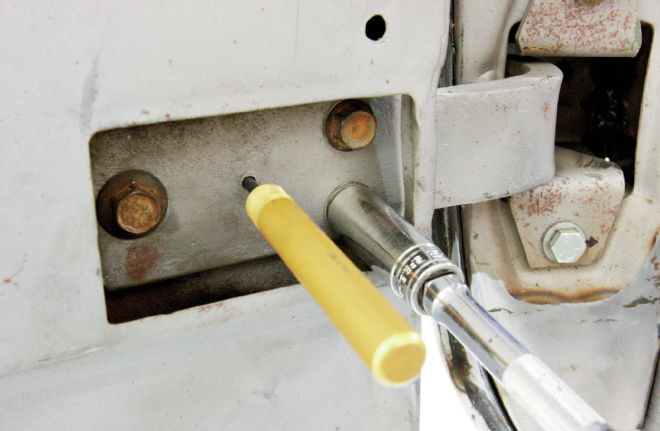
01 Here's an old bodyman's trick. Prior to removing the door (and assuming it fits the vehicle perfectly already) drill a 1⁄8-inch hole through the hinge into the door. This makes alignment so much easier when the door is refitted.
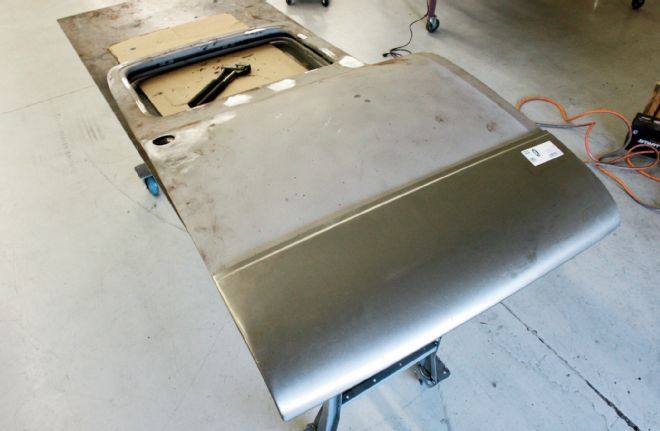
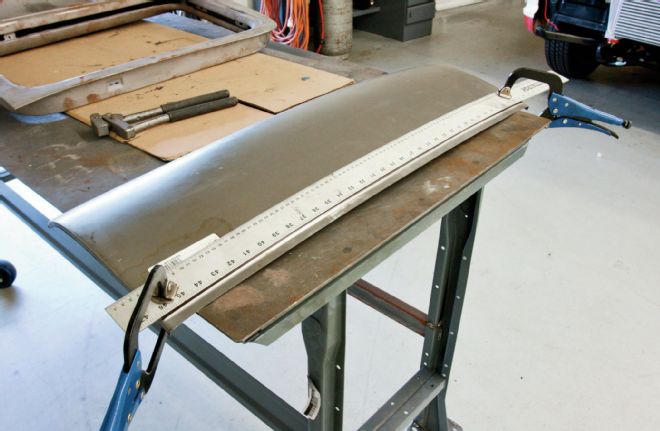
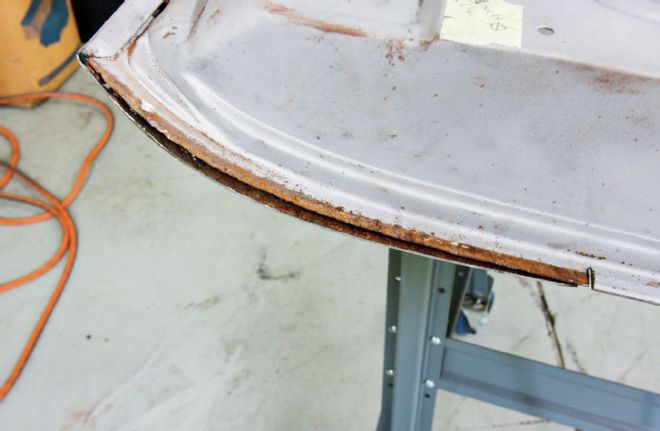
02 The passenger door with the Dennis Carpenter repair panel laid on top. The panel is supplied with a step along its upper edge, which is designed to be tucked under the original skin once trimmed, to aid welding. Always check a repair panel for correct length. The lips at each end should be slightly difficult to wrap around the stock skin.
03 Also check the curvature of the panel to ensure it matches the original. While the passenger door was fine, the driver side had too much curvature at the front and not enough toward the rear.
04 We remedied this using a shrinker and stretcher on the lip until it reached the desired curvature.
05 While the repair panel, like most, already had a stepped upper edge, I prefer to step the original skin, as this makes the "step" face down, and as such is unable to collect moisture as much as an upward-facing step would. Clamping a straight-edge across the panel, the step was scribed and removed.
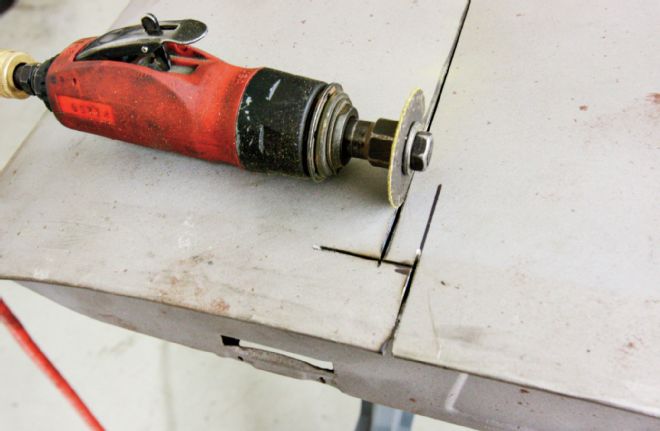
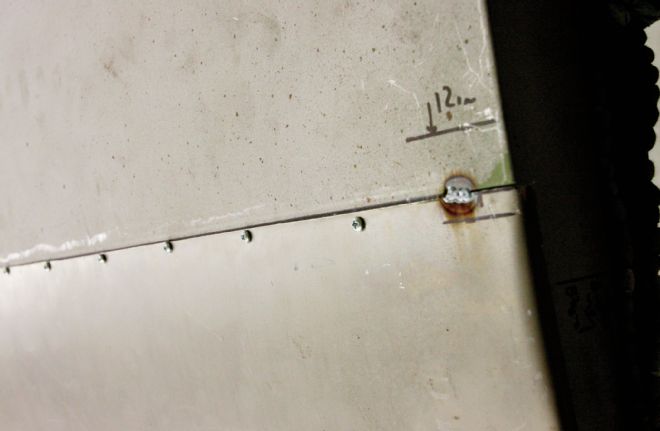
06 Once we had determined the new height of the repair panel from its lower edge, and marked the doorskin accordingly, it was then marked so the planned new 3⁄8-inch step would align with this measurement, though at each end the first 11⁄2 inches were butt welded as the step interferes with the doorframe. The skin was trimmed accordingly.
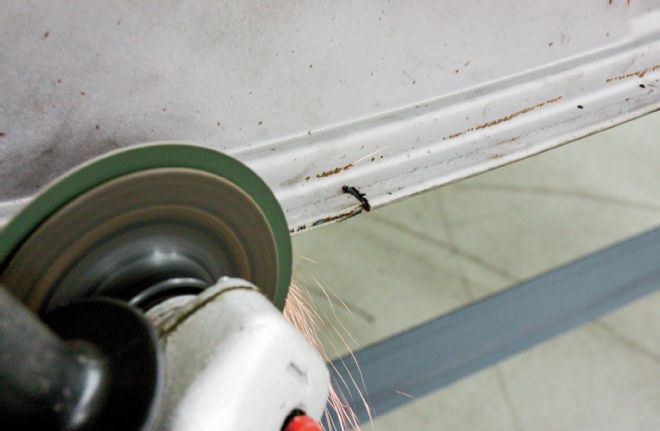
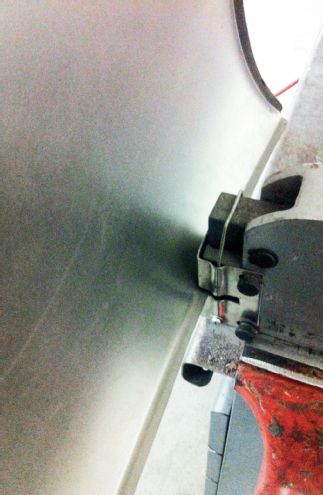
07 The old lower skin could then be removed. This is achieved by using a 36-grit softpad on an angle grinder to trim away the edge of the old skin, until the two pieces of metal separate. Take care not to grind too far and cut into the doorframe, sandwiched between the two.
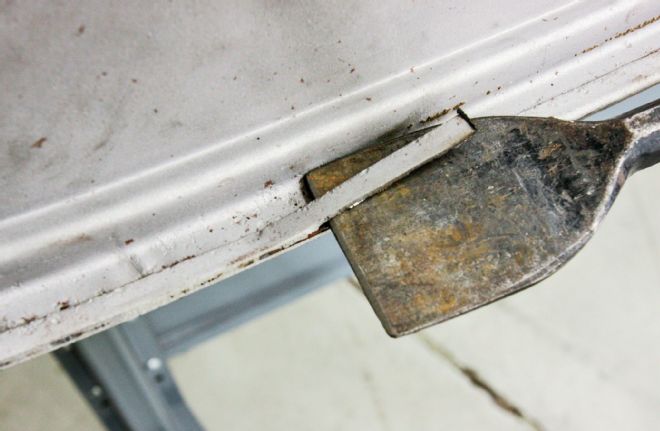
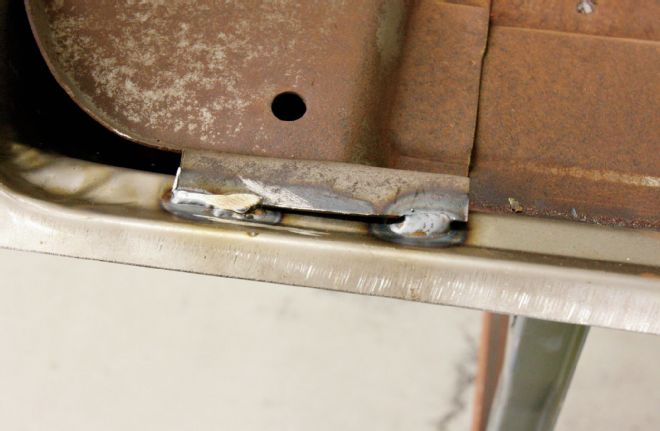
08 The outer skin should fall away, while a chisel can be used to separate the lip that was rolled over the frame. This may or may not have a few spot welds that need breaking loose. There's one just ahead of the chisel here (arrowed).
09 The outer skin is still attached as we only removed a section for illustrative purposes. Now we'll remove the remainder. Note the rust that was between the layers.
10 More grinding and chiseling and the outer skin is separated from the frame.
If you want my advice (I know, you never asked for it, but you're going to get it anyway) think of any such project like this: it's only metal. If you mess it up, you can cut it up and start again. Metal can be welded back together or re-shaped more than once, unlike, say, wood. There are more bodymen than would care to admit who have thought, partway through something like a roof chop, "Uh-oh, I'm not sure I can pull this off," but they do, and so can you. Just take it slowly, plan each step, and be patient. Even the most expert bodymen had to tackle their first doorskin at some point!
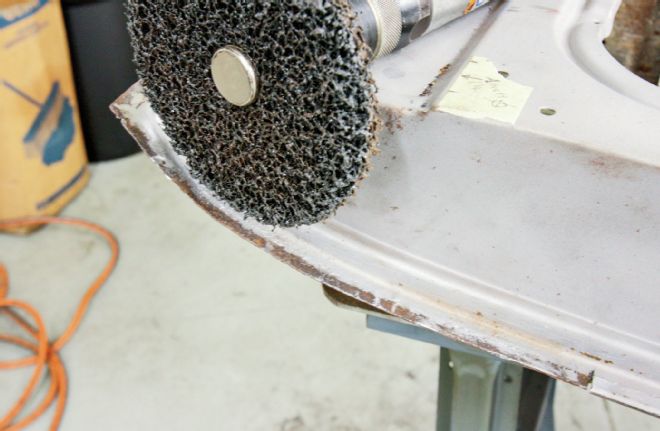
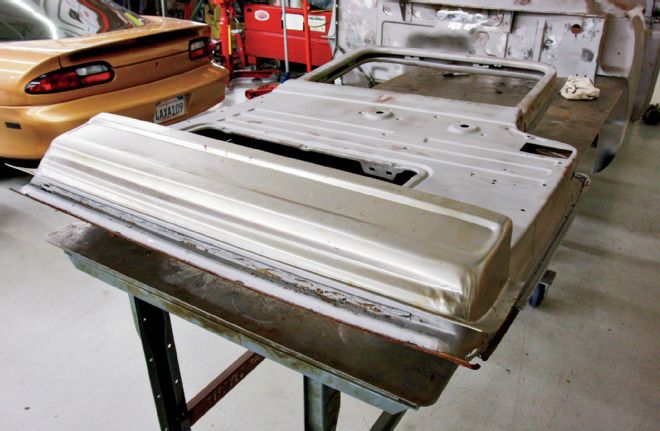
11 We used a stripper wheel to clean the rust away from the doorframe's edge.
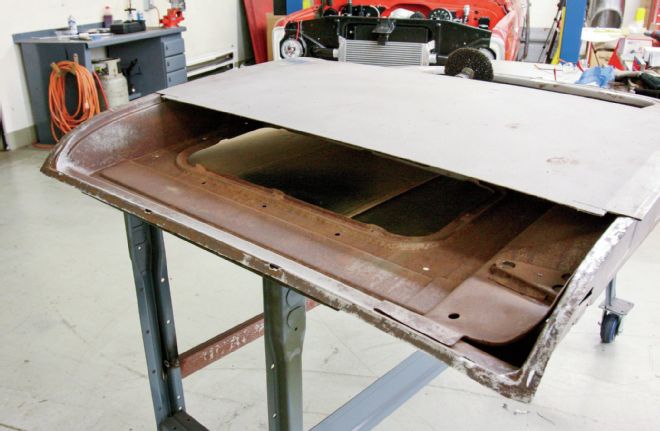
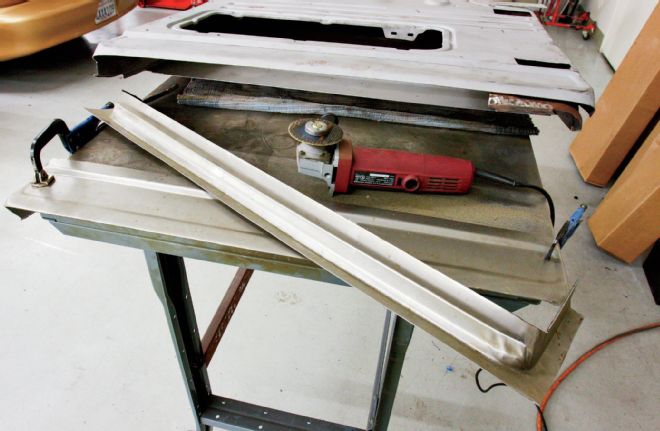
12 The door was turned face up, now cleaned and ready for the new panel.
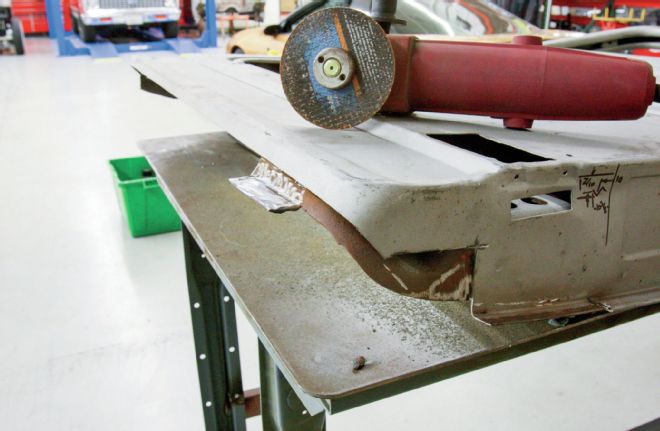
13 Before we continue, we'll move to the driver door, which had rust in the lower frame, and required a replacement inner panel, again from Dennis Carpenter.
14 These panels are trimmed oversize, the outer lip requiring trimming to size, but not yet. We're firm believers in only replacing as much steel as necessary, so planned where we'd cut before breaking out the cutoff wheel.
15 With the damaged areas removed and the inner structure cleaned, we could trim the new panel.
16 This was the section we ended up using, which allowed the weld to be under the lower bend of the doorframe, rather than across the middle of a large flat section, minimizing warpage.
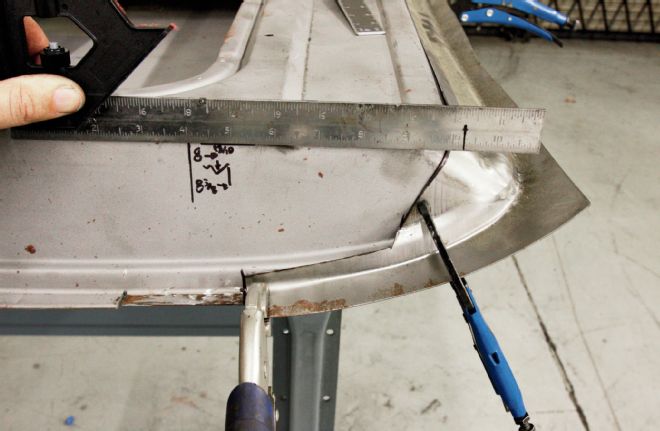
17 Of course, placement of this panel is critical to the fitment of the outer skin, so we took some measurements prior to removing the rusted section, from a datum point to the edge of the lip and the bottom of the doorframe itself. This is marked on the steel at left, though may be hard to understand. We knew what it meant though, allowing us to clamp the new over the old and mark the cuts to accurately place the new section.
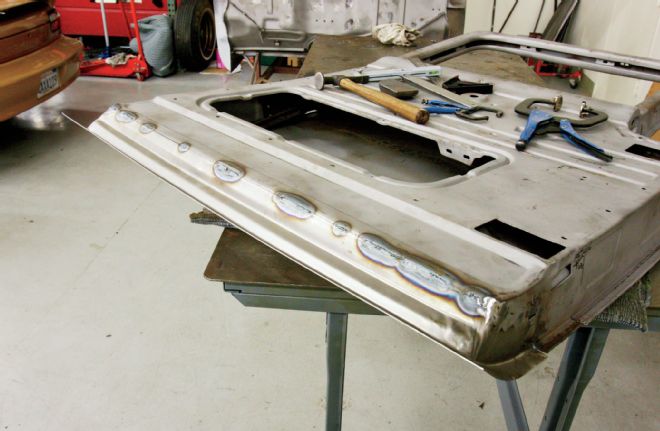
18 As usual with sheetmetal repairs, short sections were welded at a time to minimize warpage. You can see here and in the previous picture how oversize the lip is on the new panel.
19 Finish welded and the lip trimmed to size.
20 Turning the door over, the inner braces were welded to the new lower doorframe.
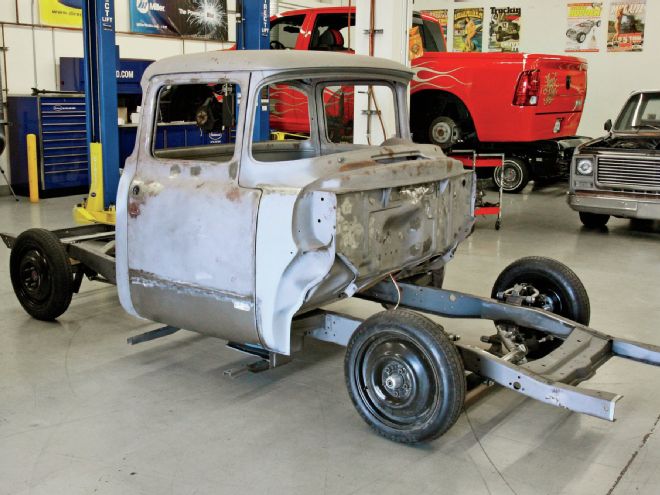
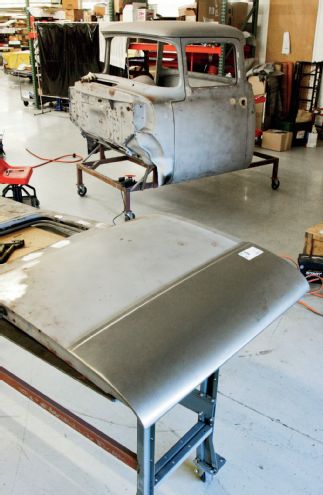
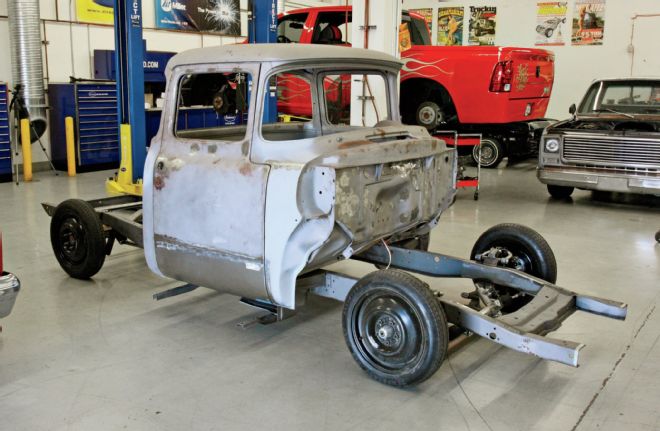
We're continuing the build of the F-100 on which we've previously replaced the lower A-pillars and the driver side floor. The passenger door required a lower outer doorskin repair panel, while the driver's door needed that plus the lower section of the inner door frame itself. All panels were sourced from Dennis Carpenter Reproductions. Here's how your resident out-of-practice bodyman tackled the task…
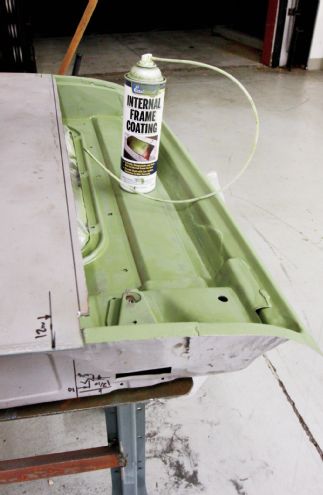
21 We used Eastwood's Internal Frame Coating to protect the fresh steel both inside the doorframe and on the lips, which will be sandwiched between the folded over edges of the new lower skin.
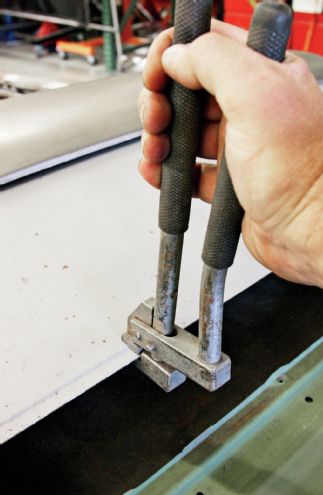
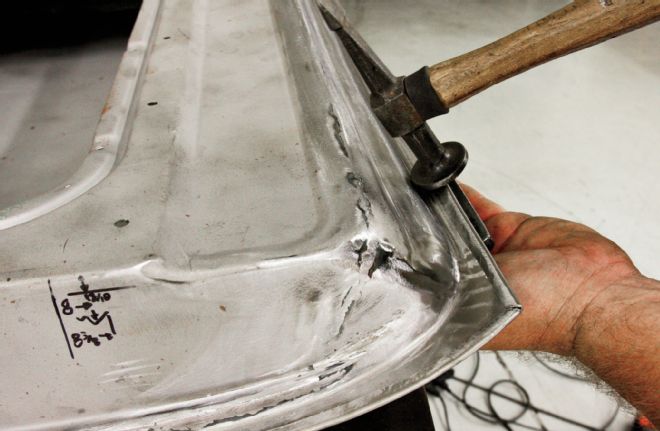
22 We've had this panel flanging tool for some 25 years, but Eastwood sells one very similar that also punches holes for plug welds. We used this to put a step on the edge of the old doorskin.
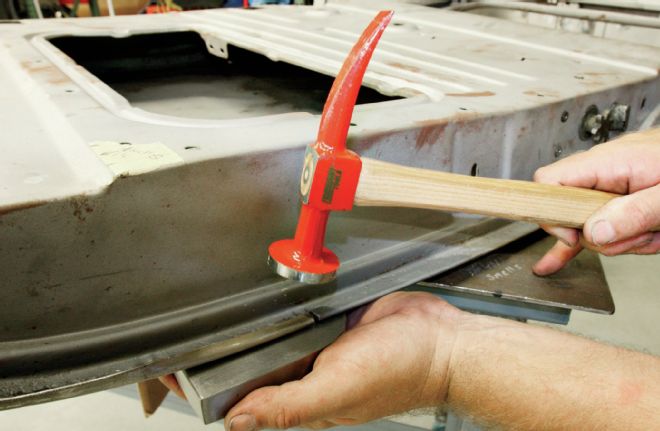
23 The new panel clamped in place, and held across the flanged area temporarily using sheetmetal screws.
24 Here we're starting to weld the butted section. As you can see, once the old panel is flanged, the new section doesn't have a step where it's welded, as it would appear in caption 7.
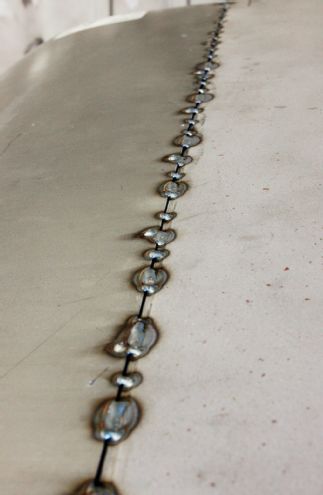
25 With a short section welded at each end of the door to hold things in place, the door was flipped upside down and we could start to hammer the lip over the frame, using a dolly. Take care to fold it over in stages, and ensure the edge of the new panel lines up with the edge of the original.
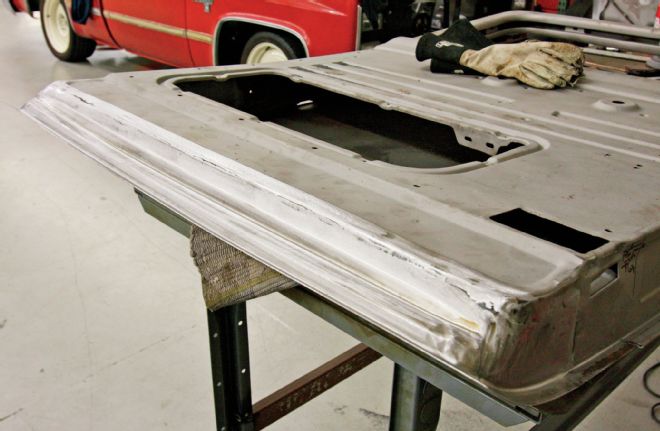
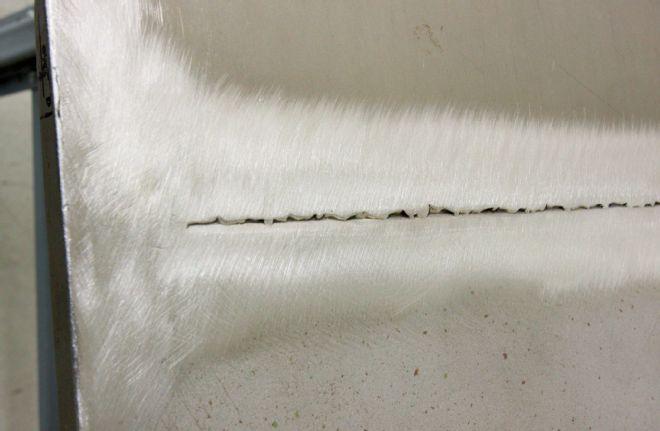
26 Here you can see how the corner of the door folds over the frame. It's often a good idea to add a tack weld here to stop it moving, once the whole lip is hammered over.
27 Flipped over again, we could now start welding across the doorskin, in short sections once more, first with tacks, then with 1-inch sections.
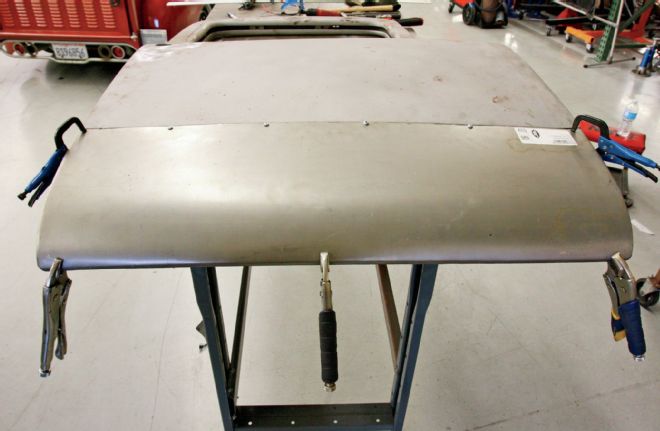
28 Ideally, we'd have had the edge of the new panel closer to the flange, meaning once the welds were ground flush, there'd be very little gap visible, if any, but a skim of body filler will cure this. The main thing is the edges of the panel line up, the new metal is in the right place, the welds have good penetration, and the door isn't warped. A smooth panel would just be a bonus!
29 Time to re-fit the doors. Remember our 1⁄8-inch holes? Aligning the doors was pretty simple now!
30 One step closer, and yes, the door gaps align nicely with the adjacent panels.