
It doesn't matter which manufacturer a classic truck originated from. The older it gets, the more likely it's going to have problems associated with rust burrowing holes in the body. Add 50-plus years to the equation and if the truck in question has ever been exposed to wet weather it's a guarantee there will be rust damage. Although different years and various makes all have an area that's uniquely prone to rust, all trucks are susceptible to cancerous driprails.
Age and exposure to the elements breaks down the schutz (caulking), transforming it from a flexible resilient material into one that's brittle and cracks open. The very first incursion of water permeating the schutz enters through the cracks between the roof panel and where the driprail meets; there rust begins. Similar to cancer in humans, the longer rust goes undetected or ignored, the more damage the roof is going to incur.
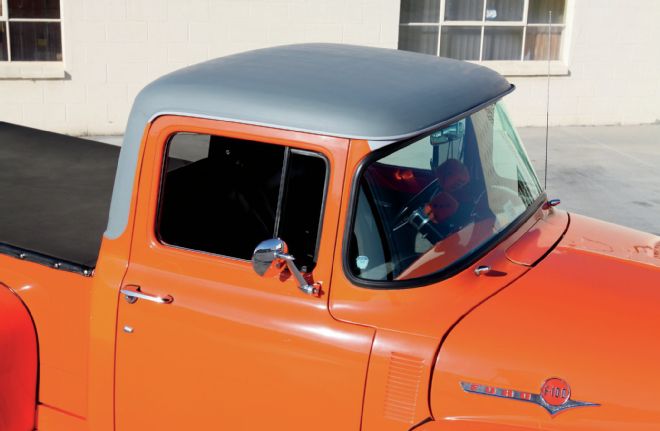
In the instance of Chris Travers' orange 1956 Ford F-100, the previous owner took the loving hands at home approach and put a Band-Aid over a gaping hole. This repair took place over 30 years ago, and there was no ill intent involved. He took an ROP course and gave learning bodywork his best shot. Who's to say what the 1956's roof looked like before he started. Maybe there was already a lot of rust damage and the previous owner retarded further harm, or perhaps he created an environment rich for troubles to multiply.
This is not to say packing one's own wavy bodywork with polyester body filler is such a bad thing; after all, it did take decades before Chris' 1956 had a serious pimple problem. If a person did his or her own work and was aware how much Bondo was used it's one thing, but if a shop claimed a job like this was metal-finished it would be fraud.
Chris planned originally to do the rust repair needed on the roof by himself, but an exploratory grind into its deep-rooted rustiness suggested the job would better be left to a pro. Chris packed the pre-formed three-piece driprail kit from Mid-Fifty, and drove to Chopit Kustom in Stanton, California. Thanks to Gary Chopit, along with his son Nicolas, Classic Trucks is able to show its readers how the best of the best go about repairing an extremely rusted 1956 F-100 roof. Naturally we don't assume just by following this tech everyyone will be able undertake a job like this, but no doubt there's going to be some tips that will make anyone's attempt turn out with better results.
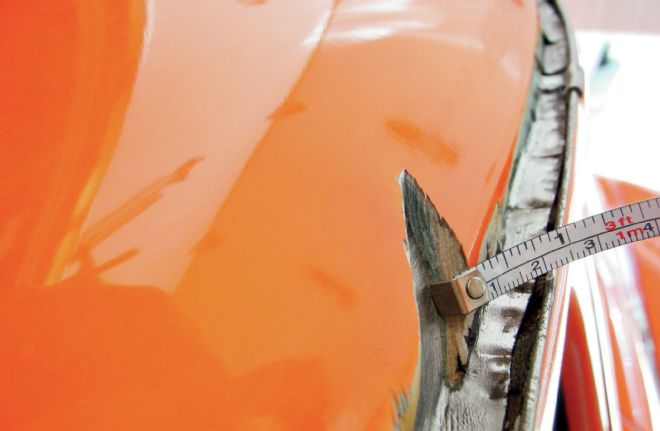
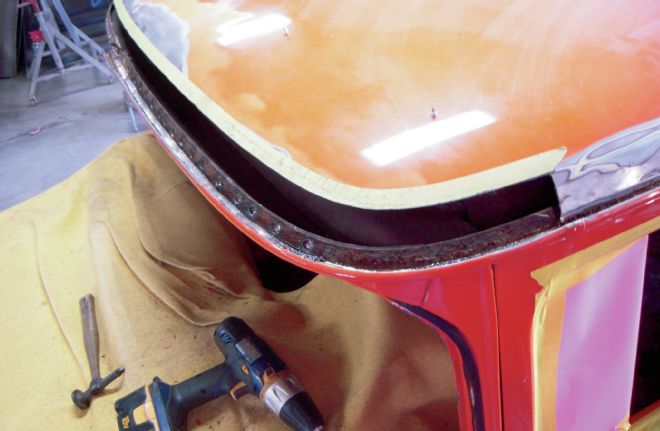
1. Bondo 1⁄4-inch thick. Moisture enters through cracks in the driprail schutz, and left unchecked, rust spreads like cancer. The bodyline was sculpted in Bondo instead of forming metal.
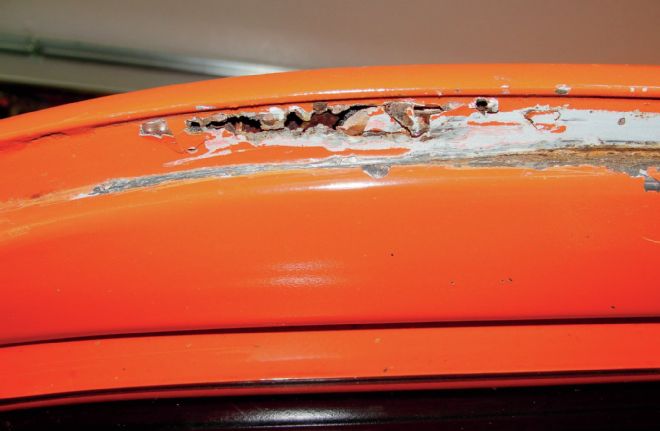
2. What appear to be tiny rust bubbles in the paint are just the tip of the iceberg. Scraping the paint revealed rusted-out sheetmetal laced with Bondo, brazing rod, and patch panels.
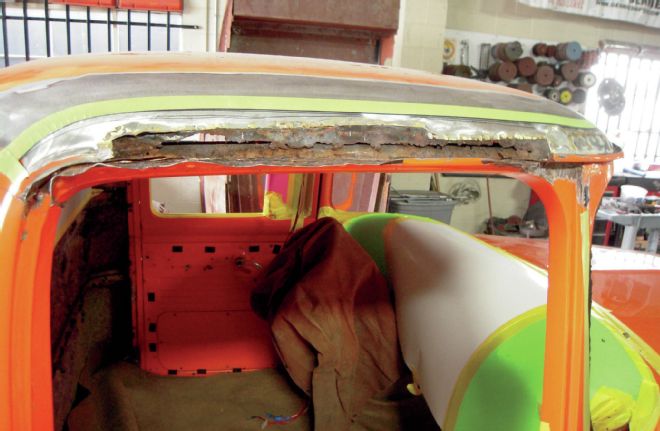
3. The green masking tape helps to lay a straight edge to form the cut line. Note the area being cut out is well into good steel.
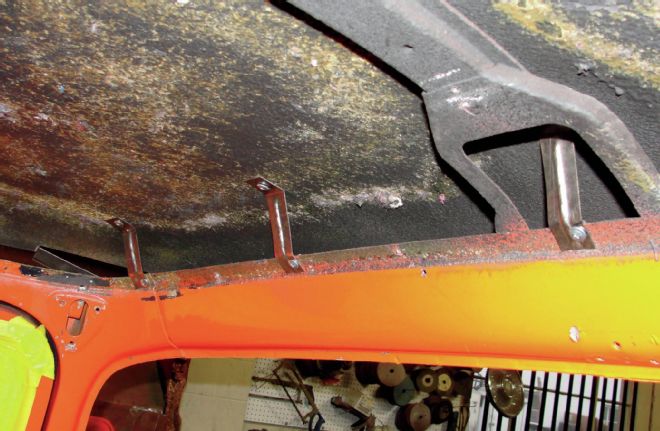
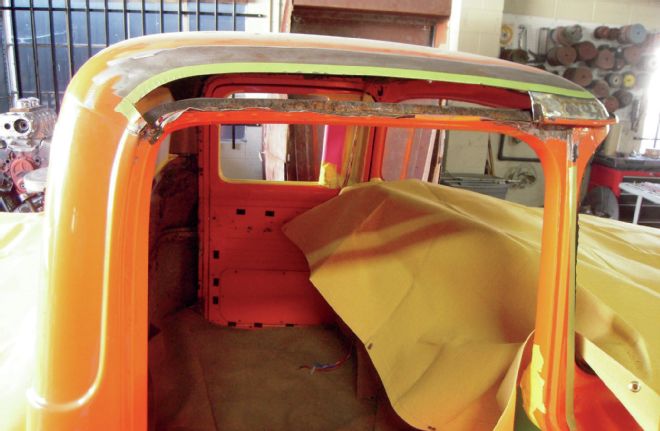
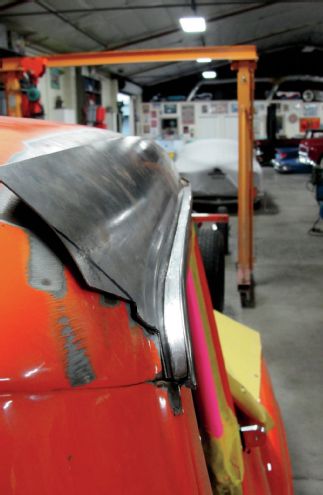
4. Major regrets if one fails to take this precaution: Before cutting Nick formed these braces to keep the front of the cab from springing. Note the detail added to strengthen the brace.
5. The original front driprail and the rusted area of the roof were cut from the cab. Cuts can be done with a 4-inch cutoff wheel on a die-grinder or electric body saw.
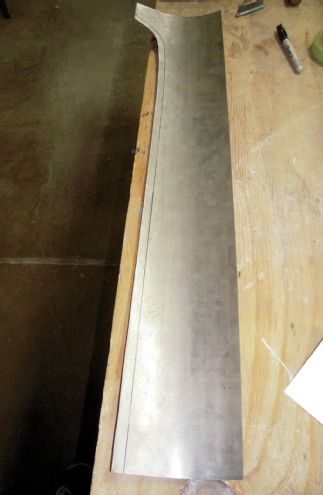
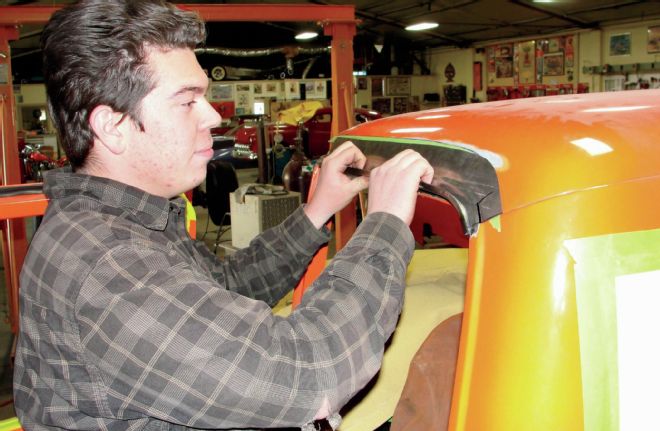
6. Mid Fifty F-100 Parts replacement driprails match the original shape perfectly, but require an experienced metal man to bend (shape) to follow (match) the roof line. The driprails should be installed first to add strength, then fabricate the sheetmetal.
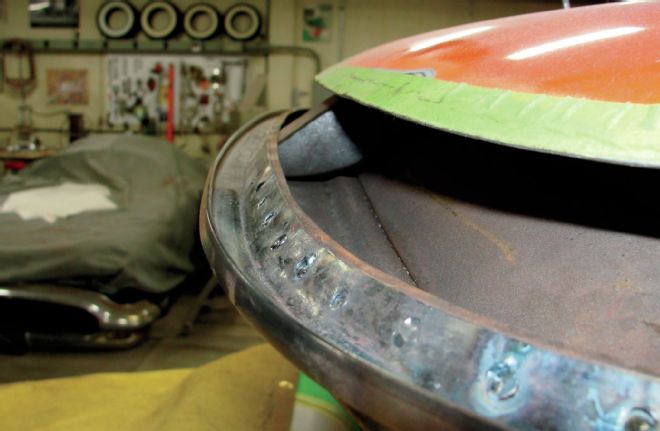
7. An Eastwood air-punch was used to punch holes in the driprail for welding it onto the cab.
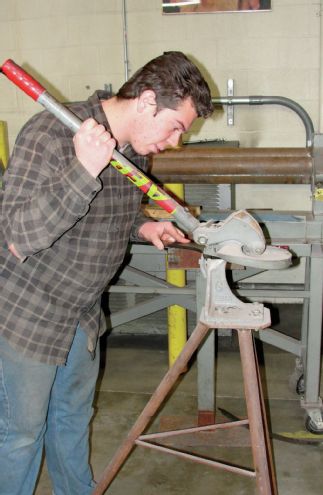
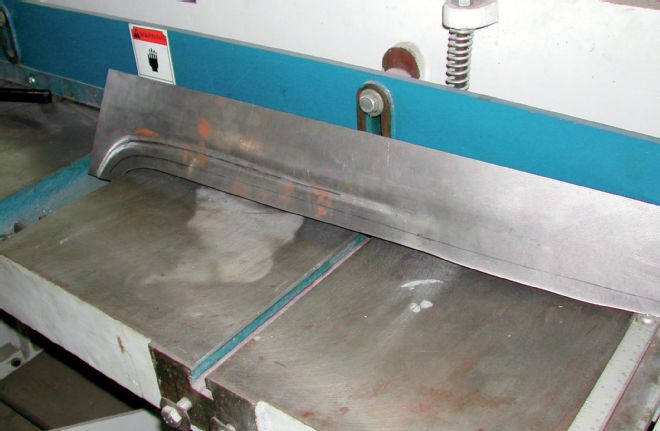
8. Not exactly a task for first-timers, Nick sheared (cut) a piece of 20-gauge steel to fit the front of the cab, and then shaped it to fit with an English wheel.
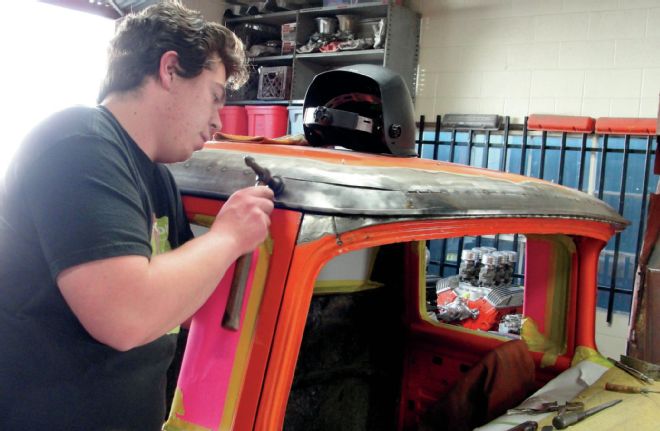
9. For the roof corners Nick formed 20-gauge steel with a sandbag. A hammer was used to shape the piece on the truck.
10. With the front driprail and roof patch panel completed the holes left by the reinforcement brackets were TIG welded shut. Heat warps: TIG was used exclusively because it spreads a smaller heat zone.
11. The lip meeting the driprail on the roof patch panel Nick fabricated was done with a sheetmetal brake.
12. Notice Nick matched up the panels he fabricated to meet with existing seams in the cab. Doing it this way produces results that make it hard to detect where a patch panel has been installed.

13. Mid Fifty F-100 Parts mentions this will be necessary. Nick cut slits in the Mid Fifty replacement driprails to make them conform properly. Once the driprails were welded into place the slits were welded up.
14. Nick used a Beverly shear extensively to cut out patch panels. If you're starting to get the idea this is a project for advanced DIY guys with a good assortment of specialty tools, you're right.
15. Nick shaped the side panels using the English wheel, and then a bead roller to start the indentation for the bodyline. These are all tools that are available from Eastwood.
16. Notice the bodyline partially formed by the bead roller. Nick finished (completed) the bodyline using a hammer and dolly.
17. A hammer and dolly was used to fold the lip after the bodyline was formed.
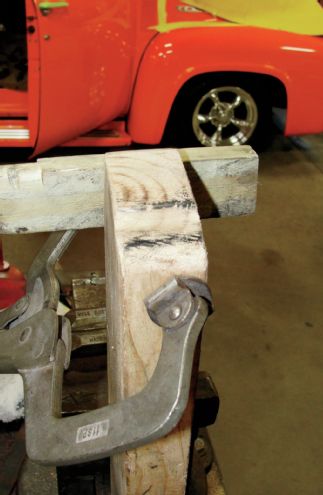
18. Nick made a wood buck to pronounce the bead and help to shape the side panels.
19. Shaping and fitting the side panels was a process of fitting and removing until the newly fabricated panel fit perfectly.
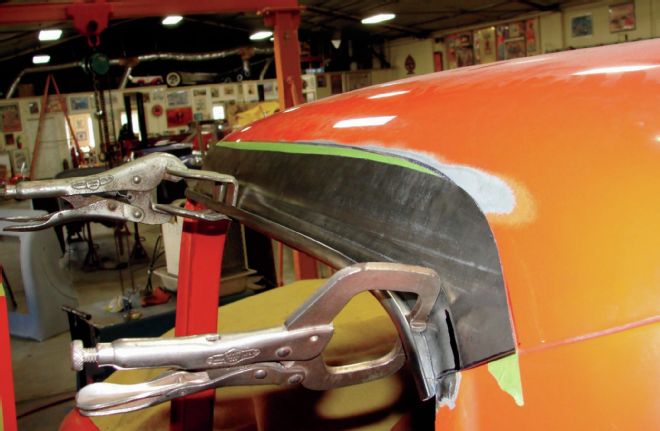
20. C-clamp jawed Vise-Grips are a tool that's essential to clamping everything together to keep it from moving while being tack welded.
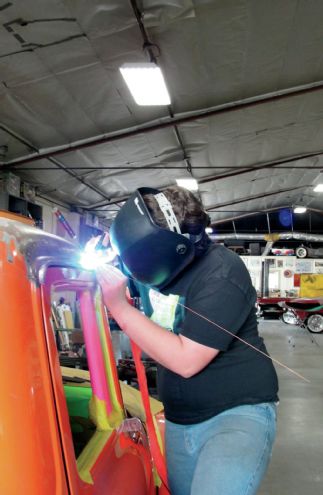
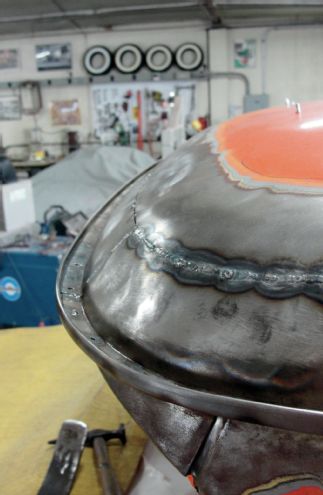
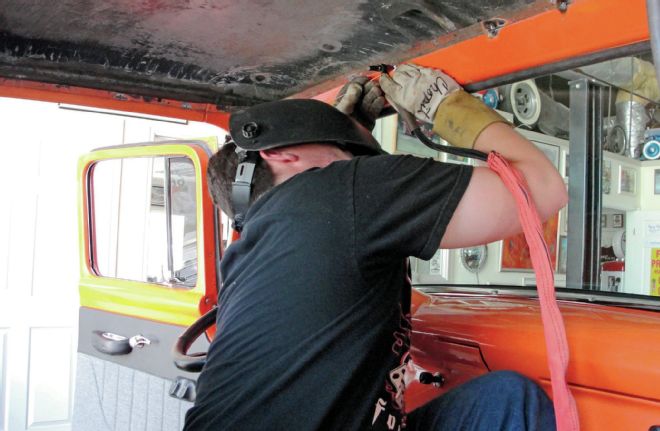
21. After tack welding the side panels in, Nick used a TIG to butt-weld the side panels a little at a time. Too much heat and the roof will warp.
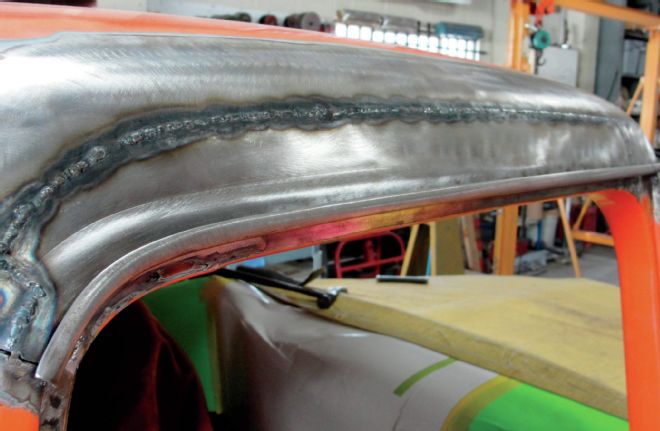
22. Here's the completed weld without one trace of warping, thanks to taking it slow and easy.
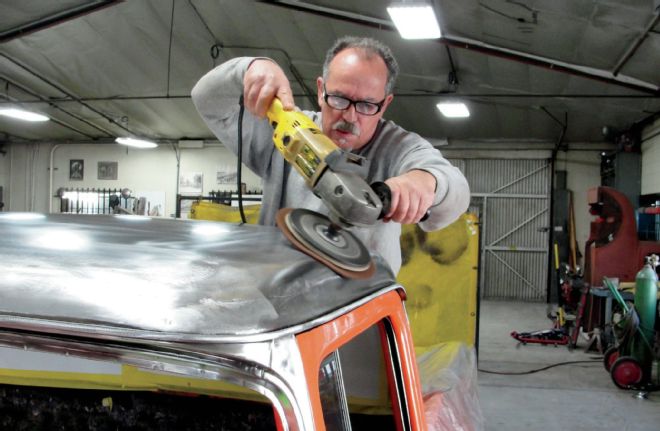
23. Nick used a body grinder to grind down the welds. Grinding creates heat and will also warp the sheetmetal. Needless to say, one needs to watch the heat when they're grinding sheetmetal.
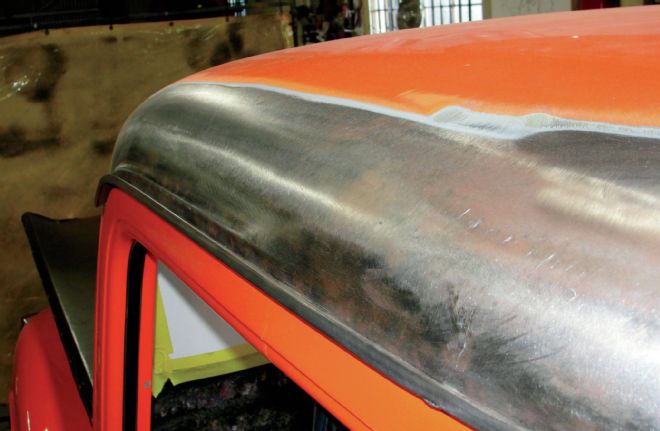
24. That's Gary Chopit. The finishing touch to perfectly executed metal finishing ends with a flexible abrasive disc. Note how the flexing curvature of the disc is used to do the final shaping.
25. Bare metal should be covered with a self-etching primer as soon as possible. To ensure rust would be sealed out until Chris has saved up enough money for complete paint, Eastwood Aero-Spray 2K epoxy primer was applied.