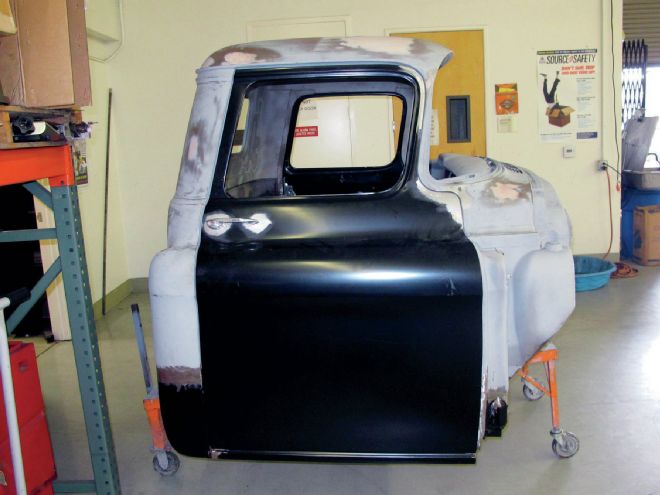
It wasn't all that long ago that building a custom classic truck often meant saving mangled, rusty parts that long ago had outlived their usefulness. Doors are a great example—truck doors are often bent, beat, rusted, and, in general, trashed.
After contemplating resurrecting the doors of his '56 Chevy, our own Source Interlink Tech Center wrench in residence thought better of it and ordered a set of replacements from Brothers Truck Parts. Known for quality components, Brothers has a huge inventory of parts for '47-'87 Chevy and GMC trucks.
Anyone who has worked on early trucks knows that panel fit and uniform gaps were not high priorities when these things were new. However, standards today, particularly Jason's, are considerably higher—he wanted the doors to fit perfectly with uniform gaps. And while he was at it the decision was made to round the leading corners of the doors. Another custom touch was the installation of billet first-generation-style door handles from Eddie Motorsports.
In many cases, custom touches like consistent door gaps, rounded corners, and handles aren't considered a big deal. However, it's all the little details that add up to make one truck so much more striking than another. Here's how you can add that kind of detail to your truck.
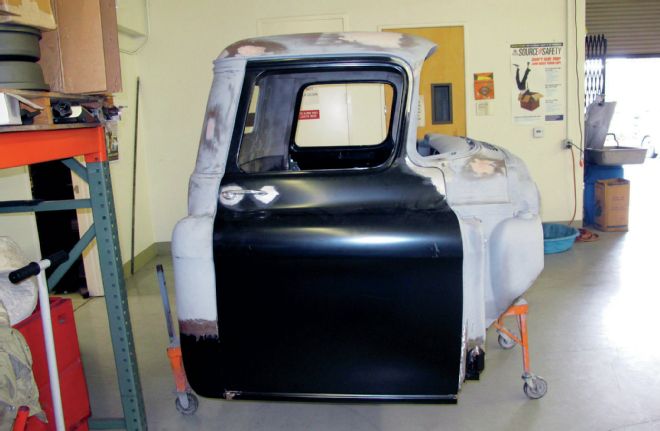
1. New doors and hinges from Brothers Truck Parts and door handles from Eddie Motorsports, along with precision gaps and rounded corners, made a noticeable improvement in the appearance of Jason Scudellari's '56 Chevy truck.
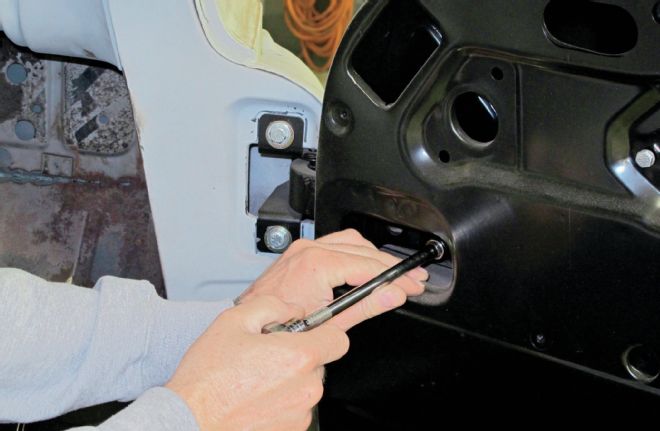
2. New hinges are vital to make doors fit and operate properly.

3. In some cases, a little pushing or pulling on the upper doorframe can improve the fit; not to mention how well the weatherstrip seals.
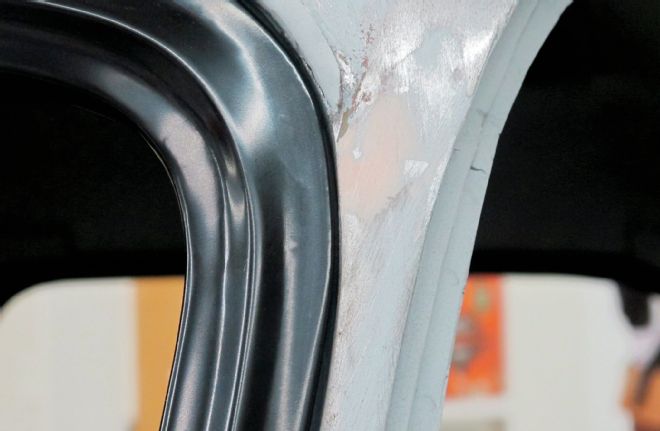
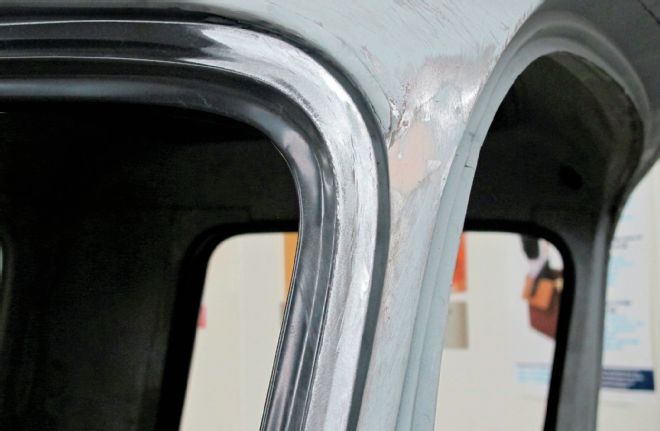
4. Door gaps are often uneven. In this case it is too tight in at the top of the A pillar. The issue may be with the cab or the door, however, it's usually easier to change the door than the opening.
5. Jason simply ground down the edge of the door until the gaps were even.
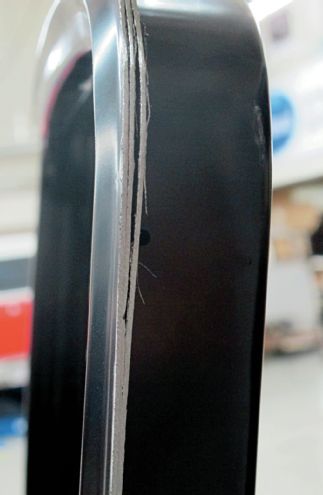
6. In some cases, grinding will cut through the folded edge of the doorskin and two edges will be visible.
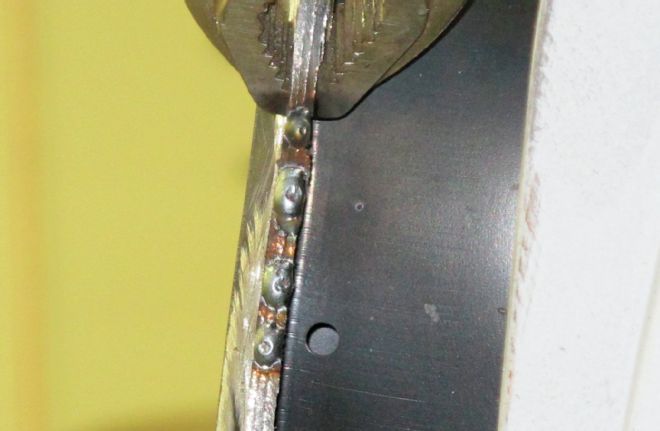
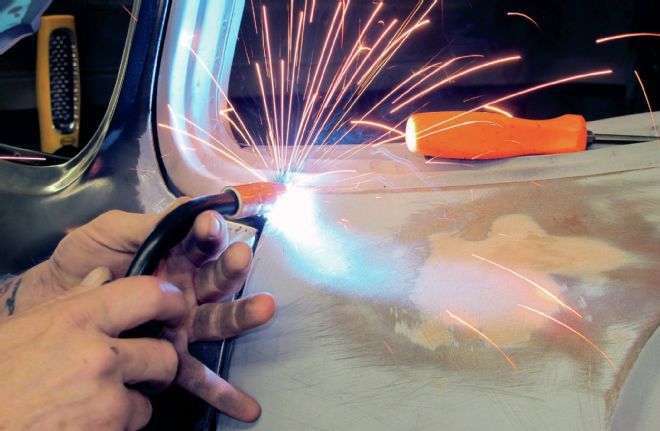
7. The cure is to simply clamp the layers of metal together and weld up the edge.
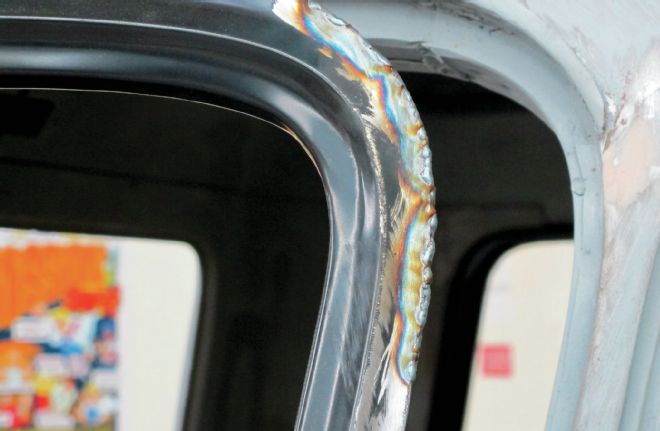
8. Here, the top edge of the door has been welded
9. After grinding, the gap between the door and body is perfectly uniform.
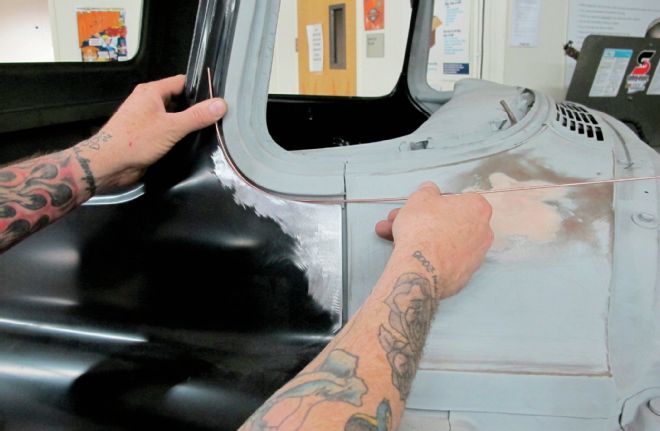
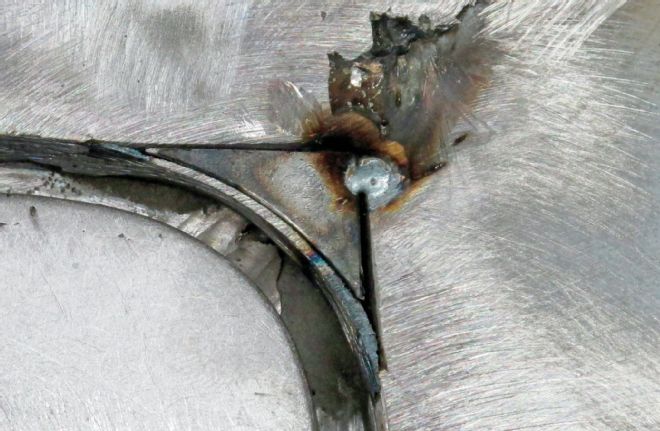
10. In some instances the gaps need to be closed. In this case, a length of welding rod will be added to the edge of the door.
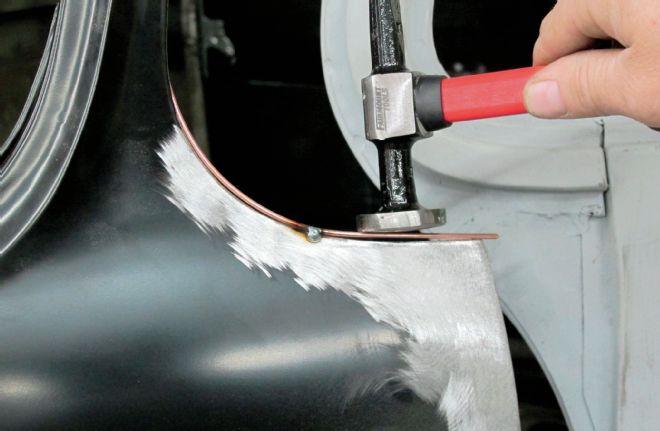
11. The welding rod was tacked to the edge of the door. A body hammer was used to gently tap it into the proper shape.
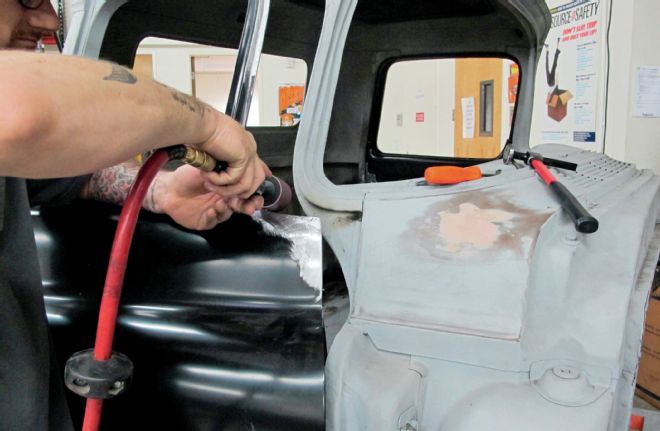
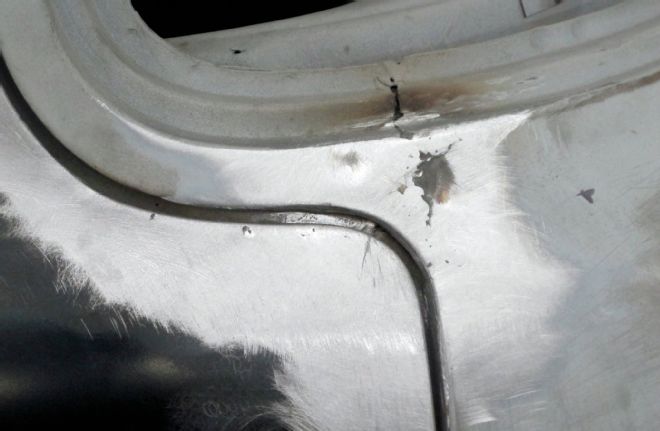
12. After completely welding the rod to the door, the final fitting was done with a drum sander.
13. The end result was a consistent gap, but Jason wasn't quite done.
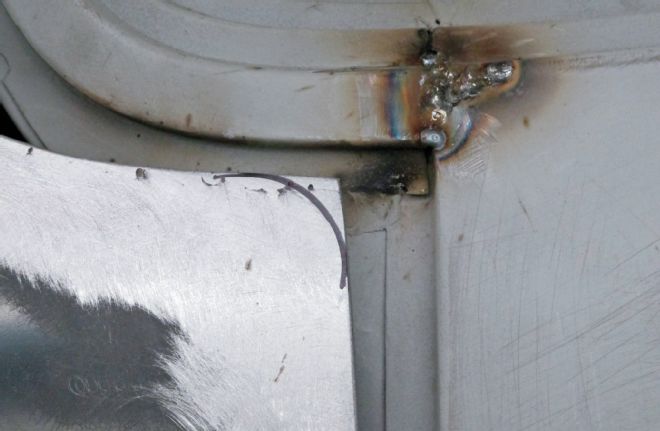
14. To smooth the surrounding area, the factory body seam above the door was welded and ground smooth.
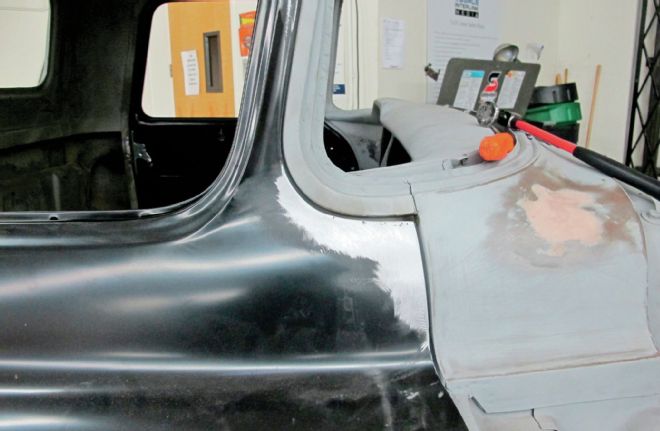
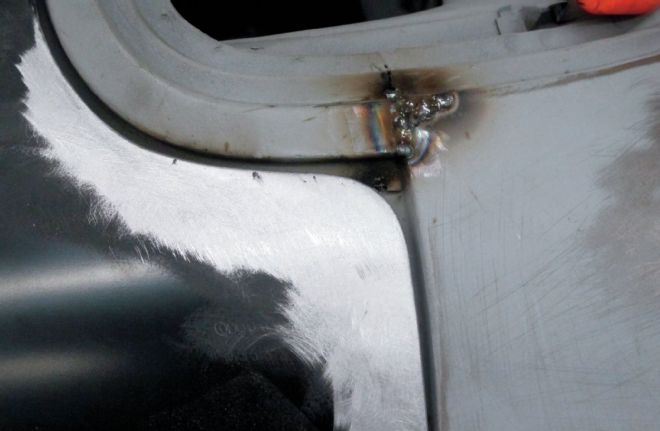
15. A subtle modification is to round the leading edge of the door opening to match the curve of the windshield post.

16. The initial trimming was done with a cutoff wheel.
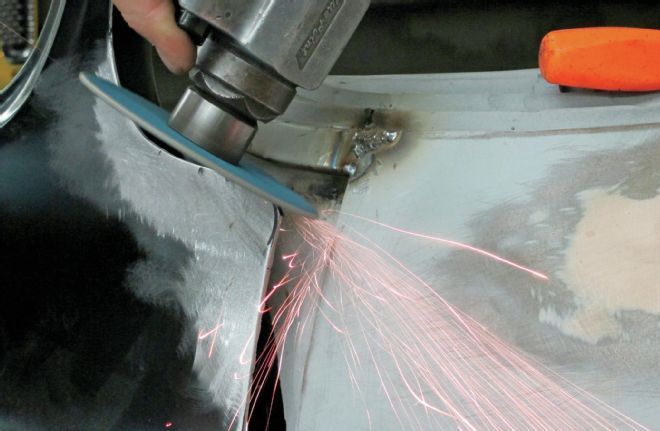
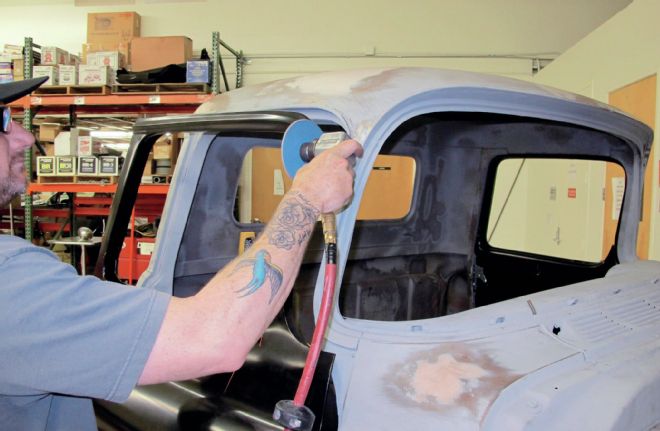
17. The final shape was established with a 36-grit disc on an air grinder.
18. Like the upper doorframe, the edges of the door had to be welded. Here it is after grinding.
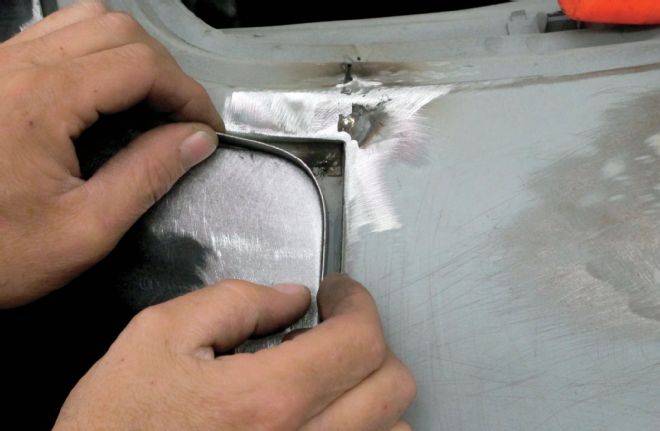
19. To form the rounded edge in the body, a filler piece of sheetmetal was wrapped around the modified door.
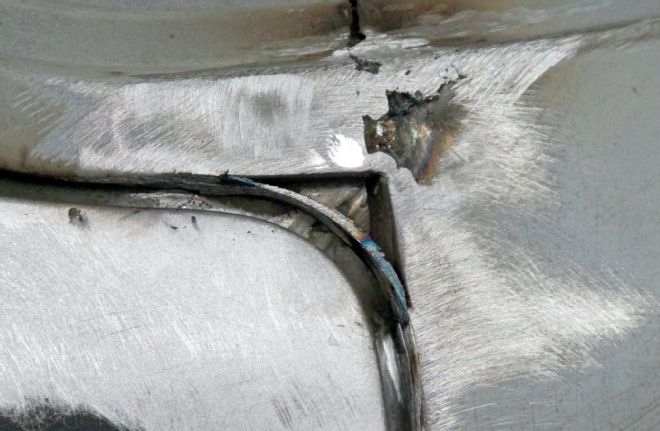
20. Tack-welded in place, the new piece follows the shape of the door and establishes an even gap.
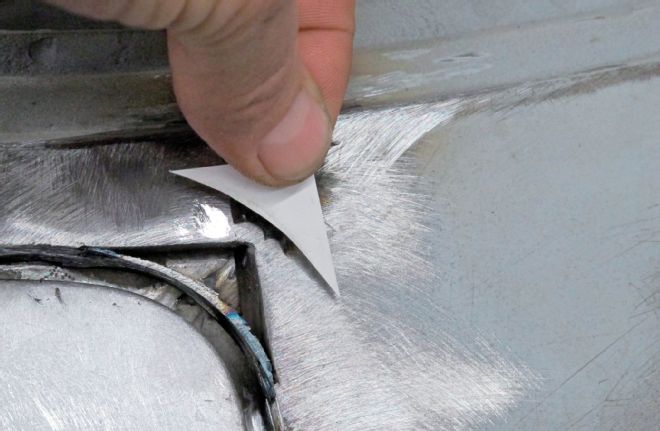
21. Next, a small filler piece was cut to “re-skin” the outer edge of the door opening.
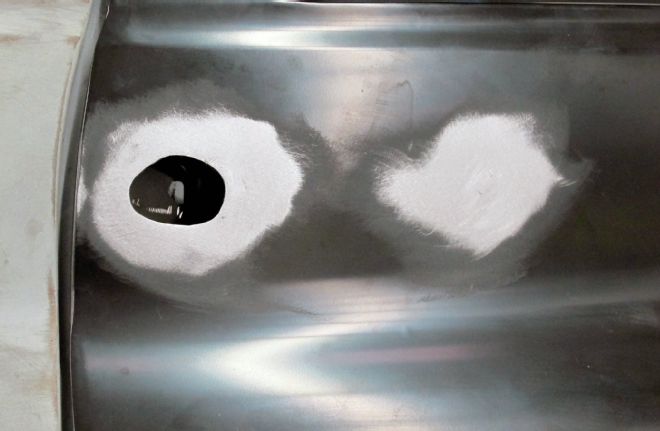
22. The filler piece was tack-welded in place and the gap was checked.
23. Happy with the fit, Jason welded the filler piece in place and ground the surface smooth.

24. With the door gap issues resolved Jason turned his attention to installing the first-gen Camaro door handles. First, the shape of the new handle was traced on the door.
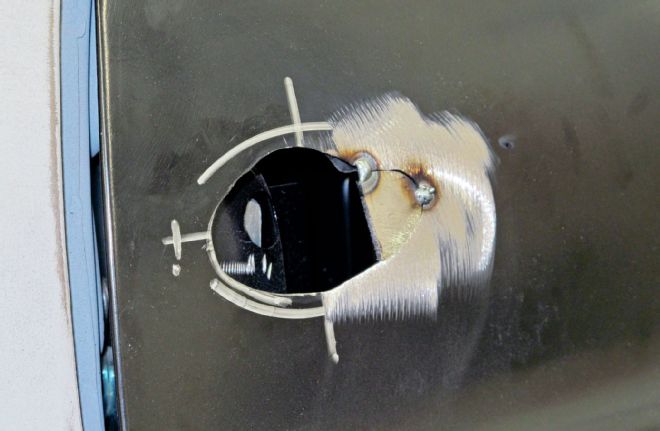
25. The tracing revealed that the original door handle hole would have to be partially filled.
26. The large hole to the rear of the door was modified and a new hole for the stud on the handle would have to be drilled.
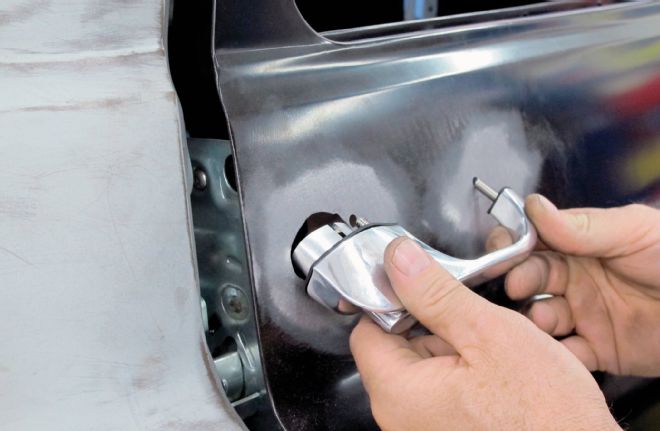
27. Stock Camaro hardware holds the new handle in place.

28. The Eddie Motorsports billet Camaro handle looks clean and it works with the original truck door latch mechanism.