In California it is kind of a running joke that you don't really need windshield wipers – it never rains anyway. Well if you're not one living in a temperate climate and you're building, or driving, a daily driver, you will see rain, hail, dew, and probably frost. And you know best that those damp misty northern mornings sure are a great time for wipers.
As a reminder, I recently tried running without wipers and it sucked, so I called Mid Fifty F-100 Parts up and had Diane send me a kit with a brand-new motor and all. Once installed, I had no future problems with morning moisture on my windshield, and have enjoyed the reliability of the new components more than a few times since.
Now, as luck would have it, we have a 1955 Ford F-100 in the shop that is getting a complete wiper system and I was also installing a new motor and switch assembly in my new 1956, and Mid Fifty F-100 Parts came to the rescue again with everything we needed to update both trucks.
For the 1955, Diane sent over a complete system, motor, mount, arms, transmissions, wiper arms, blades, the works. For my 1956, I had her send me a new motor, mount plate, and switch. (I chose to use an intermittent delay switch connected to the new stock-style motor.)
The wiper assemblies for the 1953 to 1955s are mounted inside the cab, up under the dash. They use the wiper transmissions and the cowl-vent-handle bracket for mounting. The originals were 6-volt positive-ground, but these new reproductions are modern 12-volt negative-ground instead.
The 1956s are mounted on the firewall in the engine compartment. These were actually 12-volt negative-ground in 1956. The arms run inside the cab to the transmissions. All 1953 to 1956s use the same transmissions, nuts, and trim rings though. The 1956 nuts were actually slotted and require a special tool to install. The 1955 and earlier versions had the hex nut. (I always use the hex rather than the slotted nuts.)
This new intermittent switch option is really cool. The switch itself has the electronics to make the delay work. Simply wiring this switch to the stock-style reproduction motor gives you variable settings for the intermittent and two-speed fulltime operation. It even has the capability to activate a washer pump to squirt the window and then wipe the window three times. This is going to come in handy in the near future. Mid Fifty has a window washer setup that mimics the stock stuff. I'm going to install one and obviously use the switch. Follow along as I install a couple of wiper systems and an intermittent delay switch as well.
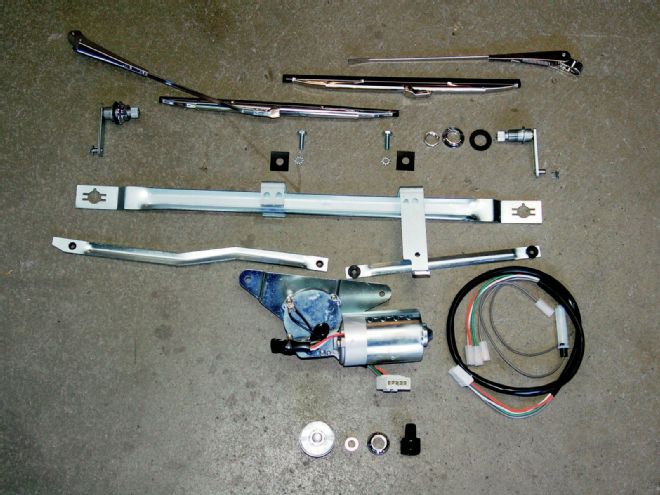 1. Whether you have a 1953-1955 or a 1956, Mid Fifty can set you up when it comes to windshield wipers. These complete assemblies are the way to go. Everything is new and in perfect working order. Their kits include everything needed from wiper arms and blades to the motor and arm assemblies. The kit also contains new wiper transmissions, bezels, gaskets and nuts, new motor, switch and wiring. It even includes the dash bezel, nut, and knob for the switch to finish off the installation.
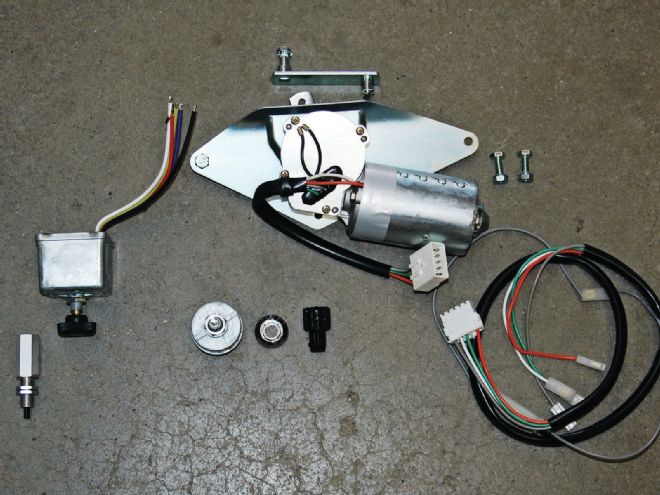
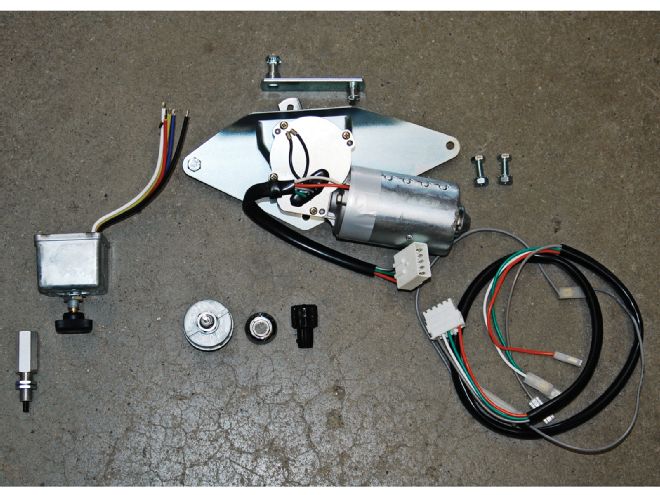 2. For the 1956 pickups, the wiper kit contains the new motor, mounting plate, wiring, switch with the wiper bezel and proper nut. The proper stock knob finishes it off. I have upgraded and added the intermittent delay switch to mine. This switch also has a provision to activate a washer pump assembly. (Something I'll be adding to my truck in the near future.)
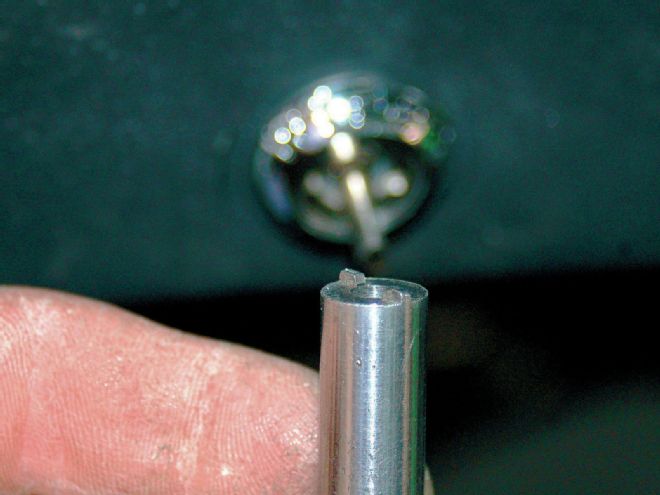
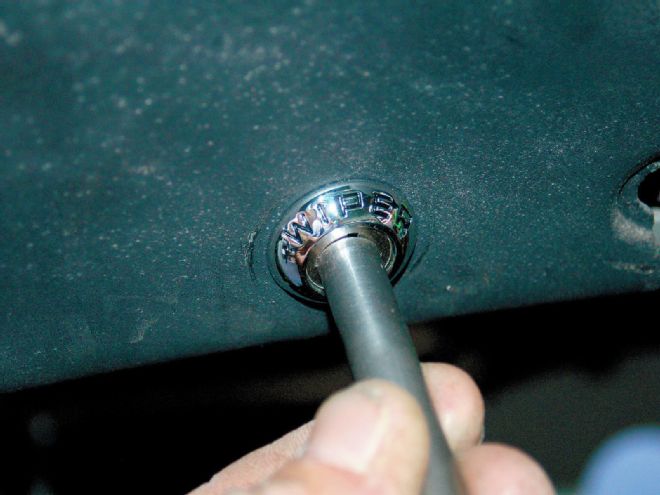
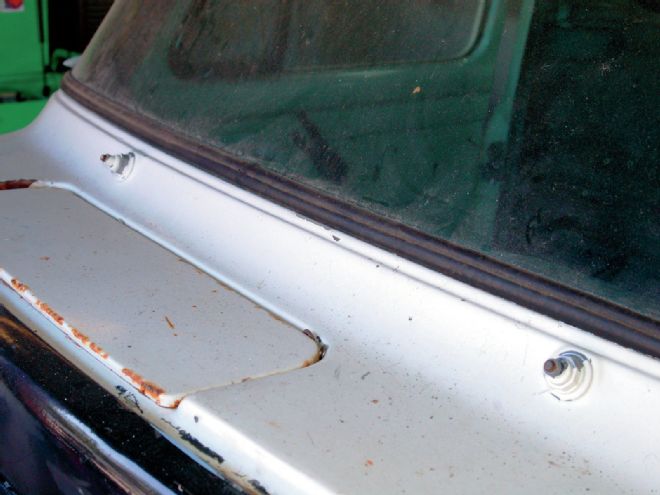 3. This is what you will usually find on these trucks – 60 years of abuse and multiple paint jobs. Both of these knurled ends have broken off, which means the whole transmission assembly needs replacing. Plus new nuts, bezels, and gaskets are a nice detail as well.
 4. With the Mid Fifty kit, all the old stock mechanisms get replaced. This one has had the motor relocated to clear something that was mounted under the dash at one point.
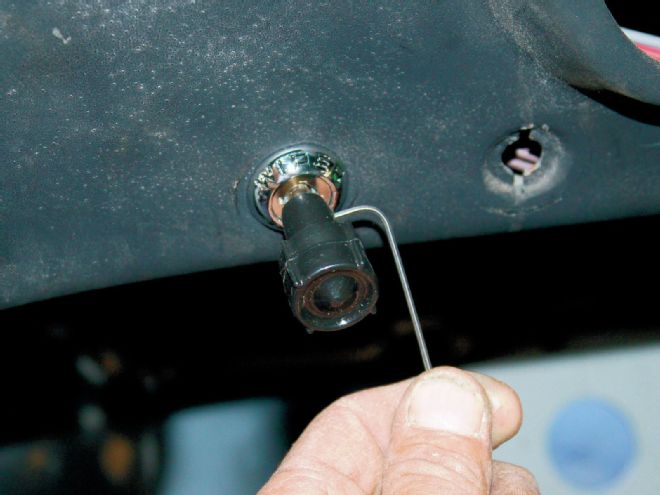
5. Instead of the proper clip to retain the arm onto the transmission, a previous owner used a lock ring thing off of a GM tilt steering column to lock this one. Seemed to work though.
4. With the Mid Fifty kit, all the old stock mechanisms get replaced. This one has had the motor relocated to clear something that was mounted under the dash at one point.
5. Instead of the proper clip to retain the arm onto the transmission, a previous owner used a lock ring thing off of a GM tilt steering column to lock this one. Seemed to work though.
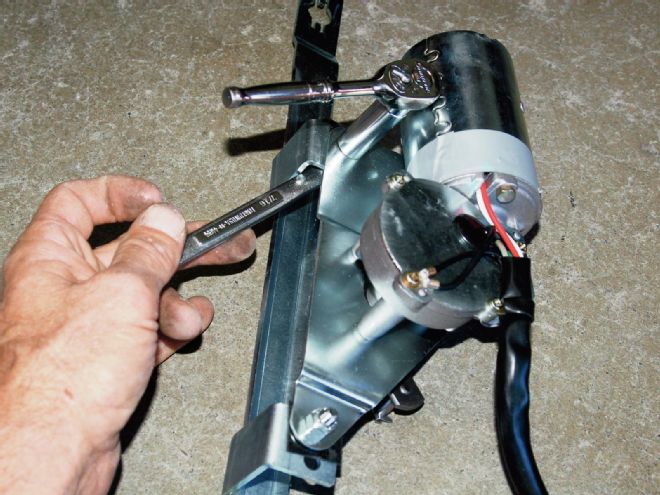 6. I preassembled the wiper motor to the mounting framework and installed the arms and transmissions.
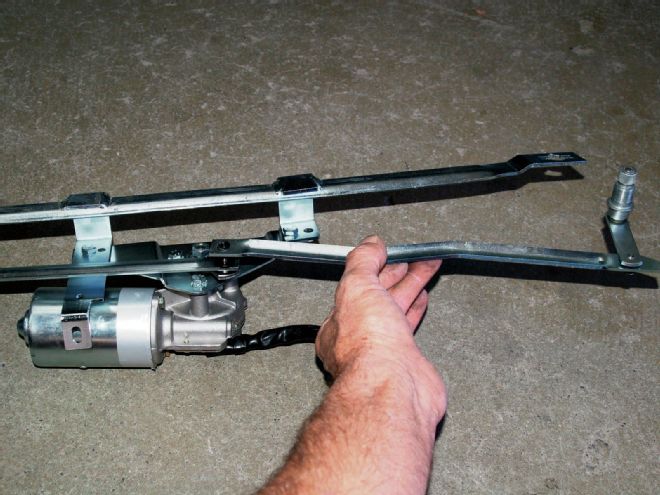
 7. Assembled and ready to install. This is really a slick way to renew your complete wiper assembly. Something that doesn't mean a thing right now, but when you are out cruising and the rain starts falling, you've got it handled.
 8. Assembly of the arms is pretty straightforward although the instructions will guide you through. I put the short arm on first then the longer arm.
 9. I installed the correct clip on the shaft to retain the arms. The same clips (provided in the kit) are used at the transmission end of the arms also. You need a total of three.
 10. This front view shows the motor mounted, arms installed, and the transmissions in what I thought was “park” position. It actually is with the arms all the way the other way.
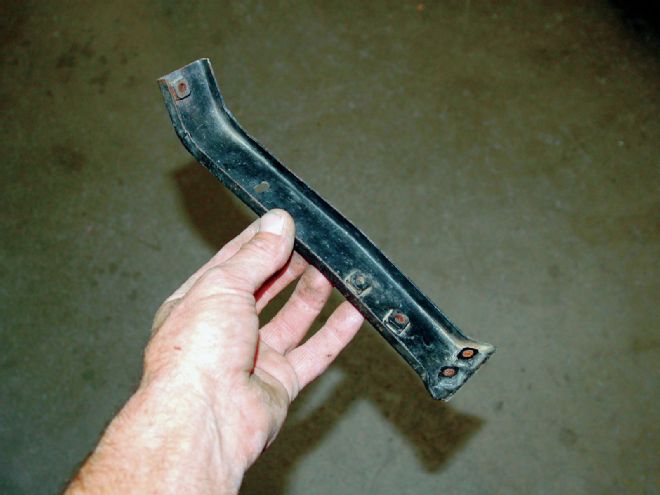 11. This stock dashboard brace is also used to mount the cowl vent handle. The 1953 to 1955 braces have a slotted hole for the wiper mechanism. The 1956 also use this brace and the cowl vent, but the wiper motor is mounted in the engine compartment rather than under the dash.
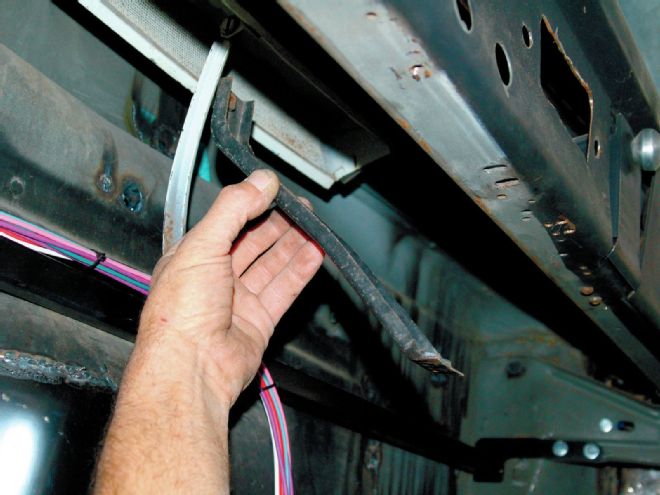 12. The brace fits up behind the dash as shown.
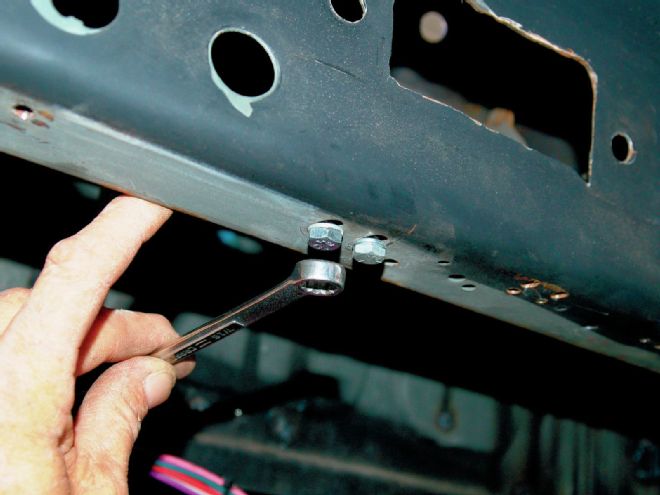 13. The brace bolts to the bottom of the dash and up at the cowl vent with 1⁄4-inch bolts.
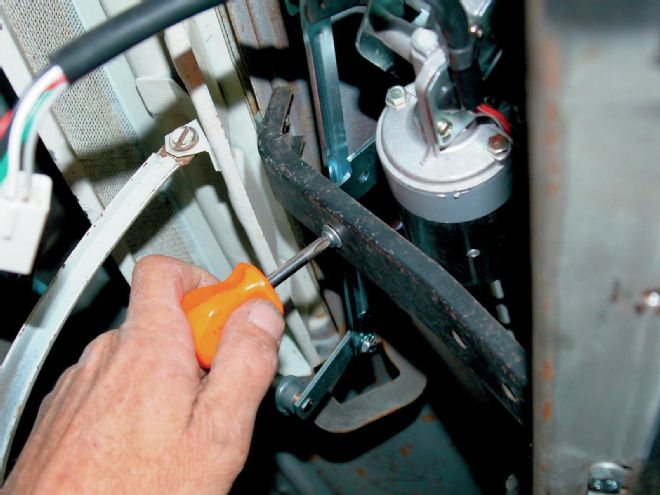 14. Lift the whole assembly up under the dash. Feed the knurled ends of the transmissions through their mounting holes and line up the small mounting holes on the dash brace and wiper mechanism. I used a 10⁄32 Phillips screw and a Nylock nut.
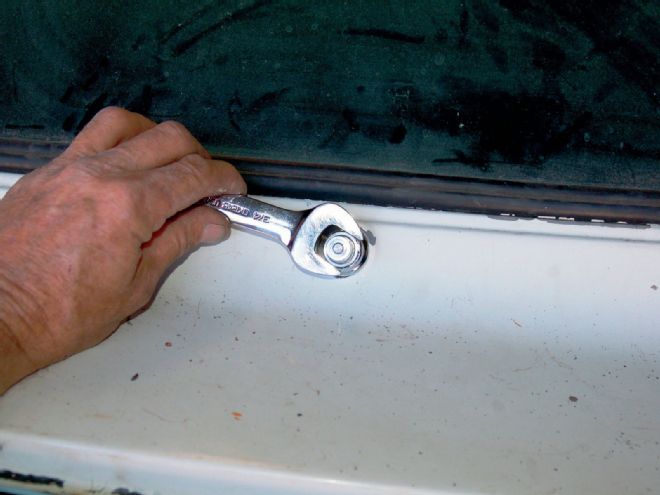 15. Moving to the outside, I installed the gaskets, bezels, and nuts that were in the kit onto the new transmission shafts and tightened 'em down.
16. Even if you only install your own wiper switch, it's worth it to buy this small tool to tighten the nut. Without this or something like it you will never get the switch tight.
15. Moving to the outside, I installed the gaskets, bezels, and nuts that were in the kit onto the new transmission shafts and tightened 'em down.
16. Even if you only install your own wiper switch, it's worth it to buy this small tool to tighten the nut. Without this or something like it you will never get the switch tight.
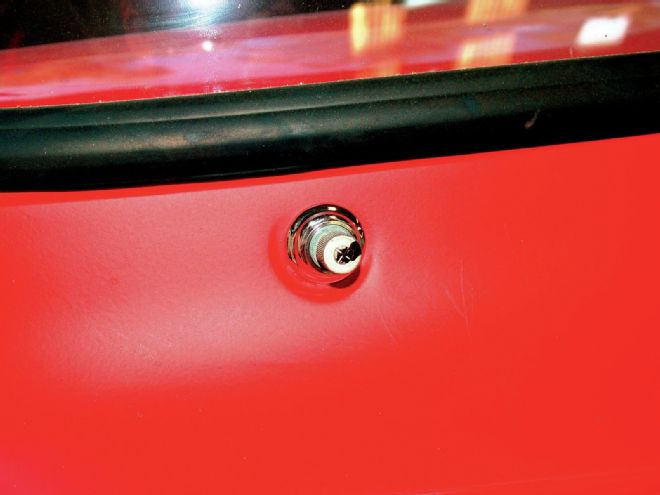
 17. Here I have installed the switch in the dash with the new wiper bezel and nut that are in the kit.
 18. I installed the stock repo knob and tightened the really small set screw. Custom aluminum knobs are also available and easily changed.
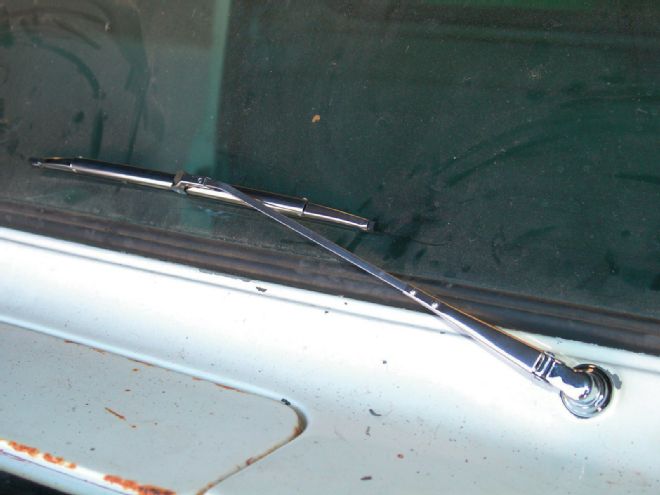
 19. All that was left was to install the wiper arms and blades. Now the customer can drive this truck daily and never have to worry about being stuck in the rain or mist.
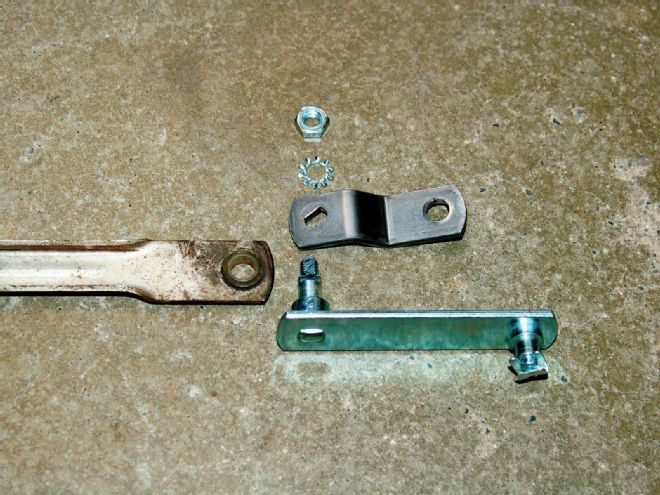 20. The wiper motor kit for my truck also contains a new pivot arm assembly that connects the wiper arms to the motor.
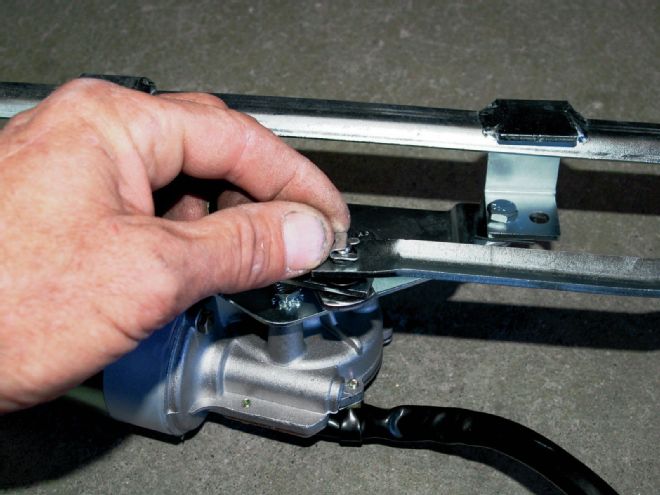
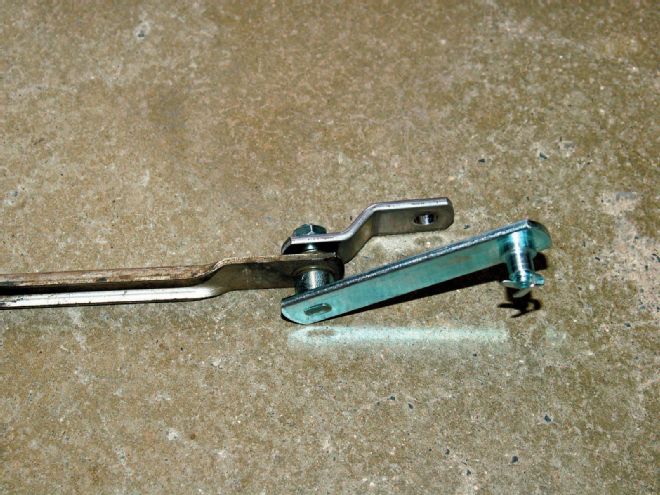 21. The driver side arm is retained between the two with a nut and washer. The passenger arm slips over the other pin and is retained with the small clip shown. This is how it looks assembled. The smaller arm has a round hole that is tapered and fits onto the shaft of the motor. There isn't any spline to line up so hitting the park position is really easy.
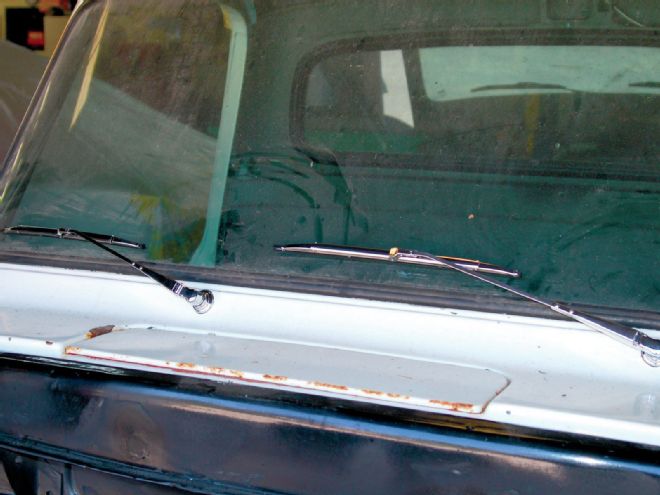
 22. This is what “park position” looks like. The arms are both at their maximum outward motion; that puts the new connecting pivot arm parallel.
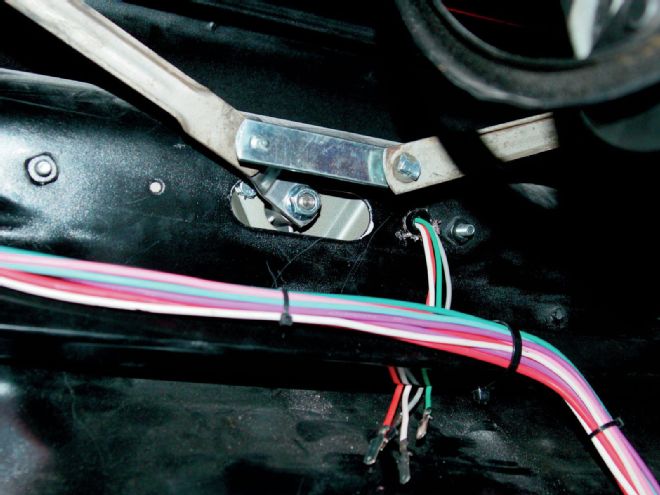
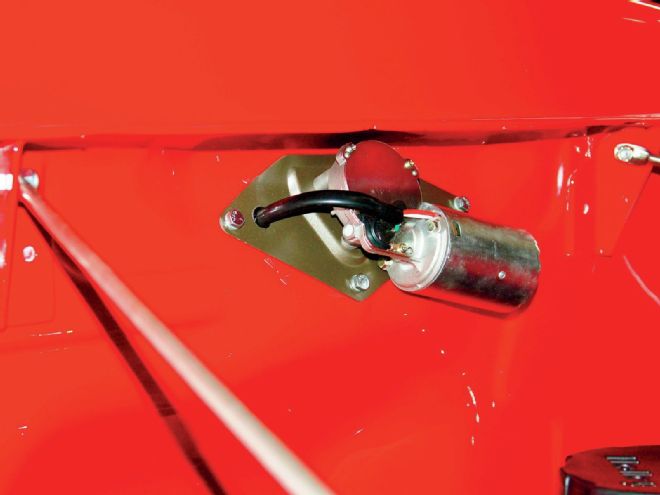 23. Here we have the 1956 version mounted to the firewall. I drilled a hole in the mounting plate and into the firewall to run the wiring through. Use a 1⁄2-inch bit and install a plastic grommet to protect the wiring. The wires then pass inside and are routed within the wiring loom that runs along the inside of the firewall.
 24. After I have everything hooked up and I'm ready to test the motor and transmissions, I mark both the transmissions with a black marker to simulate an arm. Then when I turn the motor on, I can check and make sure that both the transmissions are turning the way they are supposed to and also when they have parked properly. When I'm sure everything works right, I then install the wiper arms and blades. Doing it in this manner assures you get the arms and blades in the correct position the first time (and you don't scratch up the paint on the cowl panel).