In this new tech series, we cover the steps we'll take to bring the world-famous 1968 Firebird Grand Marque VIII factory show car back to new condition. Here's the backstory.
The Firebird sustained damage on a trailer during a transport approximately 10 years ago. The accident's twisting action caused the front windshield to crack, and loused up the lower front fenders. The former show car was brought out of storage two years ago, and was the subject of tech stories in High Performance Pontiac, including installing a new convertible top and restoring the original console.
Thanks to our primary partner in this tech series, Classic Pontiac Rescue in Honea Path, South Carolina, the Firebird Grand Marque will be restored to its original condition, as it was in the fall of 1967 when it toured the new-car-show circuit. The first step is diagnosis.
"We will start by documenting and evaluating what damage occurred to the rare Firebird during the incident," says Classic Pontiac Rescue owner Joe Jackson. "Subframe cars like First- and Second-Gen Firebirds and Trans Ams are more susceptible to panel movement than a full-frame car like a GTO or a Bonneville, since they pivot structurally at the firewall."
It's not just trailer accidents that can cause obvious and hidden damage to your F-Bird. In fact, your Trans Am or Firebird may have subframe-based damage so subtle that you've never even noticed it, or so dramatic that—like our Firebird—it cracked the windshield.
Joe says, "Jacking the vehicle in the wrong area can cause them to flex. Driving too fast over severe road transitions like railroad tracks and speed humps can also cause flex. When an F-body takes a jolt to this area, it can and often will make the front end not square. Measuring the car in an X fashion from what should be two equal distance points can reveal if there has been movement, and if so, how much movement and in what direction it has moved. Then inspecting the body bushings can indicate the direction and distance of the movement.
Follow along as Classic Pontiac Rescue demonstrates how it measures and documents the subframe movement from the Firebird Grand Marque VIII's accident, and learn how you can easily inspect your F-body for subframe- related movement and damage.
Conclusion
Our initial diagnosis is that the frame has shifted under the body, pivoting on the rear passenger-side mount and shifting towards the driver's side of the vehicle. In our next installment, we'll remove the engine from the Firebird, disassemble it, and see what kind of shape its in. Wary of the heavy corrosion that ate away at the inlet of the radiator, we're going to keep our fingers crossed that the code-YT 400 engine is in good shape. Join us, and we'll show you what we found.
 1. Before we can start to diagnose what exactly is going on, we remove the hood and do a visual inspection of the mounting points of the driver-side fender.
 2. As noted where the point on the pick is resting, you can see where the fender was located prior to the incident. It has moved outward a few fractions of an inch.
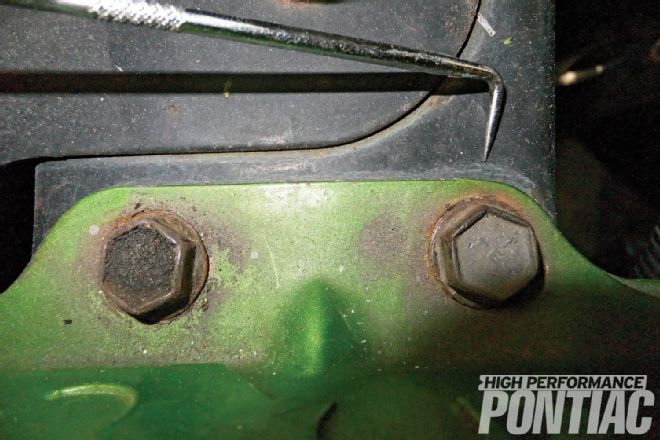
 3. The fender is slightly sprung out at the firewall mounting-bolt hole. Notice where the fender-bolt washer has left an impression. Was the fender stamped this way or had it suffered some previous damage and was fitted this way during its prior repaint? That’s a question we may never know the answer to.
 4. The large gap at the cowl panel and the tight gap between the fender and door shows how much the fender has moved both outward and backwards towards the driver-side door.
 5. Now it’s time to remove the fender and dig a little deeper to see what’s going on under the sheetmetal.
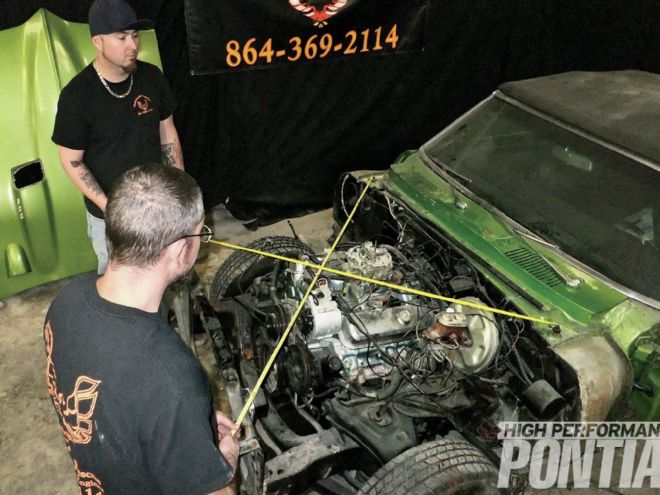
 6. We take measurements in an X pattern from the cowl to points on the core support. In theory they should measure the same on a normally operational car. A variation in measurements will show if the subframe has been bent in either direction or if it has moved from its mounting points under the body shell. We will touch on that aspect shortly...
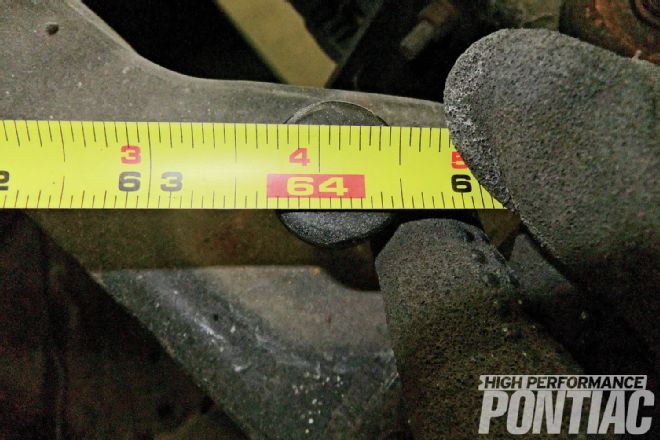 ...as noted in the pictures, the measurements are slightly off, which indicates a shift in the frame.
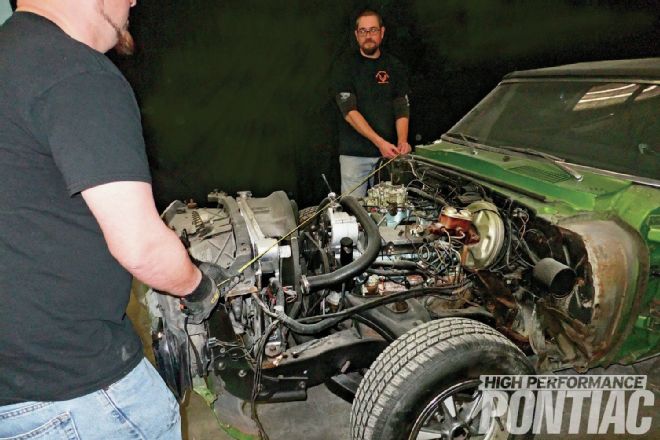
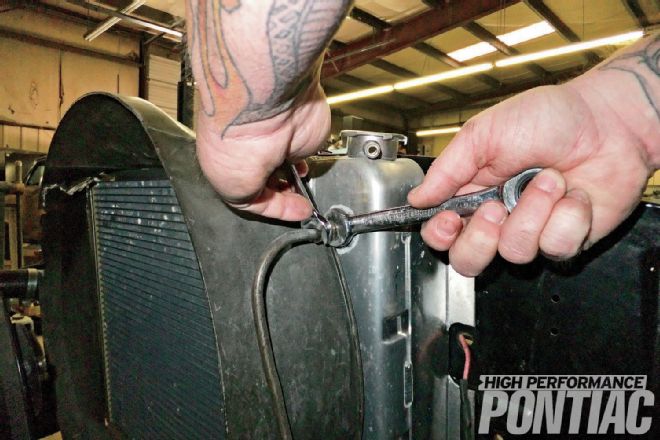
 7. Let’s dig a little deeper still. We remove the battery tray, all forward wiring harnesses, radiator hoses, fan, and eventually the radiator to get the bumper, grille, and core support ready for removal. Removing the fan makes it much easier and safer to pull the radiator, as damage may occur to the radiator rows and fins if it collides with the fan during the radiator’s removal. It’s cheap insurance to take the fan out now and it gives you a little more space depending on the vehicle you might be working on.
 8. While removing the radiator hoses, we find major corrosion and damage to the radiator itself. We were aware of a cooling issue when taking delivery of the car, and it’s easy to see what’s going on. We will focus on this in a separate article at a future date.
 9. If your Pontiac is an automatic, you must remove the transmission cooling lines to remove the radiator. Larger rubber vacuum plugs work well to plug the coolant lines off to keep fluid from draining out of the lines and making a mess. In this case, the lines were already empty.
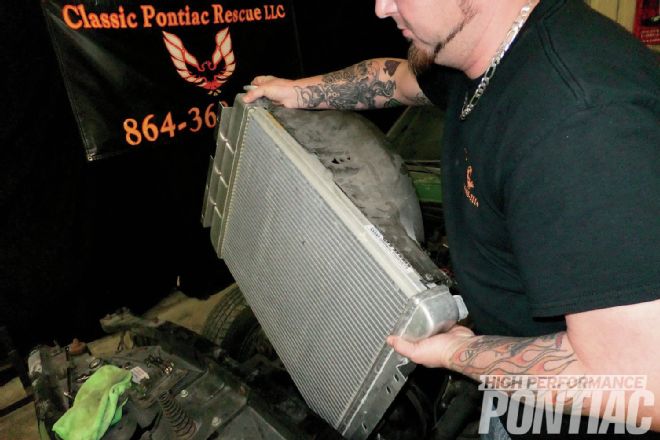 10. Out comes the radiator. This one, as previously stated, has major corrosion and will most likely be replaced.
 11. As is usual with Pontiacs of this vintage, you are going to encounter a stubborn nut and bolt occasionally. We applied a major dose of Prolong SPL rust penetrator and allowed it to soak in. After two techs and a large breaker bar made the effort, we decided it was time for a more aggressive method of nut and bolt removal.
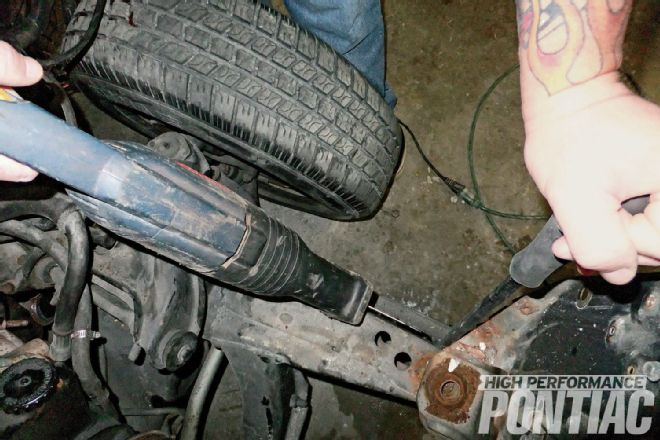 12. Thankfully, we were able to get the nut to back off far enough so we could get a gap between the frame and bumper bracket. Then we used a small prybar to get the gap as far apart as possible. Using a reciprocating saw with a long metal blade, we cut the battling bolt in half.
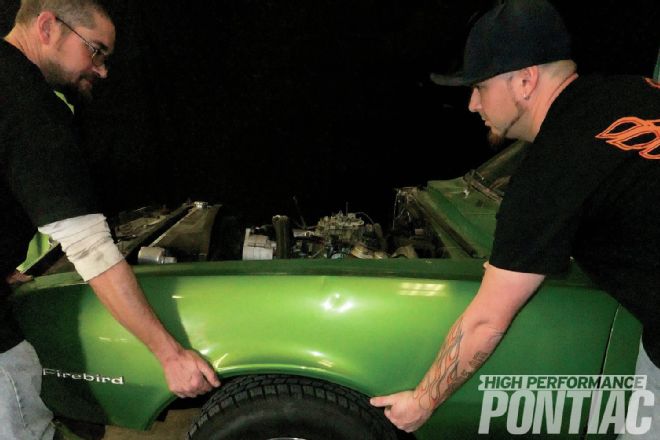
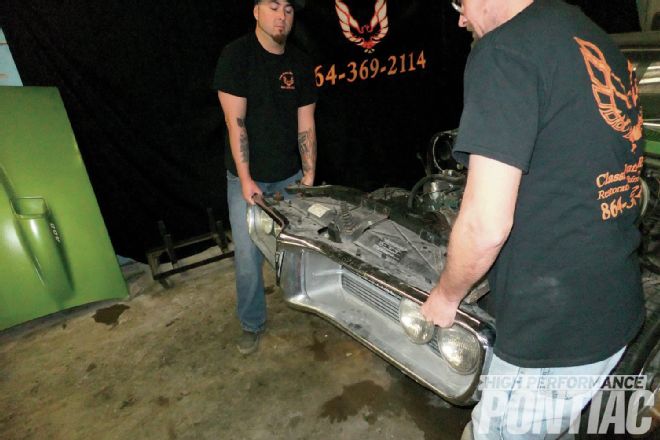 13. With the stubborn fasteners handled, we remove the bumper, grille, and core support as one connected unit. It’s best to use a floor jack or some sort of support in the center of the bumper for support, while at least two people hold it and remove it from either end. It is rather heavy and awkward.
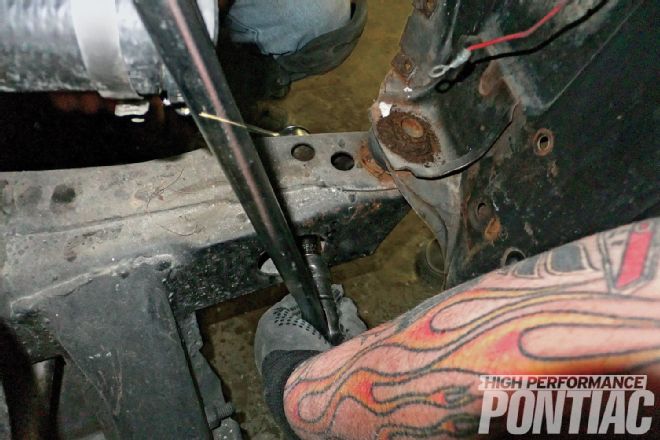
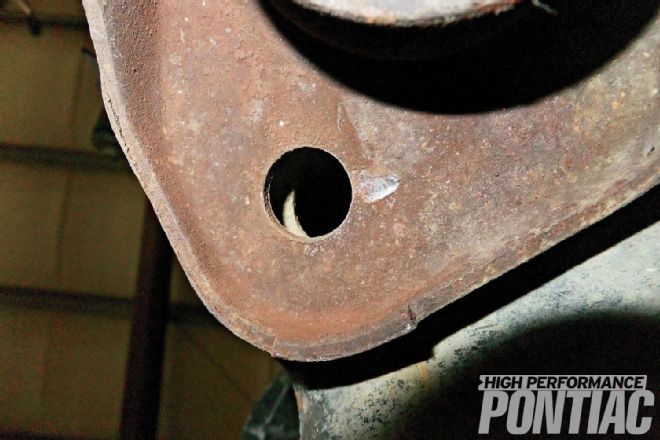 14. Now we move under the car and inspect the four body-mount locations that connect the subframe to the shell. Looking at both front mounting locations on the firewall, we can see how much movement there is. The dowel holes used to line up the front section of the subframe with the body, but not now!
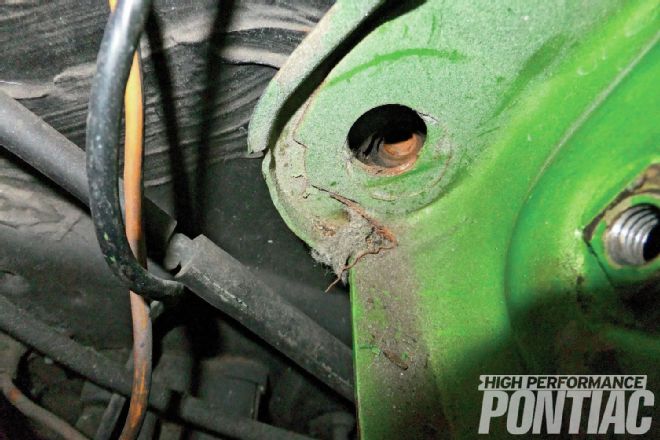
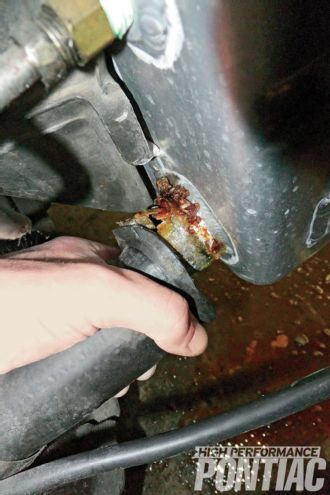
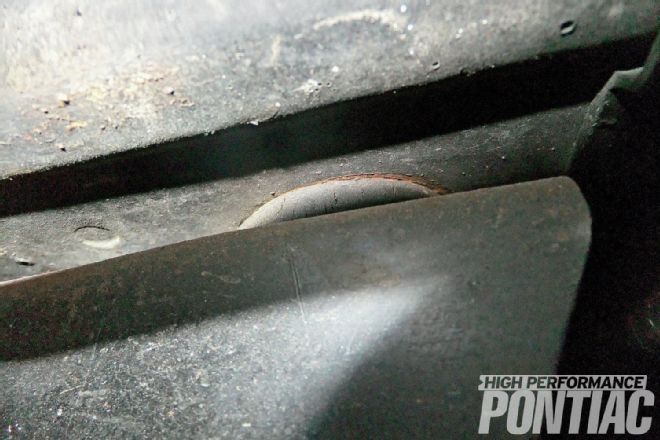 15. Inspecting the rear-body-mount locations, we see by the rust-colored area that this particular section has moved. The rusty colored area on the driver-side mount was exposed when the rubber mount moved during the incident. Upon looking at the passenger-side rear mount, we can see that it has not moved. This indicates the frame has pivoted on this mount.