There have not been many trucks that have come through the shop in the last 20 years that didn't need firewall work. We spent years welding up all the big and little holes. Spending hours block-sanding them on the show trucks for paint. Sometimes they had been butchered up badly, but were actually the worst parts of the truck. I have cut several "donor cab" firewalls to piece in sections I didn't want to make. So when Mid Fifty F-100 Parts announced a few years ago that they had replacement firewalls, we couldn't get one here fast enough.
The fit is beautiful and the install is a snap. The hardest part is being patient and drilling out all the spot-welds with a spot-weld drill. There are a bunch of them when you're removing the whole firewall. All up each side, across the top, on the visible lip, and at the toeboards. Not having an engine in the way sure does help. I actually slid the cab back on the chassis and did the work. When I got ready to do the floorboard replacement, I slid the cab back into place on the mounts.
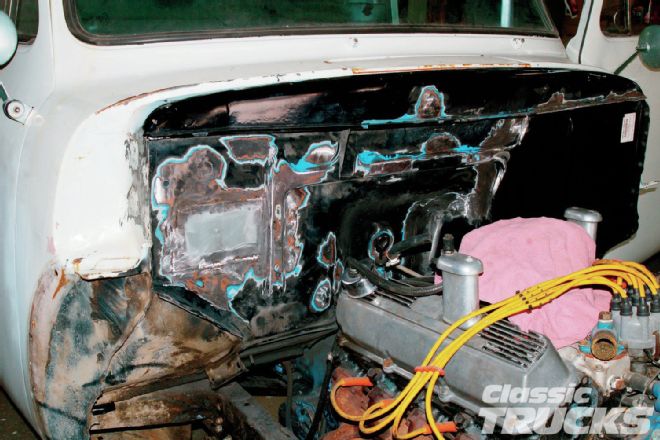
This particular truck was in dire need of a driver side firewall and floorboard replacement. It looked like somebody in the past had tried to mount a Saginaw steering box in the truck and wanted to do it all from inside the cab. Then the gapping hole was covered with some bent road signs. Screwed down of course 'cause duct tape just wouldn't last here.
Knowing how well their firewalls fit, I ordered a driver side firewall, a driver side floorpan, and a trans cover from Mid Fifty. When it comes to parts for your Effie, you need Mid Fifty on your speed dial. These girls are the best to deal with and their customer service is second to none.
Once the parts got here, I started drilling out all those spot welds as mentioned before. It really only takes an hour or so. It seems like you are actually spending less time and ending up hours ahead. It may take you what seems like hours to drill out all the spot-welds and remove the firewall that way, but when it's out, the new one pops right in and you just have edges to spot-weld and you're done. When filling a stock firewall, you still have all that bodywork after the holes are all filled. It's pretty much guaranteed that this way is going to end up being easier and look better – things you try to reason with when building these old cars and trucks.
This firewall is actually for the 1956. It has the raised area to mount the windshield wiper motor that the 1953-55s don't have. But, if you can believe this, the firewalls are the same if you carefully cut off the raised area for the 1956 wiper motor, the rest is correct and will fit into the 1953-55s. There was some engineer doing some real thinking back then.
After the firewall is welded in, there are a couple of brackets that need to be replaced/reattached. The inner fender bracket to the firewall that wraps down under the cab and the fender brace rod brackets mount up at the top almost center of the firewall.
The brackets for the inner fenders are easily attached by bolting the inner and outer fender in place, bolting them also to the air dam in front. Then simply bolt the bracket to the inner fender and spot-weld it in place. They are available in reproduction form. The brackets for the fender rods can be welded back on or stainless versions from Mid Fifty can be bolted on instead. You really should run these as they help steady the front fender group and can be used as an adjustment for proper fender to hood line fit.
Follow along as I install half a firewall and a driver side floorboard. It's not as hard as it seems. Just don't be intimidated by the big holes you create. The bigger the hole, the nicer the patch.
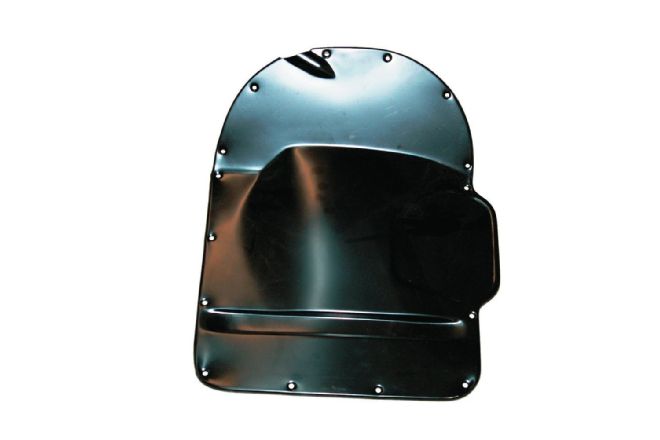
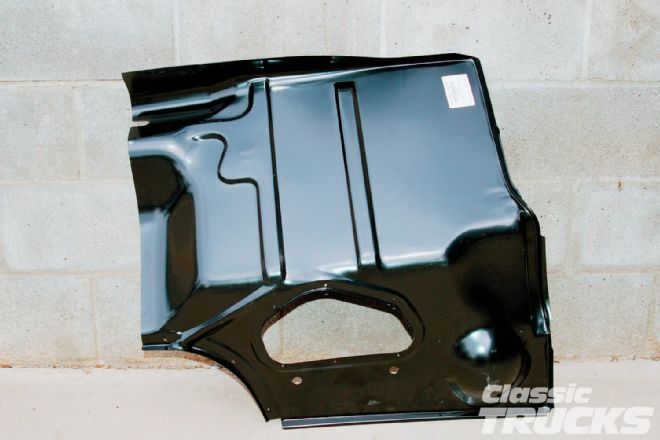 1. Here we have a beautiful left half of a firewall for a 1956 F-100. It came from Mid Fifty in Golden Valley, Arizona. They also make the other half, obviously, and together the two will make a beautiful firewall. It will also work on a 1953-55. Just follow along, I'll show you how.
 2. Believe it or not, the firewall itself is the same from 1953-56. But in 1956 they moved the wiper motor out into the engine compartment and created this shape to mount it. By cutting this area off, the rest of the firewall will fit right in a 1953-55. It just takes some careful cutting.
 3. This 1953 had seen more than one owner that had a happy drill and cutting torch.
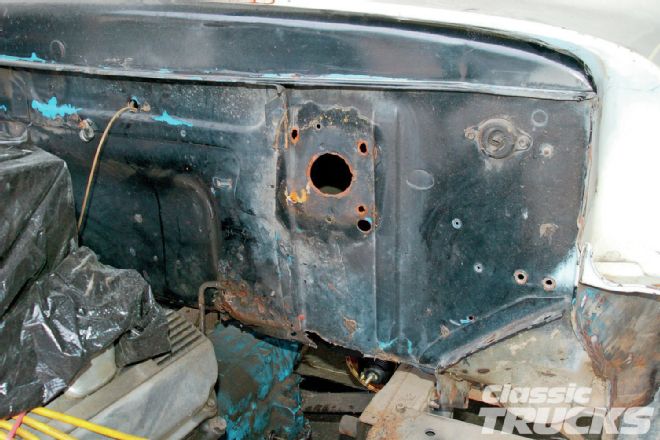
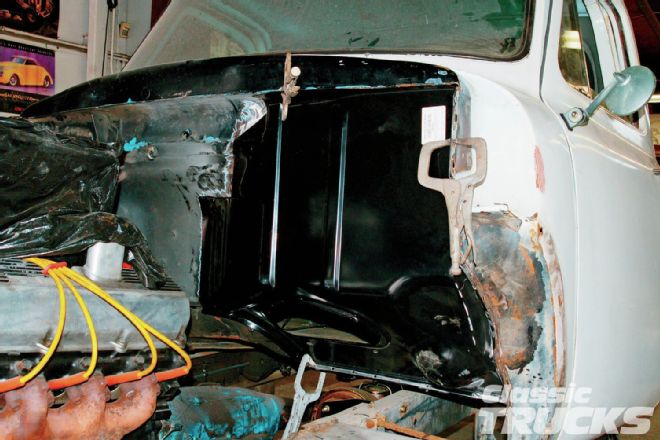
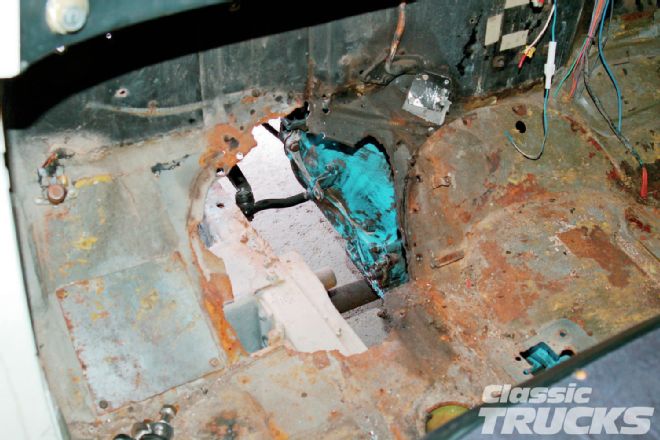 4. The holes in the firewall for the master cylinder/booster are common enough, but the huge gaping hole where the toeboard used to be is something else. I think at one time the truck might have had a Saginaw steering box and this is how they installed it – through the floor.
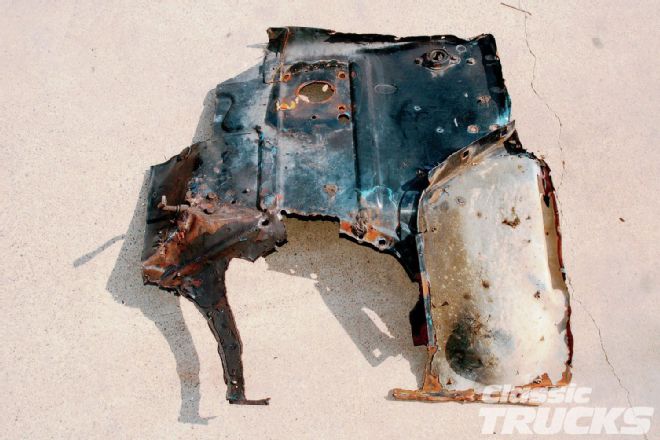 5. After finding and drilling out the spot-welds along the top and side, and making a preplanned cut down the center of the firewall, the bad piece is removed.
 6. Now I have a huge hole. I'll come back and dress up the edges making sure they are flat and also hit them with the small disc sander. I'll use the resulting holes from the spot-weld drill to spot-weld the new firewall in once it is all fit.
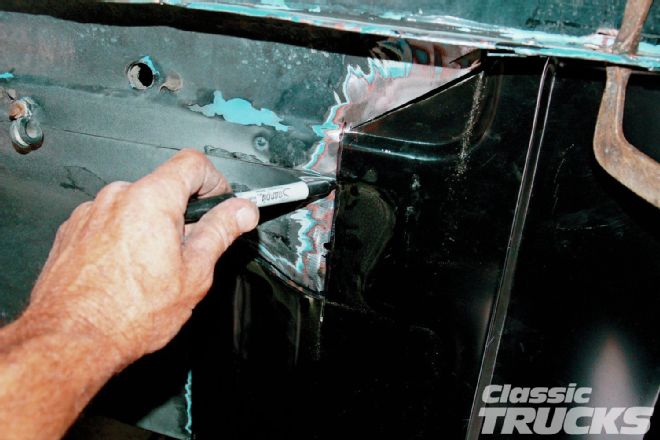 7. I made some careful measurements on the opening and transferred them to the new firewall. I trimmed to those dimensions and did my final fitting. As expected, this seam needed a little bit more trimming for a perfect butt fit. I marked the firewall and trimmed it; it was easiest.
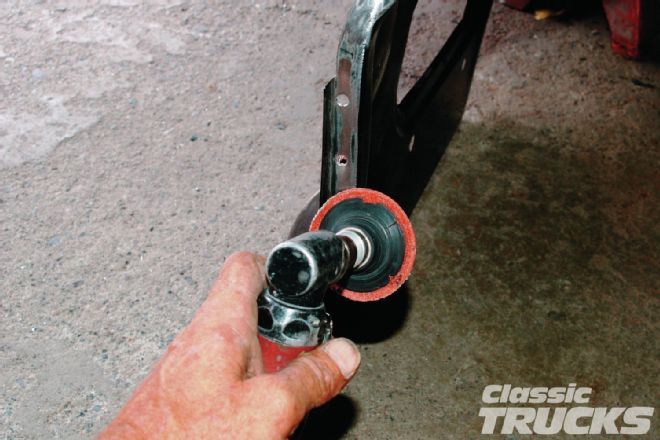 8. A quick sand on the edge with the small disc sander had the edge ready for welding once I have it all fitting properly.
 9. After a little bit of sanding and fitting, I was happy with it and clamped a few C-clamps on it to start welding.
 10 . The fit at the center of the firewall came out great too. I tried to keep the welds in areas that are easier to bodywork, staying away from the ribs and seams. Working out weld seams in open flat areas will be easier on the body guy sanding the body filler.
 11. I used a wire feed with .030-inch wire. I basically just make tack welds next to each other and keep working along the seam. I only do an inch or so at a time and then I cool the area with an air blower as I go.
 12. I normally don't get any weird warping unless I get in a hurry and weld too much too fast and not cool it properly. Haste can make waste of a really nice firewall.
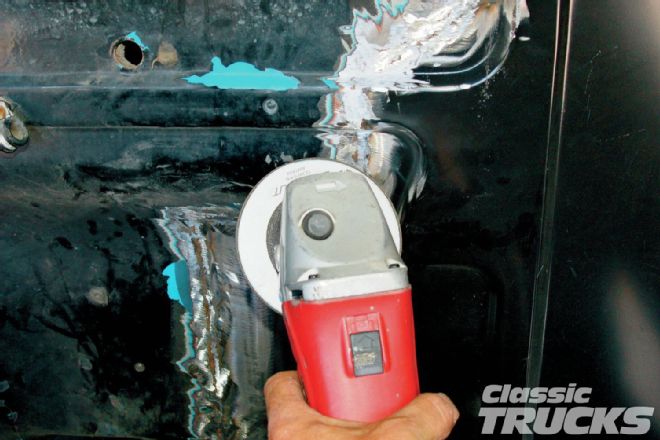 13. First I use a hard stone and grind the welds almost gone. Be careful with the hard stone grinder because it can cause a lot of heat buildup as you're grinding and also cause warping. I keep checking it and hit it with some air when I think it's too hot. Just kick back and let the grinder do the work. The harder you push, the more heat is created.
 14. Then come back with the small disc sander and 36-grit pads and finish them off.
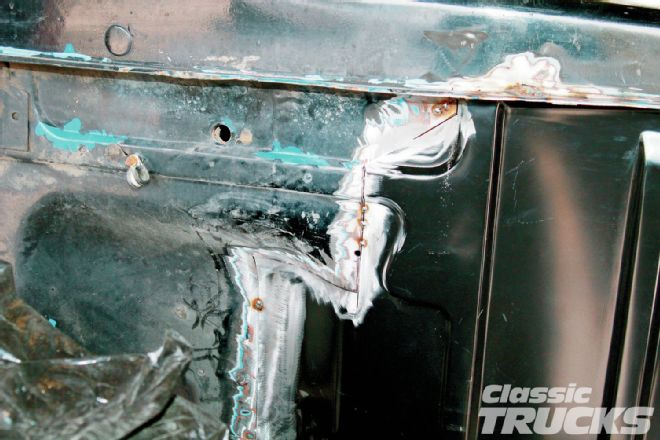
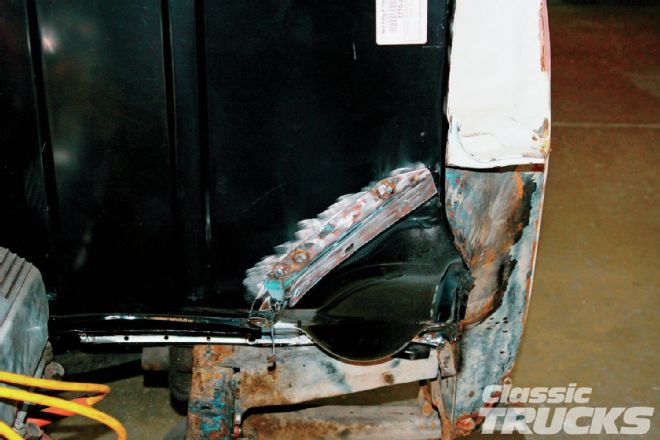
 15. Not only is the seam all finished off, the top and side has had all of these spot-welds welded. I started to weld the bottom to the existing floorboard, but there wasn't anything there to weld to. Maybe I should fix that too.
 16. I tried measuring from side to side and getting these inner fender brackets placed and spot-welded on. After I put the inner and outer fender on, I found out I was quite a bit high. I ended up removing the brackets, mocked the inner and outer fender in place, bolted them to the front air dam, and located the bracket that way. With the inner fender held in place by the outer fender, I bolted the bracket to the inner fender and spot-welded it to the firewall. Now I know it's in the right spot.
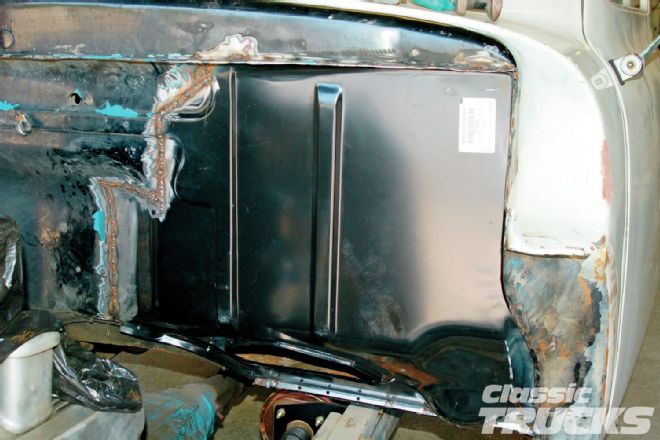
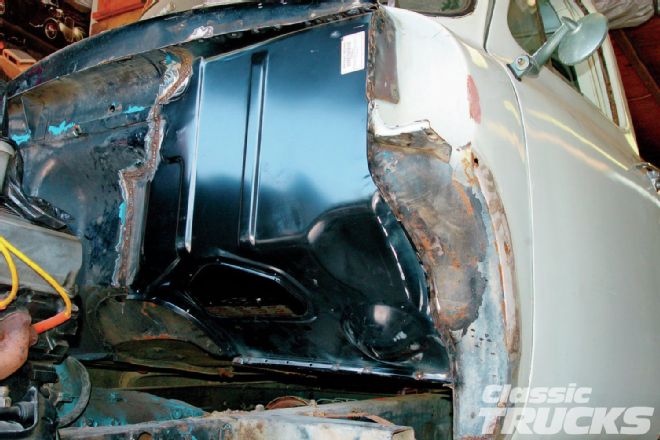
 17. For no real reason, I welded up the passenger side the old fashioned way. I cut out small circles for most of the holes and just cut the whole stock heater area out and replaced it with a rectangular piece.
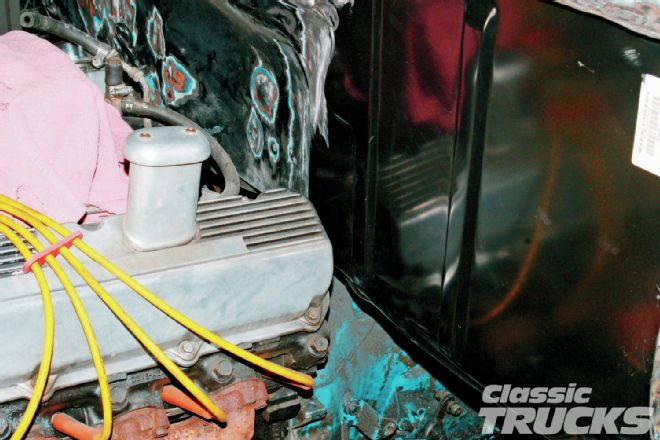 18. I could have just as easily replaced this whole side also, but the way this project was going it was a time thing and the passenger side hadn't been as "modified" as the driver side. With the motor moved forward, the engine isn't sitting on the "smashed for clearance" firewall on the driver side anymore and that part of the firewall is in the scrap pile.
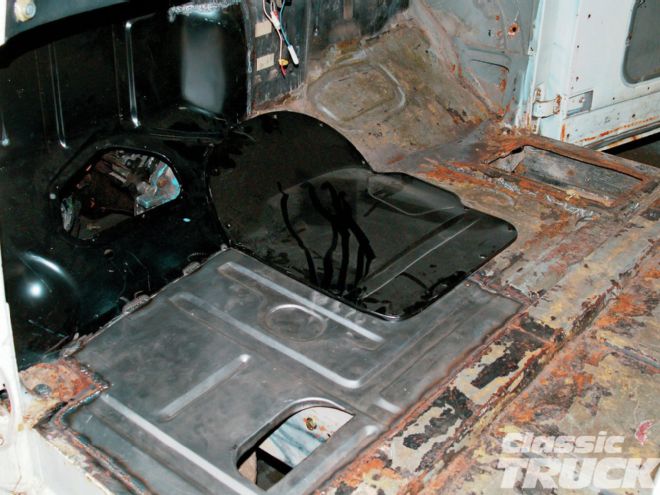
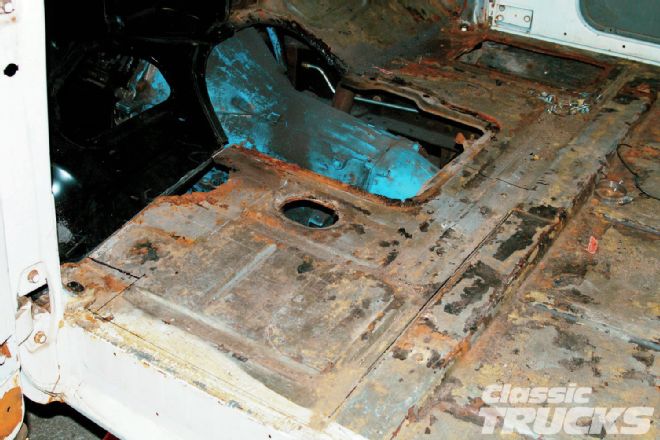
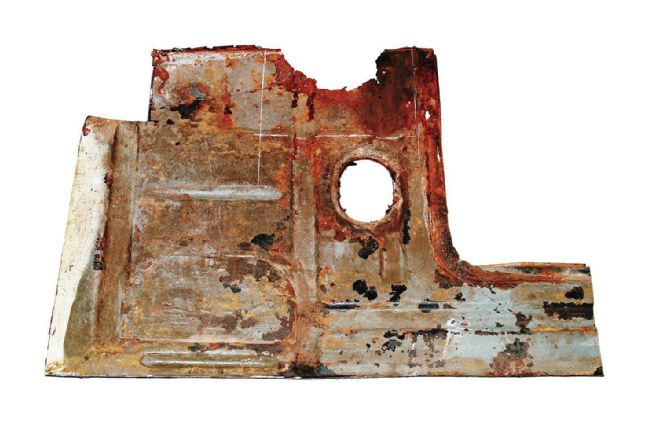
19. The floor has a missing piece where it is supposed to connect to the bottom of the toeboard. There is also rust in the flange for the trans cover so Mid Fifty sent over a new floorboard section and a trans cover.
18. I could have just as easily replaced this whole side also, but the way this project was going it was a time thing and the passenger side hadn't been as "modified" as the driver side. With the motor moved forward, the engine isn't sitting on the "smashed for clearance" firewall on the driver side anymore and that part of the firewall is in the scrap pile.
19. The floor has a missing piece where it is supposed to connect to the bottom of the toeboard. There is also rust in the flange for the trans cover so Mid Fifty sent over a new floorboard section and a trans cover.
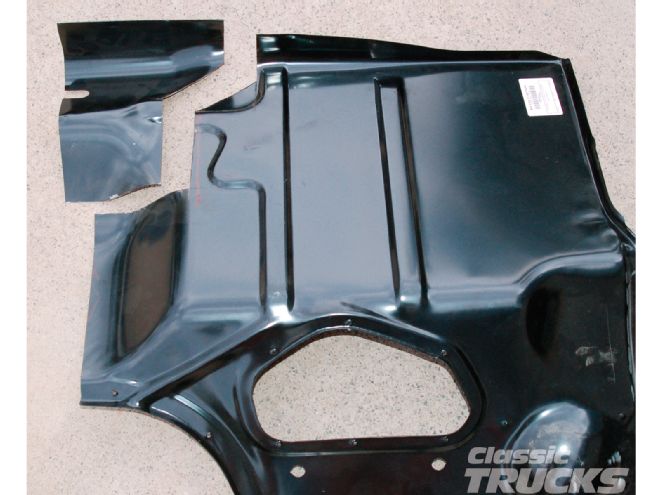
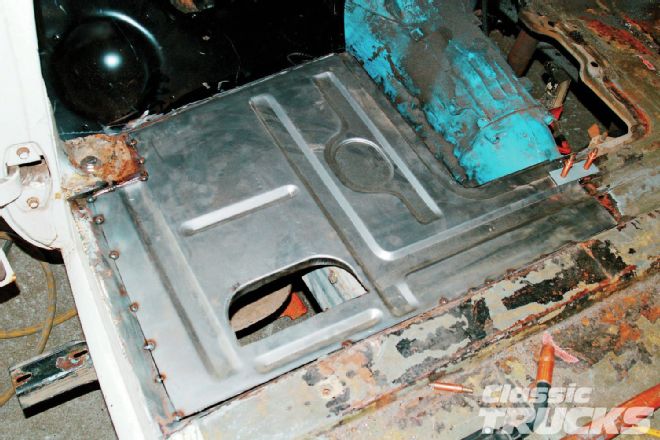
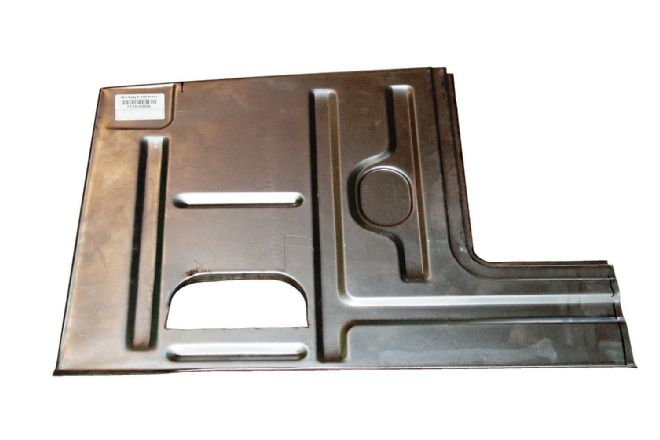 20. This would be the floor section for the driver side for the 1953-55s. It has the cutout for the stock fuel tank sender access. It's nice that the small hole that used to be master cylinder access is covered. All aftermarket brake systems used today do not need this access anymore. I usually cut a piece of sheetmetal to fit the hole, paint it black, and silicon it to the floor. Mid Fifty also sells the proper cover if that's what you would like.
 21. I laid out a few cut lines and cut the old section out with my cutoff wheel. I use a real thin blade so it cuts through the sheetmetal quicker.
 22. Just took a few minutes and I had the bad section out. I'm going to use just about the whole piece. Heck, he bought the whole thing, why not use it? Having replacement pieces like these are invaluable when restoring an old car or truck. It is easier than making pieces yourself and looks very professional when done.
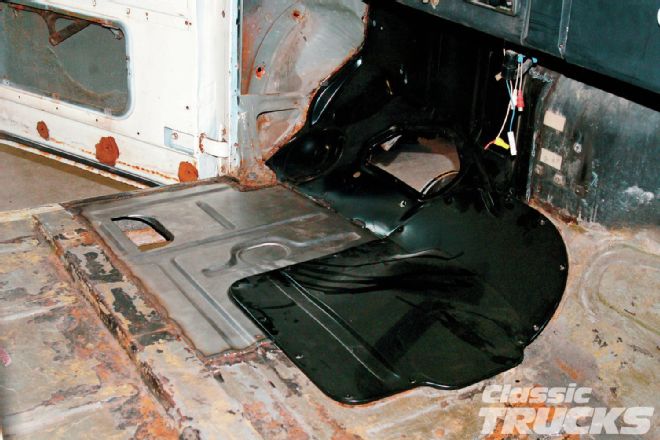
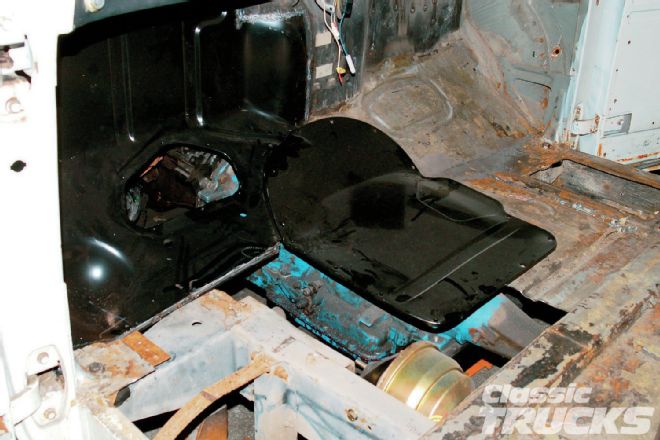 23. Something about me and this truck. Every time I get near it I end up with big holes. These replacement pieces from Mid Fifty fit so well it will just be some small fitting adjustments and I'll be welding it in. I set the new trans cover in place so I could use it to line up that edge of the new floorpan.
 24. This new trans cover cures so many ailments. It is very normal to see original ones with two or three attempts at getting shifters to fit. Mid Fifty carries all the pieces like this for your 1953-56 F-100.
 25. It didn't take much trimming and the floorpan was tacked in. The welds will end up in areas that will be covered in the end by either a stock rubber floor mat or complete carpet.
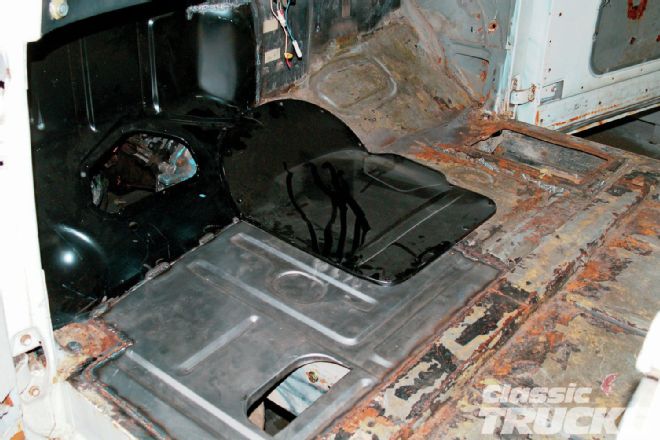
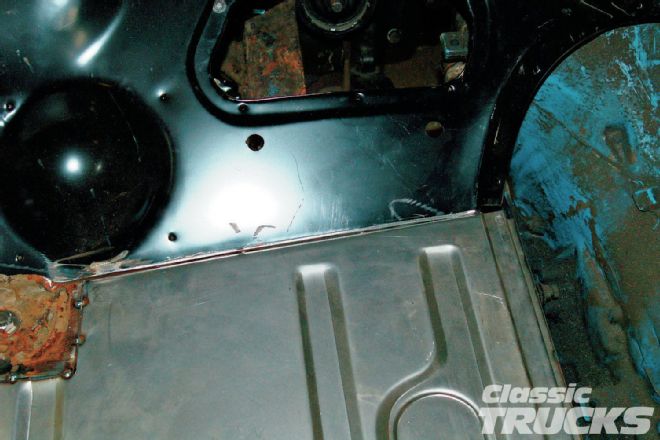 26. The fit is real nice where the floor and toeboard meet. The trans tunnel recess flows nicely from one to the other.
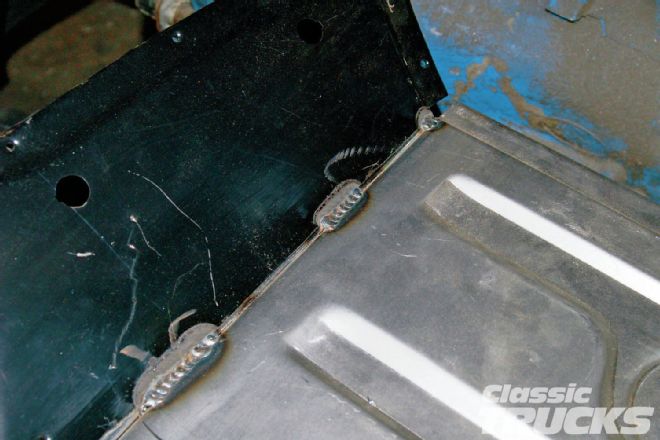
 27. There are several ways you could have held these two pieces and butt-welded them. I used Clecos and made a bridge to connect both sides. The Clecos just use a 1⁄8-inch hole so spot welding it closed is no big deal.
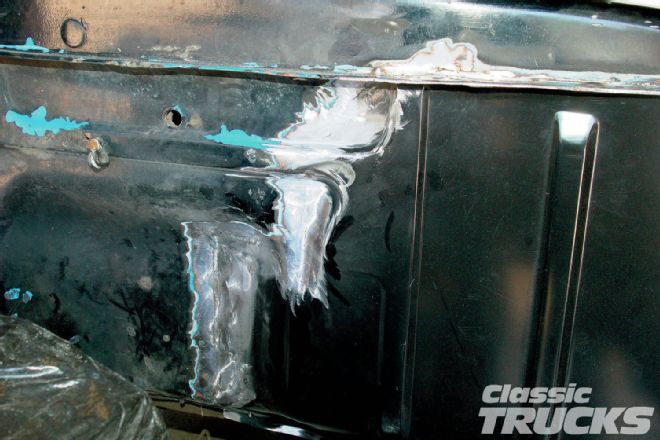
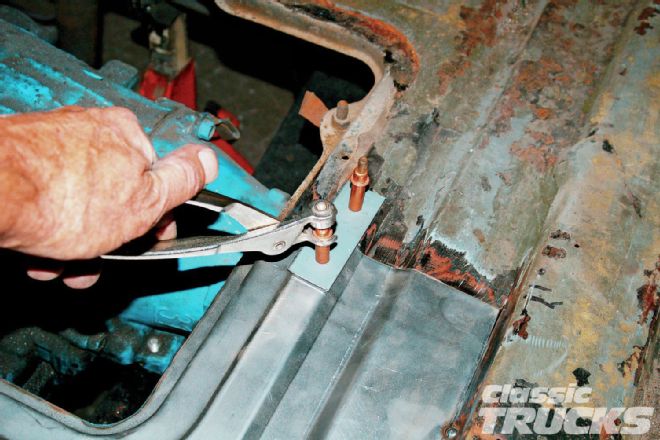
 28. Since this area of the floor will take a lot of stress with people getting in and out of the truck, I gave this seam more than just tack welds. With the gas pedal right here, this corner gets a bit more than normal stress from the driver's foot.
 29. Here we have the finished install. Gone is the wind in your pants from the flow-through ventilation of the firewall and floor. These new parts from Mid Fifty fit so well they are fun to install.
 30. If you are in need of firewall replacement or some new floorboards, then check out Mid Fifty F-100 Parts. They make most of the parts to rebuild these trucks right and you can't go wrong with their replacement sheetmetal.
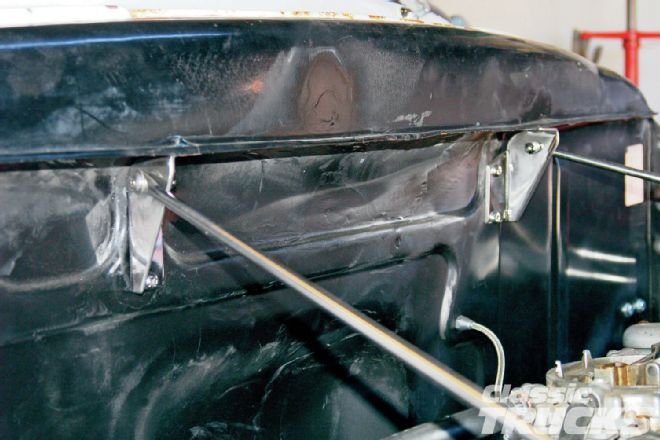 31. The fender rod brackets that need to be removed when replacing a firewall really should be reinstalled. The rods help steady the front fender group and you can use them as an adjustment point for fender to hood fit.
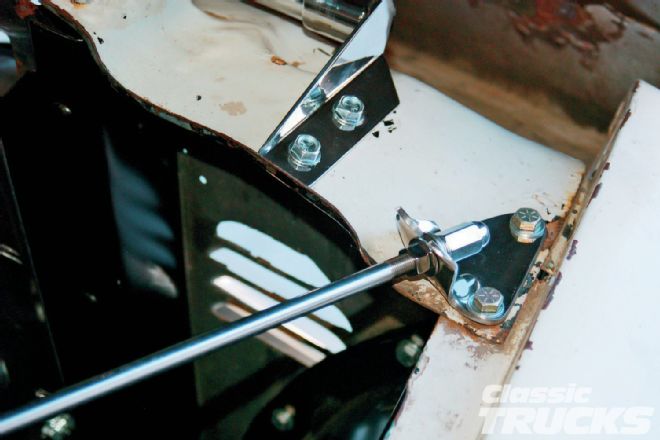 32. These are bolt-on stainless versions from Mid Fifty. If you are careful when you remove them, you can reuse the originals. This is the bracket required for the fender side. Mid Fifty has this bracket in plain or polished stainless and it is a pretty darn close copy of the original. The new stainless rods and nuts are nice also.