Come on, who doesn't like power windows? We all love them so much that they are pretty much standard on any new car. What's not to like about them? Push a button and the window goes up or down all by itself. Tie that in with a remote control and you can roll them down with a key fob from across the parking lot.
Back in the day, the best way to get power windows was to adapt some kind of power motor to the stock regulator or find something close that you could make work. Once you did that, you just twist wired some pirated window switches onto the motor wires and ran a hot wire. Just shove the new hot wire into the fuse to draw power – that's how everybody else does it. By the time you're cruising for a milk shake you got the windows going up and down, up and down. Pulling up to that red light, you're still watching the window go up and down, all by itself. That's cool.
Fast forward to present day and you still want power windows in your old truck. Well my friend, be thankful you live in this time. Mid Fifty F-100 Parts has been around for years, quietly being the best place around to find any or all parts and pieces needed to bring your classic F-100 back to life. Their power window kit is only one of the "kit" kinda things they have. Wipers, dome lights, wiper washer, etc., all have kits that include everything needed to complete the installation. I love these. Makes my job easier since they have already put together what is needed and included some pretty darn good instructions as well. That's a big deal to me. Even though I build F-100s, it is really nice to be able to see just how the maker wants the product assembled and installed. Sometimes things are pretty obvious, other times you could be lost without them.
OK, back to the windows. What we have here is actually two of Mid Fifty's kits. The first one is the power window conversion kit. These mechanisms are "exceptionally smooth and quiet" and can be used with the stock side glass or the one piece. The units come with either a clamp lift or a channel lift. The one used here is the clamp type and I really liked it, so far. Its part number is 1740-E. You will need to add a set of switches to the order as the kit does not include them. The reason is that there are a few different choices for the switches and this way they sell you the kit for a bit less and let you choose your style of switches.
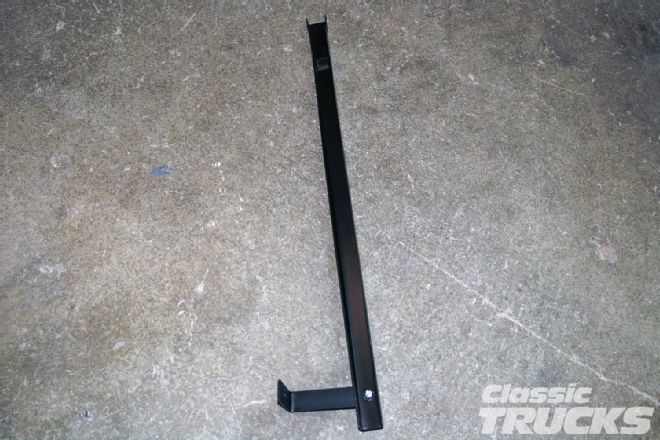
Also used in the install is the power window install kit, which includes the ½x½-inch square mounting bar, correct spacers, longer metric bolts, and instructions. This kit carries a part number of 1737.
The third kit brought to the party is the one piece glass kit, or the 1956 Solid Side Kit (for use with power window kits). The glass is tempered and comes in a couple of different tint options. I really like the smoke and that is what we usually use at Bobco's, but they also offer clear, tinted, blue, and double dark. The beading on the window channel is also available in black or polished stainless. I am using the black beading kit, # 91729-NO. This kit contains the felt window channel, felt wipers, two U-shaped metal channels for the front of the glass, and the needed hardware.
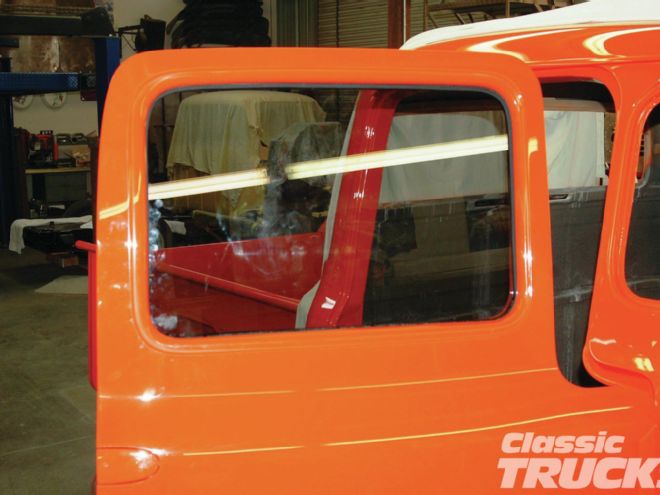
Follow along if you're interested in changing your stock crank windows to a nice power unit. Going the extra step and stepping up to the one-piece kit is a great idea too, if you like the look of no windwings. I personally do, it's just a little something that makes the truck a touch different than everybody else.
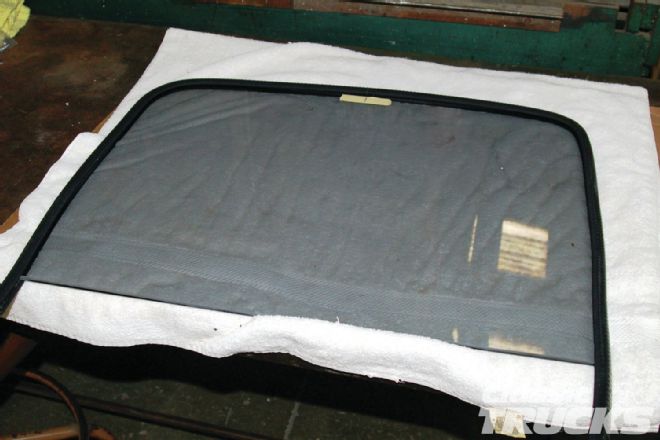
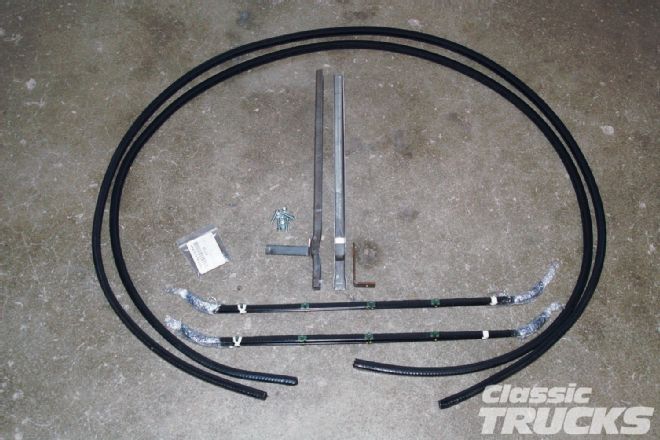 1. The "kit" is actually the combination of two kits. First we have the window channels, wiper felts, and a metal U-shaped "track" to hold the front of the channel that will guide the front edge of the glass. These are now doing what the division bar used to do.
 2. The second part is the power kit part. This includes the power motors and the mounting bars required. Also included are the needed bolts, nuts, and spacers. The instructions are even above par.
 3. These are the stock rear tracks you will also need. They are offset to allow the glass to travel down at an angle toward the outer door skin. In the picture, the driver side one is on the left.
 4. The instructions gave the measurements needed to place the holes that will hold the window mechanism. I marked the holes, center punched, then drilled them 1⁄4 inch.
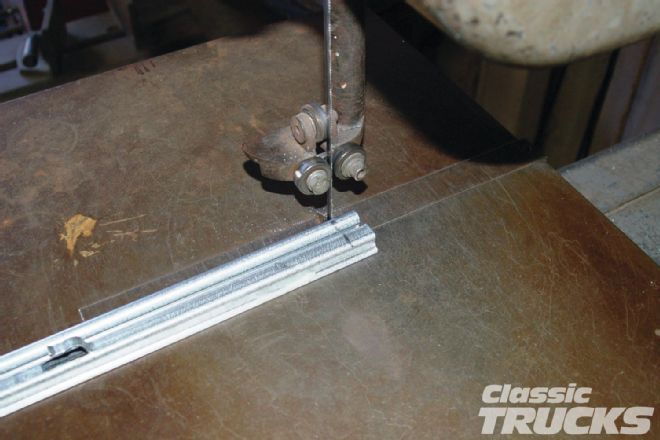 5. With these being mechanisms for universal applications, the instructions mention having to trim off 1 inch of the track at the top to clear the inside of the door edge.
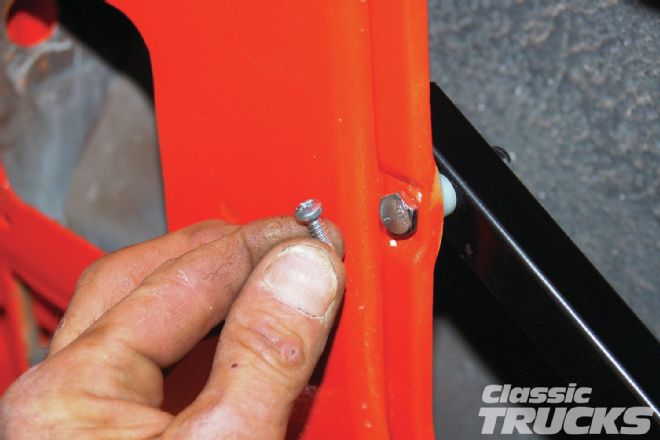
 6. Included in the kit are the needed spacers, bolts, and nuts. Here I have the needed bolt and spacer to bolt the mechanism to the door.
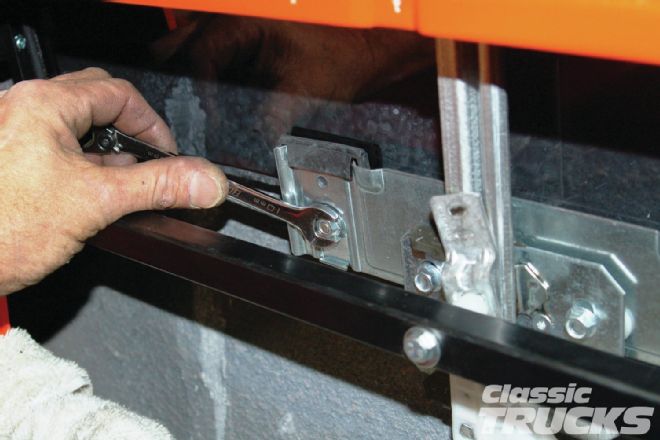
 7. The instructions had the distance listed perfect. The two 1⁄4-inch bolts fit perfectly into the threaded inserts on the window mechanism. I used the spacer between the door skin and the mechanism.
 8. I painted the mounting bars that were included in the kit satin black and installed them. The kit gives you these sheetmetal screws to fasten the bar to the door. I just didn't think that was enough so I upgraded it to a 1⁄4-inch bolt. The spacer had a big enough hole anyway.
 9. I actually found it easier to bolt the mounting bar to the threaded bung on the power window mechanism with the metric bolt and spacer provided. Then I bolted the bar to the door with the 1⁄4-inch bolts and spacers.
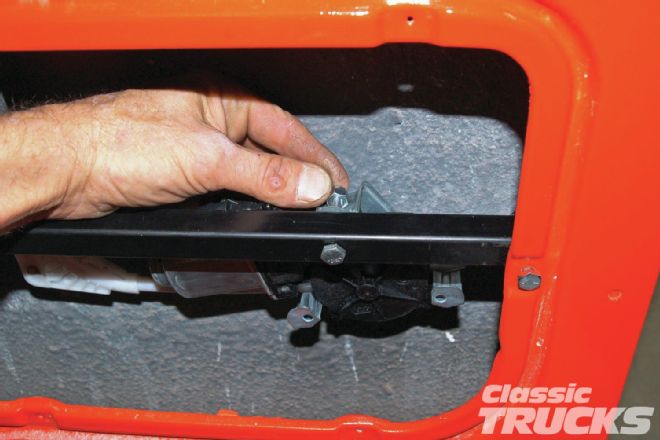 10. The motor is then bolted to the mounting bar.
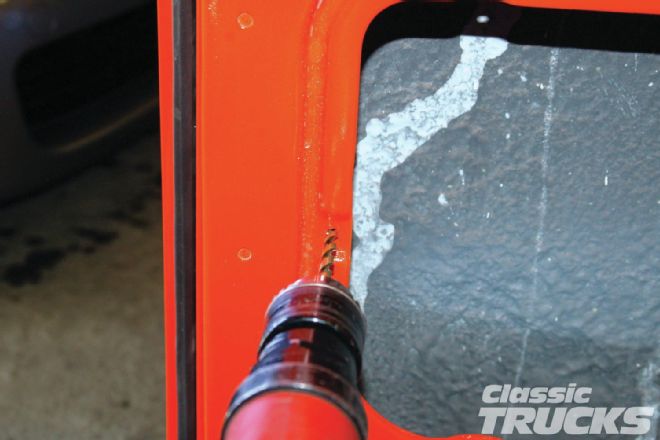
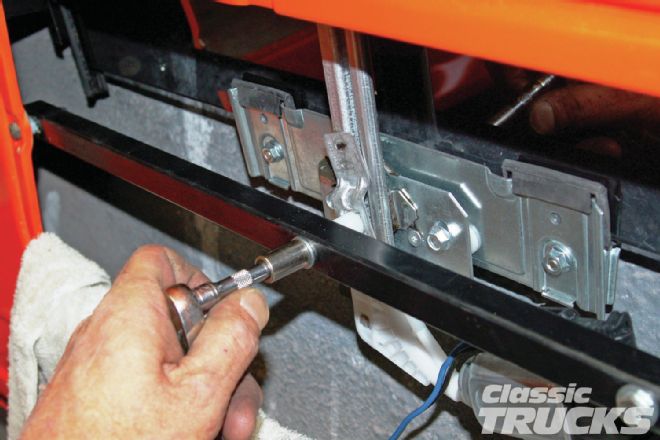
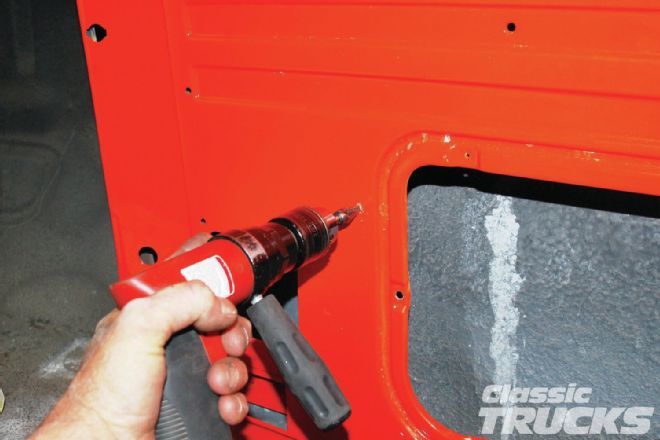 11. With the one-piece windows, you need to install a front track/channel to hold the felt channel that the glass rides in. The instructions give you the proper measurements to locate and drill the 1⁄4-inch hole needed.
 12. The kit supplies this metal channel and bracket. I came up 1 inch from the bottom and drilled a 3⁄16-inch hole for a 10⁄32 screw to hold the bracket. Then painted it satin black.
 13. The channel fits into the door like this. The upper part will rest right where you removed the threaded bung for the mirror. The bottom bracket will bolt to the 1⁄4 inch you drilled earlier.
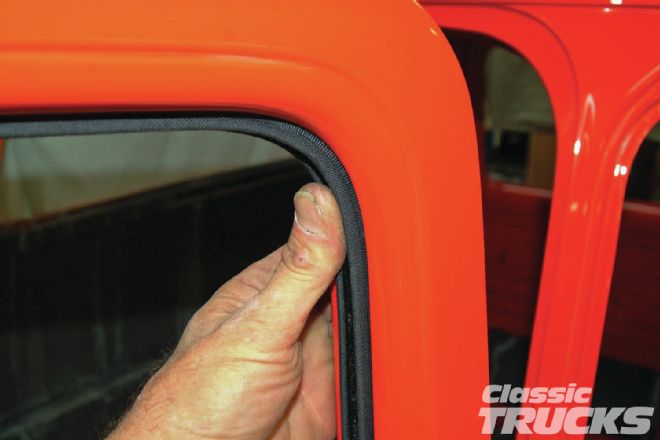
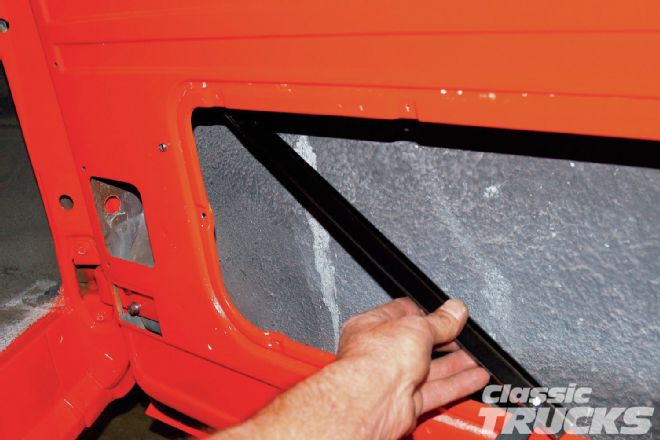
 14. This is how it should look after it is mounted. The angle of the channel matches the angle of the stock channel at the rear of the door.
 15. I mark a centerline on the glass and on the channel. Line the two up and carefully bend the channel over the edge of the glass.
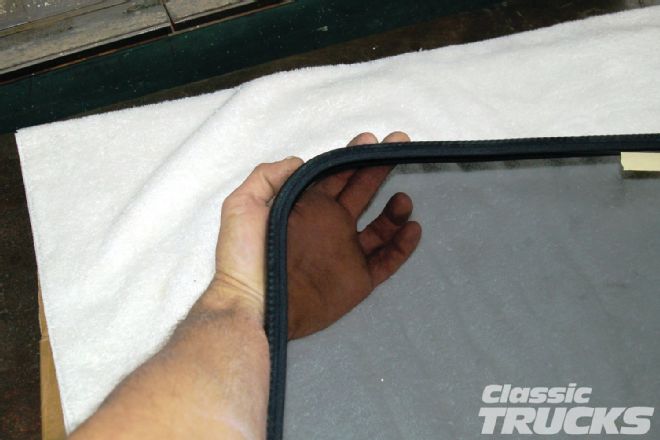 16. The black channel I'm using here seems to really bend well around the corners. The channel with the stainless beading is a bit trickier to bend and not kink the beading.
17. The fabric channel will fit right into the slot. Once it is all fit, I pull it back down and spread some weatherstrip adhesive on the top of the channel and glue it to the metal standoffs within the slot.
18. Then the piece of glass is turned sideways and slid into the door through the top. Slide it down into the door and turn it right ways. I leave the lower mounting bolt of the front channel out as I install the glass into the rear, then the front channels. Then install the lower 1⁄4-inch mounting bolt. Once the glass is in the channels and the front one is secured, position the glass into the mounting clamps and tighten the nuts.
16. The black channel I'm using here seems to really bend well around the corners. The channel with the stainless beading is a bit trickier to bend and not kink the beading.
17. The fabric channel will fit right into the slot. Once it is all fit, I pull it back down and spread some weatherstrip adhesive on the top of the channel and glue it to the metal standoffs within the slot.
18. Then the piece of glass is turned sideways and slid into the door through the top. Slide it down into the door and turn it right ways. I leave the lower mounting bolt of the front channel out as I install the glass into the rear, then the front channels. Then install the lower 1⁄4-inch mounting bolt. Once the glass is in the channels and the front one is secured, position the glass into the mounting clamps and tighten the nuts.
 19. Now that everything is in position and the glass goes up and down, I remove the three mounting bolts for the window mechanism to let it and the glass slide down into the door a bit so I can install the wiper felts.
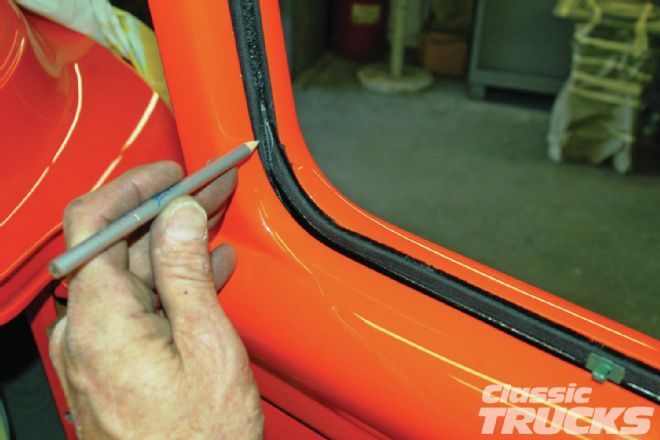 20. What I do is line the little green retainers up with their respective holes. Then mark the end of the felt for the cut.
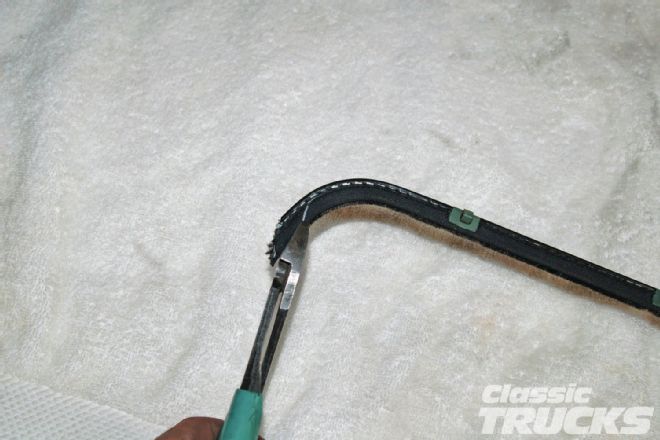 21. I use side cutters to cut the felt along my line.
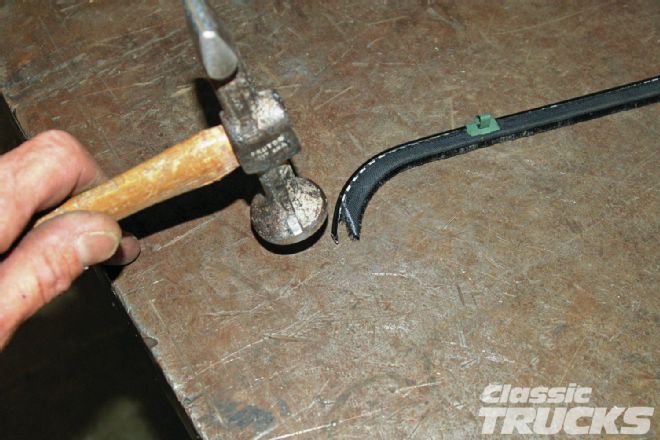 22. Then a hammer to flatten the black steel bead. I do the same with the stainless beaded felts also. This flattened piece will tuck behind the felt window channel to hold it.
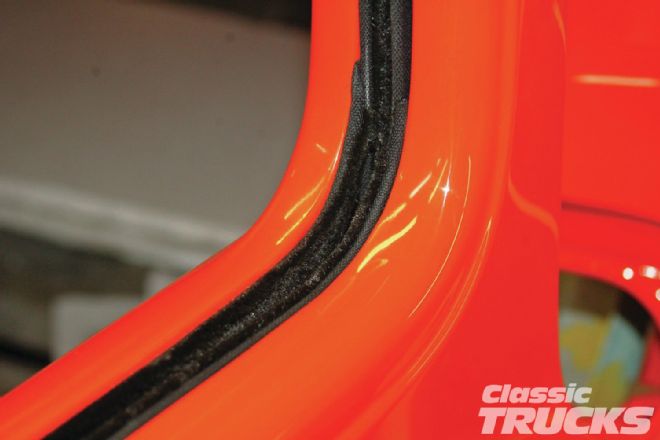 23. This is what we're hoping to end up with. The lower felts should flow right into the window channel and should also follow the door edge front to rear. The green retainers snap into the rectangular holes on the flanges. Make sure the holes are clean of primer and paint buildup.
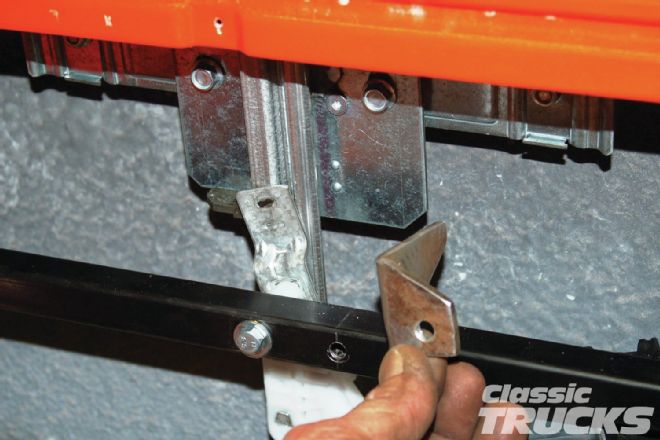 24. The assembly needed some kind of stop for the down movement. I bent up a piece of 1⁄8-inch and drilled a mounting hole into it.
 25. A little paint and I installed it into the mounting bar with a 1⁄4-inch bolt and Nylock nut. Now the window will stop when it gets to the bottom of the opening.
 26. I connect the wires to the motor and using a spare battery, raise the window to the closed position. Everything worked smoothly so I give it a few up and down runs to check it out. When I'm happy with it I usually leave it up so the glass holds the channel right where it needs to be while the weatherstrip adhesive I applied to the window felt channel dries.
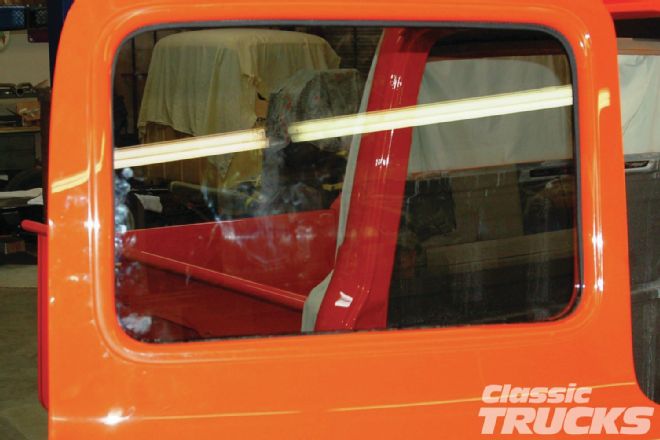
27. From the inside the installation looks very professional. Very clean. The 6x6-inch square opening in the forward part of the door is for the door wiring and access to the wire conduit we use.
26. I connect the wires to the motor and using a spare battery, raise the window to the closed position. Everything worked smoothly so I give it a few up and down runs to check it out. When I'm happy with it I usually leave it up so the glass holds the channel right where it needs to be while the weatherstrip adhesive I applied to the window felt channel dries.
27. From the inside the installation looks very professional. Very clean. The 6x6-inch square opening in the forward part of the door is for the door wiring and access to the wire conduit we use.