Our 1965 Ford project truck is still a few months away from paint, but we found a little downtime while waiting for some parts to arrive. We thought that we would take advantage of this time to work on cleaning up our cab. Eventually we are going to remove the body side molding and mirrors and fill in these areas to give our truck body a nice, neat, clean-shaven look.
One of the first things that we did when we purchased our project truck was to remove the factory gas tank from behind the seat. While we could have purchased a replacement one from an aftermarket manufacturer, we chose to relocate our fuel tank to between the rear framerails. This creates a problem of what to do with the large unsightly hole that is left after everything had been removed. We decided that our best solution would be to create a template of the hole and fill it in with a piece of sheetmetal.
Danny Day owner of Strange Daze Rods and Bikes had helped us locate our project truck and allowed us to store it in his shop. Fortunately for us, one afternoon Danny had one of those rare days where he had a little free time, so he decided to walk us through the process of how to create a filler piece and weld it in. We followed along while he demonstrated the technique using simple shop tools.
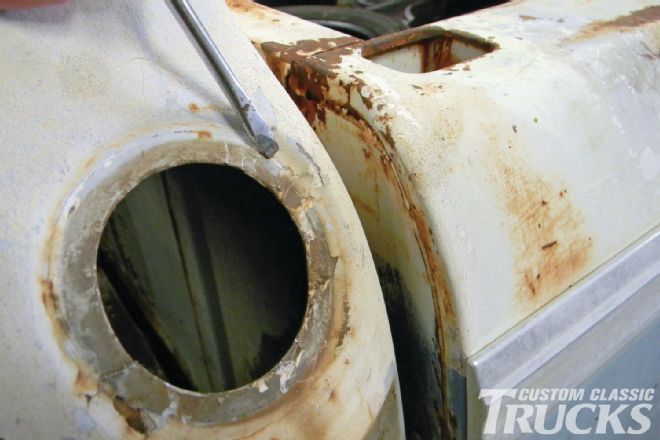
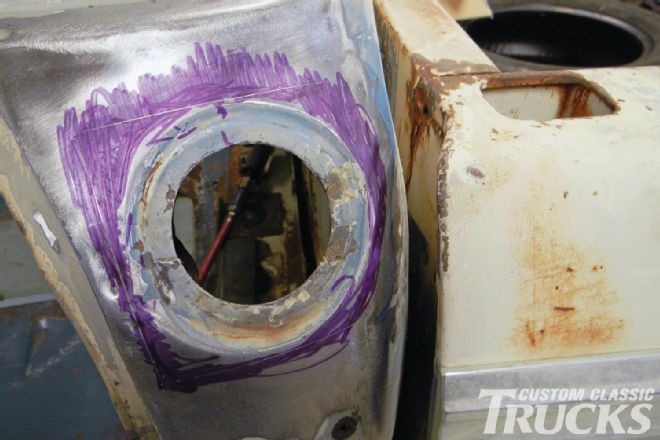
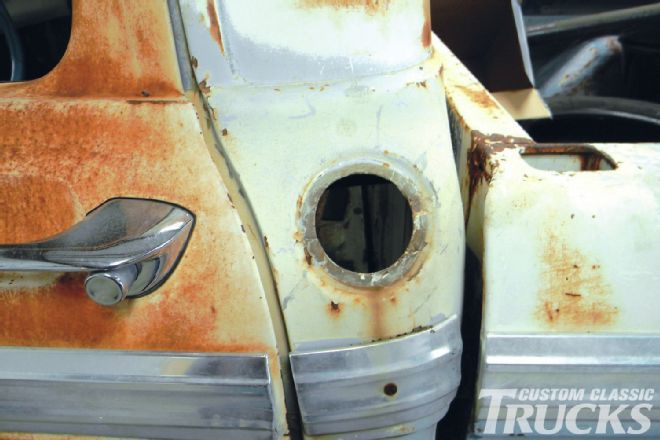 1. Here is our gas filler hole once the tank and filler neck have been removed.
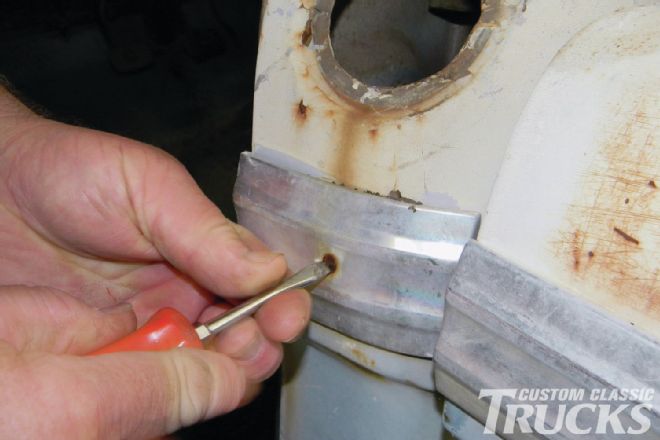 2. First, the side molding is removed to give plenty of access to the surrounding area.
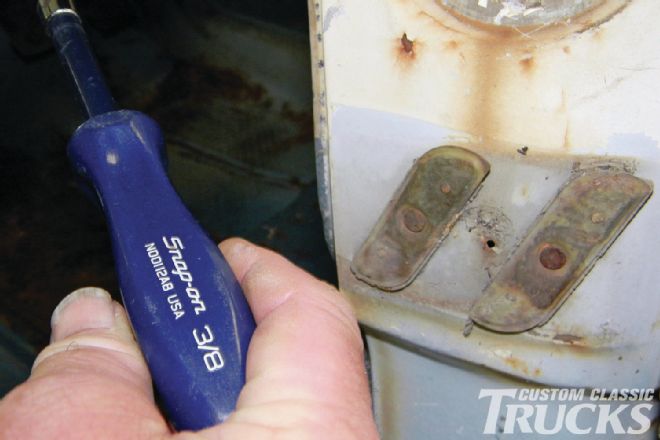 3. A 3⁄8 nut driver is used to remove the body side molding clips.
 4. Danny next looks at the passenger side to get an idea of how the metal flows so that he can duplicate it on the driver side.
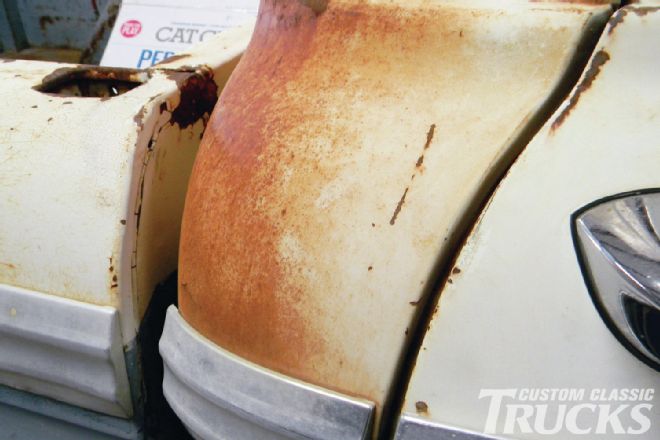
 5. Here is our starting point. Danny will remove the ugly hole and give our truck a smooth, sleek look.
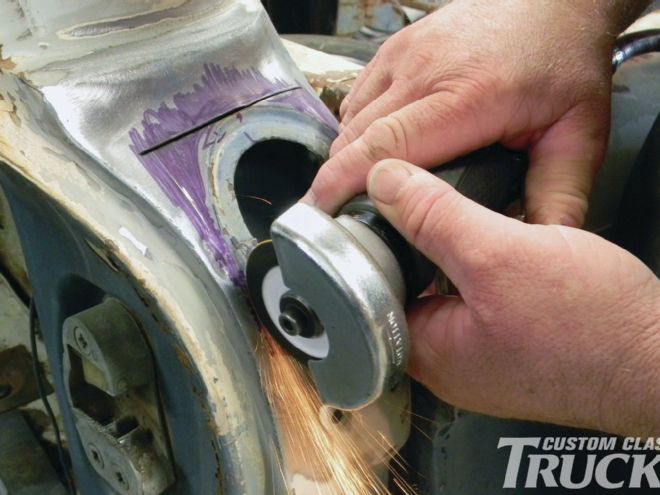
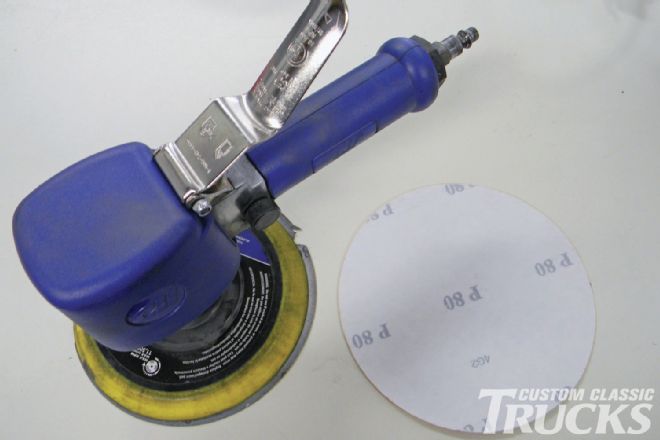 6. In order to prepare the area for welding, Danny loaded the sander with 80-grit sandpaper to knock down the paint around the opening.
 7. As we remove the paint we notice the telltale signs of some previous bodywork.
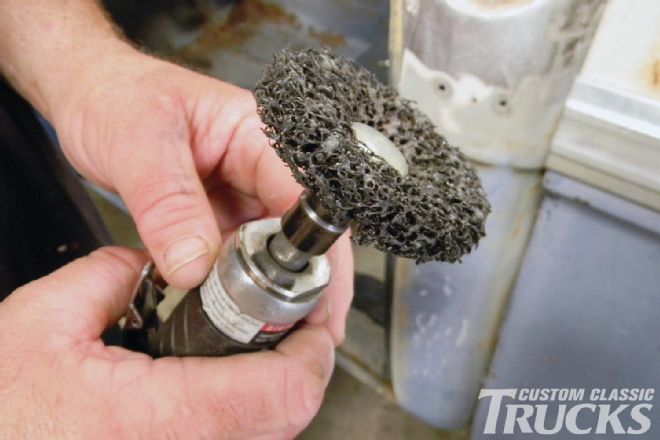 8. Next, a 3M Scotch Brite Roloc Clean Strip disc is used to prep the area. It will not affect or gouge the metal.
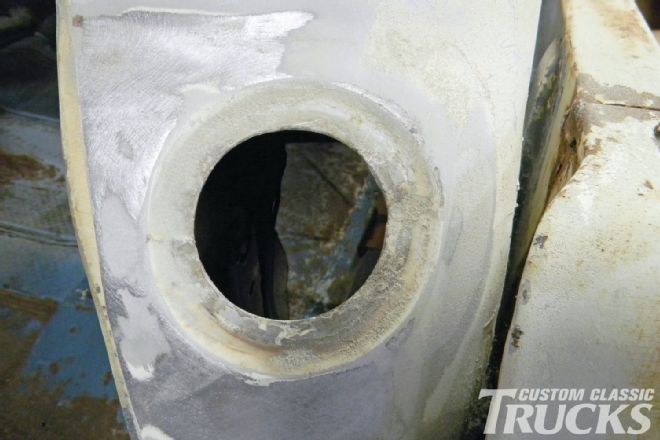
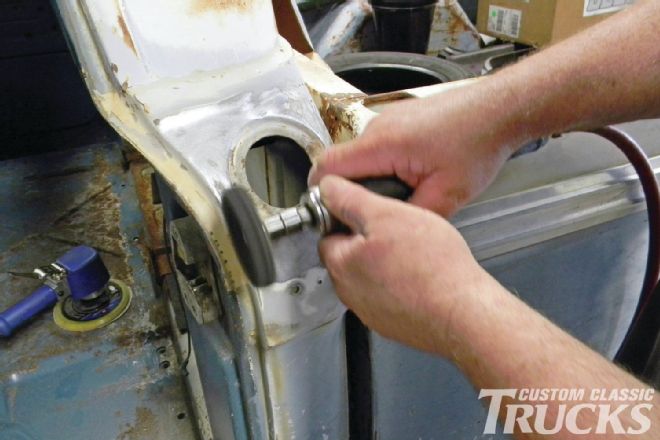 9. Danny goes over the entire area until it’s down to bare metal.
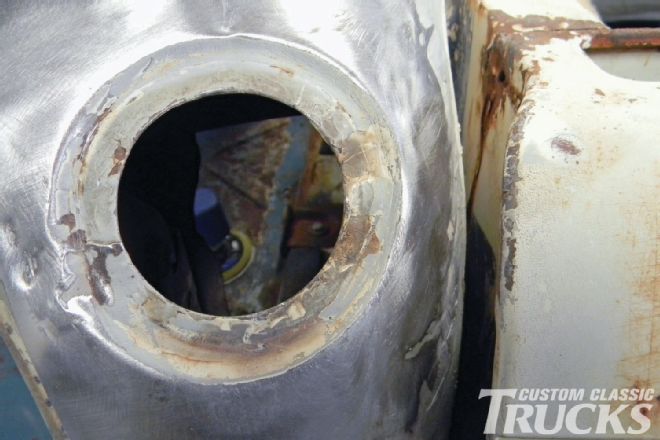 10. All paint has now been removed from the work area. You’ll see why Danny’s not concerned about the area immediately surrounding the opening in a minute.
 11. In order for a good, solid weld to take place, the backside of the work area needs to be nice and clean as well.
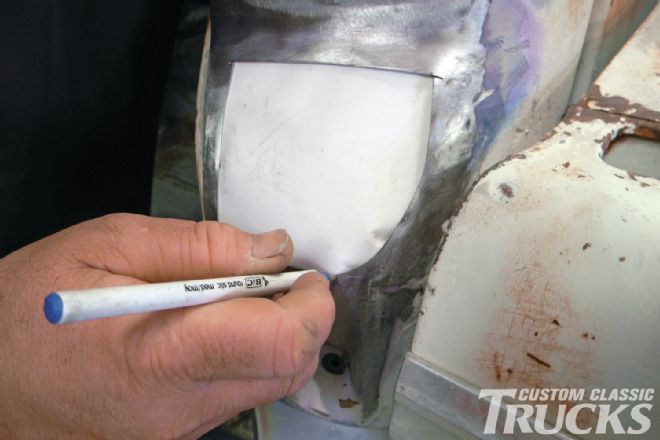
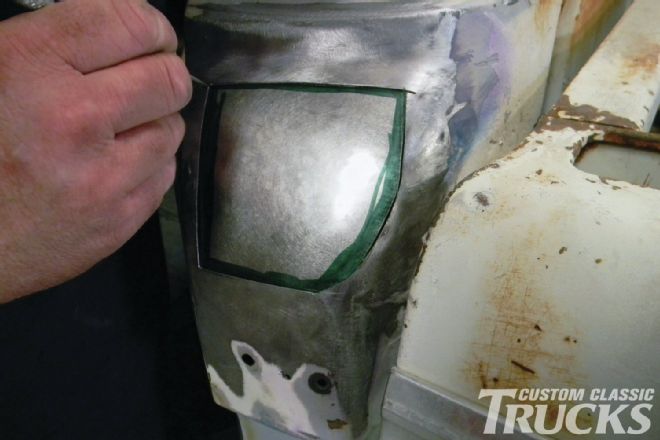
 12. Danny next grabs a marker and colors in an area around the area to be filled. This acts as a layout fluid for the next step.
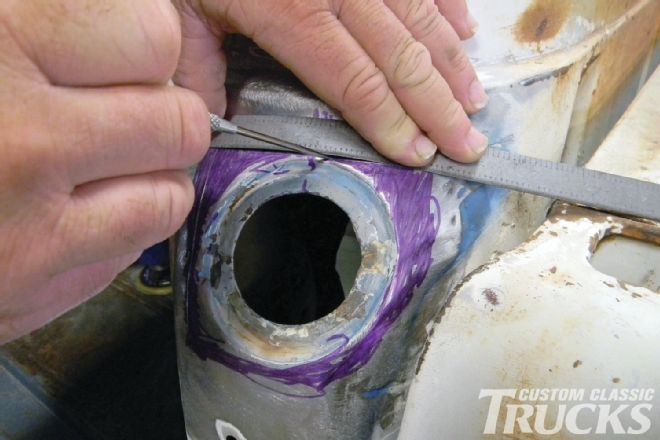 13. Using a flexible ruler and scribe, Danny marks the area to be trimmed.
 14. The cut lines are now etched into the metal.
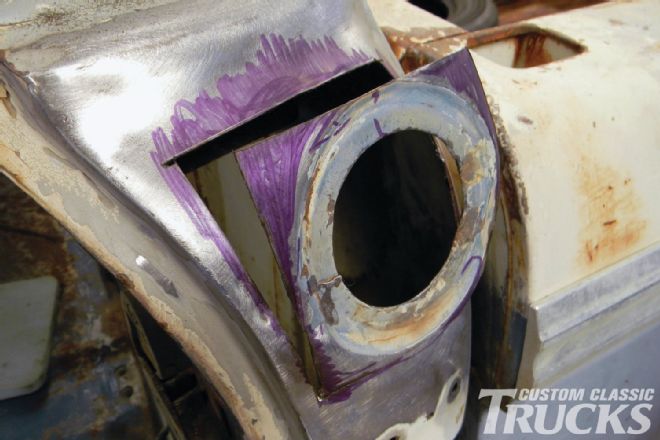 15. A 3M cutoff disc is loaded onto a pneumatic cutoff wheel before Danny cuts intersecting straight lines until the trim piece is cut loose.
 16. Using a hammer and dolly, Danny now works out the small dents in the surrounding area.
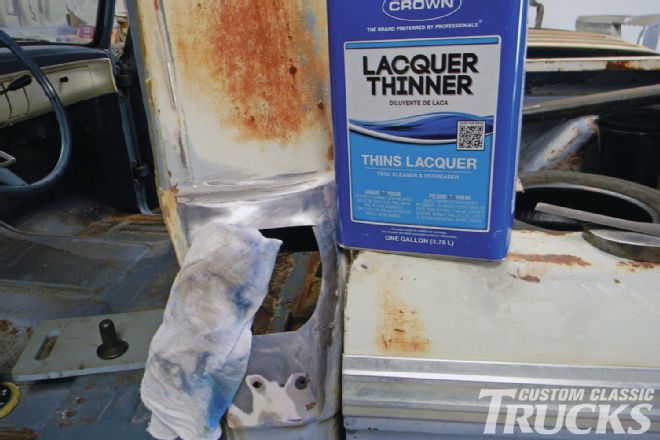 17. The entire are is then wiped clean with lacquer thinner.
 18. A piece of white poster board is then placed behind the cutout area and a ballpoint pen is used to trace the shape of the opening onto the paper.
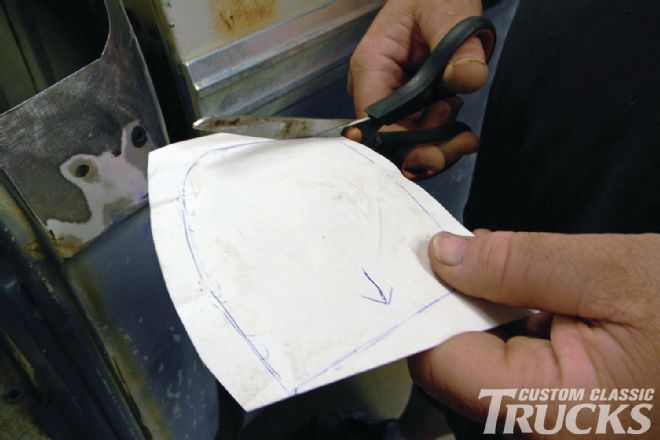 19. The paper pattern is then trimmed, making a template.
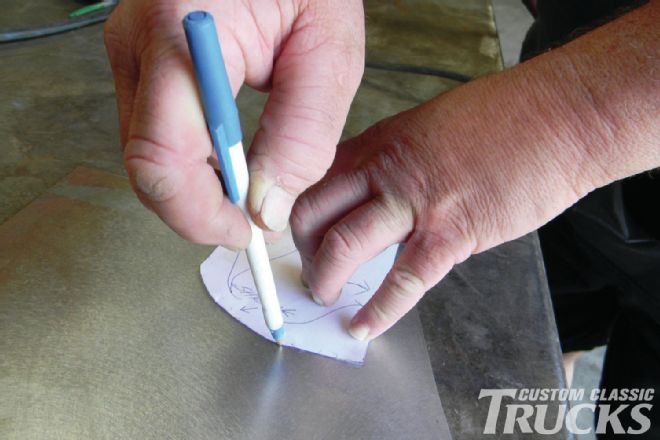 20. Danny now transfers the pattern to a piece of 18-gauge sheetmetal.
21. Here is our pattern, ready to be cut out.
20. Danny now transfers the pattern to a piece of 18-gauge sheetmetal.
21. Here is our pattern, ready to be cut out.
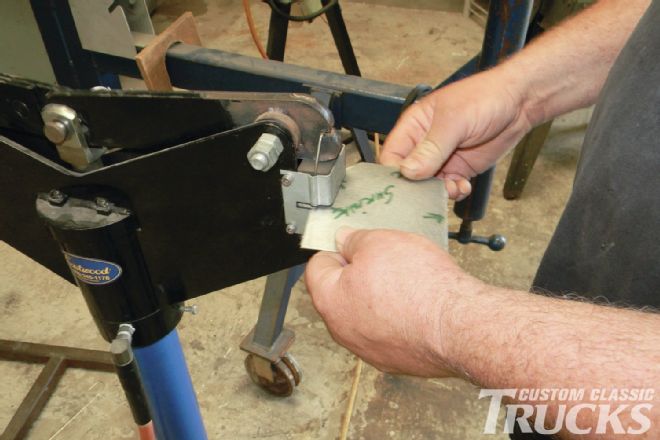
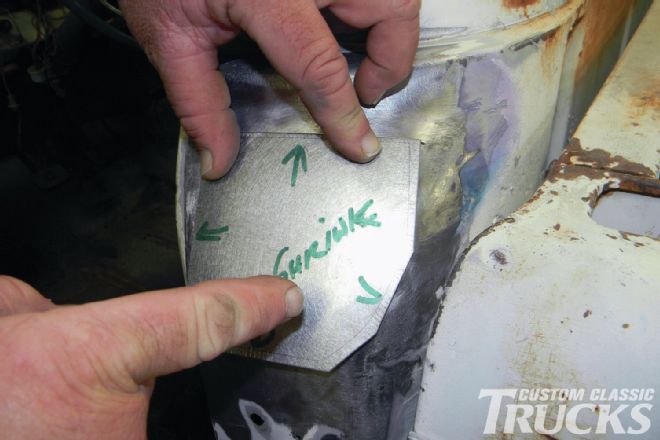
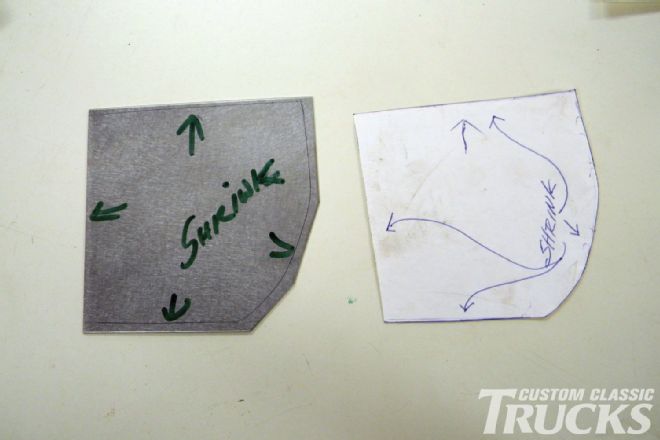 22. Danny trims the piece ½-inch larger than the template which gives him room to shrink the metal and not have the marks from the shrinker left on the actual filler piece.
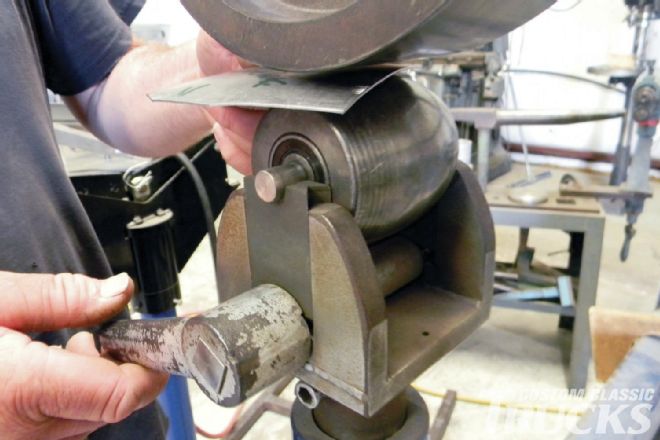
23. Danny uses an Eastwood Shrinker and goes around the entire filler piece to match the curvature of the cab corner.
22. Danny trims the piece ½-inch larger than the template which gives him room to shrink the metal and not have the marks from the shrinker left on the actual filler piece.
23. Danny uses an Eastwood Shrinker and goes around the entire filler piece to match the curvature of the cab corner.
 24. An English wheel is then used to further finesse the finished shape.
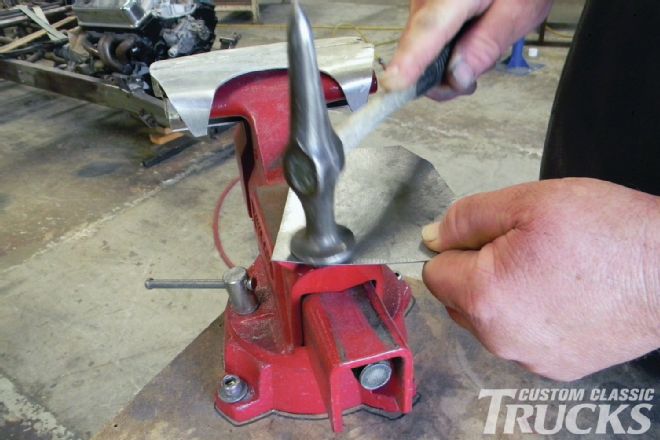 25. Danny demonstrates how that same curve can be achieved using a flat metal surface and a hammer.
 26. The filler piece is now checked against the cab to make sure it has the correct form.
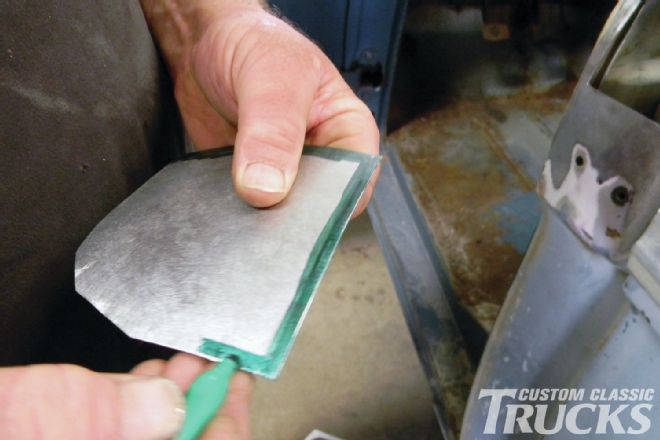 27. A Sharpie marker is again used to make a ½-inch line around the metal template to act as layout fluid.
 28. The metal piece is then placed behind the cutout area and a metal scribe is used to trace the final shape onto the metal.
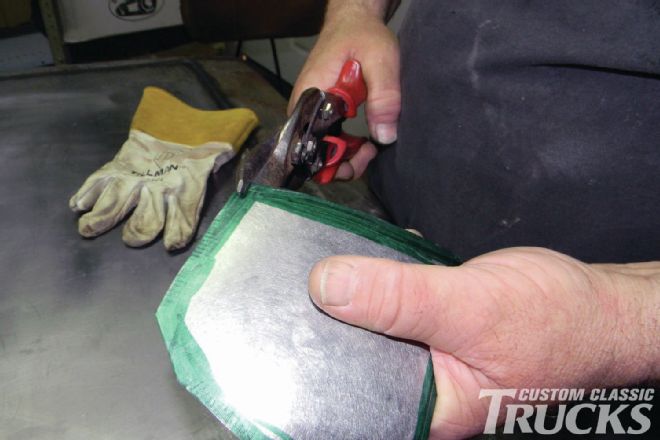 29. The final filler piece is then trimmed to shape using a pair of tin snips.
 30. Lacquer thinner is used to wipe the filler piece clean followed by a pass with a hand file to knock down any burrs or imperfections.
 31. A piece of masking tape is used to hold the filler piece in place while Danny selects his first spot to tack by locating the area with the smallest gap between the two pieces of metal.
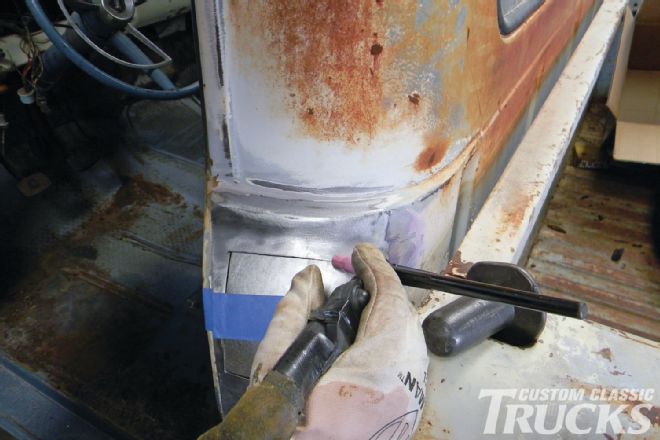
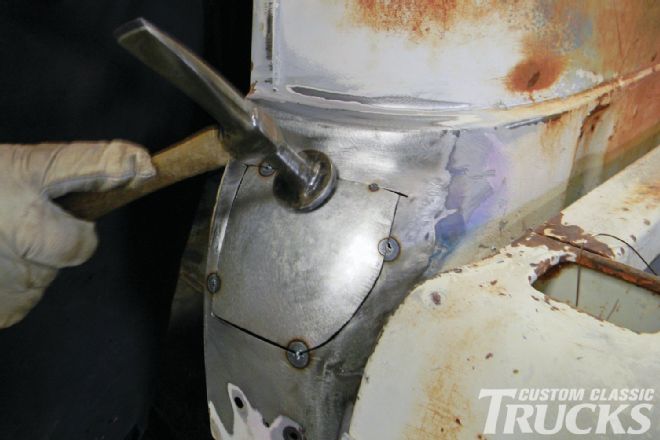 32. Once the filler panel is tacked in place, Danny uses a hammer and dolly to bring it level with the surrounding sheetmetal.
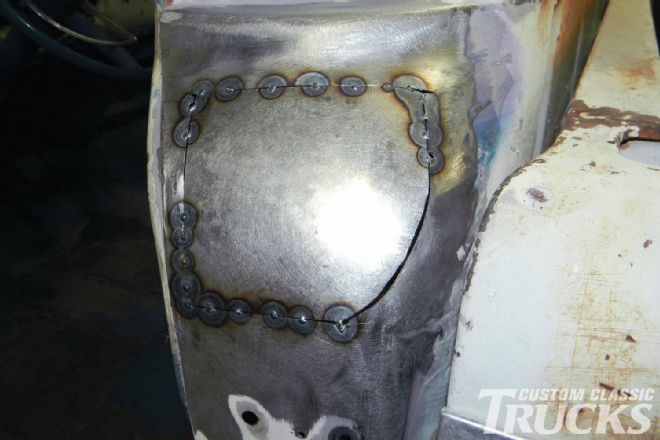 33. Pleased with the progress so far, Danny continues to tack the panel to the cab, exercising caution so as not to warp the area.
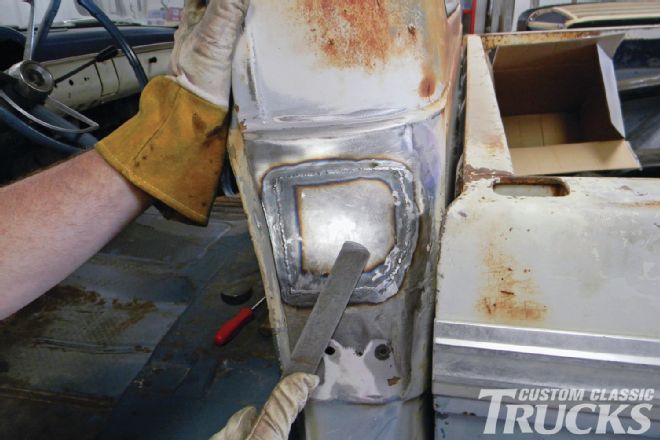 34. Once a good bead has been welded around the entire perimeter, Danny uses a flat file to knock down the weld bead…
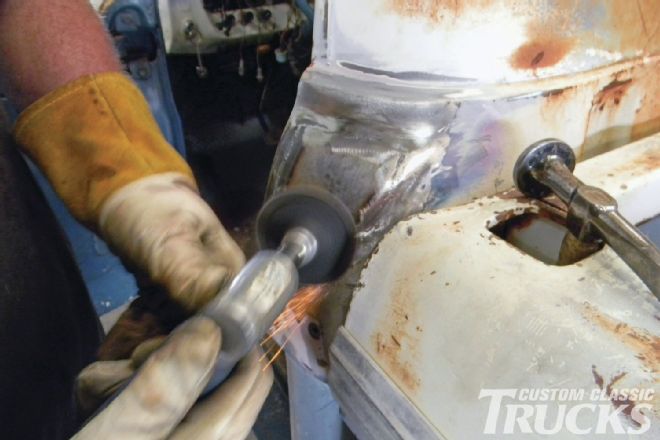 35. …followed by a die grinder with an 80-grit sanding disc to further work the weld smooth.
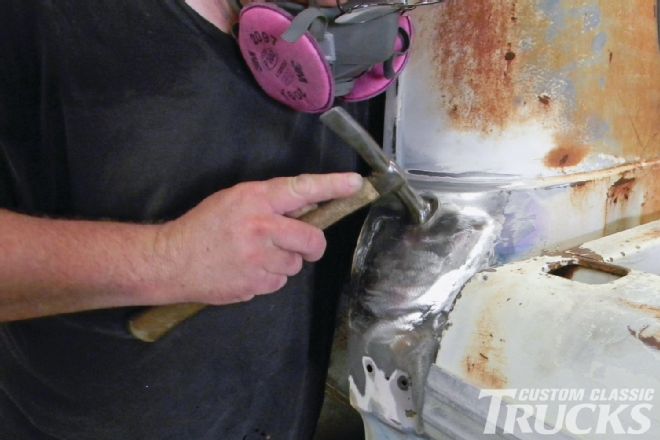 36. More hammer and dolly work is used to perfect the seam and the surrounding area.
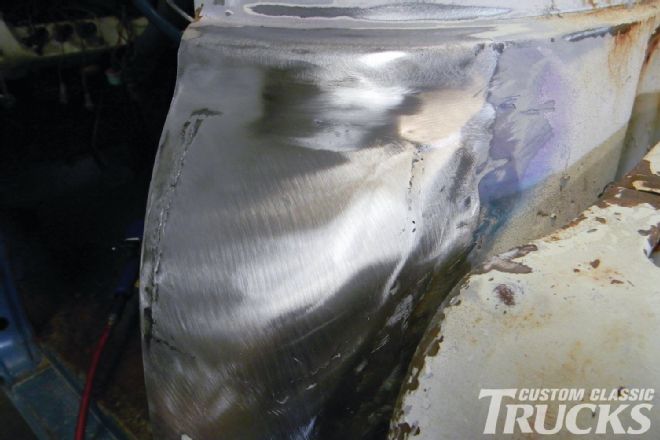 37. And there you have it. A little body filler and some block sanding and no one will be the wiser that a fuel filler ever existed in this area of our cab.
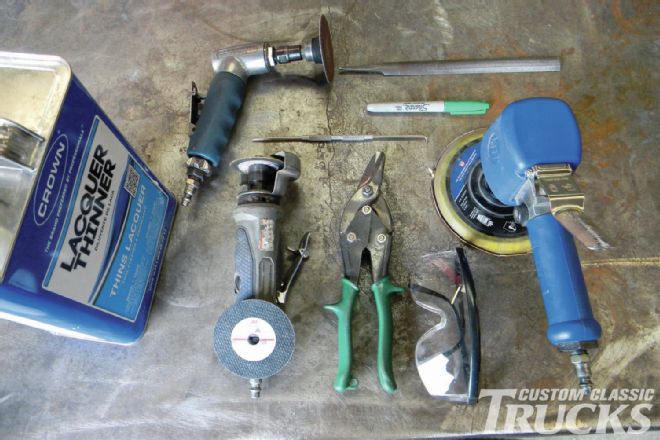 38. There really isn’t anything exotic about installing a patch panel. All it takes are a few basic tools, a welder, and a little patience to get the job done right.