Metalworking is basic: Understand the metal—and the tools with which to manipulate it—and you can practically make it do anything you want. Whether it's as complex as hammering and forming a Deuce quarter-panel from scratch or, as we're about to show, bending up a custom Model 40 hood from sheet aluminum, there's not much you can't transform a flat piece of metal into.
The will to achieve must be followed by the will to learn, be it from others or, as many of the "others" have done, by trial and error themselves. Knowing the limits of the metal media in which you're working is as important as knowing precisely how to "stretch" each piece to those particular limits, through both the tools and the processes that are required to do so. Maybe not so much basic in the literal sense of the term, but with time come the skills, and with those skills the shapes of your desires literally come to life!
OK, enough with the corniness. To illustrate exactly what we're talking about, we made a few stops by Fabian Valdez's shop, Vintage Hammer Garage in Riverside, California. This issue, he'll walk us through the process of working a sheet of aluminum into a custom, handmade hood. We'll follow that up (two issues from now, as next month we'll be devoting an entire issue to R&C's 60th anniversary) with the ancient art of punching louvers. Enjoy!
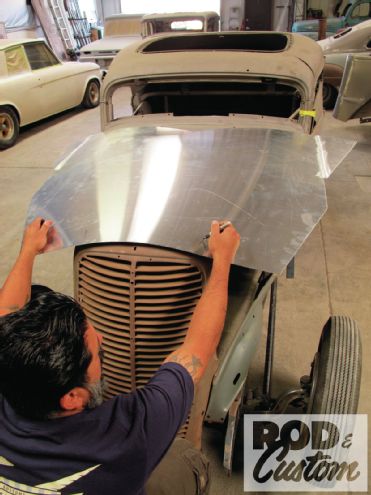
 1. Though our not-so little exercise in hood fabricating takes place at Fabian Valdez’s shop, Vintage Hammer Garage, the process we’re about to illustrate is something the average person can attempt at home. Note our volunteered ’34 coupe has a unique grille (of English Fordson van heritage); its shape posing no more a challenge than a stock one would be (the aluminum doesn’t have a preference!).
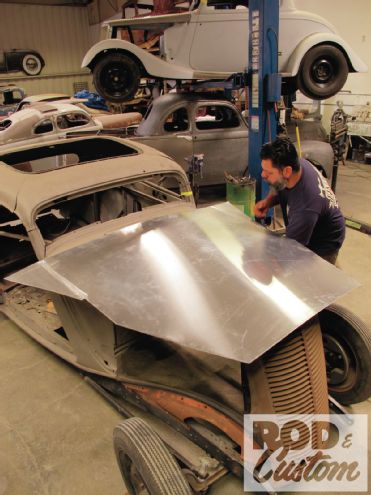 2. Valdez starts with a half-sheet of 0.050-inch 3003 aluminum (with “wings” TIG-welded at the rearmost edges to avoid being short). Though seemingly thin compared to a stock steel hood, once bent, bead-rolled, and so on, the aluminum will be more than sufficient thickness-wise.
 3. Reference points are marked onto the aluminum for centering before any shaping takes place.
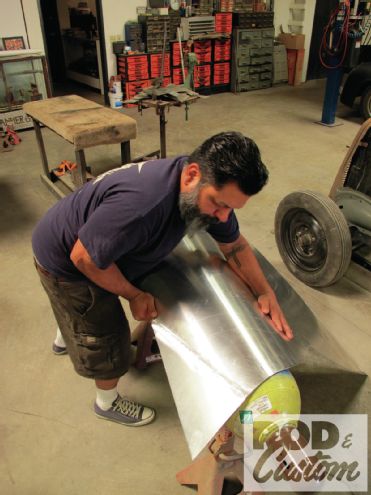 4. The specialized equipment used for bending the sides of the hood—a trusty acetylene bottle!
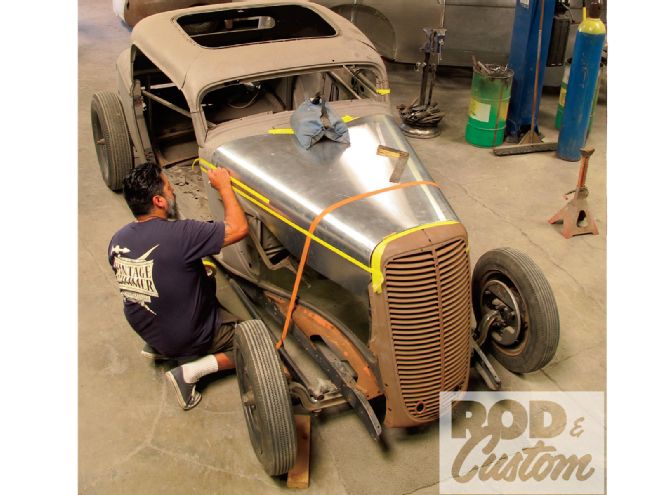
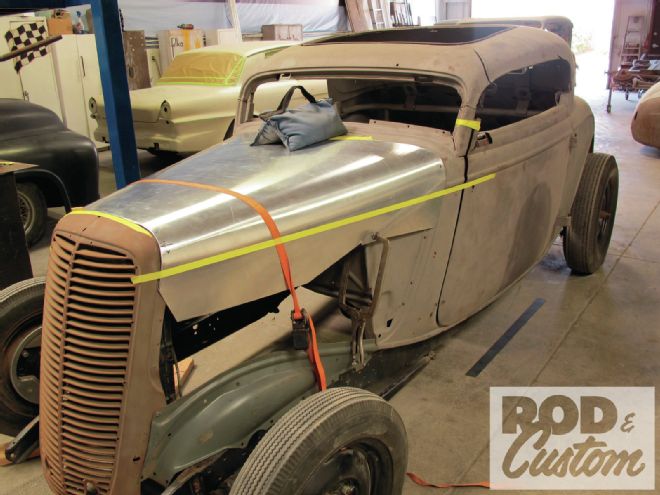
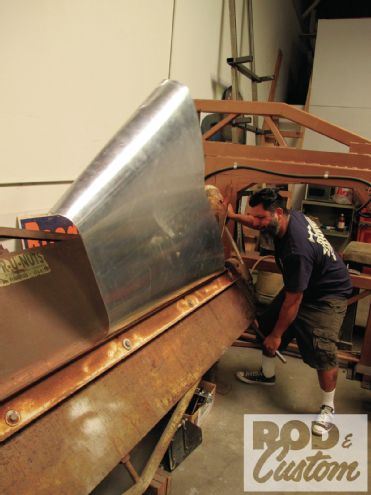
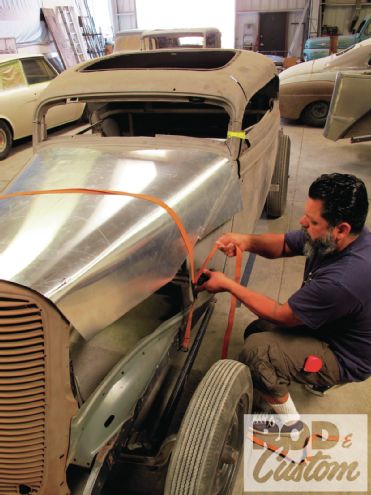 5. To both aid in the shaping process as well as hold the shape while the edges are trimmed, a ratcheting tie down is used to cinch the hood to the ’34.
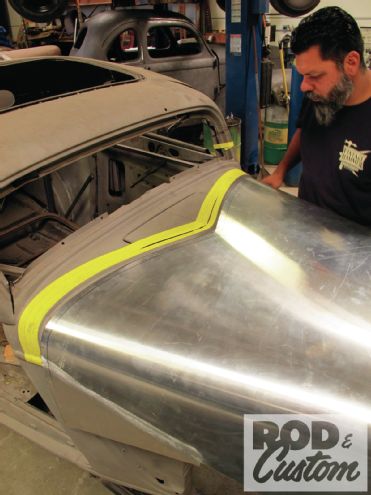
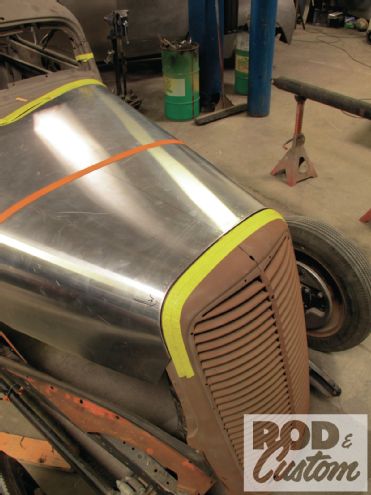
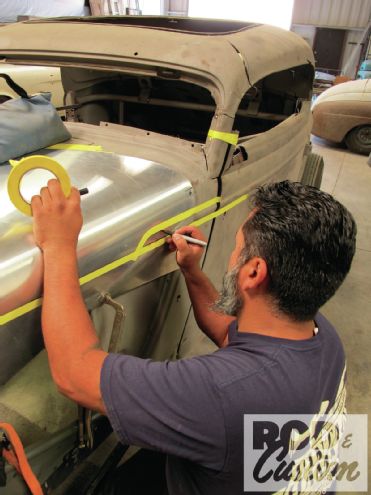
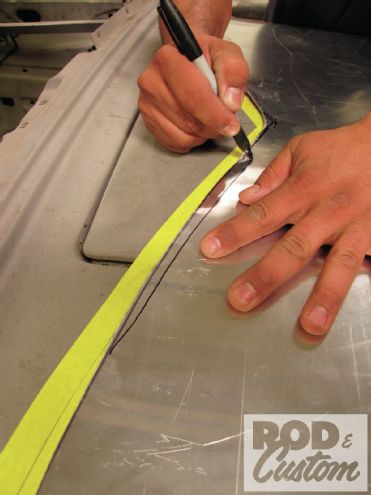 6. Getting the sheet sized to the precise shape between the cowl and grille shell begins with good ol' masking tape.
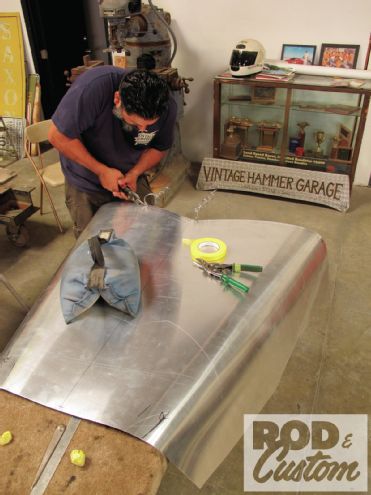
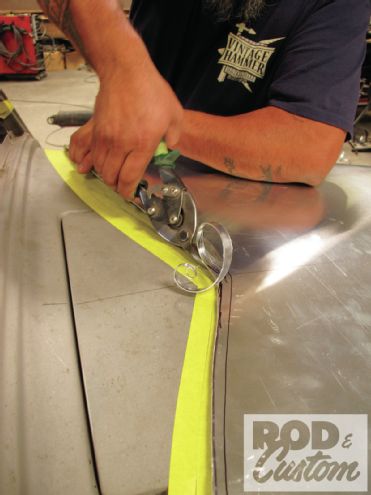 7. Valdez uses a method of "transferred reduction", where he basically uses the thickness of each piece of tape to gauge his cut lines.
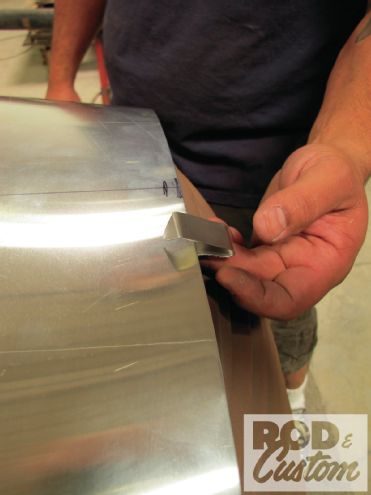 8. Valdez also uses a clever little homemade tool fashioned from a piece of scrap metal to transfer cut marks from areas such as cowl and grille edges.
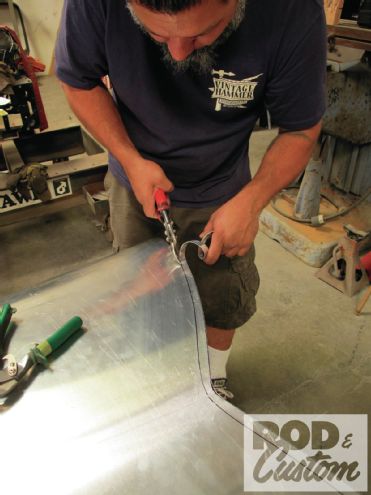
 9. The inching-up method basically adds upon the age-old saying "measure twice, cut once". But in this case, it’s more like "measure three or four times, cut twice"… or something like that!
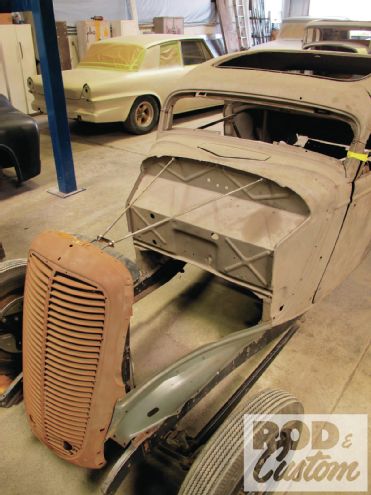
 10. Regardless, the end result is as accurate as Valdez can get, ensuring his hood gaps are consistently even.
 11. Once the rear has been trimmed to shape, the excess 1/4-inch Valdez left oversize is scribed for the next step: forming the edge.
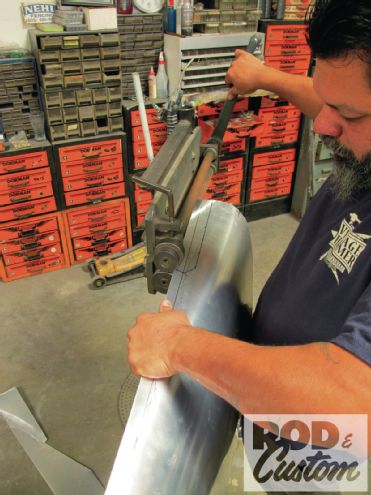
 12. For this portion, the hood is first run through the bead roller.
 13. Next, the edge is folded over using a hammer and dolly. Besides providing a nice, clean edge, this also helps add rigidity to the hood.
 14. The entire process of trimming and forming is repeated for the front of the hood.
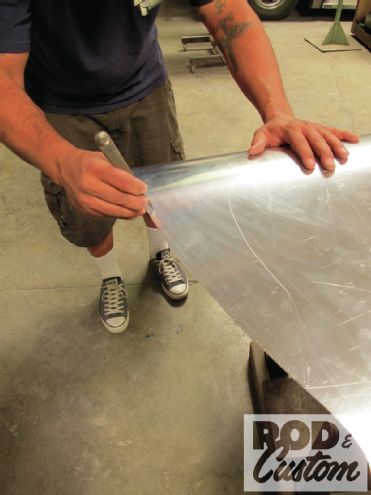
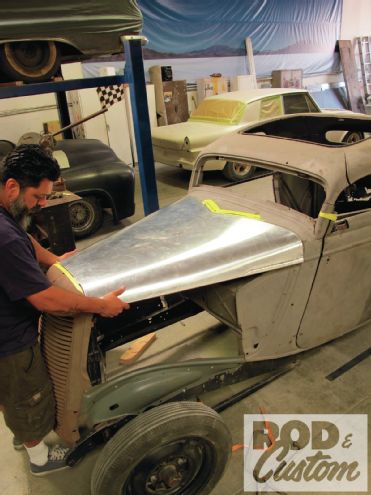
 15. Moving along, focus turns to the side edges of the hood, shown here marked with tape for subsequent trimming using the body line for “horizon” reference.
 16. However, before the sides are cut, Valdez plotted the abbreviated bead he was going to incorporate, something that not only will add character to the hood, it will require precise side-to-side fitment in order to maintain consistent, exact alignment of the beads.
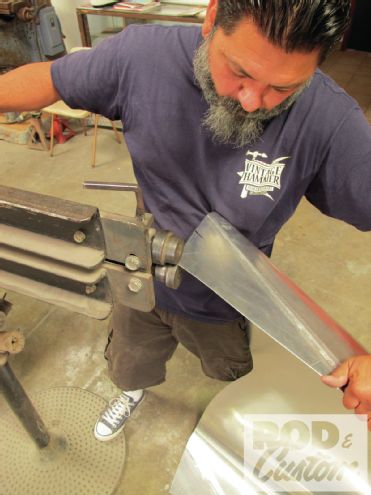
 17. Prior to forming the beads, the major excess material is removed using a throatless sheer.
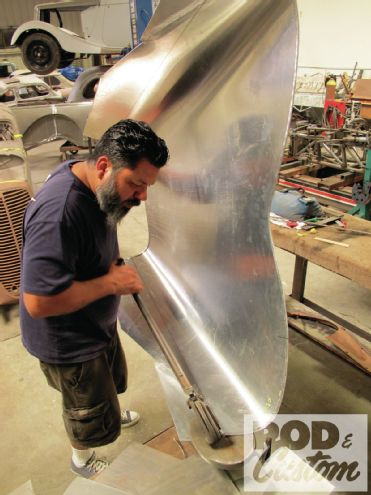
 18. Then, while performing a juggling act steadily supporting the hood, Valdez carefully rolls the shortened beads in each side.
 19. Then, while performing a juggling act steadily supporting the hood, Valdez carefully rolls the shortened beads in each side.
 20. Note that the sides are still roughly 3/4-inch oversize—the excess material left for the hood’s flanged edges, which Valdez bent 90 degrees in his brake.
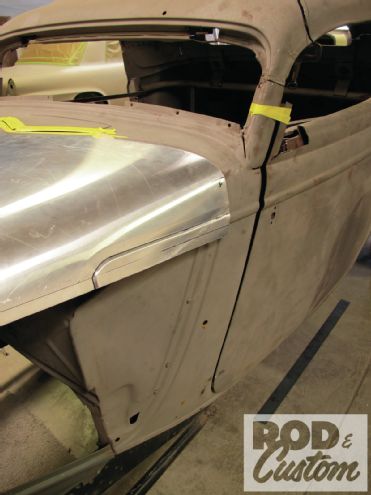
 21. With the cutting, bending, beading, and flanging complete, so too is the coupe’s hood …
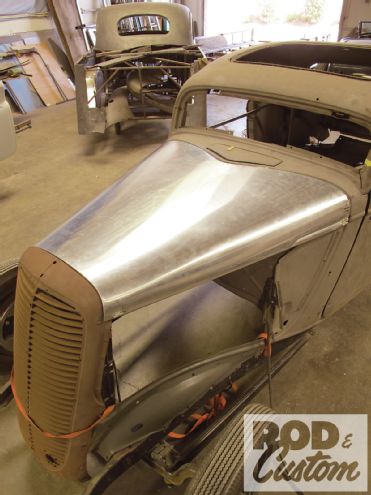 22. … that is, it’s done save for adding Dzus fasteners and a set of louvers—which we’ll cover next time!