When it comes to metalwork, some jobs bring out excitement and ambition... while others lack even the slightest glimpse of luster. Items such as frenching, chopping, and shaving all have the benefit of adding that "edge" to one's ride that makes a hot rodder eager to hit the garage. Unfortunately, the flip side of that is the backbone of the metalwork industry; items such as patchwork, rust repair, dents, and dings. It's the type of metalwork that is the equivalent of opening your wallet only to find a stack of receipts and no cash! But, it's all part of the necessary evils to building one's ride. One of the major areas of this fundamental groundwork is repairing floors. Between road rash, rust, cuts, and much more, hot rods of all kinds end up needing some sort of repair work down south. In extreme cases, like this particular subject, a new floor is the only answer.
The key to any successful structure is a solid foundation, and the same goes for hot rods. In terms of the body of any vehicle, the foundation always begins with the floor; and when you're dealing with a media that often rivals Betty White in age, the flooring in a vehicle is anything but sound. The most common threat is the rust factor, but then you throw in the dents, crinkles, and the ever-changing landscape of a floor to accommodate the latest and greatest drivetrain of each passing decade and, let's just say things can turn awful sour real fast. For some vehicles, the aftermarket has conjured up a quick fix by offering direct replacement panel patches—even entire floors. But for other applications, it's still a one-off procedure.
Star Kustom Shop (SKS) has been in the process of radically changing a 1951 Chevy in various aspects. The latest venture, before any more creative metalwork can take place, is installing a new floor. As mentioned above, the floor of the Chevy has seen its time on the streets and paid a price in just about every imaginable way. The other problem SKS had is when they sectioned the Chevy and removed the top, the body shrunk and the floor stayed the same. Now at first thought that wouldn't seem to pose any problem. However, the kicker is the fact that the stock floorboard sits up high to accommodate a nice comfortable ride, which now leaves the passenger sitting awkwardly above the door line of the sectioned sedan. Not a complementing look. Couple that with the chaos surrounding the floor's condition and the only foreseeable—well most logical and well-suited, solution—is to fabricate a one-off floor for all the Chevy's needs.
When it comes to fabricating a floor, it seems pretty standard; create large areas of metal and plug them in. In a nutshell that's really about all there is, but the obstacles really set in when it comes to fabricating bends, breaks, transitions, and various rolls that are all vital to flowing and gelling with the landscape of the surrounding area. SKS is going to fabricate a one-off floor for the Chevy from 18-gauge cold-rolled steel. Throughout the process they will show how to "work" around the aforementioned obstacles, and employ a bevy of alterations to create a sound and strong structure. Being that the Chevy is receiving a 454 big-block and 700-R4 transmission, they will also be fabricating a new firewall... in other words, the Chevy is getting a complete one-off floor substructure. And oftentimes it's easier to start with a clean slate as opposed to trying to fuse two elements together. Keep in mind that even though the subject on hand is a 1951 Chevy, creating a floor is the same procedure regardless what make or model is on hand.
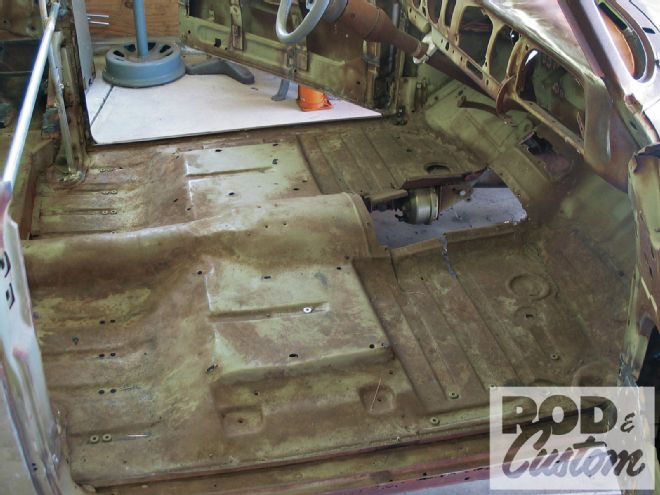 1. At first glance the floor doesn’t look too bad, but further inspection will yield dents, dings, rust, and, most importantly, gashes where previous “mechanics” had made room for improvements. Another key reason was to get rid of the humps where the driver and passenger sit, and lower the floor to accommodate the channeled body.
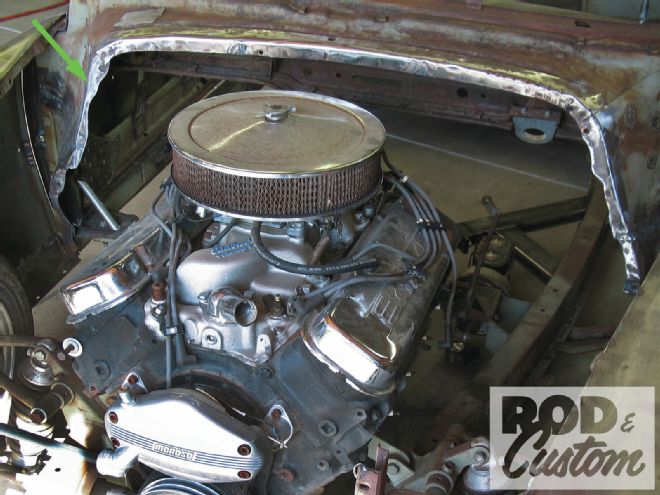 2. The 1951 will be the new recipient of 454 Chevy, so before Star Kustom Shop gets started on the floor a new firewall will be fabricated. First, the old firewall was cut loose, but the cowl’s flange (note arrows) was retained.
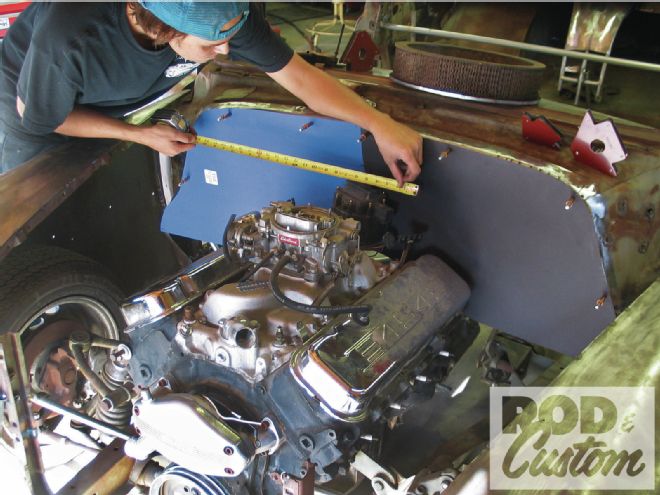 3. SKS’ first chore is to create a cardboard template of the firewall. Once held in place, via Clecos, the template is marked to accommodate the distributor, bellhousing, and the like.
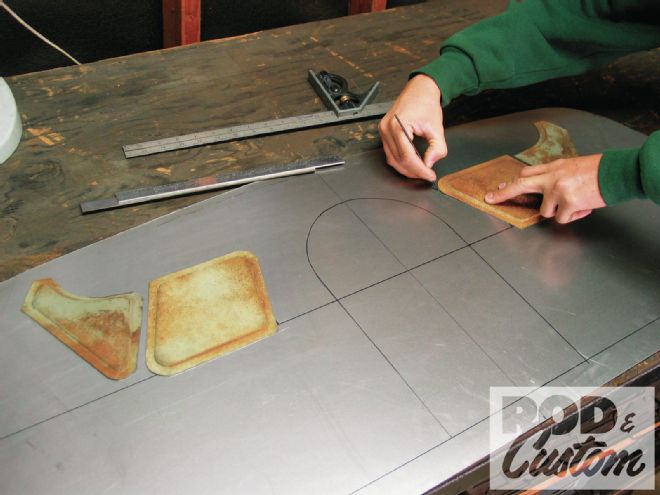 4. The template was then transferred to a sheet of 18-gauge cold-rolled steel. The center was marked, and an arc was laid out to the distributor dimensions. Instead of just a flat and plain firewall, SKS is going to weld in these recessed panels (cut from the inner splash pans of the ’51) to add character and strength. Once in position, the new panels were scribed into the firewall.
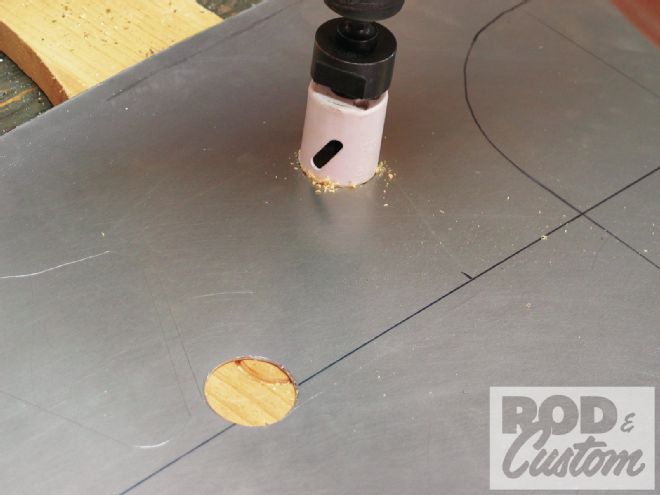 5. Using a hole saw, the corners of the new templates were cut, and then a 1/16-inch cut-off wheel was used to remove the remainder of the shape.
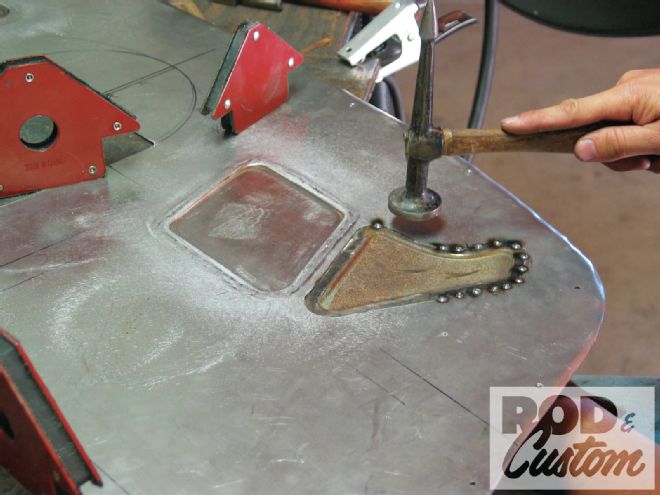 6. The panels are then slowly hammer-welded into place.
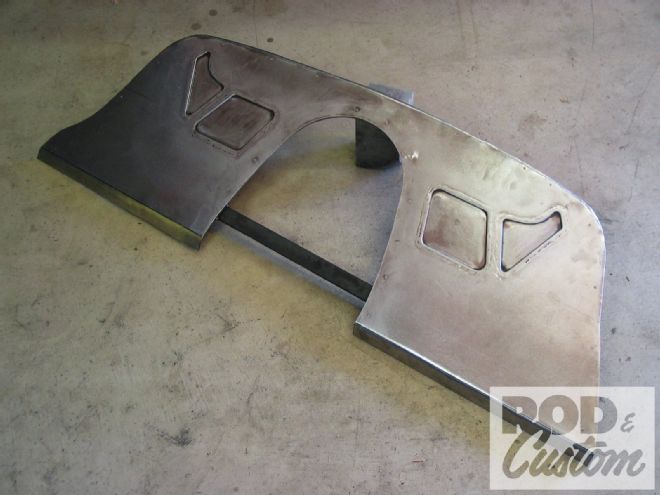 7. Fast forward, here’s the finished firewall. The inserts not only add some character, but they will also add strength and rigidity to the large flat areas. A return lip was formed on a brake at the bottom to create an adjoining flange for the floorpans, and the top of the firewall will weld flush to the rim of the cowl flange. As for the distributor area, we’ll finish that later.
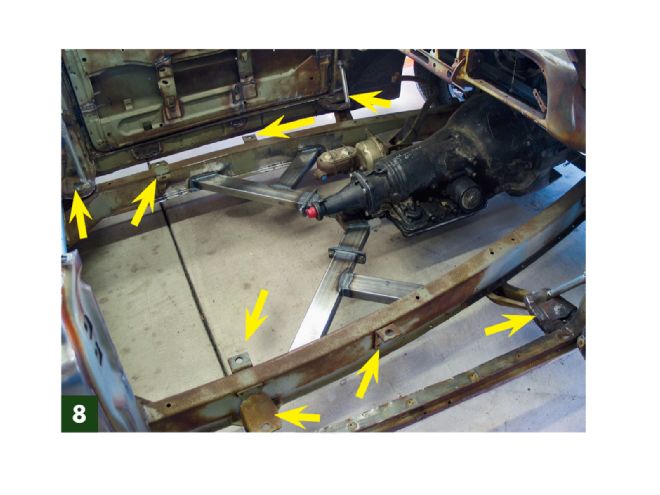 8. No sense in showing how to remove a floorboard, so we’ll just jump ahead! As you can see the floor is cut out around the perimeter of the interior and an entire floor will need to be fabricated. To maintain the integrity of the body, SKS again retained the inner tabs around the cowl along the kick panels, and they’re going to be sure to use all of the factory mounting points in the new floor (note arrows).
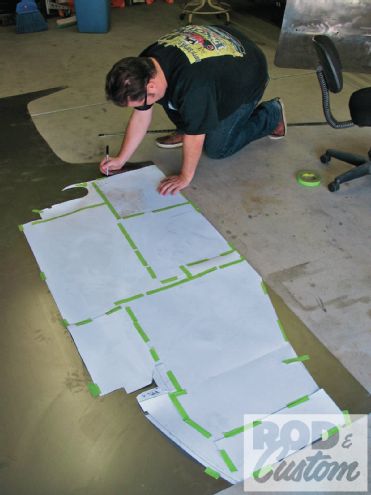
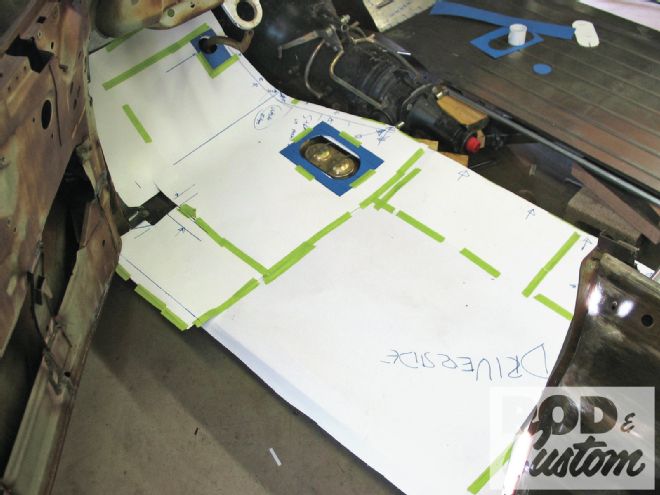 9. A posterboard template for each side of the floor was made, and openings for the frame-mounted master cylinder and booster were incorporated into the driver-side template.
 10. The template was then transferred to 18-gauge sheetmetal.
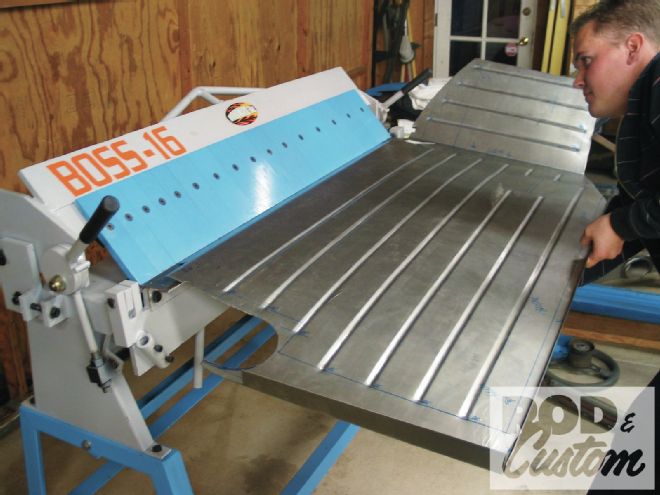
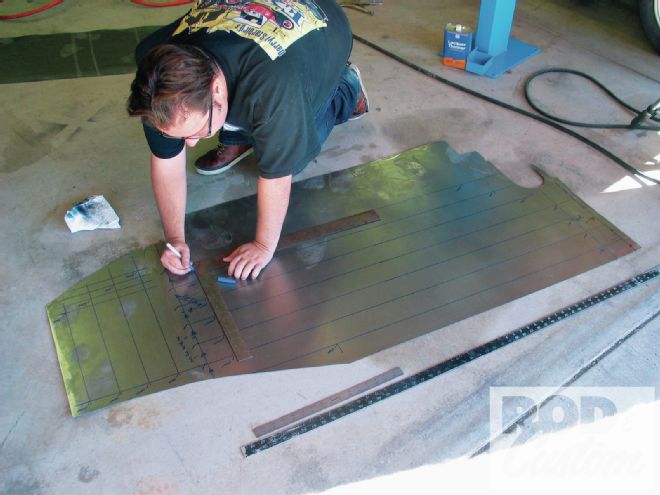 11. Flat 18-gauge sheetmetal isn’t stout enough to act as a floor, therefore a series of 1/2-inch beads and breaks will be placed in the panel to transform the sheetmetal into a suitable floor. Once the floor is cut to shape, it is then mapped out to the various breaks and beads.
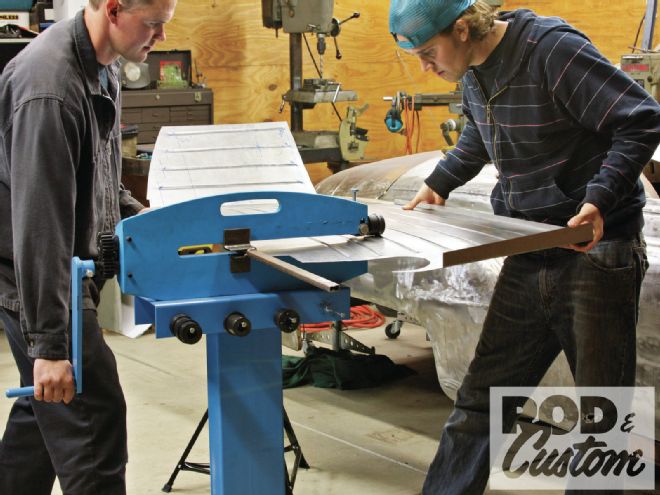
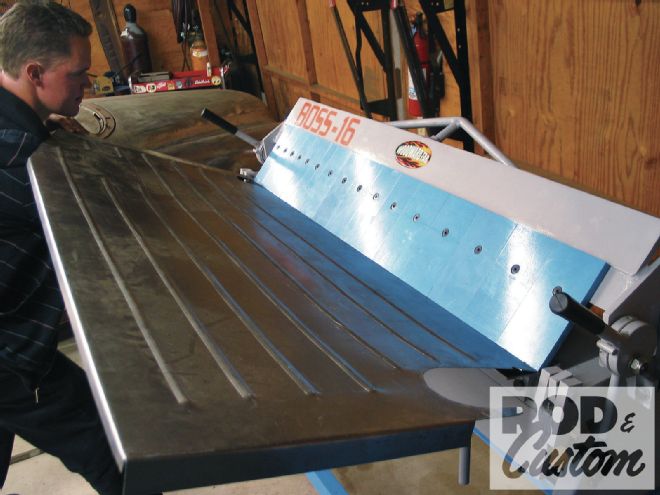
 12. First up, a series of 1/2-inch beads placed 3 inches apart are rolled into the floorpan. A guide is used to ensure a nice, straight bead.
 13. Next, the floor pans will get breaks at various points. For starters, the framerails on the Chevy begin to run uphill toward the front; therefore opposing bends are placed at the outer portions of the floorpans that will allow the floorpan to dive down toward the doorsill and clear the framerails.
 14. Then, the inner edge of the floorpan, and the rear edge, are bent at a 90-degree angle to allow for a place to "join" the various floor pieces together and add strength.
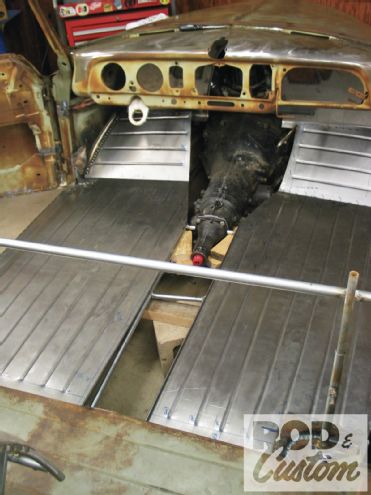 15. Here’s a look at how things are shaping up. The two panels have covered most of the surface area of the new floor, and it’s now time to create the engine/transmission/driveshaft tunnel. Note the 90-degree breaks at the center, while the other 90-degree breaks at the rear are now stitch-welded across the brace along the rear section of the floor.
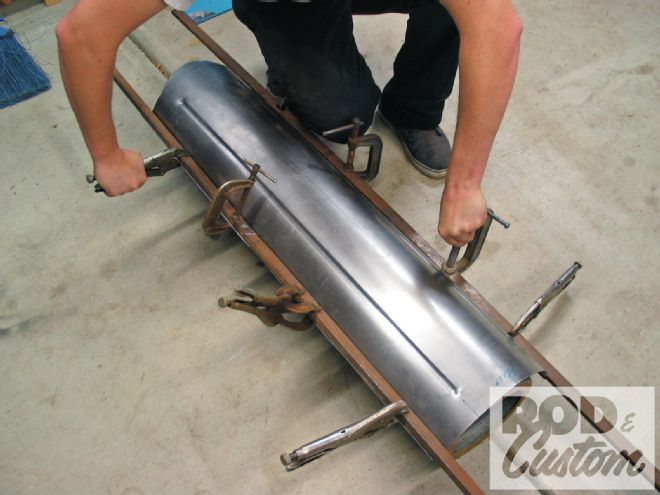 16. The tunnel begins with the driveshaft portion; first a piece of tapered 18-gauge sheetmetal is cut. Beads were then rolled into the sides of the tunnel, and a 45-degree angle was bent into each edge. Next, a long piece of rectangular tubing is clamped to each break and the tunnel is bent over a welding bottle. The tunnel is then placed atop the two floor halves, where the previous 90-degree breaks in the floorpans and the 45-degree break in the tunnel are adjoined.
 17. Templates were again made for the rest of the transmission tunnel, and then formed in the same fashion as the driveshaft tunnel.
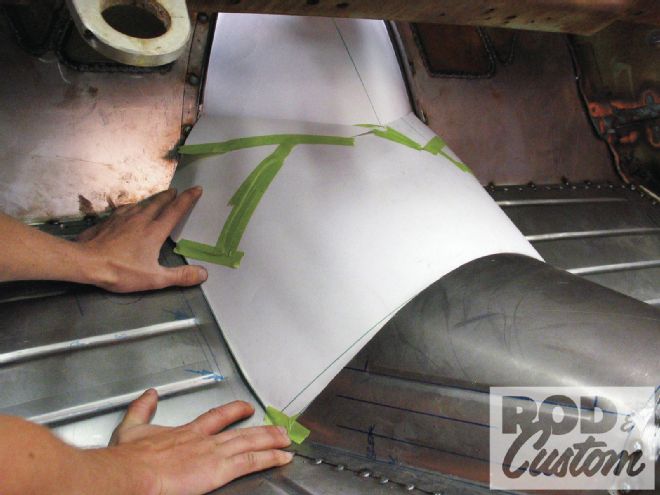
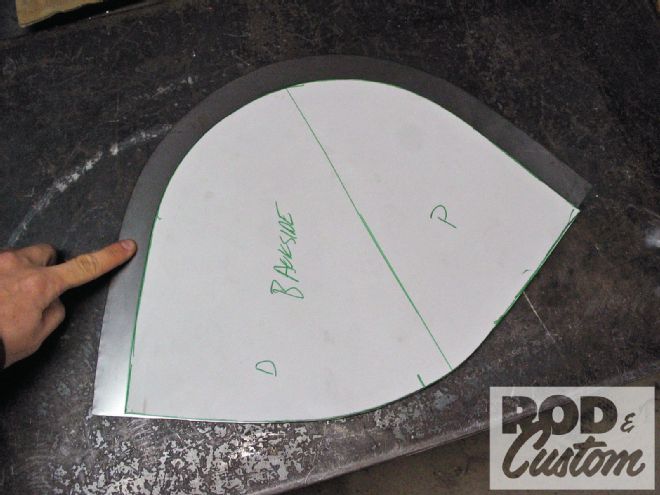 18. The last portion of the tunnel that needs to be made is the recess that houses the distributor. SKS chose to leave the area small, compact, and neat. For that reason the area is shaped in the vein of a bell, but it will need to recess several inches into the firewall to clear the HEI distributor. A template is made to the shape of the opening, and then an extra 3 inches is added to the outer edge.
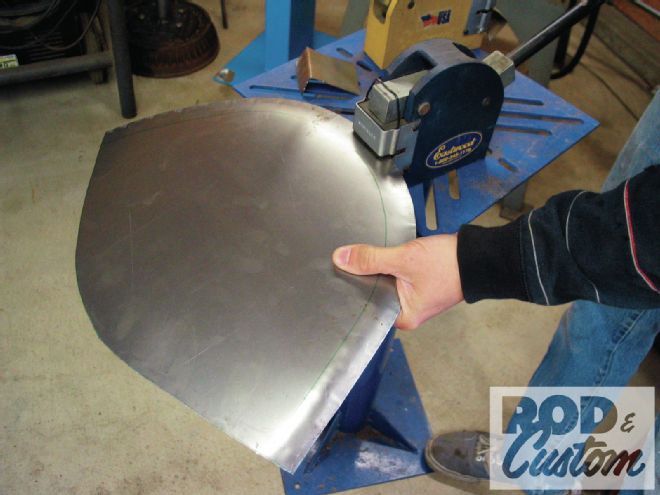 19. A rolled lip is going to be formed along the edge of the distributor tunnel. Because of the taper, and the double-compound curve, SKS began by shrinking the edge of the lip.
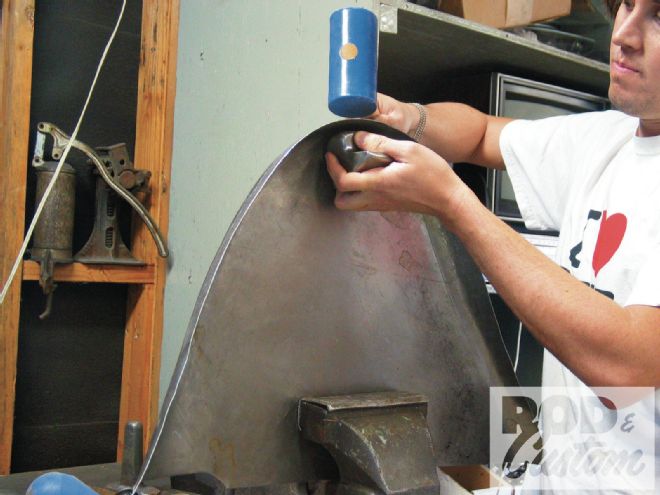 20. A hammer and dolly are then used to create the rolled lip. It took several series of shrinking, hammering, and dollying to create a deep enough lip. Once the lip was finished it was fitted to the firewall and transmission tunnel.
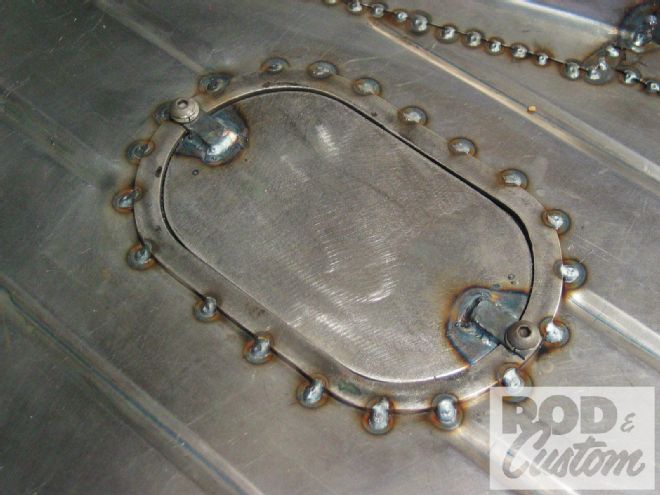 21. With the floor formed and in place, it was stitch-welded in position. Focus was then shifted to creating an access door to the reservoir on the frame-mounted master cylinder.
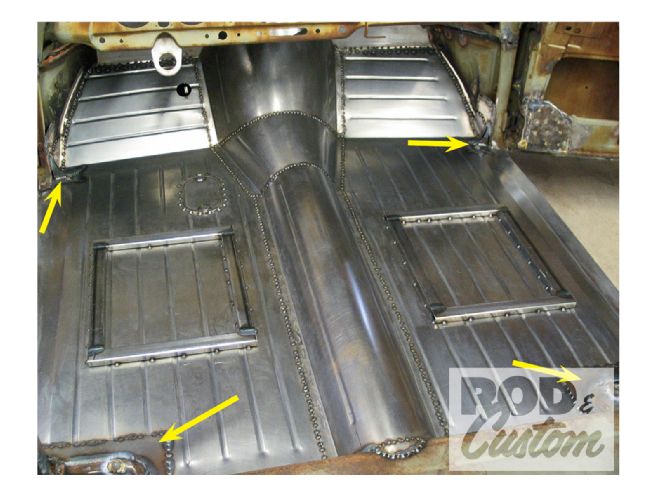 22. The last step is putting the bracing for the new bucket seats in position. The bolts for the seats will go through the bracing and down into several of the body mounts along the frame. Other areas where the body is bolted to the frame were reinforced with 1/4 steel plate (arrows) to create a solid mounting point. Other than that, you can see how nicely the new floor fit the landscape of the Chevy, and how it solved a whole handful of problems.
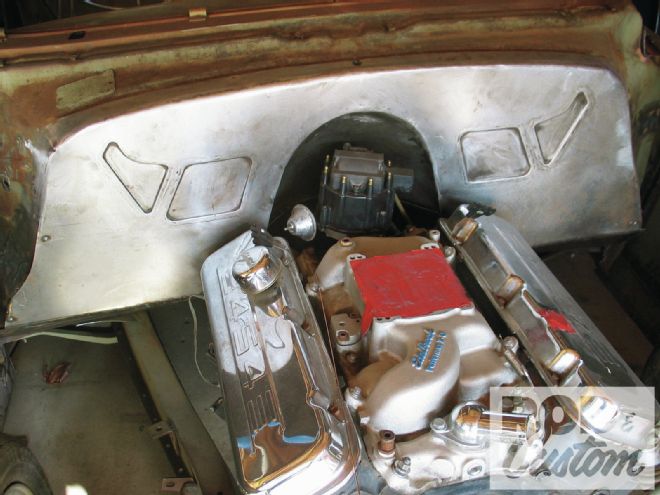 23. Here’s a look at how the firewall turned out. Notice how the concave distributor opening is small and compact; a perfect fit. The inserts also add a bit of flair to what would have been just a smooth firewall.