Last month Jason Killmer showed us how to make a nearly shiny surface dull. As counterproductive as it seems, sanding a somewhat shiny finish is the first step to achieve a potentially shinier one.
As he explained in that tutorial, color sanding is merely an extension of the block-sanding process in the sense that it flattens peaks to match their respective valleys. The differences are largely sequence and scale. Block sanding precedes paint whereas color sanding follows it. Block sanding flattens broad inconsistencies that make a panel look wavy; color sanding flattens the nearly microscopic inconsistencies that make a panel appear grainy.
We refer to polishing separately but it in fact serves the same abrasive function as color sanding in the sense that it replaces one type of surface irregularity with another. Remember how Killmer sanded the panel with successively finer abrasives last month? Well, polishing literally picks up where sanding falls short.
Sanding can remove a lot of material rapidly but only to a point. Sandpaper and pads don't readily accept very fine abrasives and at one point very fine abrasives remove material painfully slowly. Polishing compounds, on the other hand, rely on a transfer vehicle like a cloth or polishing pad. Attach that pad to a high-speed rotary polisher, however, and even the finest abrasives will remove material faster than the blink of an eye, something that underscores careful technique.
The polishing process can't really correct minor errors made during the spraying stage but its ability to eliminate superficial flaws paint suffers from use is really what makes it shine, so to speak. "It doesn't matter how nice the paint came out if there are a bunch of tiny scratches or swirl marks in it," Killmer observes. "Most people don't see that until you point it out to them, but once you see it, that's all you can see."
One distinction bears mentioning at this point. Until now we've referred to polishing as the final stage in a sanding process but it isn't necessary to color sand a finish prior to polishing it. In fact, some applications don't lend themselves to color sanding. Previously color-sanded finishes may not benefit or even stand up to additional sanding. As mentioned last month, color sanding removes the thin coating that protects the elements in single-stage metallic finishes. Finally, some applications just don't warrant color sanding. Even if slightly flawed, a thick, hardwearing paint surface may suit a driver better than a thinner, perfect one. But just because a surface might have minor flaws doesn't mean it can't look dynamite. It doesn't correct flaws to the same extent but simply polishing a surface improves its appearance without greatly compromising it.
Killmer showed us two methods, one rotary and the other orbital. Like color sanding, the rotary method consists of three progressive stages. Almost all color-sanding processes require rotary polishing to develop a full shine, but as stated earlier not all surfaces require color sanding to achieve respectable results with a rotary polish. It's more intensive but it also yields potentially best results.
The orbital method has only one stage. It works perfectly well on a surface that's never been polished, but because it's a very fine stage it cannot remove heavy color-sanding marks or deep paint flaws. Because it removes cobweb-like scratches, swirl marks, and oxidation at very little risk to the surface, the orbital process represents the ideal low-risk maintenance method for pretty much anyone, regardless of experience.
Beyond the shine they yield, the processes' real beauty is its versatility. Between these color sanding and polishing processes there's truly something for everybody, from rank amateurs to seasoned pros.
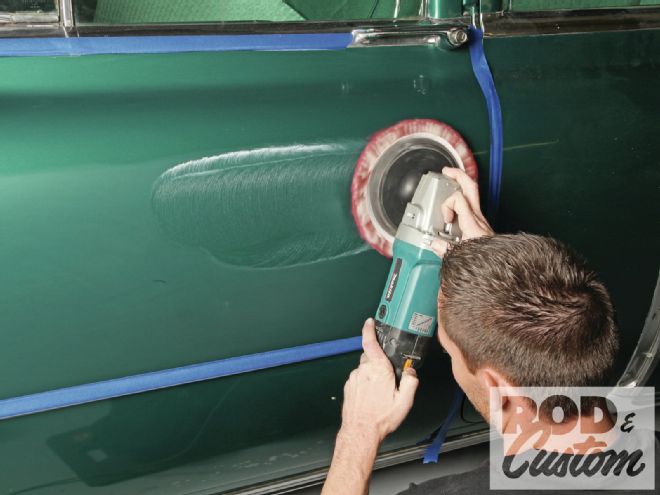
 1. Paint buildup thins around sharp edges, making them especially vulnerable to burn through. As he does with color sanding, Jason Killmer recommends protecting corners with low-tack tape and working those areas separately after the heavy work.
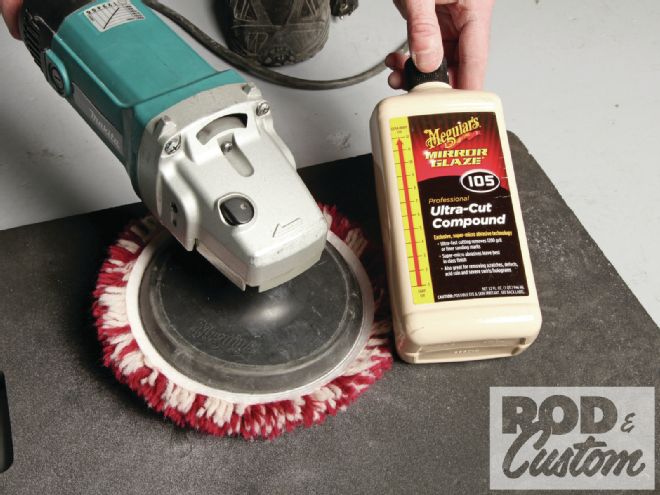 2. Killmer used Mirror Glaze No. 105 for the first two processes. It removes paint rapidly, especially when applied by fast-cutting wool pads like this Meguiar’s SO10 Wool Heavy-Cutting pad. He mounted the pad to a hard-rubber backing disc. Incidentally, Killmer recommends Buff Daddy for supplies.
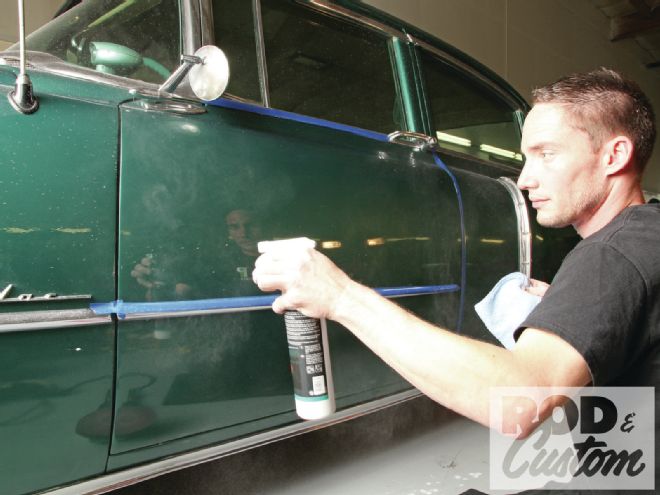
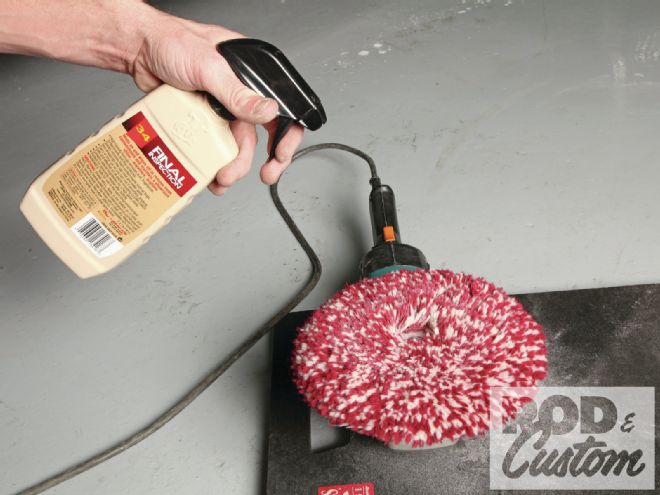 3. Killmer spritzed his wool pad a few times to soften the pad’s fibers. He notes plain water will suffice but says he favors Meguiar’s’ Final Inspection for its light lubricating and cleaning properties. He recommends removing caked-on compound with a spur (not shown).
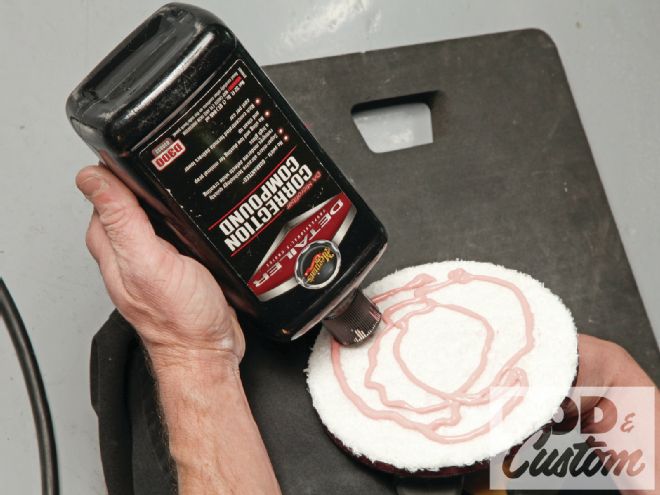
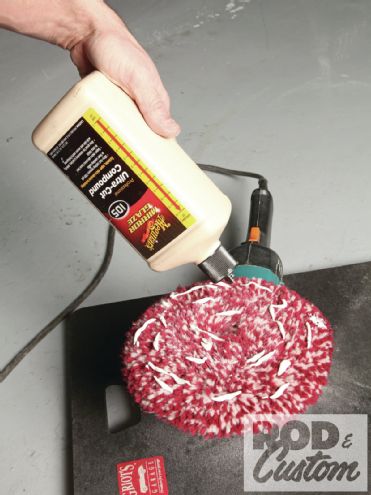 4. A pad won’t yield consistent results if not consistently coated. Priming the pad solves that. Killmer squeezed the compound in even stripes around the pad.
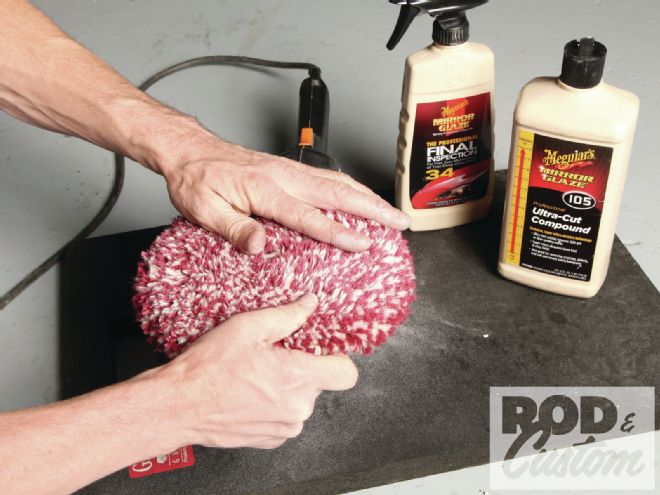 5. He then manually worked the compound into the pad’s surface. Consistency, he maintains, is the key.
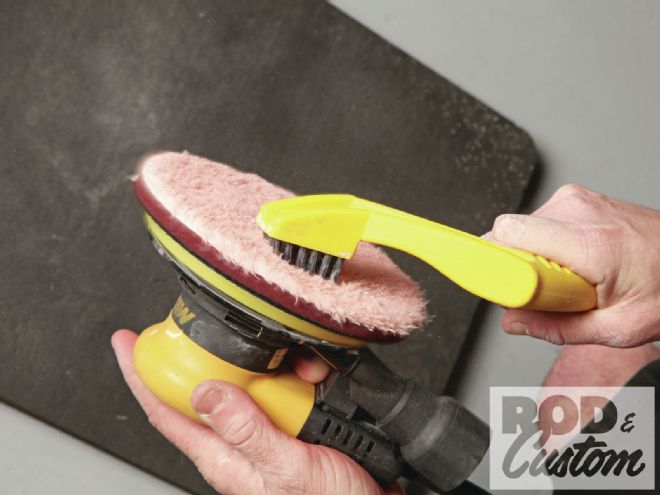
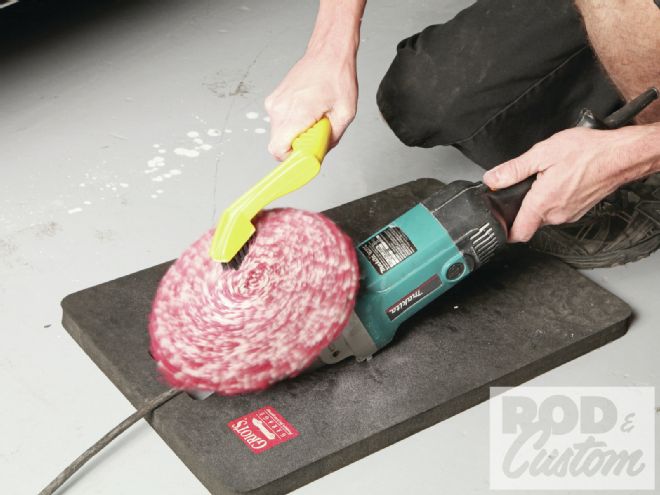 6. He then raised the pad’s nap with a nylon-bristle brush at low speed. This step effectively prepares the pad for use.
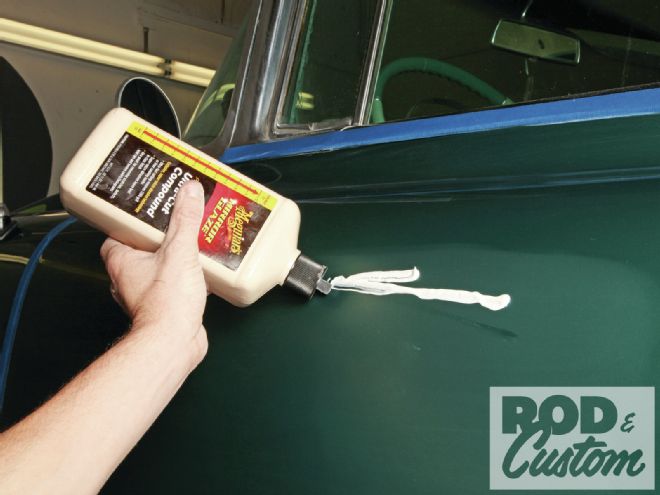 7. Killmer then squeezed out about an 8-inch-long streak of compound on the panel. He recommends concentrating on one small patch at a time rather than attacking a broad area.
 8. Powering a polisher at this point wastes compound by flinging it everywhere but the area to be treated. Killmer recommends sweeping the pad across the streak to distribute the compound over a larger area.
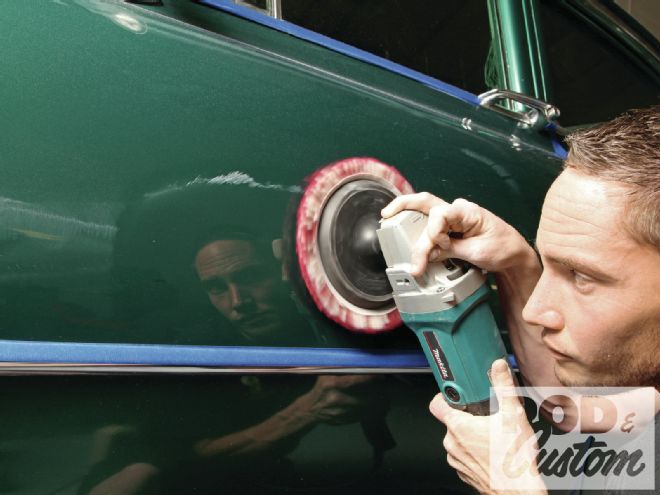
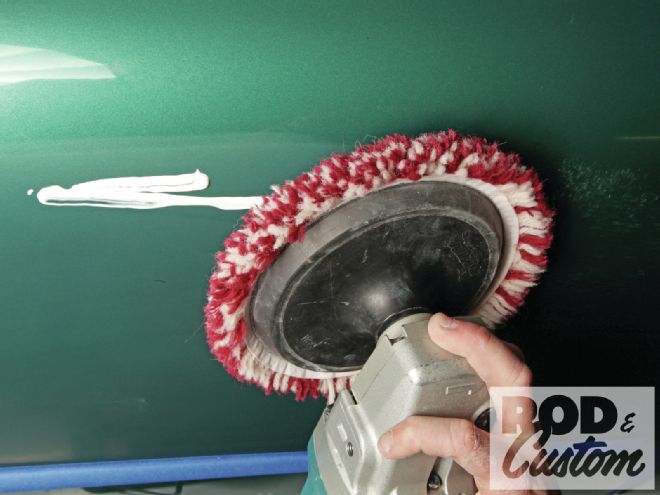
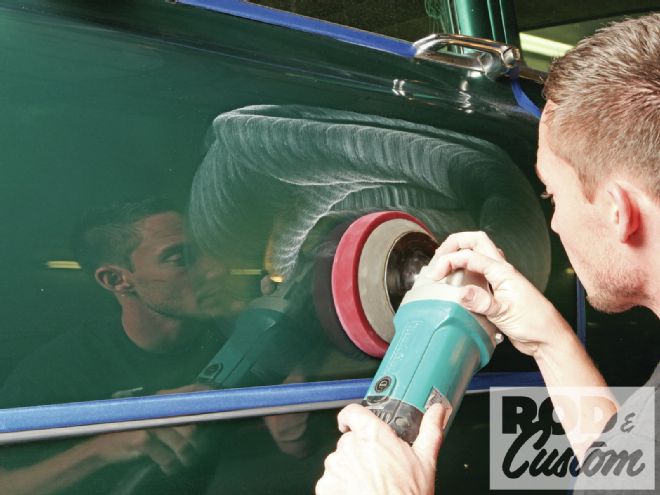
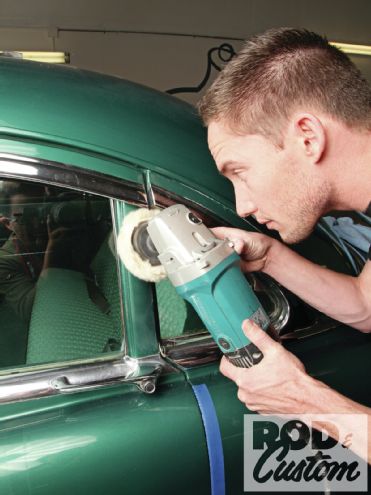
 9. Killmer set the buffer to approximately 1,500-1,800 rpm, but given the fast-cut nature of the compound and wool pads, he suggests beginners learn at speeds as low as 1,000 rpm. He pulled the trigger and immediately distributed the compound over the area he intended to work. Note that he kept the pad absolutely parallel with the surface. Tipping the pad will concentrate the force on a small strip and burn paint lickety-split.
 10. Resist the urge to press the pad into the surface and let the machine’s weight and power do the work, Killmer instructs. For vertical surfaces he recommends trying to maintain pressure equal to the weight of the buffer. He continued to work the area until the compound dissipated into a light haze. He skipped the priming step but repeated the last three steps on the surrounding spots until the entire panel shone brightly.
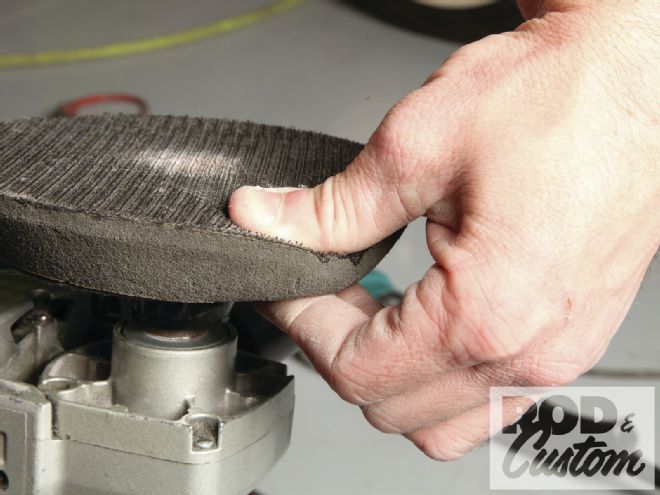 11. Wool cuts fast and leaves big swirls if not handled expertly. Foam, on the other hand, cuts slower and leaves fewer marks. Foam’s relatively stiff nature favors a more compliant backing plate, like this Meguiar’s W66 Easy Buff.
 12. Killmer primed a W7207 Soft Buff 2.0 foam-cutting pad with the same sequence and No. 105 compound that he used on the wool pad. Foam pads produce fewer swirl marks but generate more heat so he reduced the speed to 1,000-1,400 rpm. Again, he kept the pad parallel with the surface and applied the least amount of pressure to get the job done. As he did before, he worked only one area at a time until he finished the entire panel.
 13. Before he graduated to the finer compound, Killmer removed all traces of the compound from the first step. He admits Meguair’s Final Inspection and even water works just fine, but says he prefers Festool MPA-F Finish Cleaner.
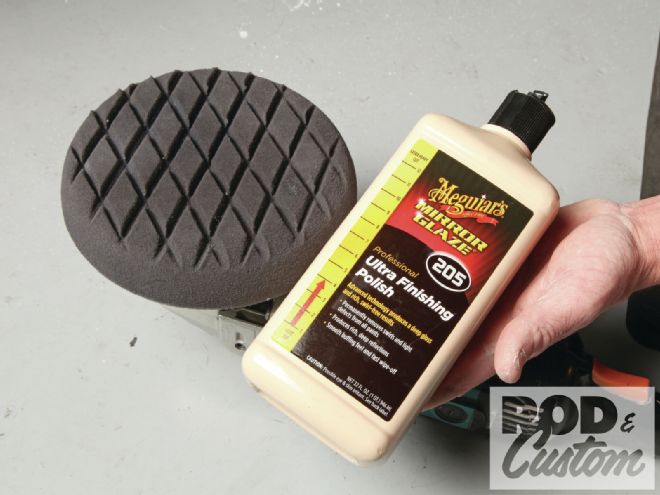 14. According to Meguiar’s scale, No. 205 Mirror Glaze Ultra Finishing Polish is less than half as abrasive as No. 105. The scratches it produces are too small for the naked eye to see, hence the potential for a swirl-free finish. He applied it to a Meguiar’s Diamond Solo Finishing Pad. Again, he kept the pad parallel to the surface and applied the least pressure possible.
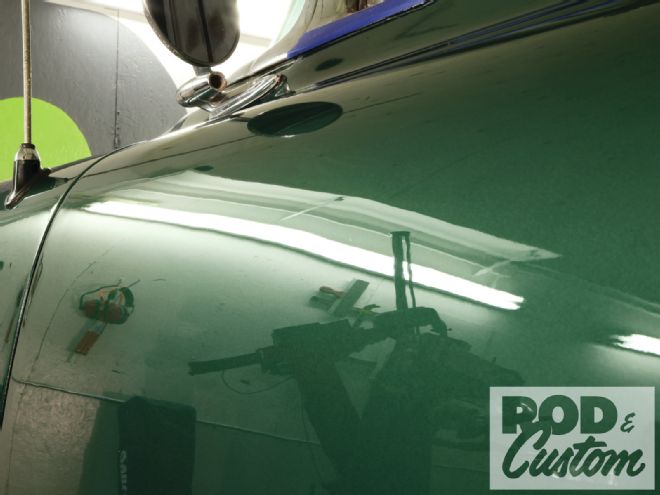
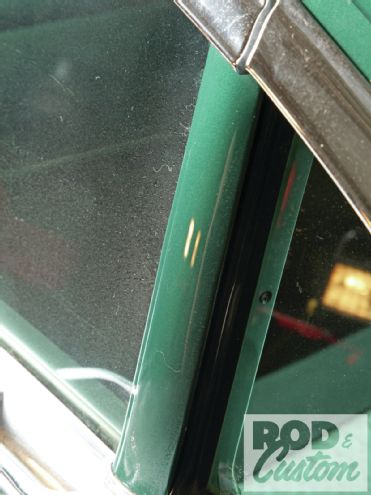
 15. To the left is the door prior to color sanding and polishing. To the right is the finished panel. The angle differs slightly but the improvement is obvious. Rather than form thousands of tiny crevices the light reflects a surface smooth enough to look flat to our eyes. Killmer assures that if followed precisely the process ensures a swirl-free finish without any additional steps. At this point simply seal the surface with your preferred wax or sealer.
 16. To the left is the door prior to color sanding and polishing. To the right is the finished panel. The angle differs slightly but the improvement is obvious. Rather than form thousands of tiny crevices the light reflects a surface smooth enough to look flat to our eyes. Killmer assures that if followed precisely the process ensures a swirl-free finish without any additional steps. At this point simply seal the surface with your preferred wax or sealer.
 17. The same principles apply to complex details only in miniature. Killmer outfitted his buffing motor with a 3-inch tufted wool pad. The looser surface cuts less aggressively than the woven finish of the heavy cutting pad he used earlier.
 18. The small scale makes it tricky to avoid burning through edges, but the results are exactly the same as when applied to the full-scale panels. Remember, keep the pad parallel with the surface and apply the least pressure possible.
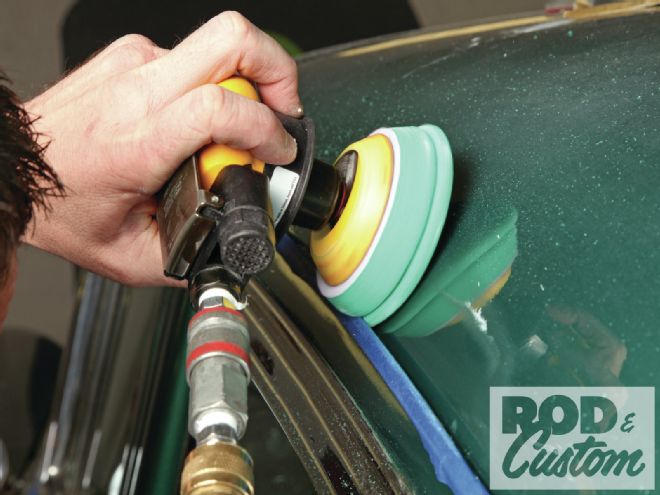 19. Remember how Killmer sanded into the rain gutters? He polished that tricky crevice with a Rupes 80mm pad on a pneumatic Mirka RP-3000NV polisher. Note the tape on the gutter and how he let the gutter cut into the pad.
 20. Killmer used Meguiar’s Dual Action Microfiber Correction System for the orbital method. It consists of a microfiber pad and a compound that Killmer says eliminates oxidation and superficial scratches without leaving a single swirl.
 21. It’s an investment but, according to Killmer, Mirka’s Compact Electric Random Orbital Sander (CEROS) doubles as a powerful-but-light polisher, especially for those with limited air supply. He prepped the microfiber pad using the same priming/brushing method he employed on the wool and foam pads. Again, he recommends Buff Daddy for hard-to-find Mirka tools.
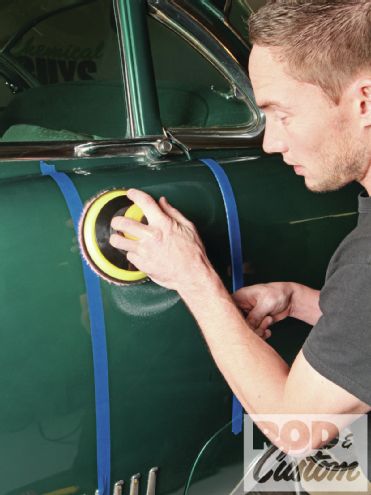 22. Rather than squeeze a strip of compound on the door as he did when rotary polishing, he merely dabbed the pad with half a dozen dollops of compound and smeared that across a small area before he pulled the trigger. He taped off half of the door to create a distinctive work zone and worked the right side.
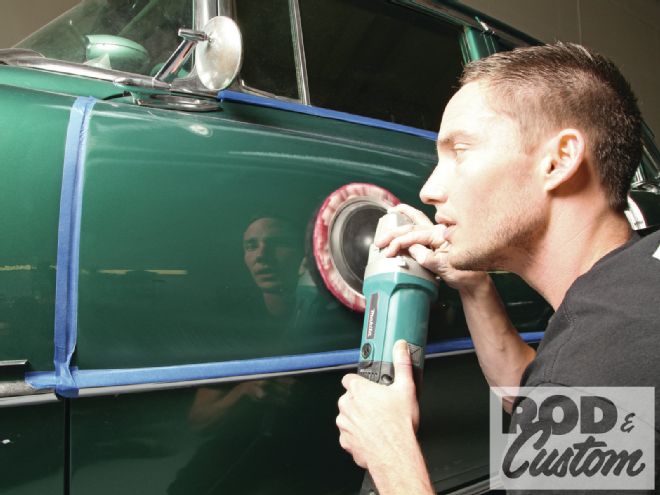
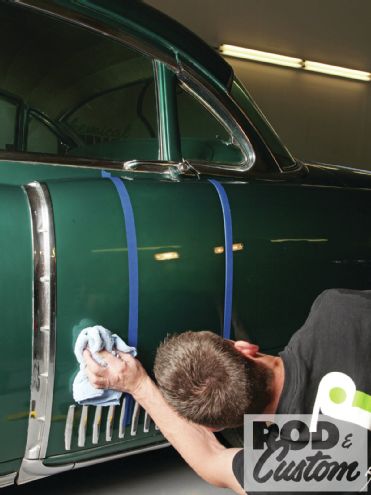 23. As he did for every step, Killmer frequently wiped away the compound residue and checked the progress in the reflection of portable work lights.
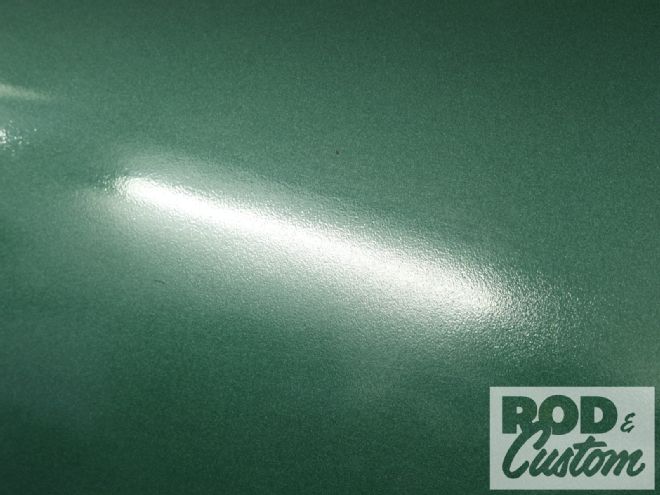
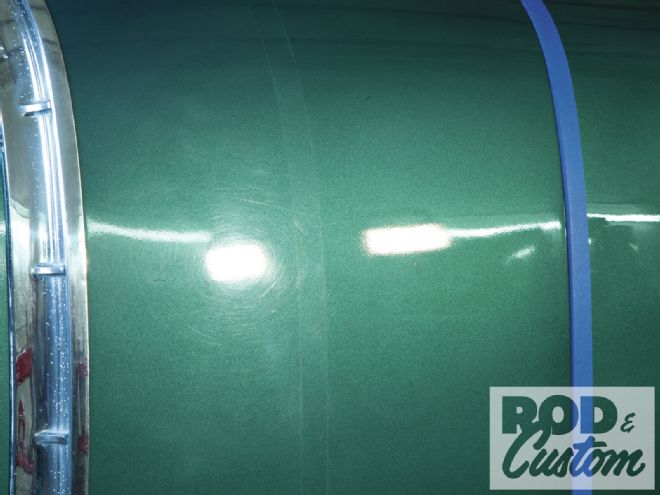 24. This is what Killmer saw after only a few moments of polishing with the orbital machine. The right side still suffers minor orange peel that the orbital method won’t touch but note that the polishing eliminated the fine cobwebs that plague the left side. The results are even more dramatic on finer quality surfaces.