When it comes to customizing there are all sorts of ways to make a statement. Some approaches maintain a bold, in-your-face presence that can’t be denied, while others are a more subdued approach. One of the basic fundamentals of customizing is pancaking, or in layman’s terms, the act of removing a sliver from a structure to create a flatter (hence the moniker pancaking) and less robust feature. Depending on how one executes a pancake job, it can be noticed right off the bat, or something that creeps up on you. Either way though, once realized it’s a simple trick in the book that yields a statement.
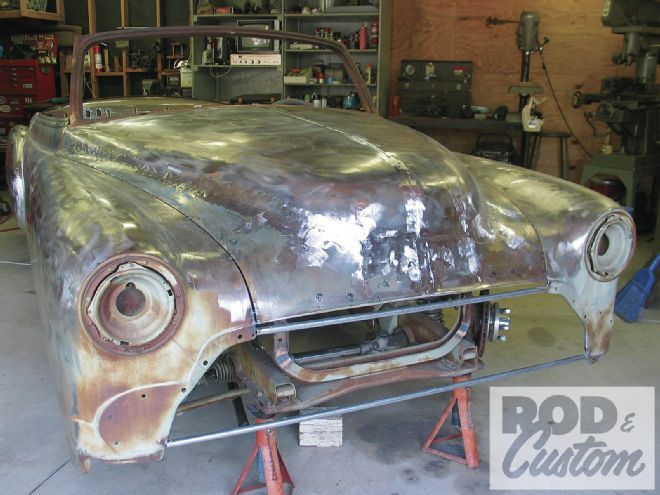
Star Kustom Shop is in the midst of building a ’51 Chevy, and over the last few issues of R&C, we’ve detailed how they sectioned the ’51. If you remember right, it was a mild, 2-inch section, but cut in an unusual fashion that gave the Chevy a distinct look. Part of the reason for the subtle section is there were always plans to pancake the Chevy’s hood. Couple the section with a pancaked hood, and in essence you’ve just increased the amount of section, but kept things in a proportionate perspective. Along with that, another notch has been slit in the proverbial custom bed post!
For Star Kustom Shop, their pancake job will follow in the vein of the section. It will be a subtle pancaking (as strange of a term as that sounds!) to bring the hood on par with the body, as well as refine and streamline the silhouette of the Chevy. The hood is going to receive a 1-inch pie-cut sliver down the sides to bring it down to the body’s new smaller scale. A 1-inch pancake was also decided upon due to the fact the pancake will bring the hood line down to match the line running across the tops of the fenders. Beyond that a pancaking will naturally lay the nose back, which will again create a less obstructive and sleek look to the overall hood design.
When it comes to the physical aspect of pancaking a hood, it’s really one of the more simple custom tricks to pull off. It starts at the back of the hood where an establishing point is set in the middle of the flattest portion of the hood side. From there a line is run around the perimeter of the hood to the opposing point at the opposite side of the hood. Then, depending on how much of a pancake one is after, that distance is set along the top of the perimeter line dead smack in the middle of the nose. From there, the lines head east and west across the nose and gradually taper back to the initial starting point at the rear of the hood. Long story short, a pie-cut shape is formed around the hood and cut out! The trickiest part of the job is the fact that when pancaking you’re shrinking the surface area of the hood, and although much of the sides of the hood will fall down and easily mate to one another, the corners and their surrounding areas are another story. The angles, shapes, and contours will be completely lost and the only way to get things back in shape will be to shrink and stretch the area. For the most part, a series of relief cuts will do the trick, and if done right, once welded up things will appear stock. If relief cuts aren’t in the cards then a new nose section would have to be fabricated, but that’s taking an age-old custom trick to a whole new level! The hood braces will have to be removed and then re-established as well, and in some cases sectioned themselves; but that’s easy compared to the sheetmetal work.
By all (well most) accounts, the procedure is pretty straight forward and fairly easy, yet the results are anything but. At the end of the day pancaking is a customizing trick that makes a bold statement in a methodical assuming and unabrupt way. Now follow along as Star Kustom Shop digs into the art of pancaking.
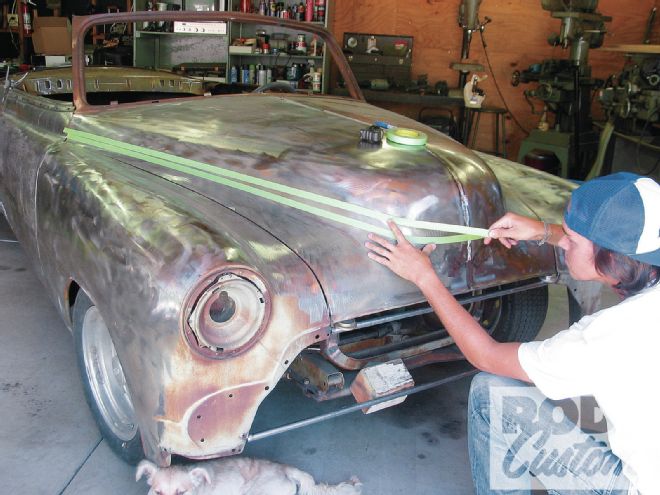
1 I began by laying my first line down the side of the hood. I’m going to take the pie-cut sliver out of the flattest portion of the hood side, so I laid my line accordingly.
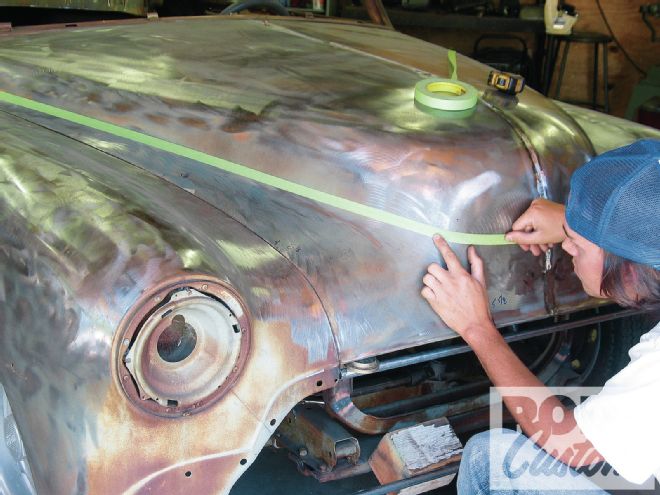
2 The hood is being pancaked an inch, but I don’t want to take a full inch out of the front—which we’ll discuss later. Therefore, I marked 3/4 inch along the front of the hood to just past the corners of the nose.
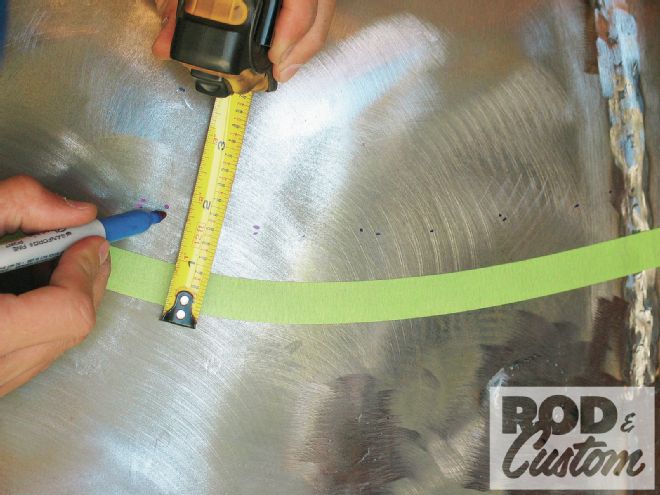
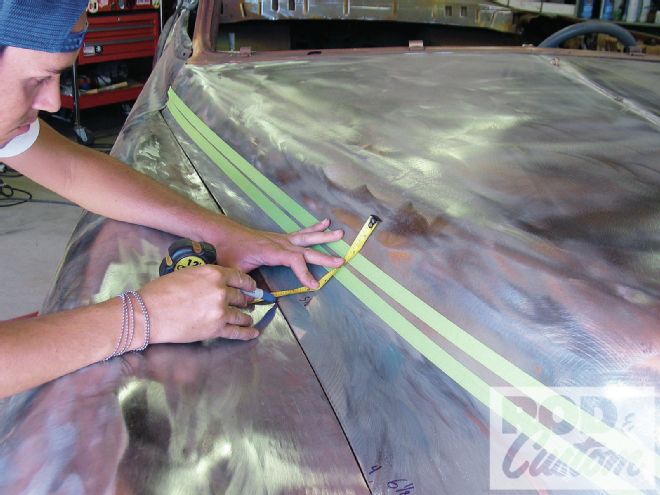
3 The second line begins at the “0” mark at the rear of the hood, and then expands to my 3/4-inch mark at the nose’s corner. From there it wraps around the nose and tapers back, creating the pie-cut sliver.
4 Using some latitude and longitude measuring (well, a customizing style of L&L), I transferred my cut lines to the opposite side of the hood.
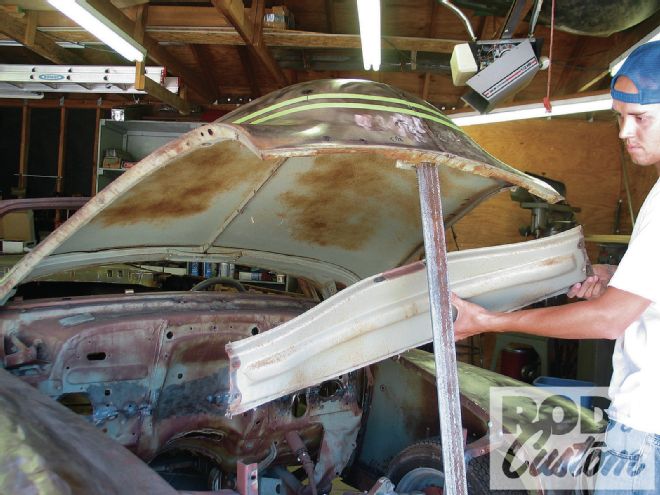
5 Because I am taking such a small sliver from the hood, the rear hood brace can remain, but the front brace has to come out, yet it will be put back in once things are brought down to size.
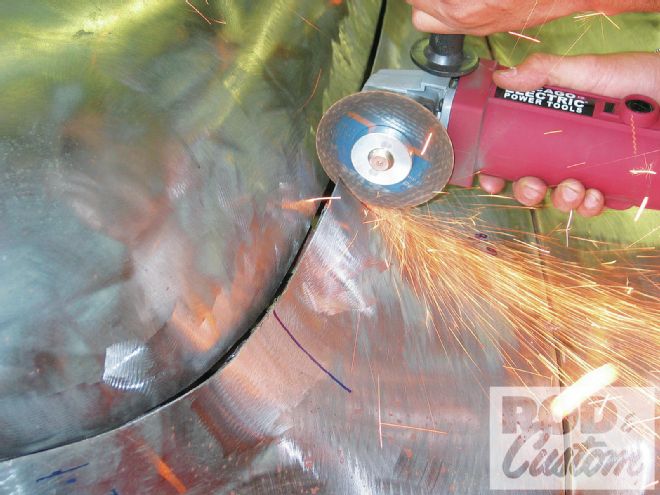
6 The hood was then cut using a cut-off wheel. When it came to the back of the hood, the last 2 inches were left un-cut, and I was sure not to cut into the rear bracing. (Again, a more severe pie-cut would require the rear brace be cut as well.)
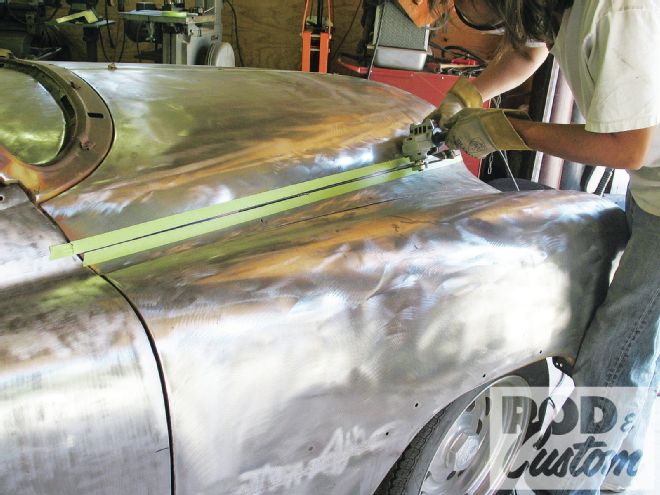
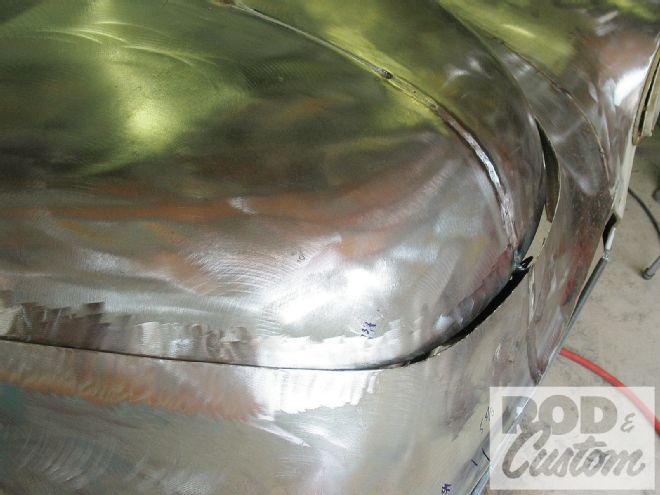
7 Here you can see how the material has been removed, and how the hood will literally collapse upon itself and create a more streamlined effect.
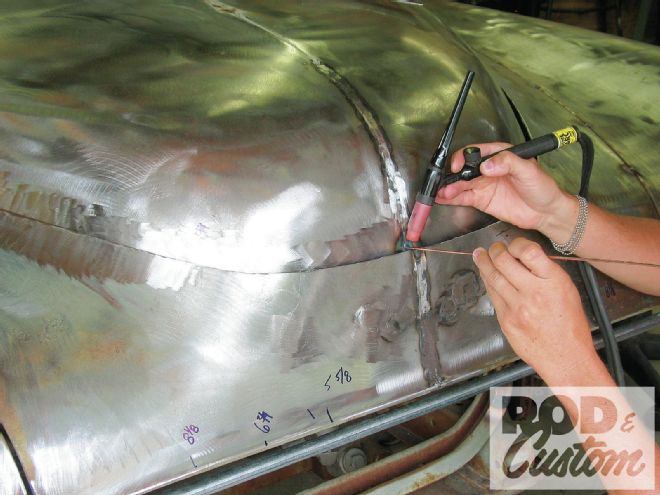
8 Before I got started putting things back together, the hood was placed in its resting position, i.e. gaps and fitment, and tacked in position. It’s kind of hard to end up with a symmetrical pancake job if the hood is sliding all over the place!

9 When I laid the hood down it naturally fell behind the front, due to a decrease in surface area. I then tacked the center of the nose 1/4-inch down into, well, the nose, which gave me an exact 1-inch pancake.
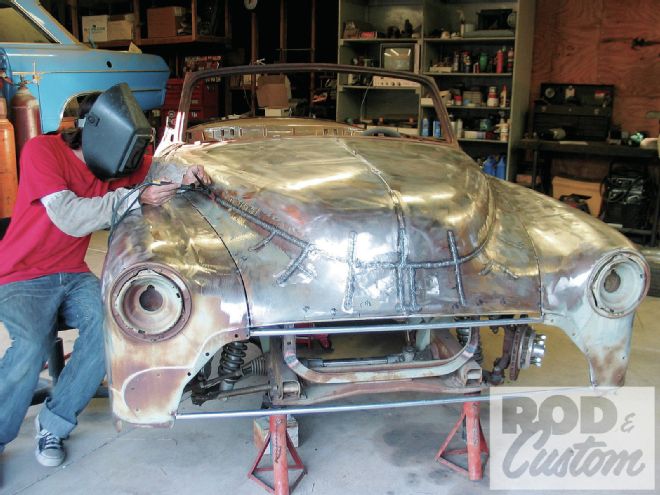
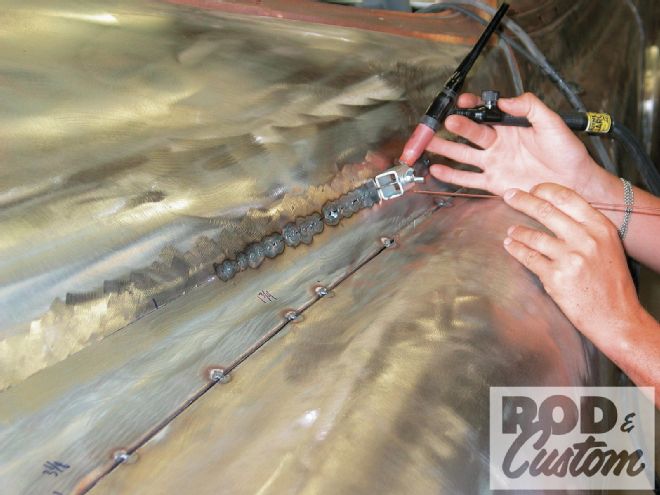
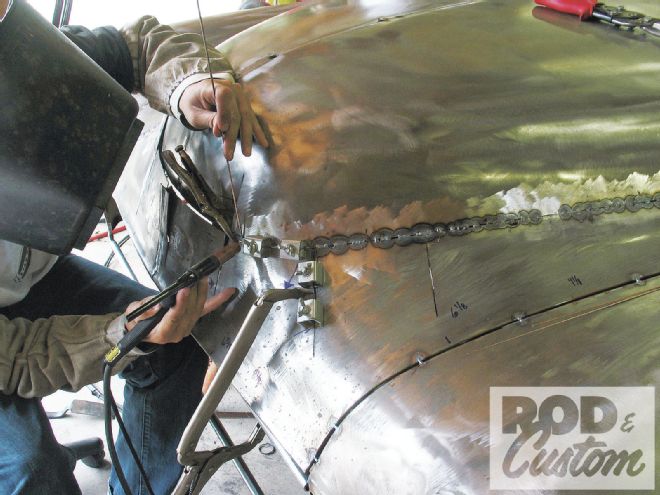
10 For the majority of the hood length the pancake job will fall down atop itself and create a simple butt weld. Using intergrip clamps, which can be picked up from places such as Eastwood or Harbor Freight, the adjoining hood sides can be clamped together for a perfect fit. A 6-inch section is welded on one side, and then the same section is welded on the other side. Using this method will allow the hood to “pull” together evenly.
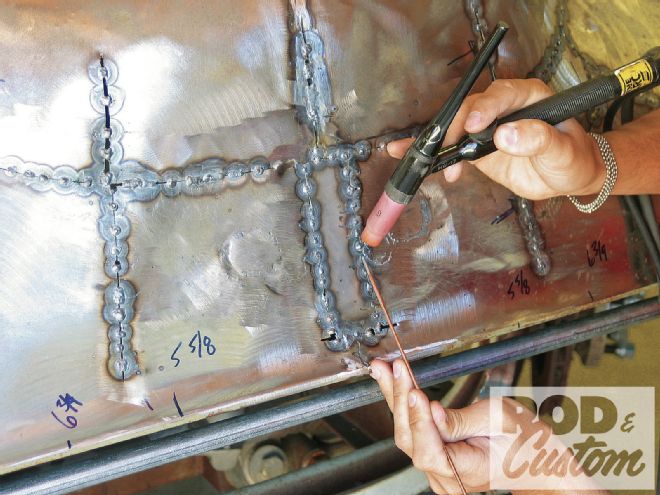
11 A big no-no is forcing the upper and lower halves of the hood together; due to the fact once the hood sides are cut free the hood can have a mind of its own on how it wants to shape up! For that reason, wherever things need to be shrunk a relief cut is made. Again though, cuts should be in the same spot from side to side.
12 Once cut, I like to “patch” that section together before any tack welds are made.
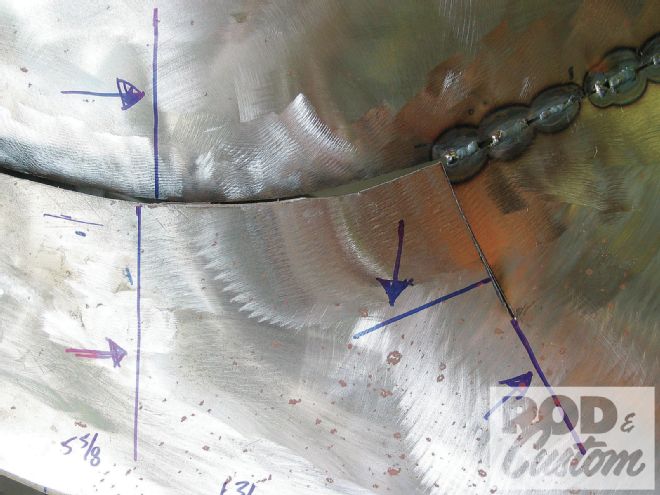
13 The majority of the work is going to be up front. When the hood gets pancaked the entire nose of the hood is being shrunk. This aerial view of the nose shows just how much things need to shrink.
14 The bottom of the hood needs to lay back, and the top needs to pull forward for a clean and flowing look. A series of relief cuts (note arrows) are made along the nose in order for things to shrink and stretch into place. This is why I only removed a 3/4-inch sliver; it will allow me to slowly trim things to fit, as opposed to removing too much and having to add filler.
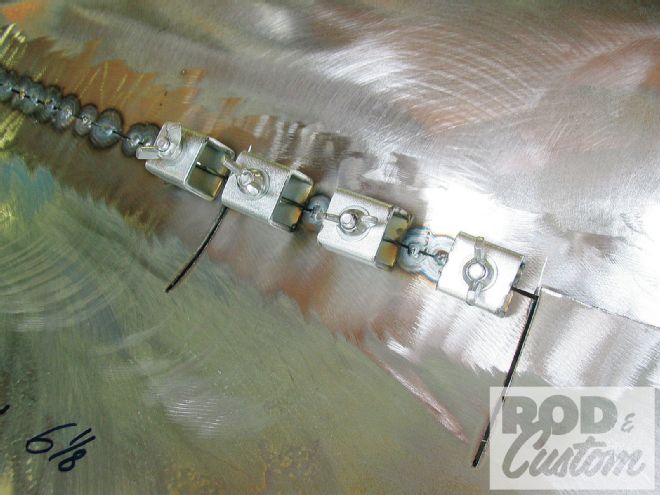
15 Again, before anything is welded, the area is completely clamped together.
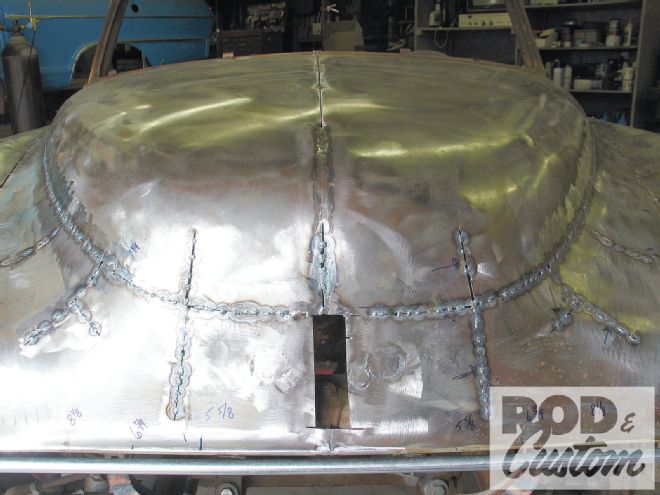
16-17 Because the hood is comprised of two pieces, there is a dual-flange down the middle that holds the pieces together. Long story short, it doesn’t bend easy, therefore it gets cut out and a filler piece is welded in. At this point I also finished welding the hood up and then dressed the welds.

18-19 In a mad dash to the finish we have jumped to the finished product. As you can see, things are a little different than before, but still look as if they were pulled off the shelf in 1951. Exactly what Star Kustom was after.