
The more we play with ’50s and ’60s cars, the more we install larger wheels and tires. While that’s just fine sometimes, much of the time we run into fender lip clearance problems. Eastwood makes a handy tool (actually there are three to do the job correctly) that will help you get that little extra clearance you need from your fenders without suffering through extensive and expensive bodywork.
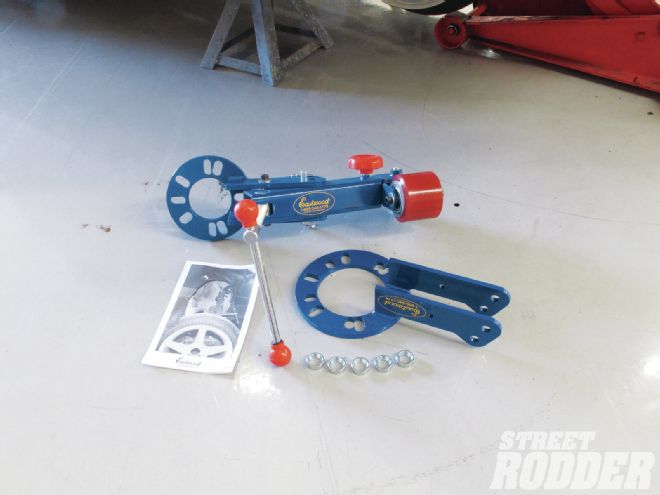 The Fender Roller (PN 31158) comes individually or as part of a kit.
The Fender Roller (PN 31158) and Fender Finisher (PN 11537) along with the optional Heat Pro Deluxe Variable Temperature Heat Gun Kit (PN 43522) will make an ideal combination. The roller will shape the inner fender lip (make sure your car doesn’t have an inner fender panel that will need to be removed) to flatten (roll back) the inner lip. The fender finisher can be used to work the same lip to make it even flatter, providing more fender clearance between metal and tire. The heat gun is an ideal accessory that will allow you to gently heat the paint to prevent cracking when the metal is being worked, especially with the fender finisher. Basic Idea
 Once the wheel is removed place the hub flange portion of fender roller over the wheel lugs. Note you will want to use the dished washers (included with tool).
The intent of the tool is to increase tire and fender clearance, flare fenders, and/or repair wheel arch collision damage. The tool bolts directly to hub flange and will work with the popular four- and five-bolt patterns via the elongated holes in the adapter plate. It will accommodate up to 4-3/4-inch four- and five-lug bolt circles. The adjustment in the arm will allow you to work from a 14- to 22-3/4-inch via the Delrin ball bearing forming roller. The roller is rugged enough to get the job done but not so brutish as to harm the paint. As a matter of extra protection so as not to hurt the paint, it’s a good idea to heat the paint before rolling.
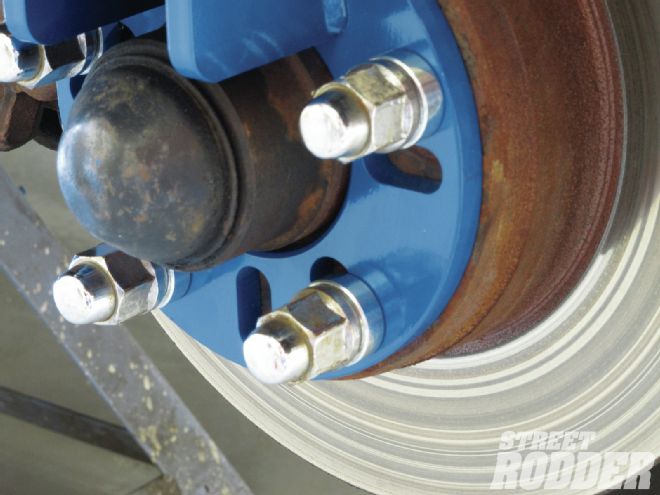 Next step is to use the vehicle’s lug nuts, making sure to tighten appropriately.
Fender Roller
 Loosen the hand wheel located on the arm of the fender roller.
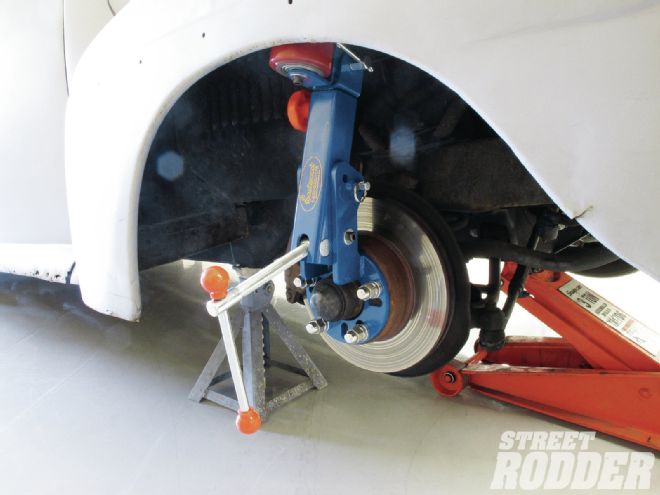
The Eastwood Fender Roller is just that—a fender roller. It will press firmly against the sheetmetal within the fender (lip), increasing the available space your tire can “consume.” The trick with the roller is to use a firm (but gentle, no gorillas need apply) pressure to the formed lip.
The release lever will allow you to conform the roller to the shape of the fender. Using the release lever, adjust the roller angle to match the shape of the fender.
You can use the optional heat gun (recommend) to apply warm heat to the area to be rolled. The idea is to make the paint “soft” and easily moved without cracking the paint. The heat isn’t for the metal as much as it is for the paint.
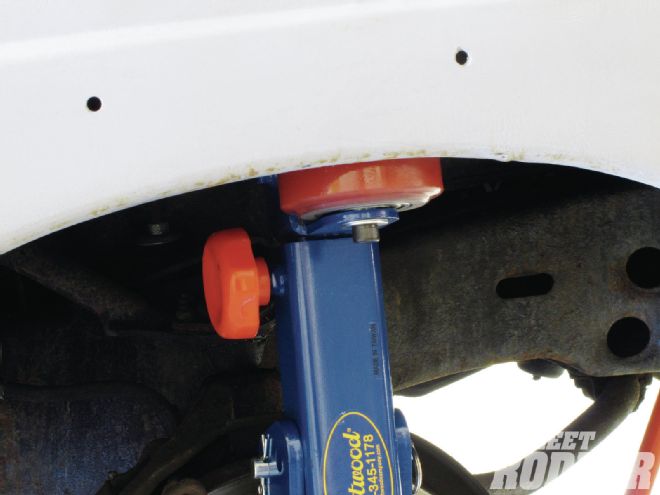 From here center the roller on the inner fender lip and tighten the hand wheel.
You will move the roller in an arch (that matches your fender opening) of the inner fender lip to case the desired shape. You will need to apply a constant pressure on the lip during the swing of the roller arm.
What happens if the arch radius of your fender isn’t one continuous arch? Let’s suppose you have a varying radius. You will need to work the radius in smaller sections, one at a time; making sure to readjust the tool for each section.
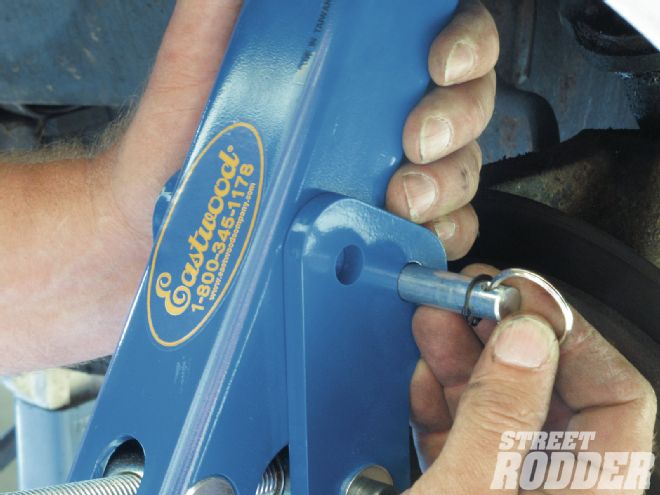 This is the bar adjustment pin.
Fender Finisher
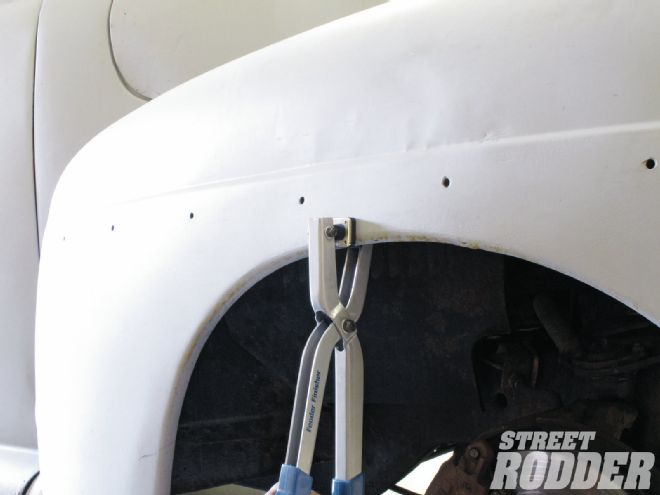
The Eastwood Fender Finisher is a handy tool to provide additional fender-lip-to-tire clearance. The finisher can also be used for other gentle metal forming tasks, such as crimping doorskins in place, straightening bent edges, etc.
A gentle “pulling up” motion at the handle end while squeezing will sometimes help form a crimp in the fender lip. Work slowly and carefully, keeping the paint temperature in the above-noted range and constantly check for paint cracking.
 Once all pieces are positioned (centered) and tightened you can then begin to roll by applying gentle pressure and rolling the tool.
Variable Temperature Gun
Using a heat gun, warm the painted area to 120 degrees F but no greater than 150 degrees F; to determine this you can use an infrared thermometer (PN 11476 or PN 11477).
With the growth in popularity of the ’50s and ’60s cars, this is a tool that will be greatly appreciated when it comes time to fit larger wheels and tires.
Socket Insert Kit
Many of us have spent plenty of money on chrome hardware or other finish and the last thing we want is for it to be marked (marred). How does one protect all of those fastener ends? Eastwood offers a nine-piece Socket Insert Kit (PN 12510, $19.98) that comes with SAE and metric molded plastic inserts. (Always check for sale prices as Eastwood often offers discounts.)
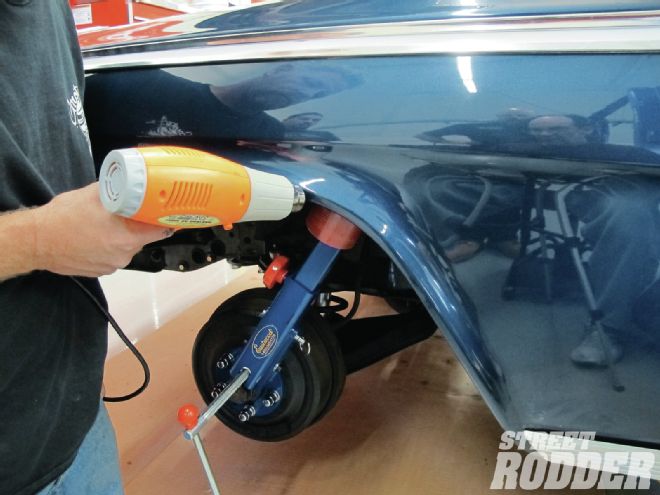 The use of a heat gun, especially on painted surfaces, is a good idea as it will help prevent any paint cracking by making the painted surface malleable.
The idea is to prevent chrome-plated, polished, or stainless steel hardware from socket or wrench damage. It only takes a moment and the beautiful finish you have fretted over is damaged—permanently.
The inserts come in either SAE or metric or a kit with both. Inserts for nut or bolt sizes come in 1/4-, 7/16-, 1/2-, and 9/16-inch, or 8, 10, 12, 13, 15 mm. Insert plastic into a socket or wrench to protect the fastener from damage. Each insert is marked with the appropriate fastener size and also the wrench/socket size to use. Typically the wrench or socket is two sizes larger than the bolt fastener.
The Fender Finisher tool will not only work on fender lips but also for crimping doorskins and straightening bent edges.
This is a handy tool (or tools) to have in your toolbox especially for the initial build, routine maintenance, or getting ready for a show. When the time comes to tighten nuts and bolts here is one way to accomplish this without damaging the brightwork.
Handy Tips from Eastwood
Don’t use newspaper as masking for painting. Today’s aerosols and base/clears will bleed right through.
Periodically rub a magnet on the shafts of your screwdrivers—you will be delighted with the results.
Power steering systems need to be bled also—once assembled, with the motor running turn the wheels from lock to lock three times to bleed the system.