Project Purple Pig is rapidly approaching the body and paint stage, but there are still a fair number of jobs to be completed before we get there. It's always advisable to complete everything before a car's painted, as if you leave anything until afterward, you'll invariably have to modify something or run the risk of scratching paint. I like to have a car totally done, to the point of glass fitted and all holes drilled, even in places like the doorjambs, before I break out my trusty DeVilbiss gun.
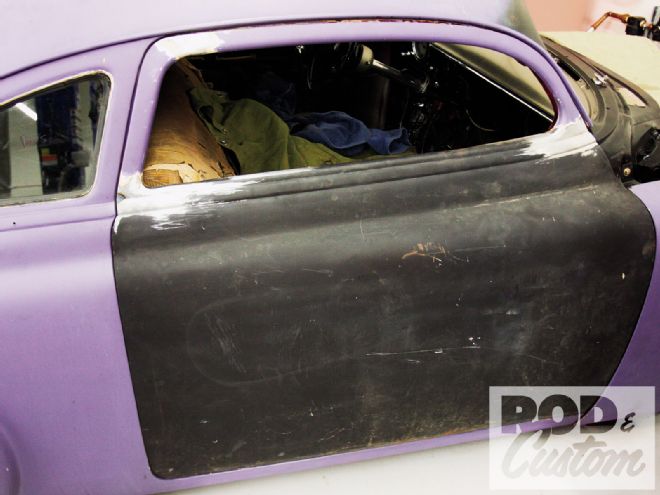
I replaced the rusted out doors on the '49 with a pair donated by Brad Masterson, and though the new ones were chopped, they didn't fit my car, so I swapped my door tops onto the replacements. With that done, and the doors checked for fitment, I set about adding electric door windows, using a kit from Specialty Power Windows. The cable-driven Wonder-Lift kit completely replaces the stock crank handle and regulator and was simple to install, though a little welding was required in my application, as the kit is designed to be universal.
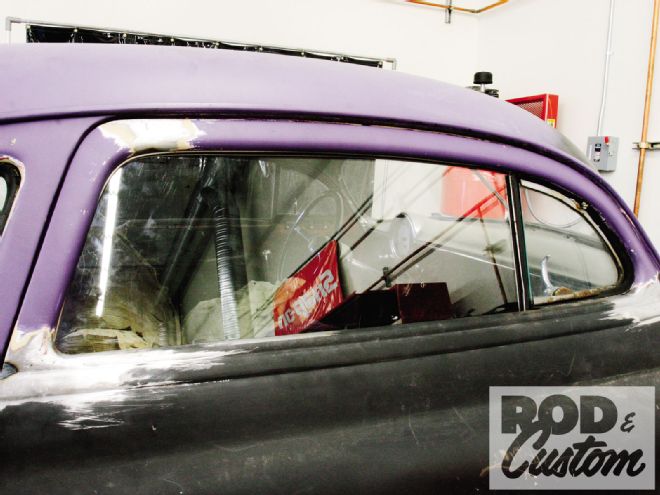
 With the old door tops fitted to the replacement doors I could begin installing the power windows. With a stock car there's no problem, but if you've chopped yours, ensure the door and window frame fits before proceeding. A chopped top invariably means the new glass will run at a different angle than stock, as the top of the door will now be leaned further in if, as is typically the case, you didn't widen the roof.
As my Chevy has been chopped for years now, and has seen plenty of miles, I had already chopped the vent window assembly and possessed door glass, which I knew fit the felt channels perfectly.
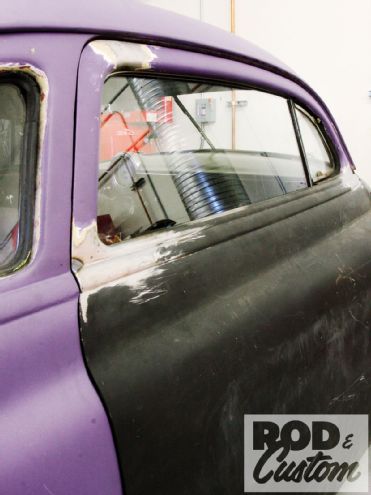
Whether or not your car is chopped, this is the most important first step. If the glass doesn't fit correctly, and move up and down in the run channels (which must be parallel) with no measurable movement front to rear, it will not operate smoothly. The instructions that are supplied with the Specialty Power Windows kit explains how to check this, but make sure you have good or new felt channels installed. Adjust the channels accordingly, and if you don't have glass yet, make 1/4-inch-thick patterns from MDF, from which new glass can be copied.
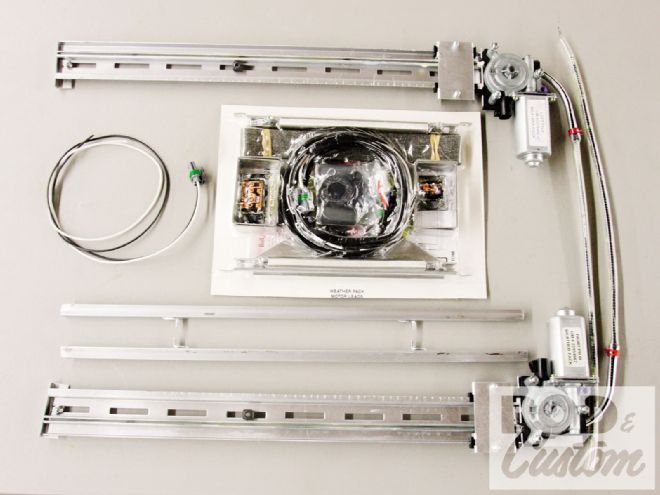 The PWL-2C kit from Specialty Power Windows includes lower glass channel, GM switches, wire harness with plugs, stainless door conduit (for wires), regulators, test wire harness, hardware, as well as a DVD and written instructions.
With the glass fitted, it was simply a case of following the instructions.