Anyone who's ever done their share of bodywork in their home garage or shop can attest; it ain't the most fun thing to do. It's dirty, laborious, back-breaking, and for most of us inexperienced body guys, slow going. On the other hand, if the basic skills can be picked up, it's a great way for us po' boys to save a few bucks by doing the work ourselves. And the truth is, there's no medieval magic involved; no secret techniques passed down from generations of Illuminati members. No, it's a handful of simple techniques that any basic bodyworking book can teach you couple with copious amounts of practice. And it doesn't hurt to have a good teacher to at least walk you through the initial steps, but I digress.

Recently, my F-1 project that has been slightly relegated to back burner status lately reared its head as it does from time to time and prompted me to get started on the bodywork. It's about 80% assembled and has been waiting on a few sheetmetal mods before being blown apart for paint and body; I've just been putting it off. Excuse after excuse was made and the car gods must have really wanted to stick it to me for not a day after telling my significant other about how I should really wait until winter's over as it's really starting to get cold again and the weather won't permit me to lay body filler and primer, Southern California was hit with the hottest temperatures ever recorded. Yes, while we are putting together what should be the winter issue, complete with all its snowball references, Christmas and the like, it's 113-degrees in Los Angeles. So much for that excuse!
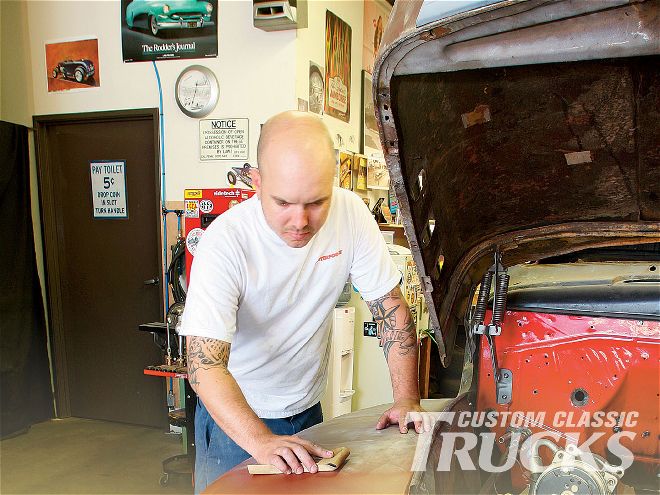
So I did what any motivated person would do and I rolled up the shop door and I got to work.
Admittedly, most of my hesitation in starting the bodywork stems from my lack of knowledge on the subject. Luckily, I've had the opportunity to spend countless hours in cold paint and body shops over the years as I chronicled Street Rodder magazine's many Road Tour cars. I kept my mouth shut, for the most part, and tried to soak in as much as possible when it came to how the various shops achieved the level of fit and finish that they did. I learned a number of useful techniques and I have included a few in this story that I thought I'd share with y'all.
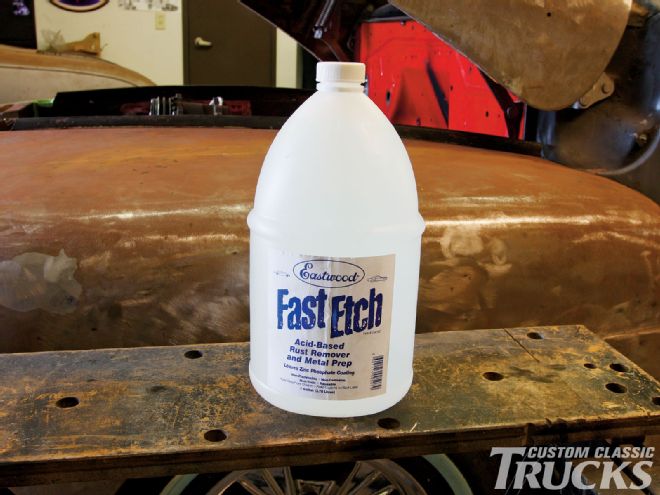 Here's the Fast Etch product from Eastwood that we'll be using to remove the surface rust. It's an acid-based rust remover and metal prep which leaves a zinc phosphate coating and is non-flammable, non-corrosive, and non-toxic. None the less, it is still acid-based so you'll want to keep it off your skin, out of your eyes, and definitely don't drink the stuff!
Back when I started the F-1 build, I decided to strip each body panel separately, instead of simply taking the entire truck down to the sandblaster, as I repaired the various damaged areas (lower fender corners, running boards ends, etc). As I made my way around the truck, it slowly went from a multi-colored, acid trip to a baremetal masterpiece. At least that's what I like to think. Anyways, over time as it sat in my shop and worked on various other items on the build, the untreated bare metal panels slowly developed a layer of surface rust. Not a big deal, but it's just enough of a pain in that it's one more step added to the final bodywork labor.
That being said, it's necessary to remove the surface rust before moving forward with any of the bodywork. To achieve this end, I called up the tech guys over at Eastwood to see what they offered to remove the light scale and rust that had been growing on my truck. What they recommended was Fast Etch, an acid-based rust remover that could be brushed, sprayed, or even wiped onto the truck's surface with a rag. It uses a one-step process to effectively dissolve rust without harming the surrounding metal and leaves a zinc-phosphate coating on the surface.
I made a game plan up a few months back in terms of how I was going to tackle the bodywork, with the first step being gapping the front sheetmetal. I decided that once the front fenders and the upper and lower valence lined up nicely, I could disassemble the sheetmetal, send the cab and doors out to get sandblasted, and move my attention back to the bed and rear fenders. Once the cab returned, I'd knock out the door gaps and body work on that and everything would be ready for paint.
Therefore, the first thing I'm going to be doing is gapping the front sheetmetal, starting with the passenger fender to upper valence gap. I've worked the front sheetmetal carefully over the last year or so to get the gaps as close as possible in bare metal so that as little filler as possible will be needed to get everything nice and straight. It's going to be a steep learning curve, but if I can do it, anyone can!