Primered hot rods are a staple of our hobby, but nowadays its popularity is based more on tradition than economics. It was 80 years ago (wow!) when virtually all hot rods were primered (if that!), and back then it was a simple matter of economics-paint cost money. Rodders had limited funds, and why spend money on looks when the entire experience was about going faster. Today paint still costs money (a lot), but combine this with the resurgence of the traditional look and once again primered hot rods have a widespread appeal.
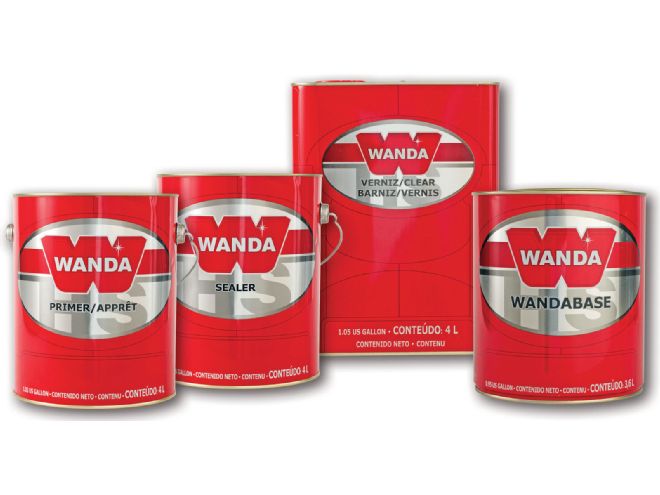
 Wanda is a complete refinish system with a simplified approach for mixing ratios of clear, primer, and color, and utilizes a universal hardener. Fewer components are needed, making it easy to use.
What started out as traditional black or dark primers has evolved into a palette ripe for use on all sorts of hot rods. But let's take a quick look at primer. There's an inherent problem with primer in that it's porous by nature. The intent behind primer is to allow the final topcoat to bond and adhere to the primer. However, using a true primer as a topcoat, while looking cool, will manifest primers' inherent problems. Not the least of which is that they will absorb all sorts of worldly elements. The most visible, if not common, is grease and oil absorbed from daily driving. These oils leave blotchy spots in your primer and require constant attention. Additionally, the sun's rays will discolor primer in a relatively short period of time. How to have the best of both worlds?
We have come across a matte clear that yields the desired visual characteristics of primer yet accounts for the benefits of a sealed topcoat. AkzoNobel Car Refinishes, the manufacturers of Wanda paint, are introducing a matte finish clear that can be applied over their paint brand, yielding the perfect primer low-gloss effect look with the maintenance and lasting characteristics of a finished topcoat.
Wanda, an AkzoNobel brand, has been on the scene for 75-plus years and is well established in the automotive aftermarket paint refinish business, especially in South America. (Originating in Brazil in 1934 by Roque Montesano, the brand was given its name in honor of his daughter, Wanda. AkzoNobel acquired Wanda in 1974.) Wanda products are durable, simple to use, and require fewer components to complete the job. Only recently did the Wanda brand decide to look at the world of hot rodding and special interest vehicles.
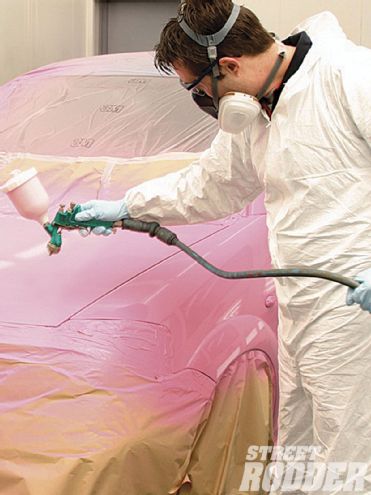 The Wanda paints are applied in the same fashion as all quality paints. Make sure to check for specific ratios and application.
The paint process is what we have all come to understand with prep, primer, color, and sealer, but the last step, the addition of the proprietary product that's a matte clear, gives a true "primer" appearance. Interestingly, you can lessen or enhance the primer appearance (more or less gloss) by altering the mix of the matte clear. (You can take other traditional primers and clear over them but it will not have the true visual characteristic that a hot rodder wants from a primer paintjob.) This matte clear process now offers the ability to have color (not just the traditional black or gray) in the low-gloss primer look, something which is drawing much attention in today's hot rod circles.
In a few months we will try our hand at this paint system on our Project Shop Truck. In the meantime we thought we would provide the specifications and process for working with this new matte clear from Wanda paint. Since there's a good chance you may not be familiar with the Wanda brand of finishes from AkzoNobel, here's the CliffsNotes version. Note: It's important before starting any project to make sure you read the technical data sheets and health warning information thoroughly and always wear the proper personal protection equipment.
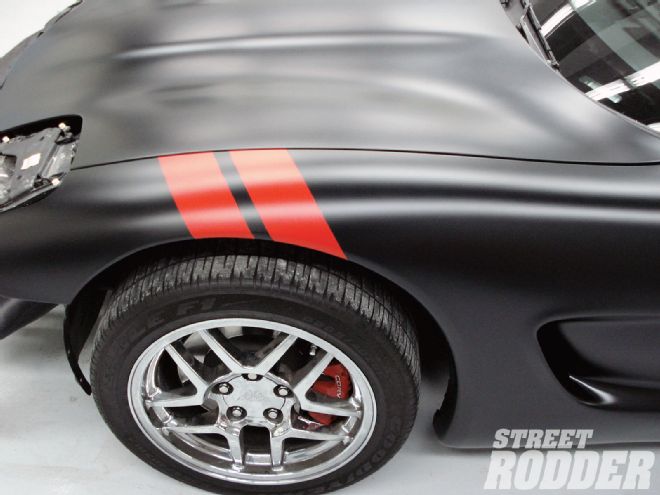 Here is a late-model Corvette, one of the first vehicles painted with the new matte clear. It's applied over the black topcoat as well as the painted orange stripes, giving the entire car the matte appearance.
Pretreatment of Surface
You will want to clean the metal surface with a good degreaser such as Wanda Degreaser. After cleaning, pre-treat any metal surfaces with AutoPrep Pretreatment Wipes from AkzoNobel, a one-of-a-kind product. These pre-saturated cloths come ready to use and work well on steel, galvanized steel, stainless steel, and aluminum. It replaces the need for an etching primer.
Finish sanding steel with P180 (180-grit) for best results and finish sanding galvanized steel and aluminum with P240 (240-grit) for best results. (P-series sandpaper is the traditional European method of grading sandpaper, and while initially European paper was a bit coarser than its American-made counterpart, those days appear to have leveled out.)
Wipe AutoPrep on all bare metal areas to be painted and allow it to air-dry. Make sure to wipe initially in one direction, and then repeat in the opposite direction. Once the surface has thoroughly dried, primers or a topcoat may be applied. The active agent within the wipes will soak into seams, hidden cavities, and pinch welds-a major plus anytime painting is at hand. It works by chemically etching into the substrate, forming a crystal-like pattern on the surface of the substrate and allowing superior physical adhesion for topcoats.
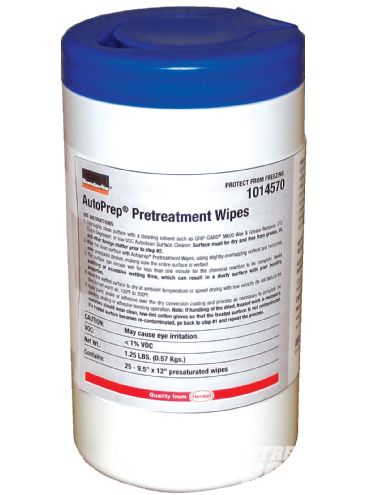 AutoPrep Pretreatment Wipes are ideal for prepping metals prior to paint and eliminating the need for an etching primer.
Primer
A good primer is the key to any paintjob-even one that's primer looking in its final appearance. Here we will use Wanda 8100 2K Primer Surfacer, which is ideal as a high build primer/filler or lower build/surfacer.
For heavy bodywork, mix as a 4:1:10 percent ratio, and it can be wet or dry sanded, but Wanda technicians believe dry sanding gives better results. For second priming or for lighter bodywork mix 4:1:20 percent ratio. It "lays" down smoothly and should require less sanding. Ideal drying time is 140 degrees and bake (booth) for 30 minutes or for those of us do-it-yourselfers, you can allow it to dry overnight but make sure the temps don't dip below 70 degrees. This effort should yield the best color retention and no shrinkage. You can then apply a topcoat with a basecoat color, or if you notice spots that were sanded through it can be sealed before color. You will want to apply three to four coats with a final sand with P320 followed by a light sanding with P400.Sealer
 Wanda 8100 2K Primer Surfacer can be used as a high build primer/filler, or lower build/surfacer and can be sanded wet or dry, but dry is recommended.
Now it's time to apply a sealer, such as the Wanda 2K Sealer, which is used to create a uniform substrate for topcoat color uniformity. (This can be used over primers or sanded pre-painted surfaces.) You will want to clean the substrate with Wanda Degreaser.
Next up the sealer should be applied via one medium coat with no sanding required prior to applying the topcoat. Make sure to apply the topcoat within eight hours and for optimal results apply the topcoat within an hour.
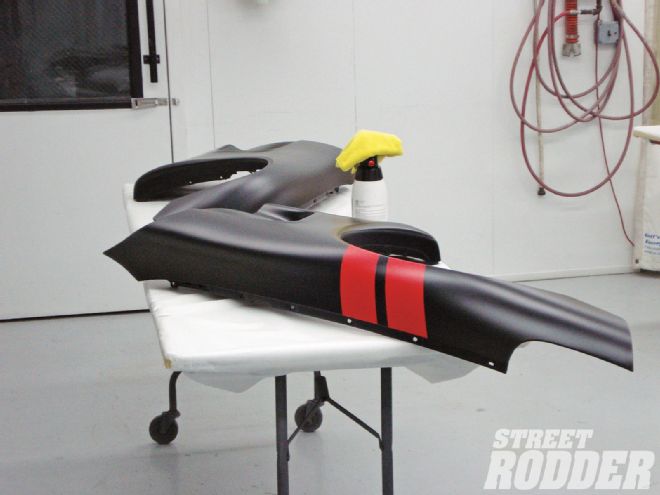
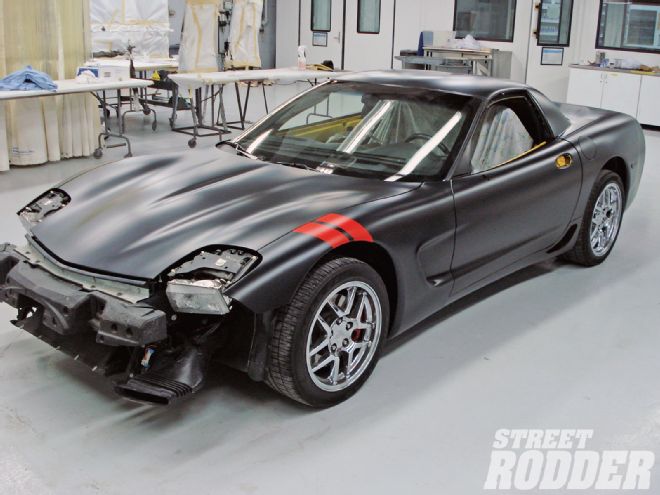 Here is a late-model Corvette in its matte clear finish. Give us a couple of months and we will show you how to do it as well as what it looks like on a '47 Chevy pickup.
Basecoat/Wandabase color
Now the fun begins. This step is the color that your final "primer" will be. For optimal results you will want to apply in medium coats and allow 5-10 minutes of flash time between each coat. (Allowing for proper flash time is important. Note: The more coats that are applied, the longer the flash times will be.)
After the final coat of color is applied it's important that the basecoat be thoroughly dry before applying the matte clear. For optimum results bake the basecoat for 30 minutes at 120 degrees and make sure to allow it to fully cool before applying the final matte clear. If it's going to be air-dried it should be one to two hours before applying the matte clear. It's important to have solvent completely evaporated from the color before applying the matte clear.
Matte Clear
Now the fun begins. Up to this point the entire paint exercise has led us to achieve a matte finish or a primer look but with the advantages of paint. We have applied the paint, as with any paintjob; now the time has come to apply the matte clear. (At the time of this writing the brand name was yet to be determined. STREET RODDER readers are on the cutting edge of this introduction.)
You will want to apply the matte clear via two medium wet, even coats with 50 percent overlap and allow for 10-15 minutes between coats for proper flash time (or until the first coat has a matte appearance). After the second coat is applied you will want it to sit (flash) for about 10 minutes before placing it in the heated spray booth at 140 degrees for 40 minutes. Remember you can let it air-dry at temps above 70 degrees overnight. Before getting all excited and bolting your pieces together, make sure to allow the matte clear parts to sit for a minimum of one hour before any "heavy" handling of the parts.
Well, there you have it: a great way to have the advantages of a successful paintjob with the appearance of decades-old primer. Stay tuned as we give it a shot on our '47 Chevy pickup.