There's more to a good paintjob than good paint. There's the preparation that goes on before the first can of paint is opened; the work that happens in between coats of primer, basecoat, and clear; and the effort that takes place after the shooting stops.
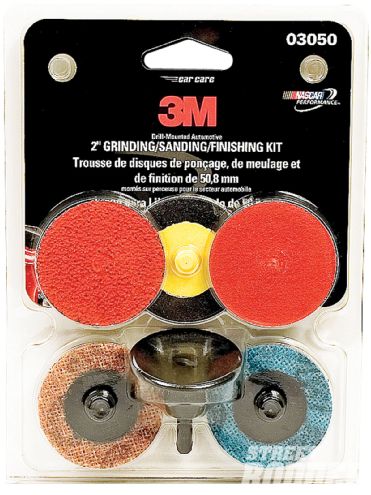 These grinding and sanding discs are available in this finishing kit package from 3M. This kit comes with three 2-inch sanding discs and two 2-inch Scotch-Brite discs, which are useful for grinding on rust, old paint, body filler, and primer.
Having the proper abrasive materials and tools is necessary to bring out the best properties of the paint. Any decent auto parts store stocks hundreds of abrasive products and the Internet supplies tens of thousands. How do you decide which fundamental items you need to do a decent job preparing sheetmetal, filler, primer, and paint? We talked to some industry professionals to get their wisdom and advice. Their combined knowledge could fill a library. The following pages just scratch the surface, but scratching the surface is a good start toward a great finish. Thanks to Brett Caslow and Larry Lavigne from 3M, David Kidd from Planet Color/Sherwin-Williams Automotive Finishes, Tom Nicolosi from Gerson, Brad Rathbun from Summit Racing, and Joe Richardson from The Eastwood Company, who provided much of the following information.
Supplies Sandpaper is the most important and most used abrasive tool. The store shelves are filled with countless sizes, styles, and grits. If you're planning on being involved throughout the painting process, load up on 36-, 80-, 120-, 240-, 320-, and 400-grit dry sheets for early "below the paint" prep work, and 600-, 800-, 1,500-, and 2,000-grit wet-or-dry sandpaper for later "above the paint" wet sanding. You'll also want an assortment of sanding blocks, and a supply of grinding discs and sanding discs in various grits, plus a paint and rust stripper-cleaning wheel for the tough stuff. Post-paintwork will also require the use of various buffing pads, and the liquid products used in the buffing procedures.
Power Tools or HandTools?
There are advantages and disadvantages of power tools. If you're a professional, you're already using power sanders for the sake of efficiency, and your skill level has probably eliminated most of the disadvantages we're about to talk about.
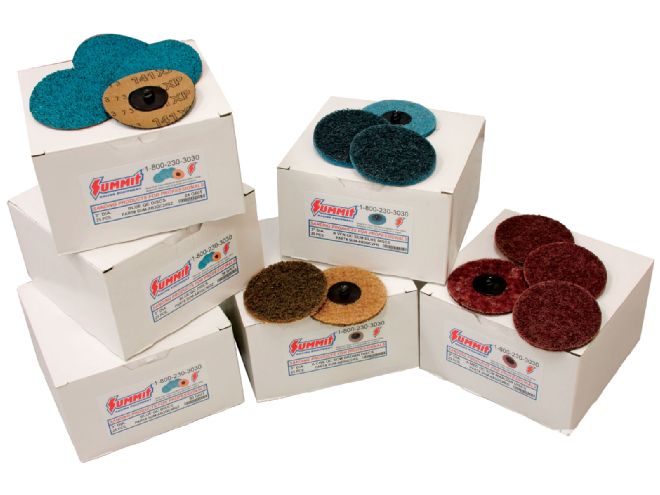 Quick-change discs from Summit Racing were among the abrasive products provided for our Project Shop Truck buildup. These multiple-use discs are available in 2- and 3-inch diameters and a wide selection of grades. The discs on the left are zirconium aluminum oxide, in 24-, 36-, and 50-grade. The others are fibered ceramic; blue is very fine, brown is coarse, and maroon is medium.
For a lot of hot rodders, this hobby is as much about playing with tools as it is about playing with cars, and the appeal of getting the job done fast is great. But doing the work slowly by hand may be the smarter move. Kidd from Planet Color encourages enthusiasts, especially those with less experience, to take the slow road of hand sanding.
Block sanding a car with a powerful DA (dual action) sander is fast, but it can get you in trouble fast too, either by building up heat and warping sheetmetal or by overaggressive grinding. Unlike working on a computer, bodywork has no "undo" button if you go too far. Going slow forces you to focus on the job, including inspecting the sanding from different angles in different light to check on your progress and spot potential areas where more attention is needed.
If you are using power tools, you already have the advantage of speed and power. Don't get greedy by muscling the job, which can cause overheating and wear out discs faster-or cause damage to the sheetmetal. Apply enough pressure to cut, and let the tool do the work.
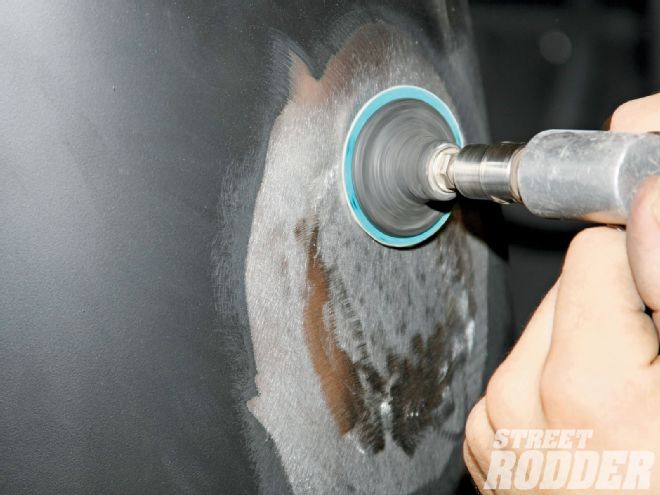
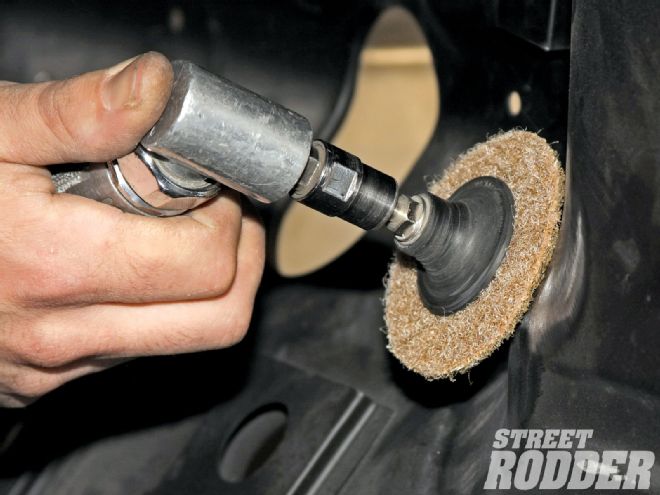
 The Summit quick-change discs came in handy for grinding down the welds when Hot Rods By Dean patched the gasoline filler hole on our project '47 Chevy pickup.
Below the Paint The purpose of sanding is to create the best surface for the new paint. At this stage, sanding is accomplishing two things: It's removing the old material that might effect the quality of the new finish going over it, and it's roughing the surface to provide some grip for the next layer-whether it's filler, primer, or paint.
The successful use of abrasives involves progressing from coarse to fine. A 36- or 40-grit sandpaper is a good start for removing paint and providing grip for the body filler. Some of the people we spoke to recommend 80-grit before body filler, and for shaping the filler once it begins to harden. With a couple layers of filler laid down, move up to a finer grit to prevent the filler from developing scratches and for final blocking. After that, 120-grit will help get rid of any remaining scratches from the 80-grit. Continue with 240, using 400 to smooth the primer once it's been sprayed. Rathbun at Summit recommends a finishing glaze to the filler prior to primer, to fill any microscopic pinholes that may be caused when sanding followed by 320-grit. The general idea is to move in small increments progressively from coarse- to medium-grit levels.
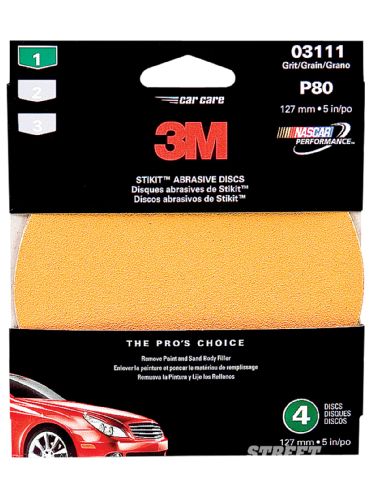 3M offers sanding discs as well, in 5- and 6-inch diameters and many different grits. These Stikit discs come five in a pack and also feature adhesive backing. Press it on and you're ready to sand. Peel it off when you're done.
Above the Paint
Once you get past the basecoat, grit numbers jump into the 600- to 2,000-grit range of fine and very fine paper. The progression from lower to higher numbers continues as even 1,000-grit and higher can leave scratches. For a lot of DIY painters, this is the time for wet sanding, using wet-and-dry sandpaper, starting at 1,000-grit and working up to 1,500 and 2,000. The advantages of wet sanding are that it minimizes the abrasion of the sandpaper, controls dust, and cleans the car as you sand. The disadvantage is the mess. Techniques for wet sanding also vary. Some like to keep a hose running over the area being sanded, others keep a bucket of water handy or hold a wet cloth over the area. In either case, the idea is to maintain the wetness, and to keep the water, sandpaper, and surface as clean as possible. Any type of residue or dirt could create a scratch. The abrasives you're using are much less aggressive than in the beginning of the painting process, and your technique should be too. Use the same procedure of sanding in one direction, not in circles, use a sanding pad, and a light touch.
At this stage of the process, the purpose of sanding is about maximizing the finish, reducing orange peel, fish-eye, and other potential flaws-and providing the smoothest finish possible.
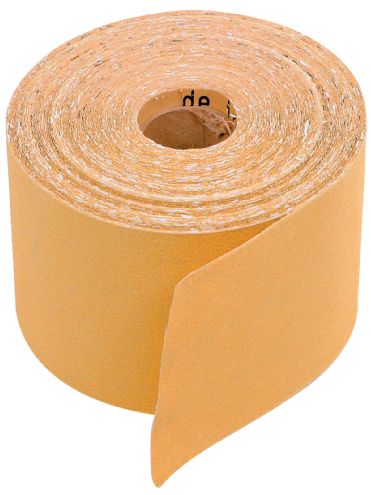 There is practically no end to the variety of sandpaper products on the market in different grade sizes and types of packaging. Summit Racing and others sell rolls like this in various lengths and grits. The pressure-sensitive adhesive (PSA) backing makes it easy to use with sanding blocks. Just stick it on and get busy.
Buffing for the Finishing Touch
As with grinding and sanding, buffing pads come in different materials and constructions. Your choice of materials is wool and foam, but, especially with foam, surface shapes and configurations vary. Wool is the more aggressive. When selecting creams, polishes, and compounds for use with buffers, pay attention to the recommendations of the manufacturers because the liquid products may be specifically designed for use with a specific type of pad for best results.
DA sanders probably provide the best results for buffing to bring out the final impressive finish of a new paintjob. Again, as with other power tools, this shouldn't be an aerobic workout. Let the pads do the buffing.
Bodyworking Videos on the Internet
The websites sourced in this article are great places for finding information about products and technical advice on how to use them. The 3M website features a variety of short training videos on painting, prepping, and product usage. 3M calls them "Standard Operating Procedures," and they provide step-by-step procedures on a number of applications, including body repair, bumper repair, sealing and coating, masking, detailing, and sanding. The videos are aimed at professionals or advanced hobbyists with a high level of experience and skill, but even a novice will learn a lot. Find the videos by going to www.3m.com/automotive. When the "3M Professional Collision Repair" page opens, look for "Learning Center" on the left side of the page, click on "Standard Operating Procedures," and it'll direct you to the videos. Take a look.
Sanding Blocks
You may have been taught to sand by folding a sheet of sandpaper in thirds and going at it by hand, with the paper wrapped around your fingers. Everyone we spoke to discourages this technique in favor of using sanding blocks, referred to as "interference pads." The high and low points created by your fingers don't create the consistent interference that a rubber or foam block does and the difference will show in the paint.
Blocks come in numerous lengths and shapes. Use the right sized block for the area being worked on. When sanding a large flat area, use a longer block to keep the area flat and straight. Sand in one direction (no circles) at diagonal angles, one way then the other to create better shearing, which will give the surface better adhesion for the body filler or primer that goes over it. Smaller blocks and more flexible materials are useful for smaller areas or curves, such as early Ford fenders. If you encounter a problem section don't become fixated on one specific section, think in terms of larger areas to avoid digging a hole in that small area.