Replacing floorpans is one of the most basic sheetmetal jobs there is and among the most common. Even an otherwise rust-free car will often have some Swiss cheesing of the floors-40 years of wet shoes and the occasional bust-ed heater core take a toll. The floor in the '73 Duster we used for this story was marginal.
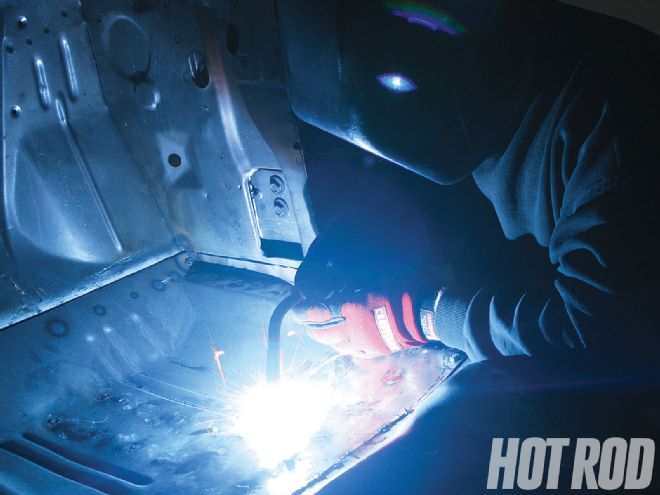
 We replaced the front passenger-side pan in this '73 Duster.
We could have easily covered it with some resin inside, buried it under sound deadener and carpet, and sprayed the bottom of the car with undercoating/sound deadener and nobody would have known . . . except us.
The nice thing about floorpan replacement is that it's really not all that complicated-you disassemble what's left of the original, trim and fit the new one, and reverse your disassembly procedure. It's the perfect project to build your sheetmetal repair skills. The common repair method is to trim the old and new, create a stepped flange around the perimeter of the replacement panel, and install it with a lap weld, because butt-welding is difficult. However, butt-welding is the right way to do any replacement panel, and this story will show you an easy way to do it. The key is to control heat warpage, and though it's time consuming and tedious, it isn't beyond the abilities of even the freshest beginner. If you master the process for butt-welding sheetmetal on a floorpan, progressing to fender and quarter-panel patches isn't nearly as daunting.
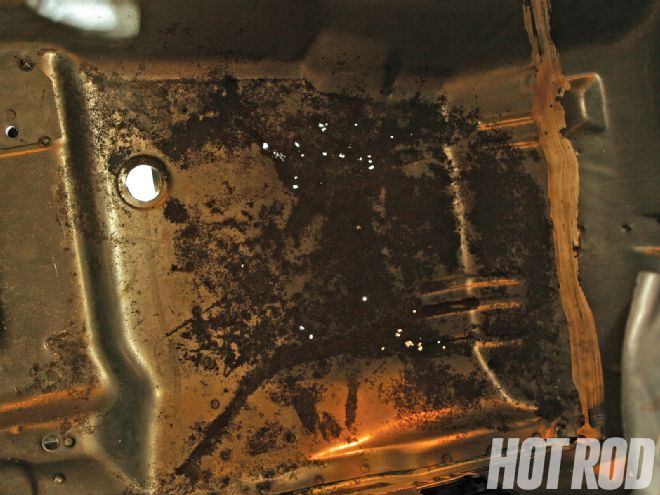 Rust is sneaky, and what looks solid can be surprising. A droplight under the car and the shop lights turned off will tell the tale. While this isn't horrible, the media blaster assured us these holes would open up if we blasted the rust off the floors. Remember, too, that any area surrounding a pinhole is going to be thin.
This was the our first real sheetmetal repair, and it turned out just about perfect, though our welding skills leave a bit to be desired. Switching to a low-carbon, easy-to-grind welding wire will help in the future. Our advice is to jump in and have at it. And if it doesn't turn out great, well, the beauty of learning on a floor is if you bungle the job, just cover it with sound deadener and carpet on the inside, undercoat the bottom, and let it ride.
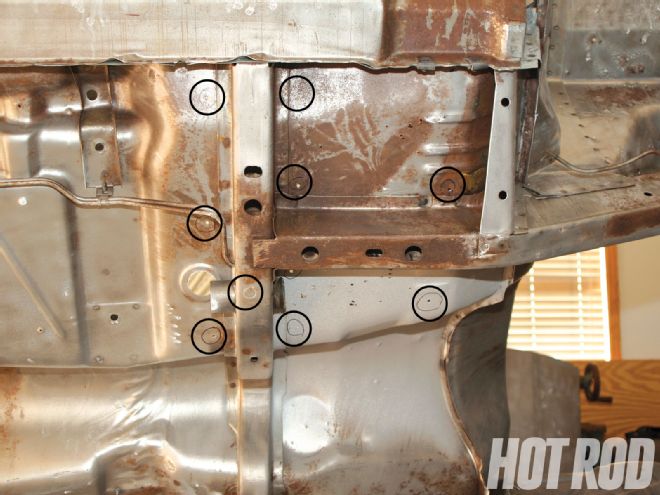 To cut out the bad pan, we started by drilling holes from the bottom (circled), to give us reference points later for where the substructure and braces were located.
Tools For The Job
Besides your skill level, there are a few things that will give you a huge advantage for high-quality workmanship-specifically, the consumables for the project. Cutoff discs, grinding wheels, and MIG wire are not created equally.
To properly butt-weld sheetmetal, you need a thin gap between the pieces. Lawson 3x 1/32-inch cutoff wheels are as close to being 1/32 inch thick as anything we've found, while cheaper wheels are often more than twice that. We can't overemphasize the importance of a thin gap for butt welding. Also, though we've never taken specific measurements, we've found the Lawson discs to last much longer than the cheapos we've used in the past.
Grinding discs are another area where you can't cheap out. A fresh disc cuts amazingly fast and doesn't build too much heat, while a dull disc cuts slower and builds up panel-warping heat. Heat is the enemy. We spent more time with the grinder than the welder on this project and went through two discs. As for the price, we'll only buy quality American-made discs (again, Lawson) after flesh-catching several pieces of a cheap exploder several years ago.
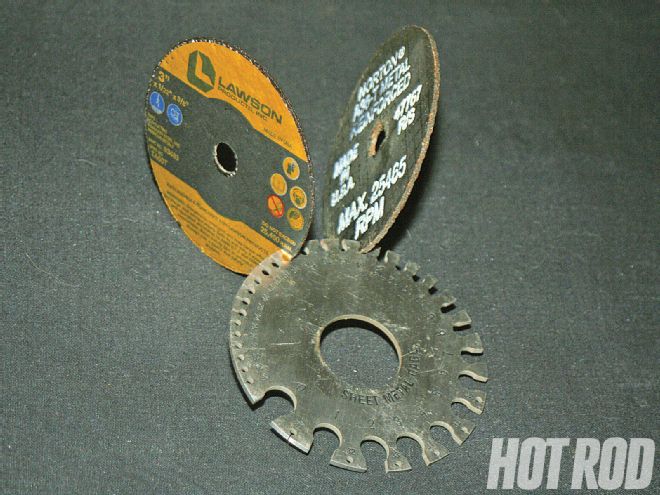 Advertised at 1/32 inch thick, the Lawson cutoff wheel mic'd 3/64 inch, or 1/64 inch fat, while this cheaper (also U.S. made) 1/32-inch cutoff wheel comes in at a portly 5/32 inch, more than twice its advertised thickness and a full 1/32 inch fatter than the Lawson. That's far too wide for a good butt weld.
This brings us to our last item: welding wire. We used standard MIG wire for this floor, which is rock hard and a bear to grind. We didn't have the cash for Easy-Grind MIG wire at the time of this project. Easy-Grind wire can actually be worked with a hammer and dolly after the bead is run and makes expensive grinding wheels last longer. We won't use anything else for exterior body panel patches.