
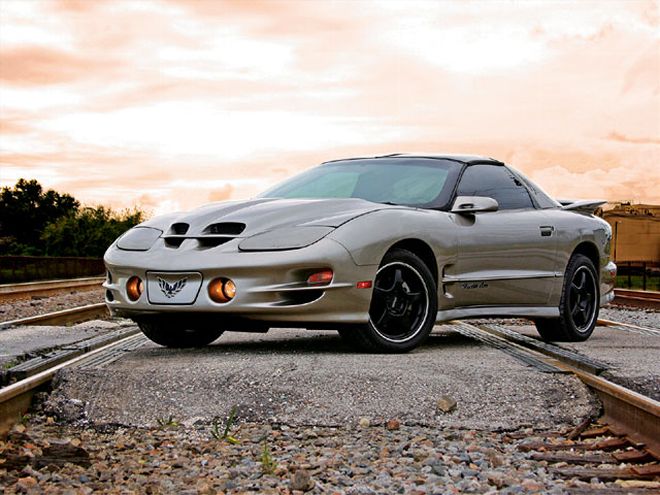
 Just a quick peek in your rearview mirror is enough to make you tense up when you see this sight snarling back at you. It's the in-your-face styling of the WS6 Trans Am that always has people looking twice and keeps owners grinning. For those who were not fortunate enough to buy a WS6 Bird, the aftermarket has responded to the demand for a similar hood design, as seen with our VFN WS6-style fiberglass piece.
The expression "hitting the nail on the head" comes to mind when discussing the '98-'02 WS6 Trans Am. You'd be hard-pressed to find a tougher, meaner looking car on the road-or at least one that's affordable on a sensible income.
Since the T/A's arrival, the aftermarket has been flooded with replica WS6-style hoods of varying quality. GM offers its factory replacement hoods for a small fortune, so many fiberglass hood manufacturers have found success with their more affordable products. While researching hood possibilities for this T/A, VFN Fiberglass, in Addison, Illinois, came up. We found many testimonials speaking highly of its products and customer service, so we gave the company a call and ultimately sourced one of its widely popular WS6-style hoods for '98-'02 Firebirds.
Once the hood arrived, John Dempsey, owner of J.D.'s Paint & Body, in Mulberry, Florida, instructed us to test-fit it to the car. This saved us a lot of headaches before we got to the body shop since we were able to assess the problem areas. Armando Kent at VFN also informed us that the hinges might need some modification to help align the hood and allow it to sit correctly. After this was done, we had J.D. examine it and provide an estimate on labor and materials for prep and paint.
It was during this time that we ran into an issue with the factory hood struts. Since the new hood is considerably lighter, the struts were too stiff. As a result, the slight flexing when we attempted to close the hood scared us into seeking out alternative struts, but we only found dead ends. Therefore, we opted to modify the factory struts and install a strut prop rather than have expensive custom struts made. We used a Thexton Universal Hood/Tailgate prop, available through Snap-on Tools (PN 430). After addressing this problem, we looked at the hood's cosmetic attributes.
The terms "bolt-on" and "fiberglass" usually have very little business being in the same sentence. Fiberglass hoods, as a rule, require a certain amount of prep work to make them fit correctly. Our hood needed some work along the driver side that was easy to address with a thin layer of filler. Some hoods need more attention than others, but the same procedures are followed on any hood to ensure a proper fit. Thankfully, this install went well, as you can see in the following photos and captions.
A Word On Paint Blending
It's a fact that some colors fade faster than others. Even if the new paint is mixed perfectly, once the freshly painted body part is on the car and next to the surrounding factory painted parts, the color may not match. Not all is lost, though. If your paint isn't too far gone, you have the option of blending the paint into the fenders, headlight, doors and nose. John has blended many body panels in his 30 years of body work experience. He highly suggests this procedure be done by a professional painter, since every color is different.
You start out by either wet-sanding part of the surrounding fenders or body parts with 1,000-grit sandpaper or use Scuff-It. John creates a mixture of clear and basecoat paint. This new liquid is translucent, but holds the new, nonfaded color inside. He tapes off the surrounding fenders until the last coat is sprayed on the hood, removes the tape, and mists over the hood and fenders with the mixture. He finishes up with a final application of clearcoat over the entire area. The result is a subtle and gradual blend that's hard to notice and doesn't make the new hood stand out like a sore thumb.
VFN WS6 Ram Air Bolt-On Hood