
Filling Large Holes
Large-diameter holes require fabricating a plug from sheetmetal. In the case of this fuel filler neck hole on a '56 F-100, the difficulty is the fact that it is a compound curve on the passenger-side rear corner of the cab. Bodie set us straight on the process of filling compound-curve panel holes. -Jerry Pitt
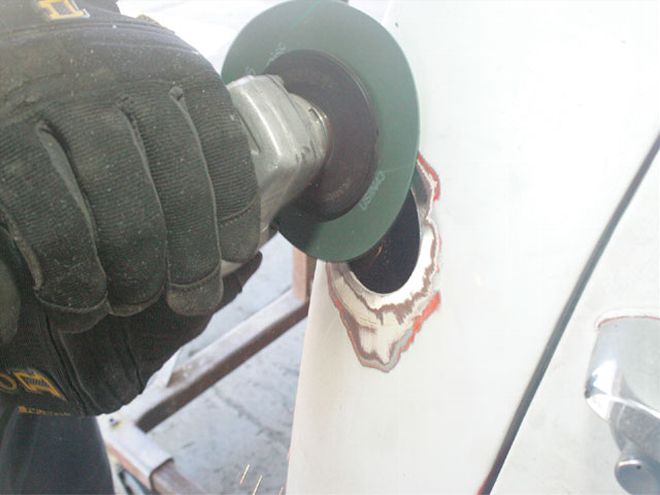
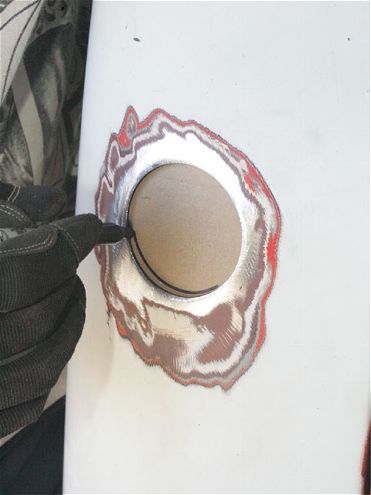
Begin by using your 4-inch grinder and remove all paint, primer, and filler around the hole that you want to fill.
Here are two methods for creating the plug to fill the hole. Either place a cardboard template behind the opening and trace the hole, or you can get lucky and use a hole saw.
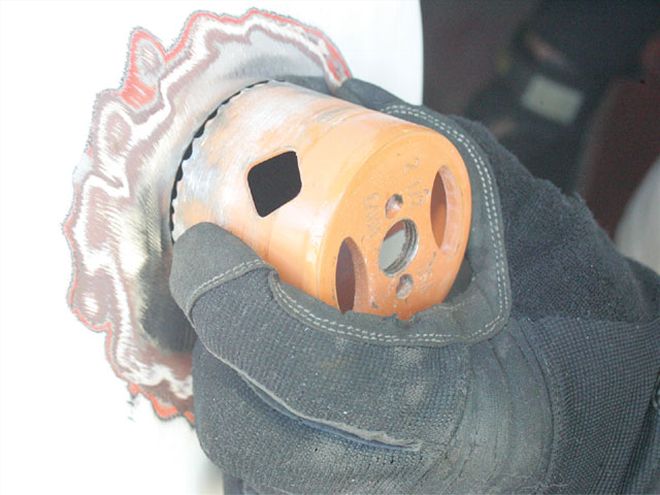
The 2 1/2-inch hole saw proved to be nearly perfect in this application.
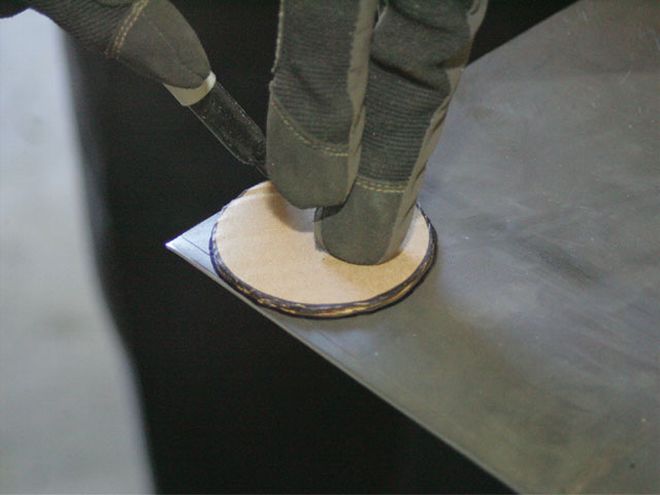
After cutting out the cardboard template, Bodie transferred the shape to a sheet of 16-gauge sheetmetal.

Using a Matco air saw with swivel (RL 1314A), Bodie cut out his plug. You could use a torch or plasma cutter, too.
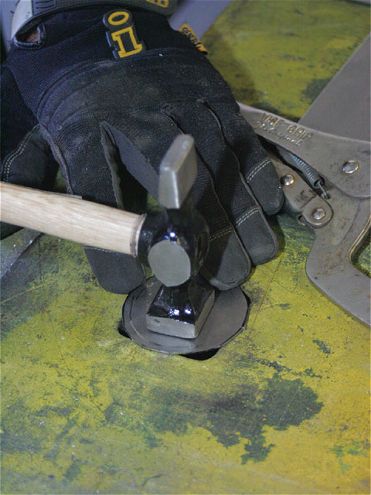
Bodie's welding table has a perfect-sized hole for forming the compound curve necessary to match the cab of the F-100 on the 2 1/2-inch-diameter slug. With his body hammer, he lightly tapped a modest contour into the slug, test-fit, and continued to contour until he was satisfied with the results.

Perhaps it was equal parts skill, experience, and luck, but the plug fit the hole nearly perfectly on the first try, with a burr on each side holding it in place. If you're not that lucky, a heavy-duty magnet will help hold it until you get your first tack-weld in place.
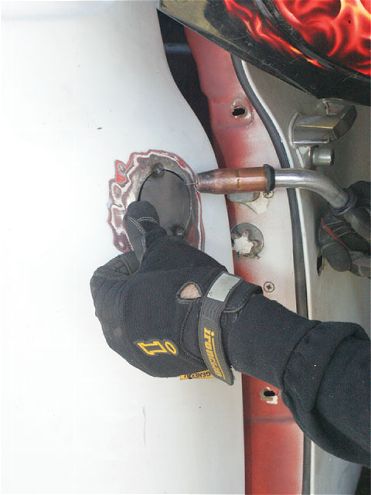
Bodie tack-welded the plug in place and then checked the contours. He tapped down one side to bring the slug flat with the cab surface on each side and then continued to tack-weld the plug in place.
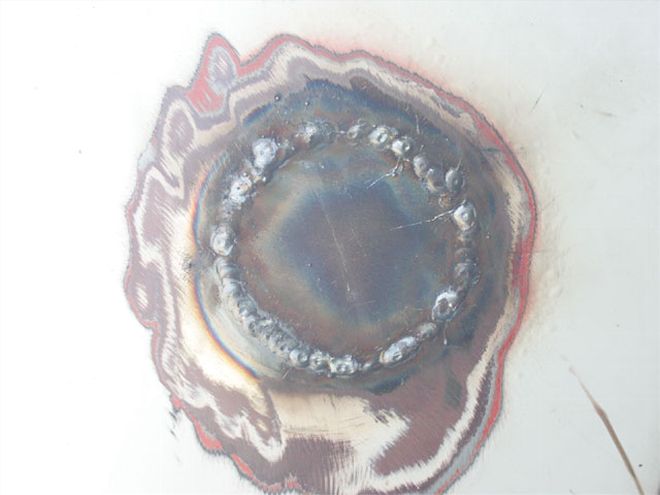
Here is the plug, fully installed and ready for the welds to be ground down.
Bodie ground the welds with a 40-grit sanding disc on a pneumatic angle grinder to get the results he wanted-a smooth curve in need of only a light coat of filler.