Metal Replacement
The no-nonsense approach often provides the best results, and the "git 'er done" mentality is how Bodie Stroud of BS Industries approaches metal fabrication. With a Truck of the Year award tucked in his belt as well as a stint on Monster Garage, he's truly qualified. So we asked for his advice on custom metalwork as he was crafting a '56 F-100 for the March 22 episode of HOT ROD Television.
Specifically, the hood of the truck required an opening for the induction to peek through. Vintage F-truck owners will attest that a '56 Ford F-100 hood, while attractive, is also a challenge due to its lack of rigidity and complex curves. When you cut a hole in the thin, 16-gauge metal, even by adding a rolled bead for the opening, the result can be tin-canning/oil-canning-that unhappy "boing" sound of a panel flexing.
The result of tin-canning is a wavy panel. So Bodie illustrates here how he removed the weak metal from this '56 hood and the basics of custom panel replacement. -Jerry Pitt
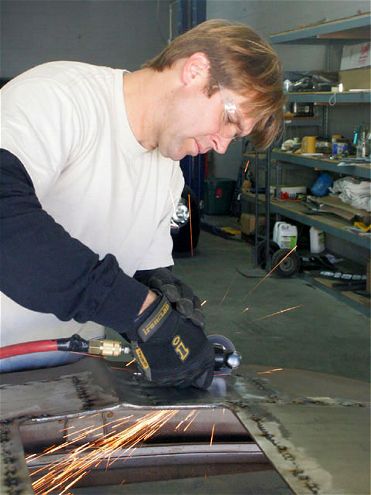
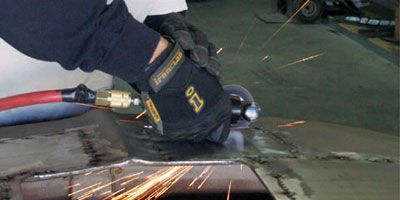
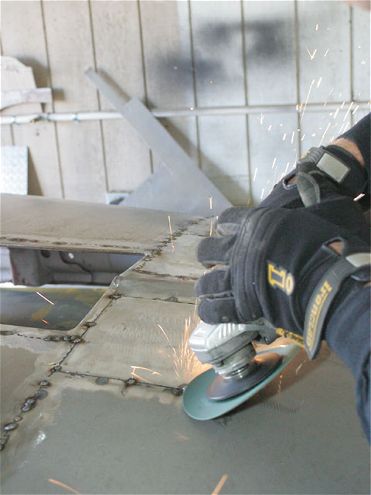
In the case where metal needed to be replaced, Bodie pulled out his pneumatic Snap-on die grinder (PT210R) fitted with a 2,500-4,000-rpm abrasive 3M cutoff wheel.
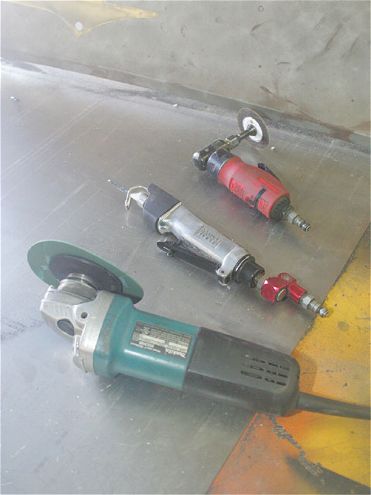
Bodie's options for cutting the metal include a Makita grinder (9553NB) with a 4-inch wheel, a Matco air saw with swivel (RL 1314A), or the Snap-on die grinder.
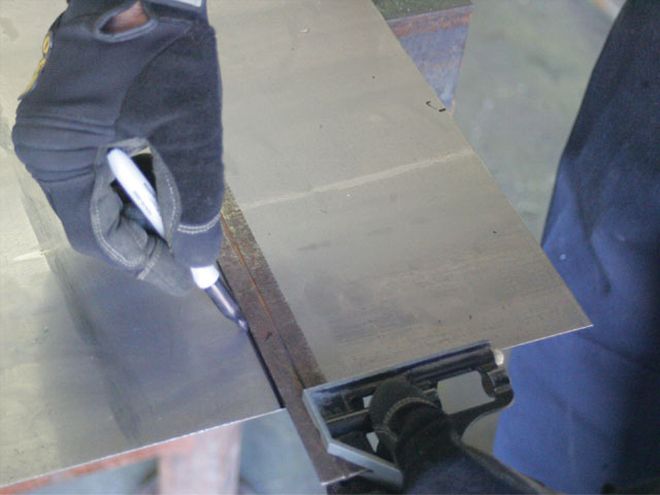
Bodie measured the opening, then transferred his measurements to a sheet of thicker-than-original 16-gauge sheetmetal and traced the size with a square.

Using a Snap-on air shear (PN AT195), Bodie made his cut, carefully keeping the mark visible on the sheetmetal that will be going in place. Of course, any cutting tool would work.
The other method that could be used to fit the new panel is to mark the opening on the steel replacement and then trim to size. This would be especially helpful on replacements that are difficult to measure or have complex corners and angles.
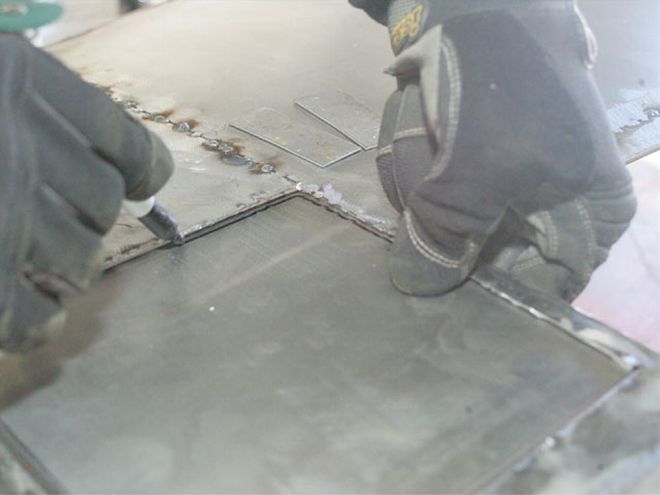
With the metal cut and ready to fit, Bodie cut a pair of tabs that he spot-welded to the inner lip of the opening to aid in locating and positioning the steel plate. These will be removed later. Note Bodie's comfort in working with his hands close to the welding work. Be sure to have numerous sets of high-quality welding gloves. Bodie says he burns through multiple pairs each week.
Bodie set his fabricated sheetmetal in place to identify contours he seeks to make for a near-perfect fit.
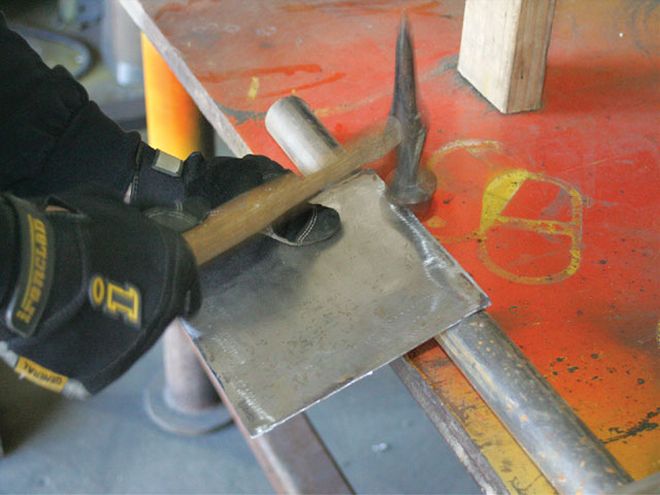
While he had an English Wheel at his disposal, contouring metal for this application simply required the use of a body hammer, a steel tube for contouring, and his welding table to flatten. While an entire book could be written on metal contouring, the secret from Bodie's perspective is to take your time and position and recontour repeatedly until you get the desired result.

Close up, Bodie revealed that his panel sits higher than the existing sheetmetal. The goal is to make sure the panel fit is close to level or slightly below the surface around it. While filler will be needed, the goal is to lay only a very thin quantity and fill low spots. There's just not enough abrasive material to grind down high spots.
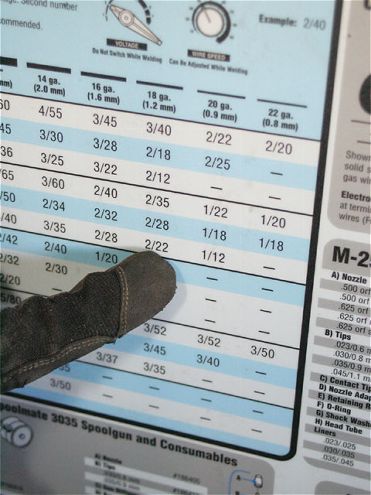
Using a Millermatic 210, Bodie referred to the voltage and wire-speed settings based on the metal gauge thicknesses he would be welding, which correspond to the wire gauge he used. While many will change the wire based on the recommendation of the Miller chart, Bodie prefers to keep 0.035 gauge wire in his welder, as it will always be strong enough for the work he does. In this case-where he's welding the 16-gauge replacement panel to 18-gauge original sheetmetal-his voltage setting is 2, and the wire speed is 22, as indicated by the 2/22 noted here. The recommendation by Miller is 0.023 wire.
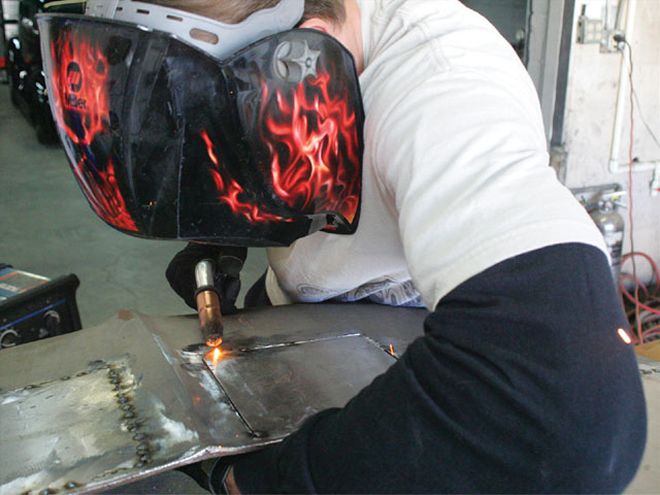
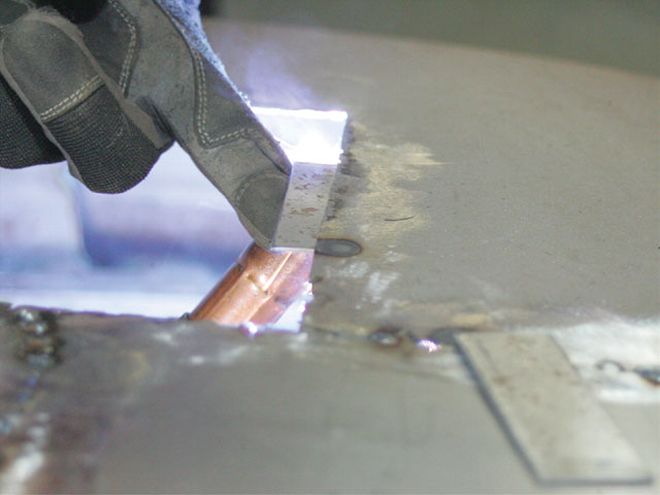
Bodie went to town on the panel, working to keep heat out of the panel with a series of spot-welds. Note that he positioned his panel through the fabricated hood opening with a body hammer to gain a flat, level transition between the existing panel and his patch.
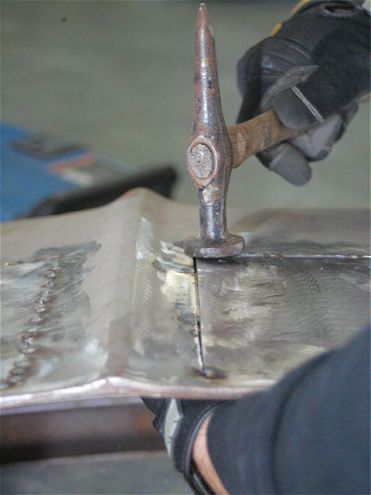
With a couple of the welds in place, Bodie continued to contour the metal to gain the flat, even results he's seeking with a body hammer and dolly.
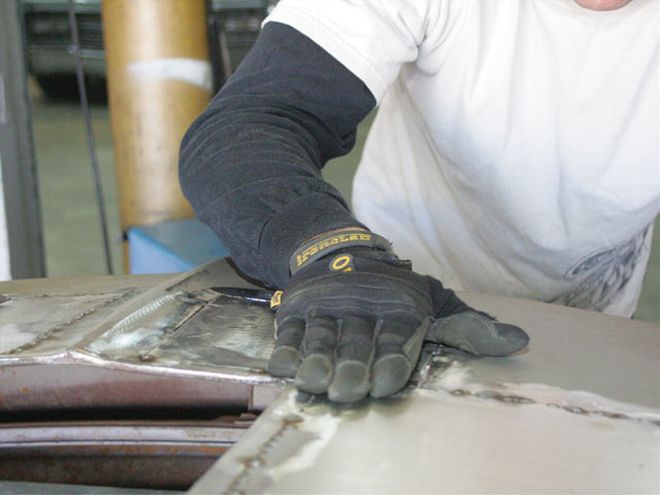
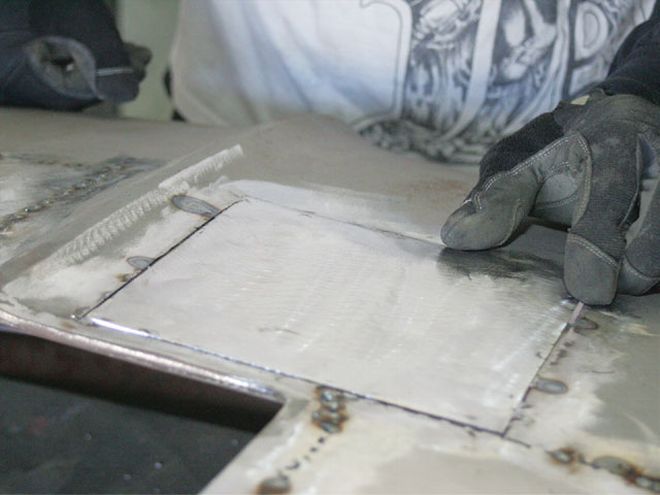
Continual visual and touch inspection is done by Bodie as he progresses through the welding. He recommends using the flat palm of your hand to find high and low spots. "It all comes down to practice and familiarity with the process. If you don't like what you have, start over.
With the spot-welds complete, Bodie ground down the slag from the weld to get a flat, even surface. He'll final-weld the metal in place and grind off the oxidation in preparation for final metal and filler work.