Today, as always, the classic truck hobbyist is on the lookout for new and innovative products and tools to help build his pride and joy. Whether it is through a lack of funds or the joy of doing something yourself (or both), a lot of us prefer to do our own work. So it only stands to reason that if we are going to do something, most of us would rather do it right, right? I'm talking everything from tools to materials to prep here. If we strive to gather only the best tools we can afford, we should also desire the best building materials we can afford as well.
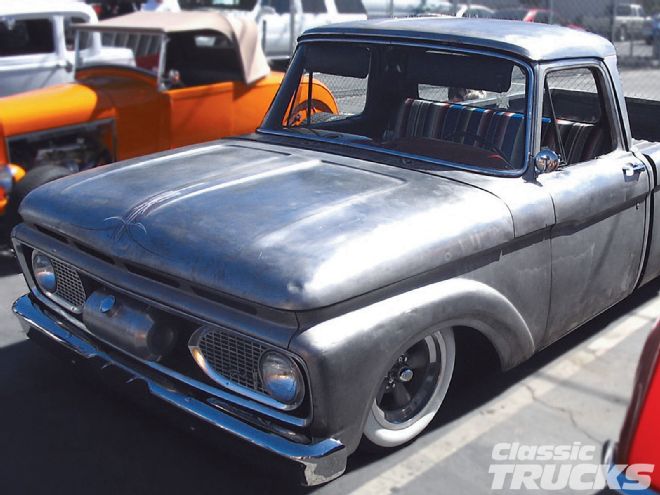
 Here it is: My truck and its dents and misaligned panels in all its bare-metal glory.
Painting your own truck with your own resources is not only a tedious act of patience and prep, but also one that requires a balancing act of time. Time for your regular daily duties, time for the paint booth rental, time to borrow the trailer from your buddy-you know the drill! If you keep a calm head you can have everything sorted out and leave yourself the time to knock out the bodywork and paint for that hauler of yours.
Getting The Ball Rolling
I've been driving my heap for the last couple of years to get the bugs worked out. Six, seven years, ah, I lost count of how long I've been working on getting this truck put together, but I have begun, in earnest, to get my truck straight and presentable. In doing so, I have stripped the truck of all trim, door handles, glass, old paint, everything. I knocked out some of the easy dents and am working on getting the panels lined up good and proper. Nobody said it was easy!
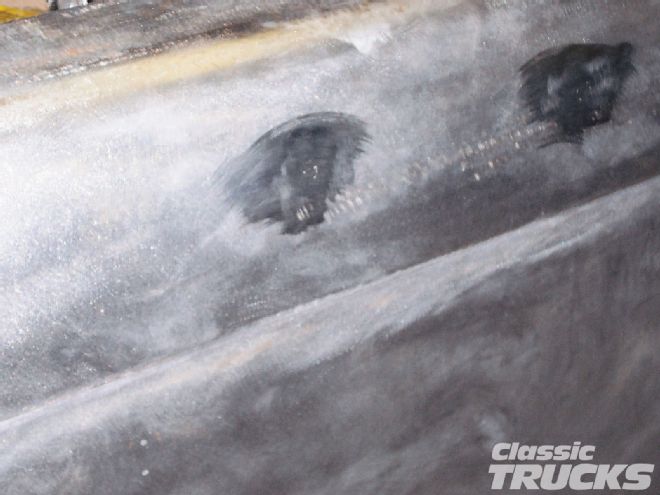 Any major bodywork and welding needs to be done prior to epoxy primer application. Here are some bedside holes that have been MIG'd shut and carefully ground down.
So it's time for some metal sealer and I hear about Squeeg's Kustoms Epoxy Primer Filler. After speaking with Doug Jerger of Squeeg's, I learn this primer bonds and seals the bare metal and leaves a hard epoxy finish you actually do your filler work on top of rather than under. Doug told me their high build primer is easy to block-sand, further helping you to achieve greatness!
A little background is in order. In lab testing for commercial primers, Squeeg's Primer tested off the scale. This is tough stuff! The folks at Squeeg's have been using this formula for years and only recently made the formula available to the public. Hey, I'm the public! I've got to try this stuff! Squeeg's Epoxy Primer Filler is a slow cure product and as such is not intended for the production shop. However, when this stuff kicks, it's a done deal. Yeah, that means high build and no shrinking! A primer specifically for the car and truck enthusiast? You bet! Probably the most important aspect of this primer filler is its high build, easy sand characteristics. Block-sanding your pride and joy to perfection will not be for nothing, as with other primers, because once it has cured it will not shrink. Whatever effort you spend achieving straight panels will not turn into a wavy mess the following week!
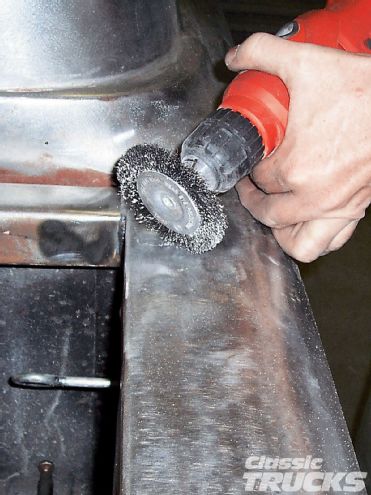
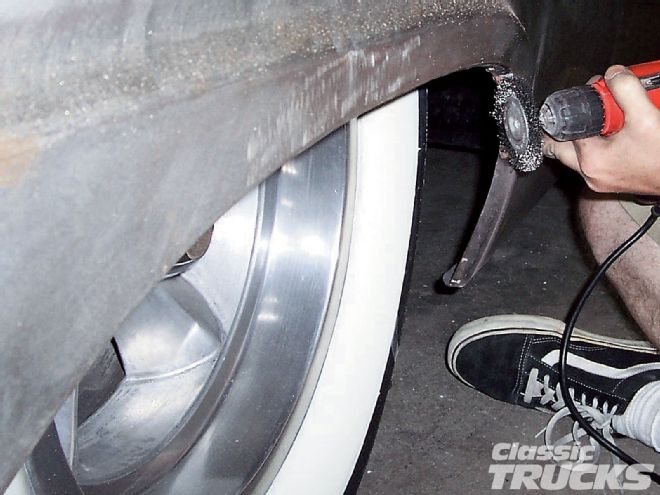 I spent quite some time wire-wheeling all the crevices, nooks, and crannies prior to primer sealer application.
Rarely is a product of such caliber also super economical. Well, that's definitely the case here. Whereas most paint products are sold by the gallon, Squeeg's Primer is sold in two-part two-gallon units, part A and part B; mix these parts into a simple 1:1 catalyzed ratio. After mixing you must let the primer sit 30 minutes to allow induction to occur. Strain the mixture into your gun and spray-pretty easy, really. Always wear a good-quality respirator, for Pete's sake!
Prepping And Application
Before any mixing goes on, the truck's surface must be stripped to bare metal, and the metal needs to be clean! This means sanding the entire sheetmetal surface and wire-wheeling any contaminants such as rust, filler, and paint remnants. The major bodywork should be done at this point, i.e. body modifications, patch panel work, most of the dents, etc. All welds need to be wire-wheeled as well. Of course, you know the finished work is only as good as the preparation, so spend as much time as it takes to get a clean base. Make sure to wipe down the bare metal with acetone to remove any final wax or grease.
Apply two coats to fully seal the metal. Allow the primer to flash between coats. Squeeg's Primer will cure in 24 hours. After the metal is sealed and cured, you can continue with the bodywork. To prepare the primered finish for paint you must hit it with 80-grit paper, either by hand or by machine. You must also wear a respirator for dry-sanding-remember, this is serious stuff! After you've blocked your work to perfection and are sure your truck is die-straight, you can apply up to five more coats, always allowing for flash time in between. One final block-sand, wet or dry, and you can lay on some color, but that's another story for another time.
In Conclusion
I'm no body man or painter, but I do enjoy doing as much of my own work as possible. And while I'll never turn out a paint job like the folks at Squeeg's Kustoms can, using their primer will certainly help my finished project considerably. Because Squeeg's Primer was very easy to use, very economical, and extremely tough, it was easy to make the decision to use their product. If you do your own paint, or even if someone else does it, insist on Squeeg's, it just plain works! You can bet it's not the first truck featured in CLASSIC TRUCKS with Squeeg's Primer on it!