When it comes to distinguishing factors on our Mopars, what catches your eye first? If it's a '70s production car, the H.I.P. (High Impact Colors) are definitely high on the list. Maybe you think the various hood treatments are the most eye-catching: Six Pack Scoops, Air Grabbers, Shakers, and Ramcharger air induction systems, or simply painting the hood black to contrast the color of the car? Mopar definitely cornered the market when it came to hood treatments.
One thing that no other car manufacturer had the audacity to do was to wrap the rear end of a car with a wide noticeable stripe. The stripe was a status symbol. It let everyone know that you were a member of an elite group. In the Dodge camp, you were known as a Scat Packer. We just happened to have a '69 Charger sitting around that needed an R/T stripe placed upon its rear flank. The question arose, how do you go about placing the stripe in the proper location? Well, we figured that standing back, eyeing it up, and hoping for the best was not a good approach. So we put some thought into it, and then decided we would give you guys some insight into how we did it.
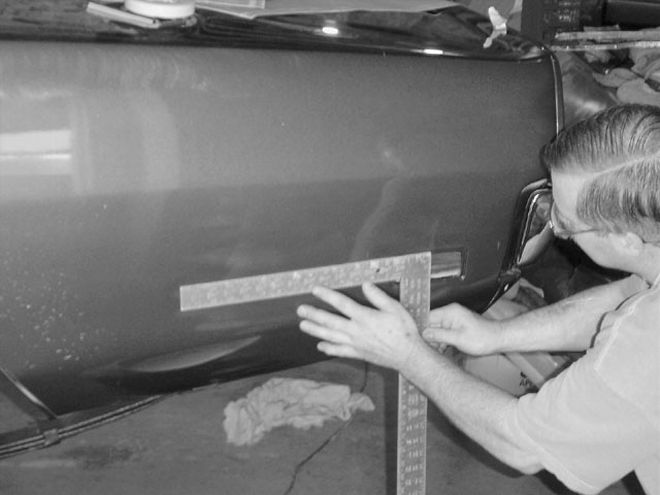 First, you need to find the center location of the stripe. Find the center of the side marker light, and then measure out the width of the stripe and mark with the red crayon. Note: Use the kind of red crayon that will wipe off. Here you can see the centering marks, and the mark noting the bodyline.
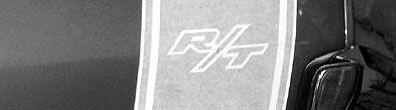
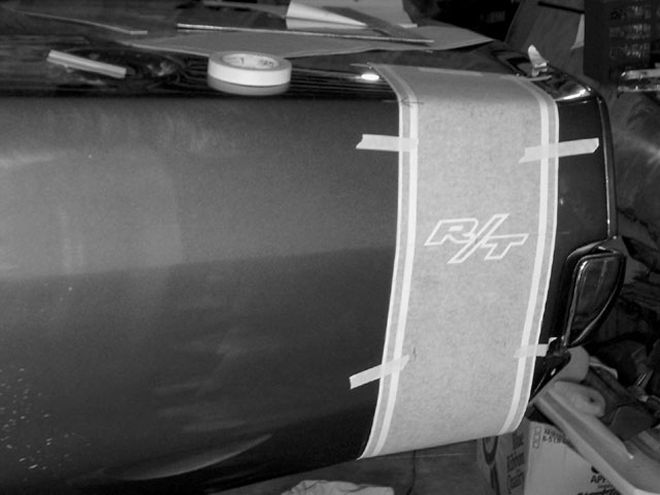
Some of the supplies you'll need (besides the stripe kit) are masking tape, a straight edge, a red crayon pencil, a bucket of water, dish soap, sponge, and a razor blade. You need to begin by first locating the center of the stripe location. To find this, find the center of the marker light opening, and use that as the center of the stripe. Now measure out the width of the stripe using that centerline. Some stripes are just the stripe with no distinguishing marks. In this application, the car is a Charger R/T, and the stripe has the R/T marking on it. Since our stripe incorporates the R/T logo, we must be sure to place the logo in the proper location on the quarter-panel. The proper location is to center the R/T logo on the center bodyline of the quarter. With your quarter marked out with the red crayon pencil, take a bucket of clean water with just a little bit of dish soap, and wet the quarter-panel where the stripe will be located. Be sure not to add too much soap; you do not want an exorbitant amount of suds in the bucket. Now remove the backing paper from the stripe and place the stripe in the bucket. You need to be careful because now that you have removed the backing paper, the stripe will want to stick to everything. Do not roll the stripe up and then place in the bucket or you'll have a nice rolled stripe that's unusable. Now with the stripe wet, place it on the wet quarter-panel, lining up the centering marks you made earlier. use a new soft-rubber squeegee to smooth out the stripe and remove the water. Be careful not to crease the stripe as you squeegee. When you are satisfied with the squeegee job, remove the protective covering from the stripe. Do not pull straight away from the body when removing the covering. Instead, pull in either a downward or upward direction and go slow, making sure not to pull the stripe loose from the car. Do the same to the other side, then the trunk lid, and you have given your Mopar the impact and badging it deserves.