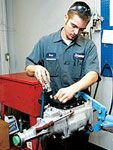
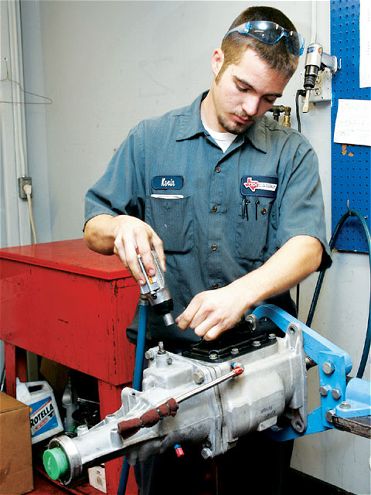
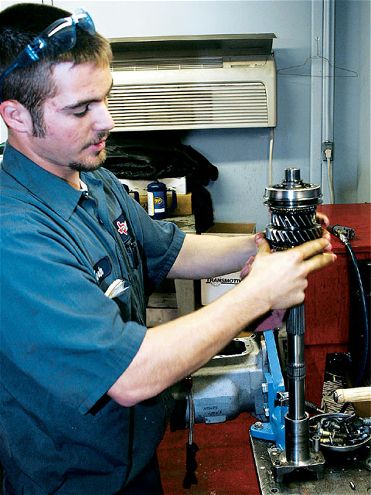
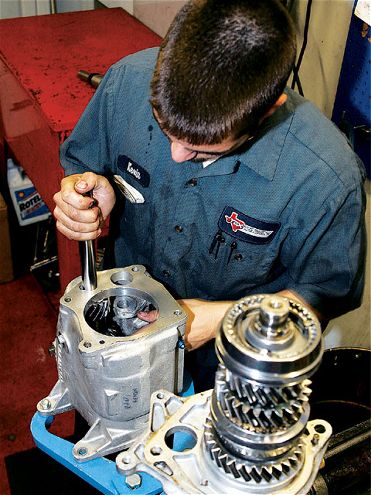
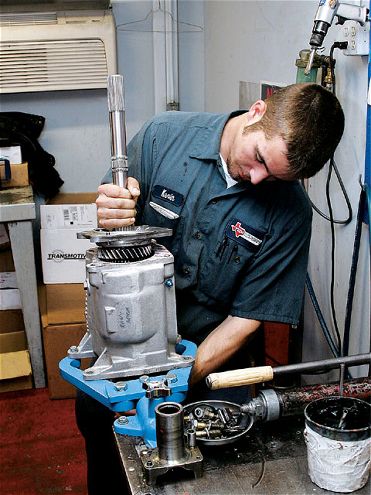
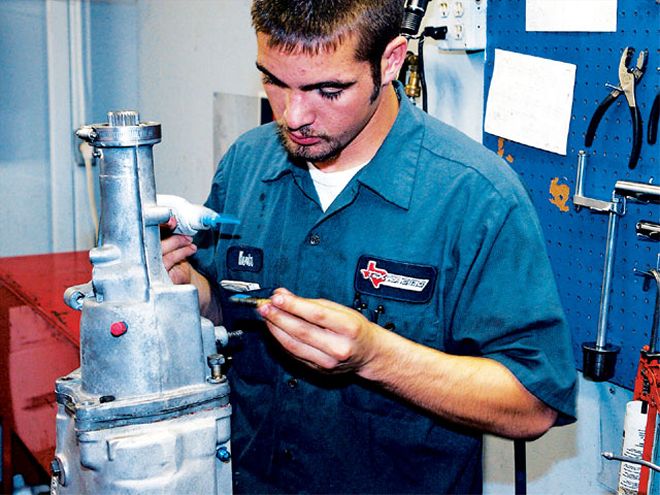
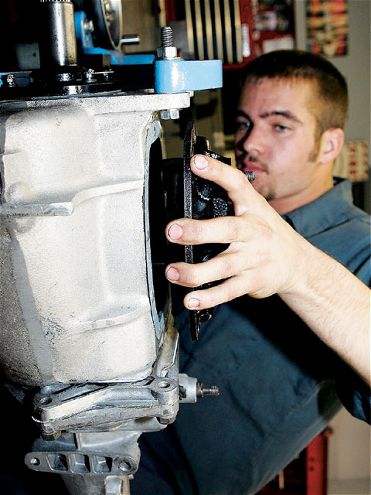
 After the unit has been cleaned, transmission specialist Kevin Carpenter pulls the side cover. This component also contains some small shift linkages that connect to the shifter forks, so be careful not to lose anything when it comes out. Now you can lift the shifter forks out of the transmission.
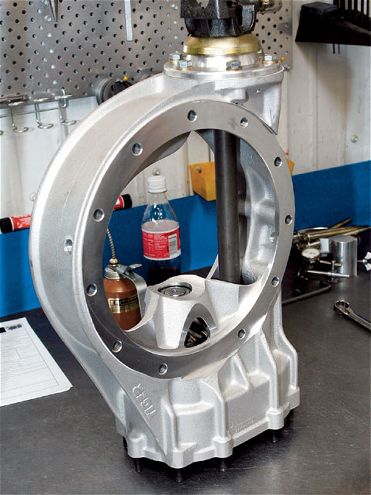
If you race on Saturday nights on asphalt, you are probably running a T10 transmission or some derivative of it. The T10 four-speed manual transmission appeared in passenger cars in the '70s and '80s, mostly in GM performance vehicles. And components for this design are still being produced today, so parts are plentiful and you can stay away from junkyard shopping. Racers like them because they are simple, relatively small, tough, and fully mechanical.
But despite its hardiness, the T10 should occasionally be rebuilt and inspected for damage or excessive wear. If you race a full season, plan on a rebuild during the off-season to prepare yourself for trouble-free racing when the next season begins. Tex Racing, which specializes in everything gear related and works with race teams from the NASCAR Nextel Cup level all the way to Street Stockers, maintains as many T10's as it does its own T101A design, which is a favorite of the Cup guys.
Manager Tony Hancock says that since the T10 was originally designed as a street transmission, it requires a few specialized steps not normally needed for a race-only unit like the T101A, but any racer with decent mechanical skills should be able to tear down and rebuild his or her T10. The first step, obviously, is to get a rebuild manual, but we also followed along as Tex Racing rebuilt a tranny for a local Late Model racer. In addition to checking for wear and rebuilding this piece, transmission specialist Kevin Carpenter showed us a few tricks as he worked his way through this unit. If you attempt to do your own rebuild or make repairs to your T10, you can acquire rebuild kits and replacement gears from many racing supply houses or directly from Tex Racing.
When it comes to transmission upgrades, the first thing Tex Racing recommends is having all the gears and shafts REM polished. This creates a smoother, harder surface that cuts both friction and heat.
Once you've done that, you may want to get into lightened gears. You can purchase lightened sliders, which cut the weight from 2.12 pounds each to 1.68. A lightened reverse gear cuts the weight from 2.78 to 1.76 pounds. Both cost approximately $100 each. A gundrilled main shaft cuts the standard shaft's 10.86 pounds to 8.7, but costs significantly more at approximately $550. If money is tight, the lightened gear and sliders are much more preferable since the weight being removed is further outboard; we all know that when it comes to a spinning mass, the further out you can remove weight, the better. Finally, you can use an aluminum reverse gear, which weighs only 0.70 pound, but it is practically useless and should only be installed if your rule book requires you to prove that you have a reverse gear. If you are spun on the racetrack and need reverse, you are just about guaranteed to strip the aluminum gear.
A final option is to upgrade to a roller bearing design (main shaft and bearings). This doesn't necessarily put more horsepower to the track, but it is good protection for your transmission because the main shaft depends on splash oiling. The roller bearings can definitely help prevent galling between the shaft and the gears.
As we said earlier, rebuild manuals, kits and replacement gears are readily available from many different supply houses. Go get 'em and have fun getting your T-10 ready for a new season of racing.
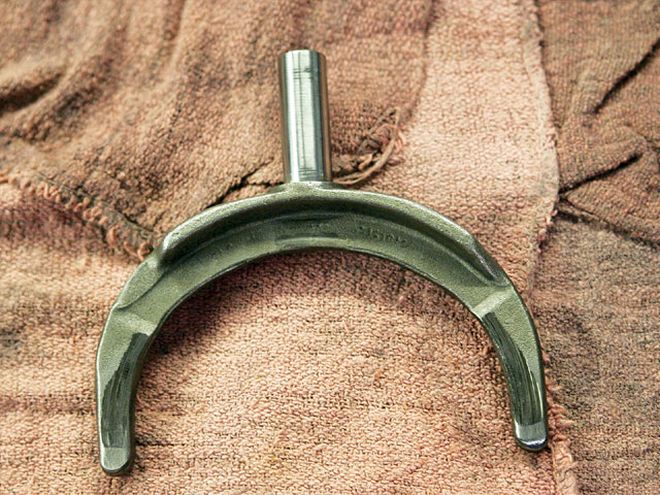
Some wear on the shifter forks is to be expected, as you can see here on the tips. But if the wear has cut more than about 0.010 inch off the forks, you should consider replacing them. You may notice that the transmission will unexpectedly start popping out of gear if it is left alone. This happens because the forks aren't getting the sliders fully locked into position.
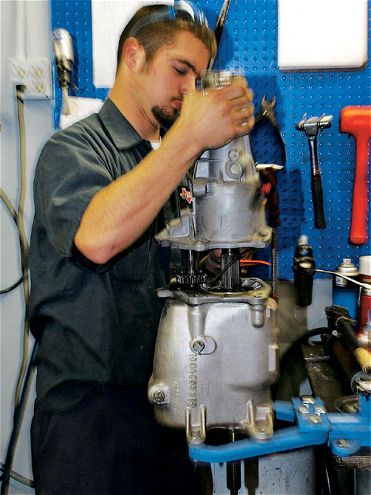
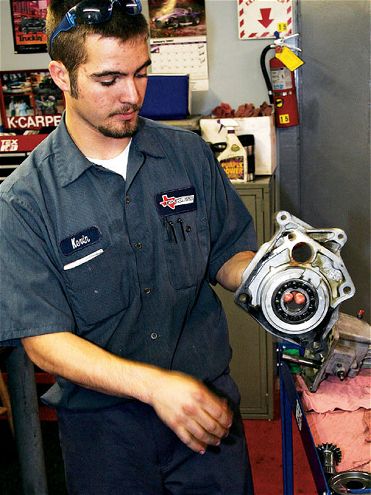
The tailhousing must be separated from the main case, but you have to release the connection to the reverse gear idler shaft first. To do that, knock the pin into the case and pull up the actuator.
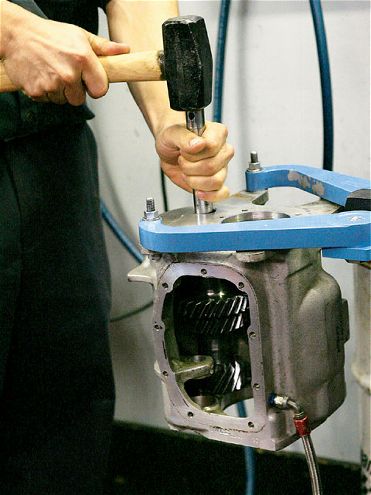
A C-clip keeps the transmission midplate in place. It's pretty heavy duty, and Carpenter says it can often be reused if you can manage to remove it without bending or breaking it.
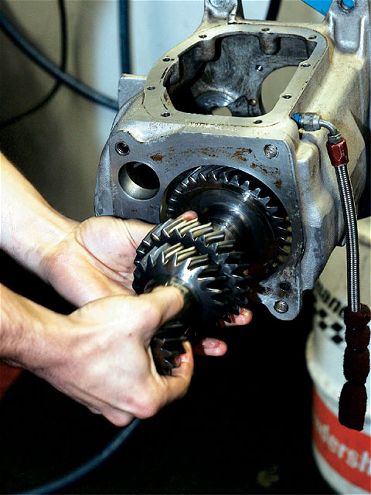
Once the C-clip is out of the way, the midplate is only held in place by a single bolt. Carpenter likes to check the cluster shaft bearing in the midplate by spinning the plate to see if he can feel any rough spots. If the bearing still spins smoothly, it can last through a couple of rebuilds. With the midplate out, drive out the cluster shaft. (This is the gear where all the cogs are made together.) It is located with a keyway and can only come out the backside of the transmission. Next, slide the cluster gear back into the case. Slide the main shaft out the back of the transmission. To get the clearance you need, push the sliders into Second and Fourth gears.
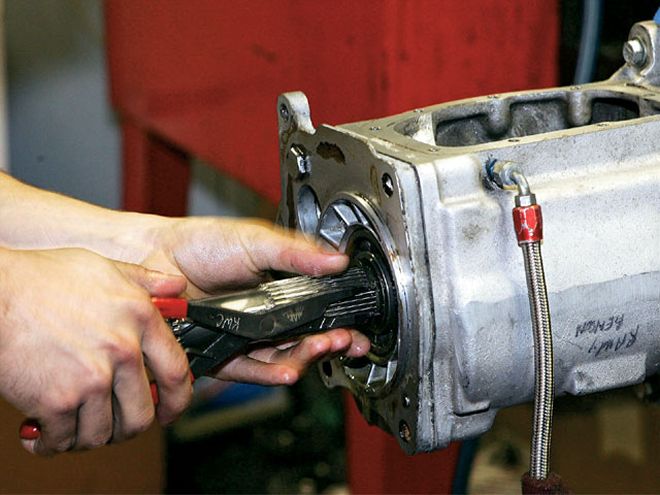
At this point, the cluster gear still cannot be removed from the case. First, you must press out the input shaft. The input bearing isn't a press fit into the case, so you should be able to gently knock it out.
Remove the cluster gears and clean the transmission case.
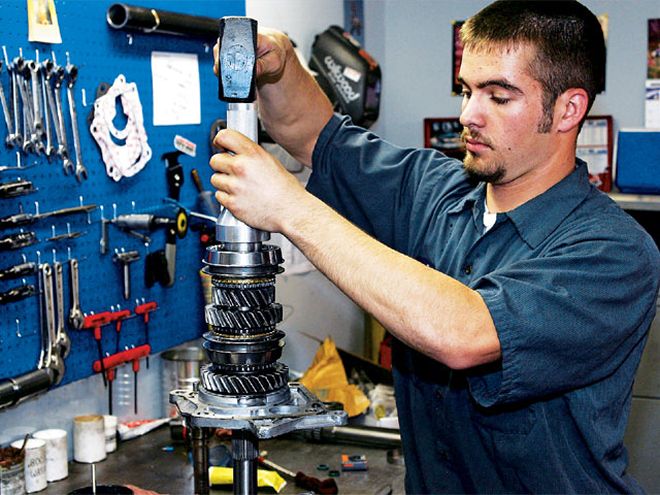
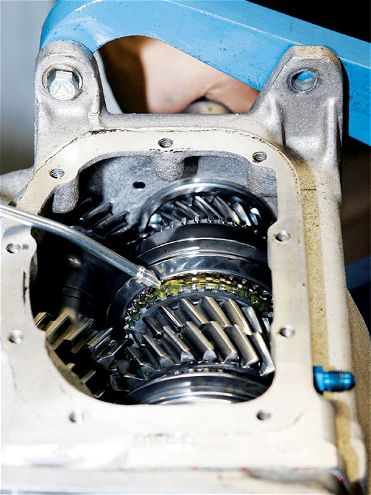
The main shaft holds First through Fourth gears, the sliders, and the synchronizers. Snap rings are used to locate all the gears. Don't worry if you don't have a specialized holder like Carpenter's; you can use a vise with a set of brass jaw covers.
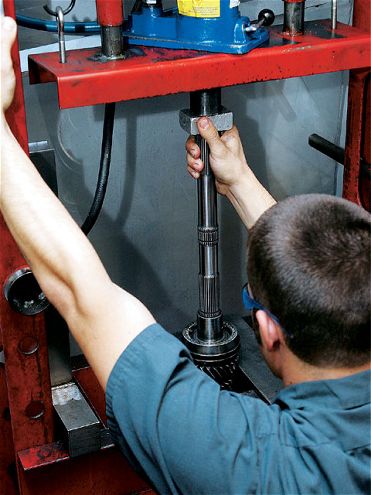
Second and Third gears must be removed with a hydraulic press. Just be careful, as there is a ring around the shaft that locates the gears. Make sure you are pressing against the gears and not the shoulder of the main shaft.
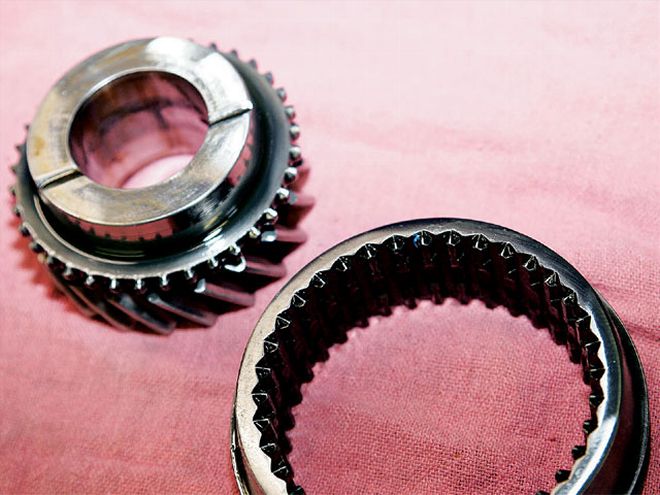
Make sure the teeth on the gears (top) and the sliders (bottom) as well as the brass synchronizers are still in good shape and have a defined point on them. If they are worn from use or broken from slamming the transmission into gear, they should be replaced to ensure smooth shifts in the future.
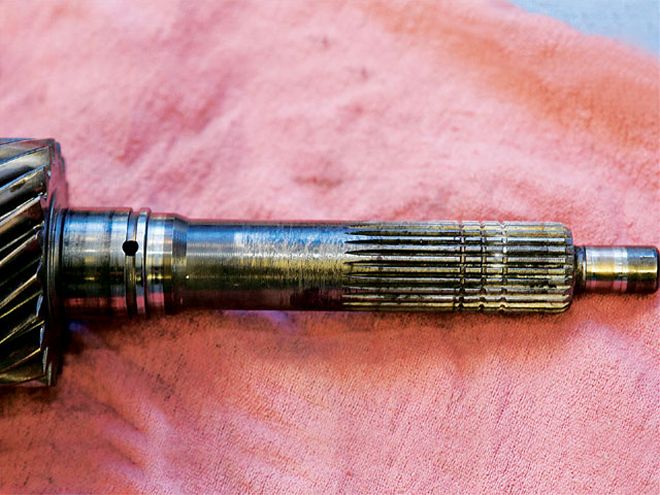
This input shaft should be replaced because of the wear to the left of the splines. This is a sign that the bellhousing isn't properly aligned, pulling the input shaft out of alignment so that it wears on the front bushing. Misalignment is also very hard on all the gears.
Inspect all the gears for cracks, broken teeth, severe pitting, and excessive wear. Carpenter suspects that the damage on this gear tooth is from a piece of metal floating in the gear case.
The cluster gear rides on 112 needle bearings. The bearings sit in four sets of rings inside the cluster gear, with two on each side of the gear and a spacer tube dividing the two sets. Use a thick moly paste to lubricate each set of the 28 needle bearings. The thick lube helps hold the needle bearings in place while you are placing them.
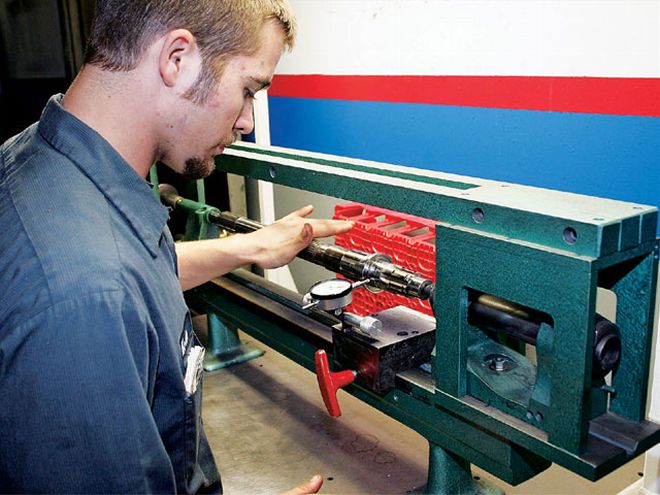
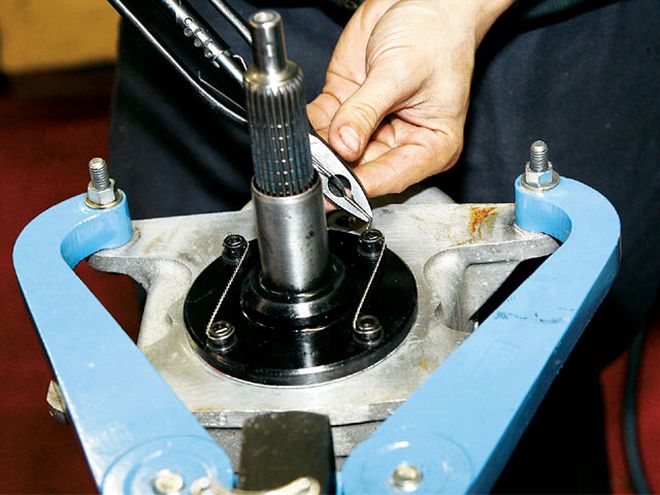
Carpenter checks runout on a special fixture. Most of us don't have this luxury, but it's still a good idea to check the main shaft as best you can to make sure it hasn't become oil starved and warped from heat.
Thoroughly lubricate the main shaft and reinstall all the components in the reverse order that they were removed.
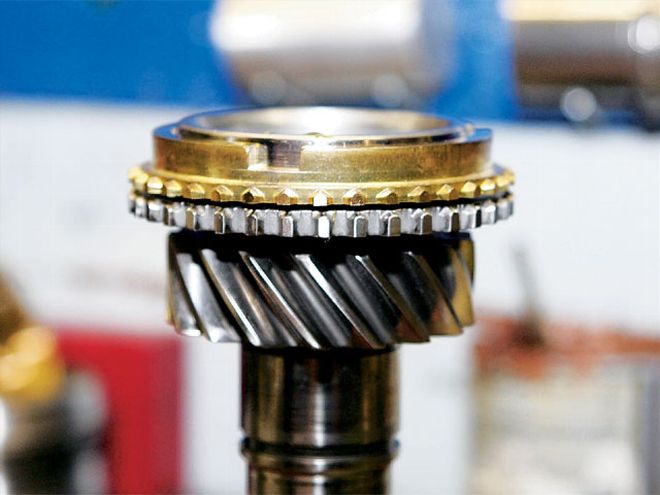
The brass synchronizers slide into position on collars that are cut on an angle. They should ride with approximately 0.050 inch of space between the synchronizer teeth. If there is less clearance, or especially if they touch, then there is too much wear and the synchronizer should be replaced.
Set the cluster gear in position and slide the cluster shaft into place.
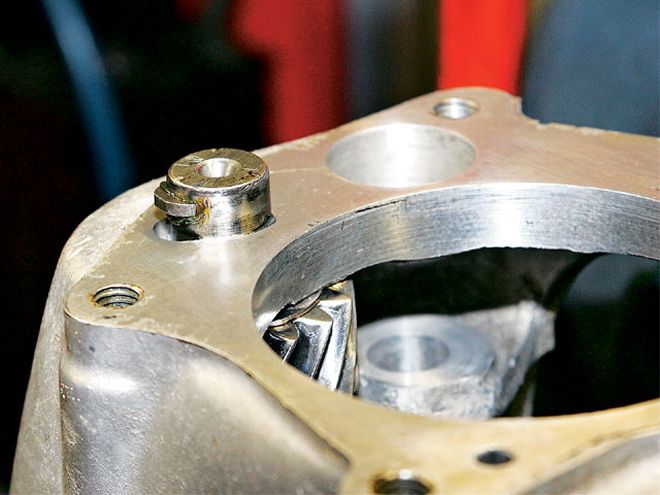
This key prevents the cluster shaft from sliding out of the case. It is held in position once the midplate is bolted up.
Next, you can slide the main shaft back into position.

Now is a good time to make sure all the sliders still move into their positions easily with no catches.
Put a new seal into the front cover, bolt it to the transmission, and safety-wire it in place.
The seal on the tailhousing should be replaced at every rebuild. It can be tapped into place with a dead-blow hammer.
Before the tailhousing can be bolted back on, the reverse gear must slide in place. Don't forget to make sure that the collar on the gear slides inside the slot on the reverse selector lever.
Now you can finally bolt the tailhousing back to the main case. Carpenter uses blue Loctite on all these bolts.
Before repositioning the sliders, give everything a thick coat of oil to protect the gears the first time the transmission is used. The case will be filled with lubricant later, but that won't distribute lubricant to all the necessary places; the last thing you want to do is to put your new transmission into gear with the gears dry.
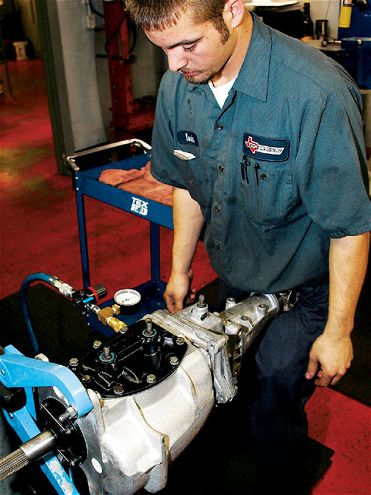
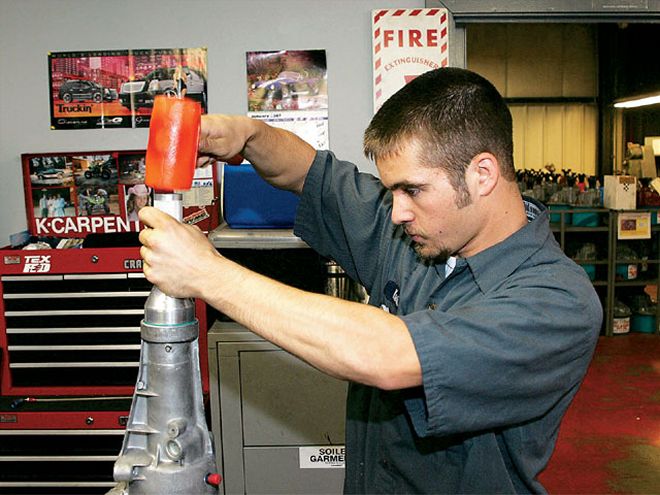
Carpenter pressure tests every transmission after it is finished. This is cheap insurance to make sure it won't leak after the team installs it in their race car.
Reinstall the side cover, making sure that the gear levers are properly engaged to the shifter forks.