OK, painting a steel wheel is not exactly the most difficult job when it comes to building a classic truck, rather, it is just one of the myriad of smaller tasks required to build a really cool truck. Like anything, there are a lot of ways to perform this job with varying degrees of success. In our time we have seen it all, from using a rattle can and no tape at all (a 1 on a scale of 10) to spending hours carefully taping the tire to prevent overspray from getting on the tires.
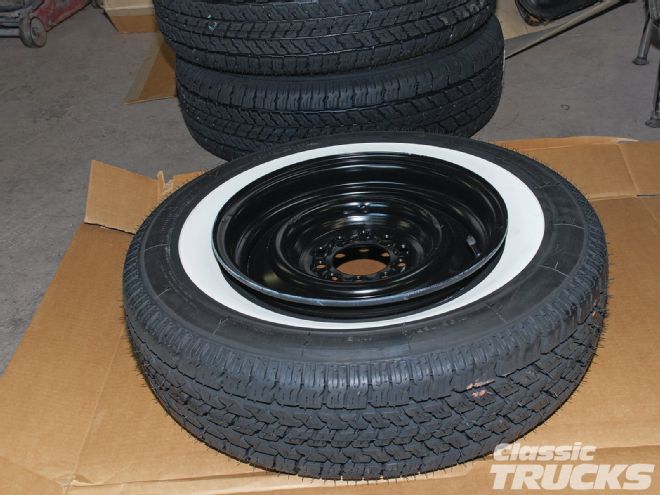
 When we ordered our new wheels and tires from Coker Tire, we asked them to mount the tires without airing the tires up and seat the tire bead against the rim. This allows us a quick and easy way to paint the new steelies.
Of course prior to painting you should prepare your wheels just like any other body panel. Our wheels and tires were new, purchased from Coker Tire so we first wiped the wheels down with lacquer thinner, followed by Prep-Sol to insure all the protective oil was off the wheels. Then we scuffed the steel wheels with a Scotchbrite pad and the wheels were ready for a heavy coat of self-etching primer.
We could have spent the time to carefully tape off the tires; after all, getting overspray on brand new whitewall tires is not our idea of a good time. But over the years we have developed a pretty foolproof and simple way to paint wheels. We ordered the wheels and tires from Coker Tire, and asked them to mount the tires to the rim but not to “air them up”. This keeps the tire bead away from the new rim. Of course, if your tires are already fully mounted you can simply break the bead away from the rim.
Next, using a large sheet of cardboard (thin plywood works too) we cut a semi-circle in the middle of the sheet that is the half the diameter of the inner portion of the rim. A second sheet received a similar treatment.
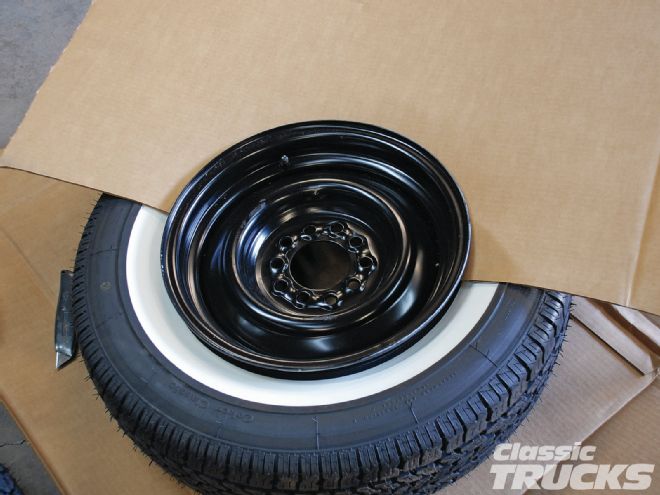 Using a large piece of cardboard we cut a semi-circle in one side that fit snugly into the inner rim diameter.
Now we simply slide the cardboard atop the tire and into the inner rim. One piece of tape over each seam in the cardboard insures no over spray will contact our new whitewalls. A smaller diameter piece of cardboard was pressed into action on the back side of the wheel insuring overspray would not pass through the lug nut holes and get on the back side of the tire and …Presto! The wheels are ready to paint. Another benefit to this system is the cardboard can be easily moved from wheel to wheel and unlike pulling tape there is virtually no chance of marring your fresh paint when you remove the cardboard.
So we sprayed the primer and allowed it to cure before we scuffed it up and laid down our final finish in gold acrylic enamel. Then we took our new Coker wheels and tires to the local tire store and had them air them up, balance the wheels, and we were ready to go. The finishing touch comes in the form of new stainless steel hubcaps and our truck is one step closer to rolling down the road.
 The wheel lubricant used to mount the tire will have to be completely removed prior to painting. Prep-Sol and lacquer thinner will take care of the grease, but be careful not to contact the tire with either of these products as they can discolor the whitewall.