
Depending on your level of commitment, and of course how deep your pockets are, many enthusiasts dream about having a different car for everything they do - one for commuting, one for cruising, one for hauling, one for tracking, etc. That's the fantasy, but the reality for a lot of people is that you've only got one car to do all these things, and so accordingly you need to adapt it as best as you can to all of its roles. That's sort of our approach to this 2005 Acura RSX Type S we've begun to reinvest in as a project car; day to day, it's a Point A-to-Point B machine for the most part, but that doesn't mean we don't occasionally dig in our spurs and get her to stretch her legs.
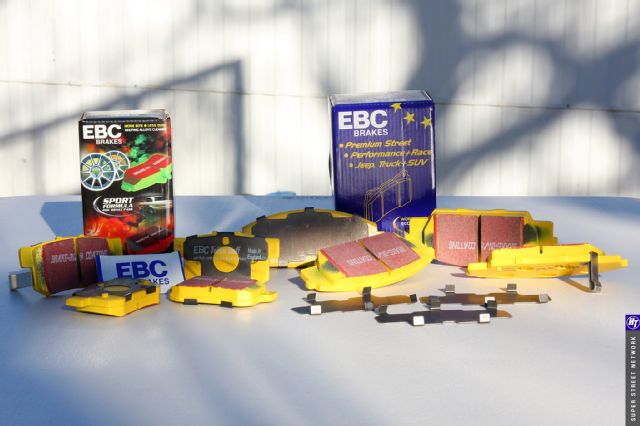
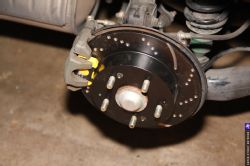
After nearly 150k miles on the odometer there are certain areas that are undeniably tired on the old girl, like brakes, clutch, some bits of the interior, etc. We start this exercise in rejuvenation with the binders, or more specifically the pads and rotors at all four corners. We weighed the option of going with a big brake kit, which would've taken stopping to the next level on the car, but given our agenda and end goals that would've been a bit overkill. A good compromise, as advised by project partners EBC Brakes, are the company's Yellowstuff pads and GD discs, which are mild enough for daily driving but engineered to rise to the challenge of occasional circuit duty.
2005 Acura RSX-S - Suspension Part 1
2005 Acura RSX-S - Suspension Part 2
2005 Acura RSX-S - Chassis Bracing
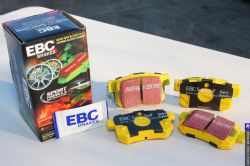
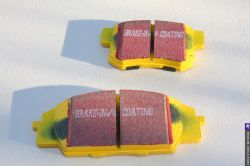
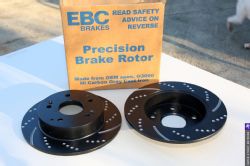
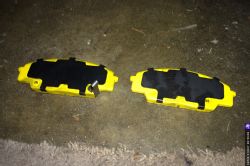
 | Yellow Stuff Pads Front Rear
UNBOXING
EBC's Yellowstuff compound is essentially a race pad but the big difference is that they work from cold temperatures and can be safely used on the street. The brakes feel great from the first touch of the pedal and stay effective up to race temperatures. As we've suggested, these pads are ideal for the "daily driver" enthusiast who wants to commute to work during the week and attend a track event over the weekend.
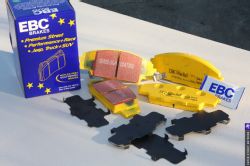
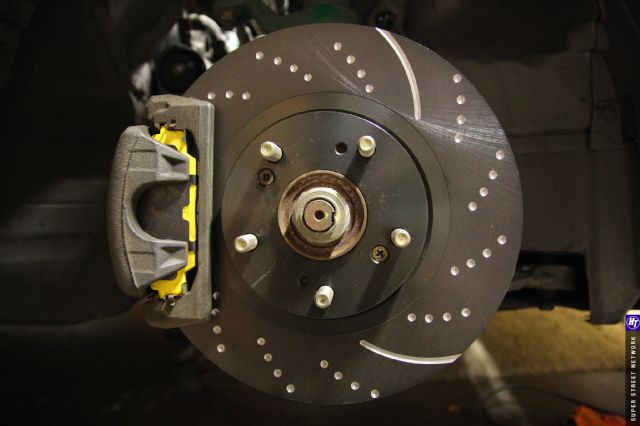
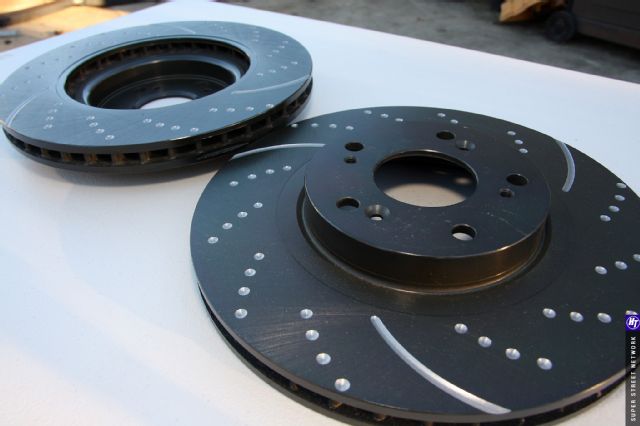 | Rotors Front New
EBC recommends pairing up its Yellowstuff pads with its GD rotors. The GD rotors feature dimples and slots to draw cool air into the brake contact area and reduce temperatures in an effort to prevent brake fade, especially beneficial when used on the track. The rotors are only dimpled and not drilled through, as drilling an already casted rotor weakens the structure of the rotor and could possibly lead to stress cracks. EBC is able to achieve cooler rotor temperatures with its dimple design without compromising the rotors structural integrity. (Incidentally, the rotors come in a painted finish that gets worn off the contact area as you use them.)
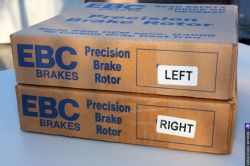
A couple more things we should point out before moving forward: first, the EBC rotors are directional, so you want to make sure not to mix them up. The fronts versus rears are a little easier to keep straight, as the forward discs are both vented and a larger diameter than the rears. Finally, the pad sets come complete with shims and brake lubricant packets - lube that should be applied to the back of the pads and mounting tabs as well as the caliper bushings and pins.
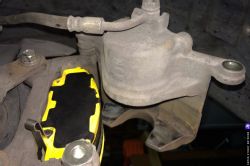
 | Caliper Front
FRONTS
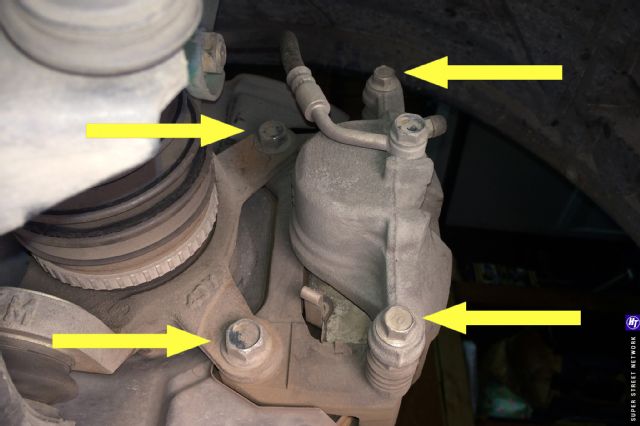
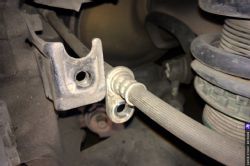
For both front and rear brakes, we swapped out the rotors first before installing new pads in the calipers. The first steps are to uncap the master cylinder reservoir in the engine bay, raise the vehicle on stands or a lift if you have one handy, and pulling off the wheels for access. Removing the rotors means first pulling off the calipers, which must be unbolted from the knuckles; for this, you're going behind the knuckle and using a 17mm socket or wrench to unscrew the bolts that secure the calipers in place (arrows on left in above image; do not confuse these bolts with the caliper pin bolts, arrows on right, which have 12mm heads).
 | Zip Tied Front Caliper
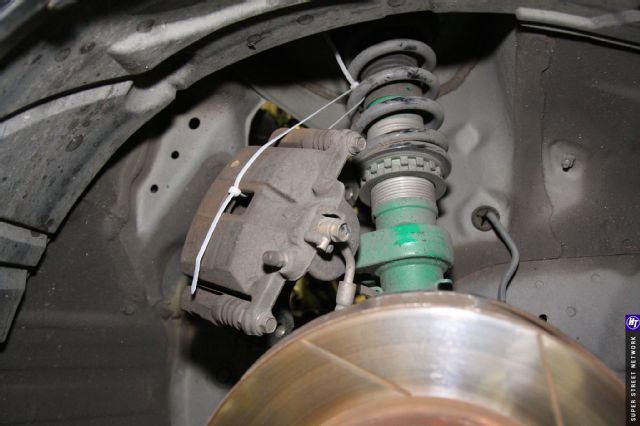
Once the caliper is free, it's best to hang it up out of the way somewhere nearby, like we did stringing it up on the suspension spring with a zip tie. You should avoid at all costs just allowing the caliper to dangle at the end of the brake lines, which could easily break.
 | Flat Screws Rotor Front
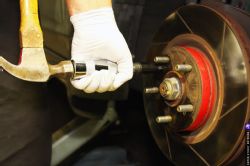
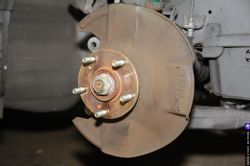
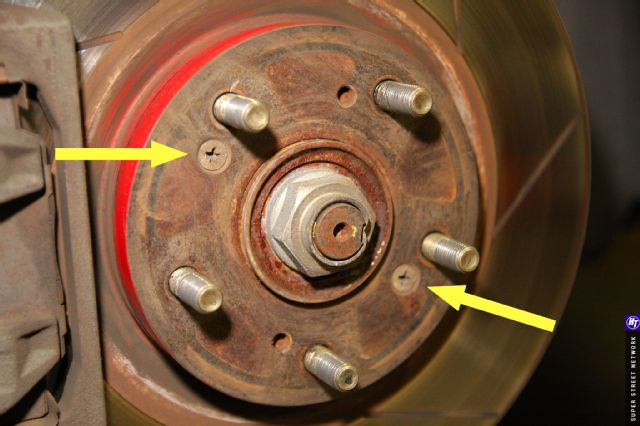
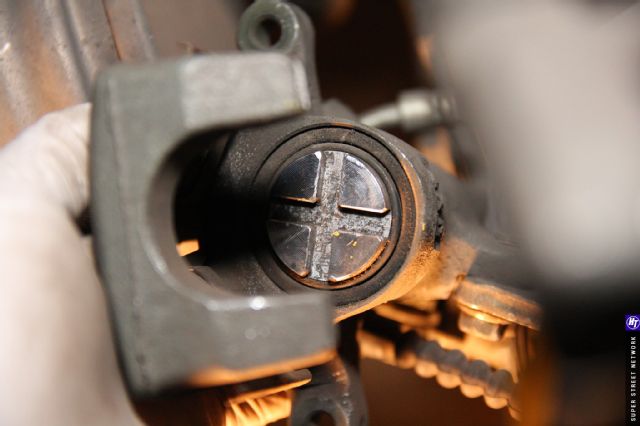
With the binder out of the way, the rotor can be removed. A pair of flat screws holds the disc to the hub, and we used a manual impact driver to break them free before backing them out the rest of the way with a Phillips screwdriver. Once the fasteners are out the rotor may still need a tap or two with a soft-headed mallet on its edge to ultimately come off. The EBC GD rotor is installed in reverse order of removing the old disc, and then the caliper is remounted to the knuckle.
 | Rotate Front Caliper On Upper Pin To Remove Pads From Bracket
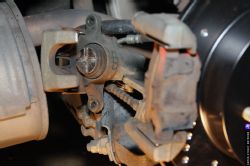
To swap out pads, you're basically unbolting the lower 12mm pin on the caliper, again from behind the brake, and backing off slightly the upper pin (there's really no need to completely remove the caliper). Once you do this, the caliper should swing up and there should be more than enough room to pull out the pads.
 | C Clamp Front Caliper Piston
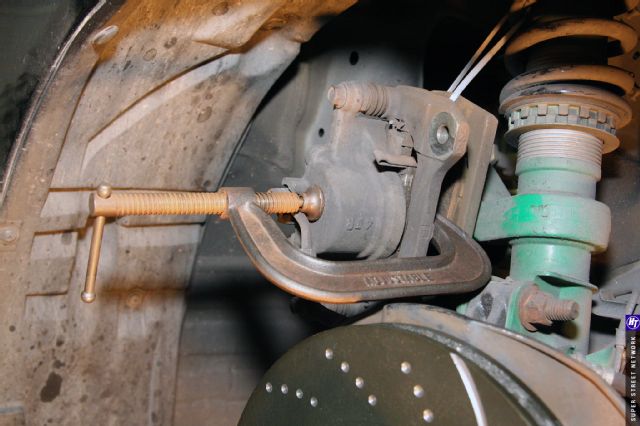
With the old pads out, the piston in the caliper will need to be pushed back into its housing in order to accommodate the new, unworn pads. For the DC5's front brakes only this can be done with a C-clamp.
 | Rotor Pad Front Installed
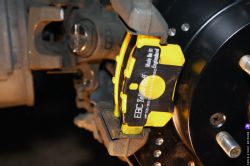
Once you make clearance, the fresh pads can be fitted into the caliper bracket, and then the caliper itself swung down and re-bolted in place. Front brakes, done! Now onto the rears.

REARS
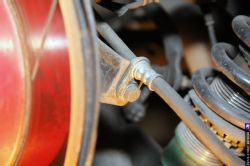
Again, we're pulling off the rotors first, but unlike the fronts there isn't enough play in the brake and hand brake lines to simply hang the calipers out of the way. So before unbolting the binder from the knuckle, we first made some slack in the lines by unbolting them from brackets on the knuckle. The bolts holding the caliper to the knuckle are 14mm, while the lines are secured with fasteners sporting 12mm heads.
 | Rear Caliper Piston
Another major difference in the rears is the caliper piston. While we could simply push in the pistons up front, the rears required us to actually screw the piston back into its housing - and a traditional screwdriver won't cut it. You'll definitely need a tool with a wide, flat blade in order to fit it into the piston's slot. Everything else is pretty much the same as what’s done up front.
 | Master Cylinder Reservoir After
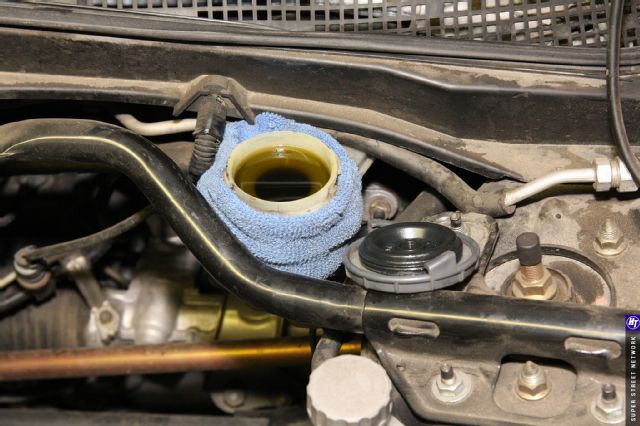
One last word about this upgrade; while it's highly unlikely to happen, it's probably a good idea anyway keep a shop towel around the uncapped master cylinder reservoir in the engine compartment in the event of brake fluid spillage. If, as in this case, your brakes were near the end of their lifespan, there's a good chance the reservoir probably looked near empty when you started. Pushing in all those caliper pistons sends fluid back up into the reservoir (which is why you keep the lid off during this kind of brake work), and it's possible some could end up spilling over the side. Better to be safe than sorry and bust out one of those socks you rocked in your engine bay circa 2000.
CONNECT
EBC Brakes