 | Lap Dog: PT. 1
In the past we've been told that it takes three people to build a racecar: one to design it, one to build it and one to tell the first two when to stop. In other words, it's easy to over-build a racecar. We know from personal experience; in our case, what started out as a simple street/circuit car turned into a monster from the unknown.
The most important thing to remember when building any racecar is to buy the right parts the first time. Cheaper parts might be appealing but chances are you get what you pay for. Think budget but also think quality. Saving money might be as simple as buying one part once, not the same style part three times. Just like the saying goes: most people don't plan to fail; they only fail to plan! The first thing to consider in the project is the car, right? Wrong. The first thing to look at are the rules and classes for the sanctioning body in which you plan to race. You should find a class that best fits your wallet. Showroom stock might be an inexpensive class to prep for, but it only allows newer cars. This could cost you in excess of $10,000 - so much for being budget.
The classes we have selected are H4 for NASA's Honda Challenge and Improved Touring for the SCCA. The same car can be run in both series with little to no changes to the car. Additionally these classes don't allow for too many modifications so you don't have to worry about Richie Rich coming out and kicking your ass with his crate Spoon motor. The focus is on driving skill, not money.
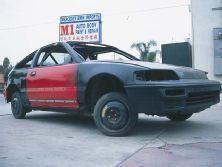
With all that determined, the next step is to choose a car. We like the '88-'91 CRX; it's inexpensive, one of the more competitive cars on the track and easy to find. The only thing left was to track one down. We learned of an '89 CRX Si for sale not too far from us in Garden Grove, Calif., and jumped at the opportunity. Turns out it belonged to Phu Vu, the proprietor of Epic Sport, a neighborhood skate and bike shop. After heated negotiations at Vu's shop, we walked away $500 poorer and packing a stripped out CRX.
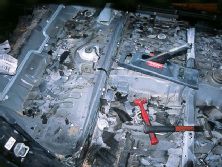
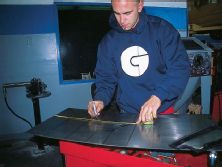
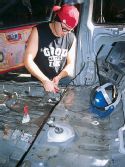
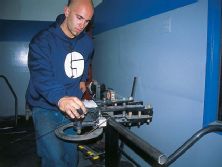
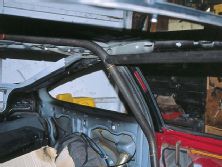
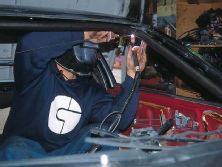
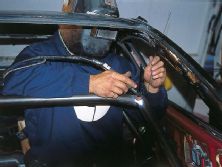
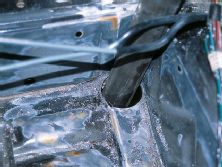
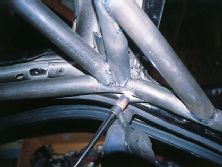
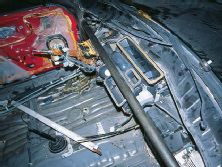
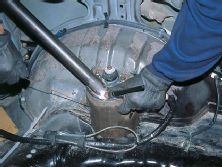
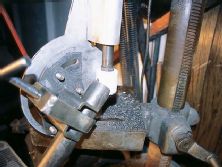
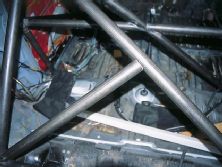
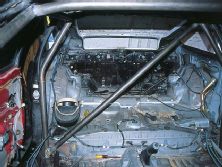
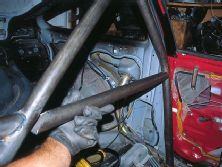
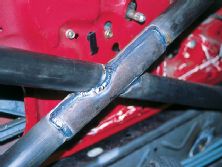
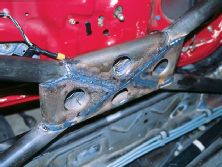
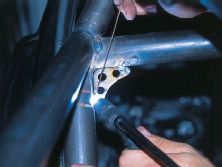
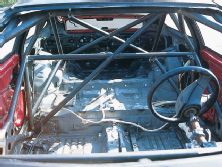
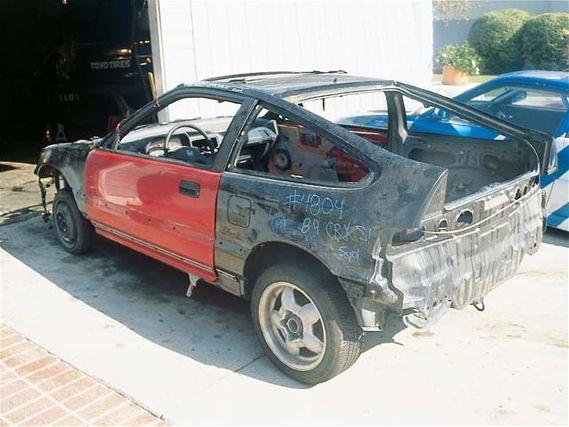
The car was taken to Big Brother Racing's headquarters where the madness began. The rest of the interior was removed. The tar floor coating was removed using an old Jedi trick called dry ice. Then work on the roll cage began in earnest. The cage needs to be made out of 1.5-inch-diameter x .095 inch wall thickness seamless tubing (drawn over mandrel or DOM) or chrome moly. We chose chrome moly because of its light weight and greater strength. Eighty feet is initially obtained. For the base plates you'll need 1/8 inch thick chrome moly sheet.