Time Attack is suddenly hotter than Lindsay's firecrotch as of late and more and more of you have aimed your eyes on that super lap prize. For those of you with visions of unlimited glory, a big portion of your Time Attack project car build will center upon the construction of a proper rollcage.
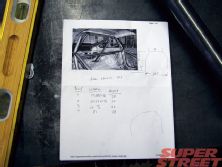
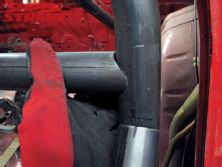
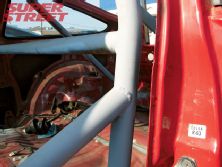
A rollcage is a bit of a misnomer as the assembled bars do more than just protect your melon in the event of a rollover. A properly designed cage can maintain the structural integrity of the cabin in the event of an impact (especially so in a side impact if the car has door bars). A well designed cage will also improve handling by increasing chassis rigidity. Make note of the key term here-design.
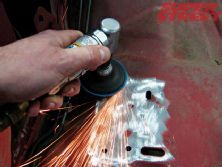
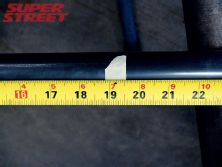
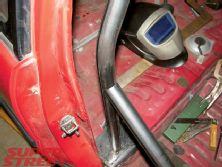
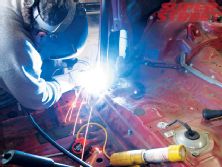
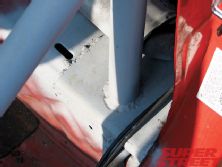
With cages, as well as interior decorating, design is everything. Tubing material, construction, diameter, wall thickness, and placement are all important factors. Jungle gym playground masterpieces may look impressive at a lights out car show but in many cases these funky bars won't pass tech or worse yet may even be more dangerous than a cage-less car. Bolt-on cages are easy to install but aren't as rigid or safe as a weld-in cage and won't pass some tech inspections.
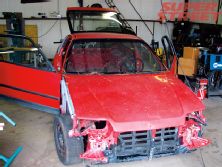
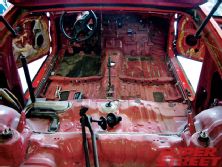
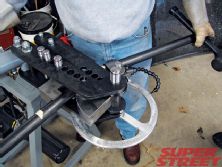
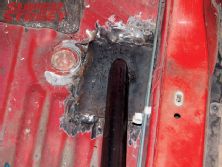
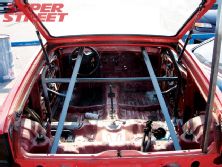
Speaking of tech, you should check the official rules of the sanctioning body you want to run in before starting. If you enlist a fabricator to do the work, make sure he or she (hey, it's possible) has built competition-spec cages in the past. To demonstrate the right way to build a cage the crew from Blindside Motorsports unearthed Nads' forlorn CRX from the field behind their shop. Soon nothing will stop Nads from a Time Attack record, except for the fact that the car still doesn't have a motor, or suspension, or wheels, or an interior. You suck, Nads.