Repainting a vehicle is a pretty major decision; some would say its right up there with getting married. I mean, it’s a permanent, irreversible, un-doable act that you need to make sure you are committed to, because once you take the plunge there is absolutely no turning back. Well technically, you can try to turn back, but the car just wouldn’t be the same anymore. Of course, the alternative is to not get married in the first place and find yourself a less “permanent” solution.
You could expect a job like this to run you about $170 and take just over an hour.
So we decided to spend an afternoon with CarBox Industries’ Norb Olejnik, because while he may not be as sexy as a one-night-stand, his vinyl wrapping services are the perfect alternative to repainting your ride.
 | Acura CSX Type S Carbox Industries Decal 01
Vinyl wrapped vehicles are no longer reserved solely for businesses or professional race teams; they are growing in popularity and have become accessible to just about anyone. This is for good reason, since you can change the look and style of your ride, without spending as much as an equivalent paint job or worrying about its resale value. Norb was kind enough to let us observe him at work and walk us through the process of roof wrapping this Acura CSX Type S.
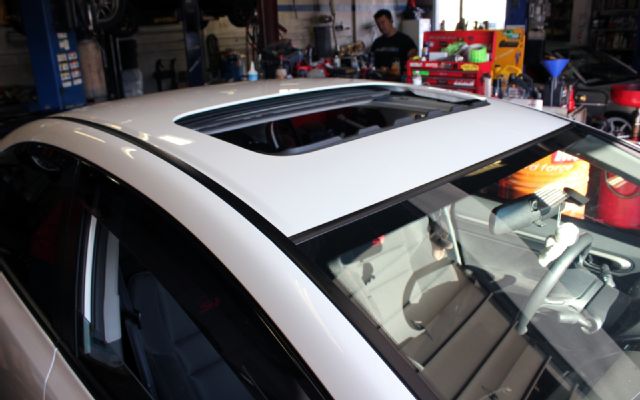 | Acura CSX Type S Stock Roof 02
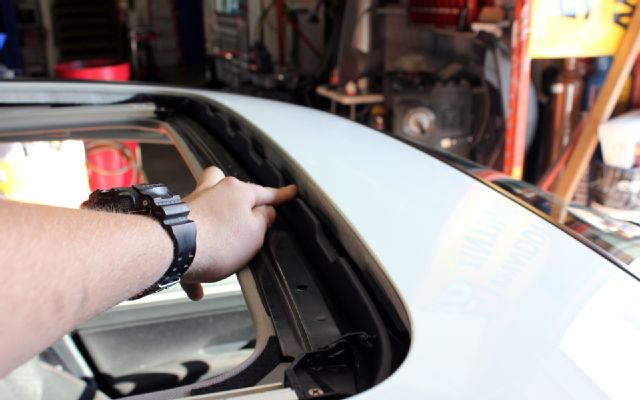
Just like with any paint job, the key to a beautiful finish is to ensure that you have spent sufficient time preparing the surface properly. So the first thing that Norb did was uninstall anything from the roof surface that can be removed. This included moldings, trim pieces, wind-deflectors, or anything else that comes close to getting in the way.
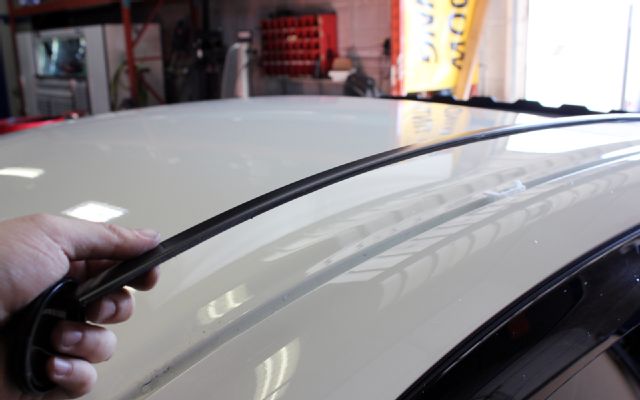 | Acura CSX Type S Roof Cleaning Prep Under Trim 03
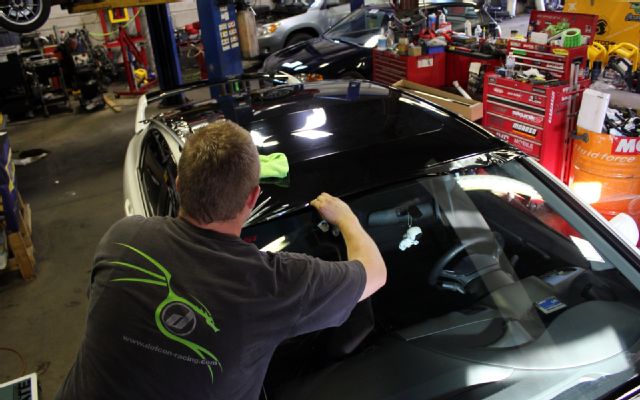
The next step was to clean all surfaces thoroughly. This doesn’t simply mean hosing down the roof; you need to clean all areas under the trim pieces, inside the sunroof crevices, as well as making sure that you wash your hands with soap and water.
 | Acura CSX Type S Carbox Industries Remove Polish 04
We were always taught to never use dish soap on a vehicles finish since it would strip any polish or wax right off the paint – something that you would never usually want to do. Except in this situation, it is exactly what we wanted to do. Because we are applying an adhesive vinyl, we don’t want anything that could affect its ability to stick to the paints finish. By using dish soap, we ensure that there is no wax or polish residue to get in our way.
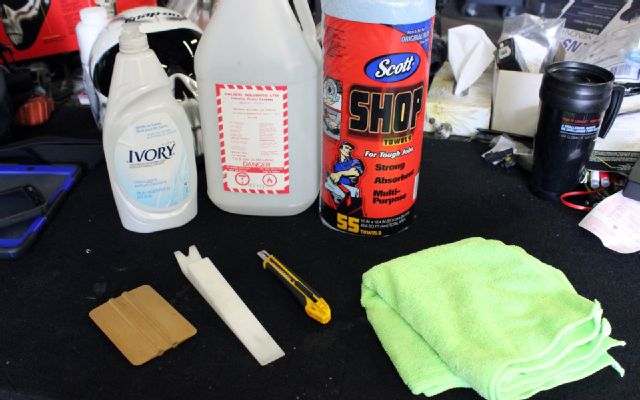 | Vinyl Wrap Surface Cleaning Agents 05
Once everything was thoroughly washed, Norb went the extra step and pulled out a clay-bar. The purpose of using a clay-bar is to remove any contaminants that have become embedded into the paint’s finish. Usually this is not visible to the naked eye, however you can sometimes feel the roughness if you were to run your hand across the surface of the car. By removing these contaminants, we ensure that we have as smooth of a surface as possible to apply the vinyl. After a full clay-bar treatment is completed, Norb does a quick wipe-down with some rubbing alcohol followed by once more washing his hands.
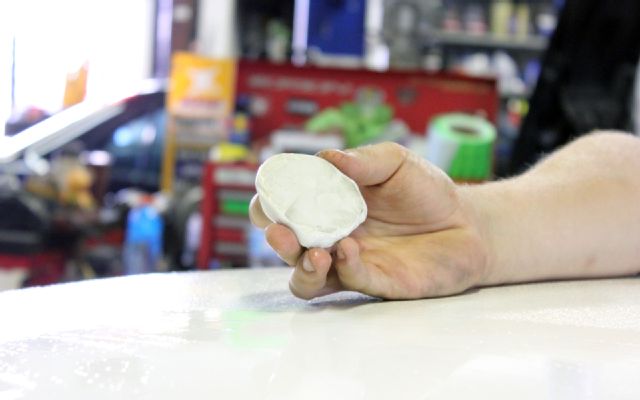 | Carbox Industries Clay Bar Prep 06
 | Carbox Industries Clay Bar Prep 07
When cutting the vinyl, you want to make sure that you have excess material overlapping the target area. This is because you need to handle the vinyl, maneuvering, manipulating, and stretching it into place. The last thing you want to be doing is touching the vinyl in an area that will affect its ability to adhere to the paint. By having an excess amount on all four corners, you essentially give yourself some handles to hold it by.
 | Acura CSX Type S Carbox Industries Roof Vinyl Application 08
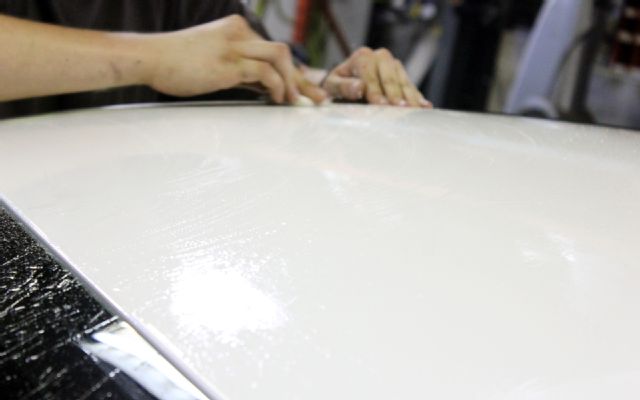
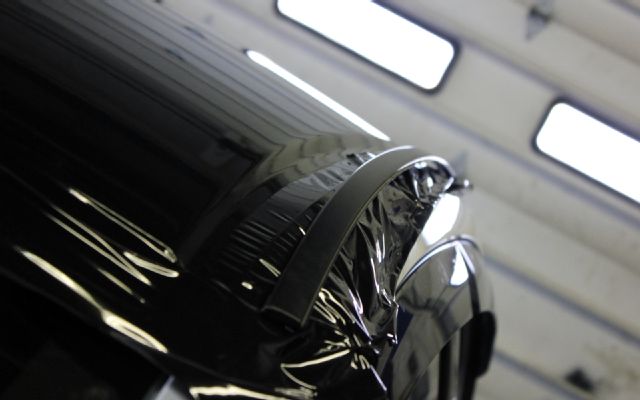
At this point, you are ready to remove the vinyl backing and apply it to the vehicle’s roof. It is important that this is completed away from direct sunlight (preferably indoors), and you would also want to make sure that you have an assistant.
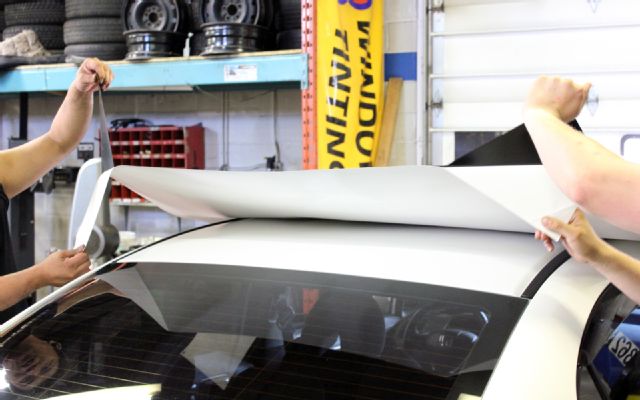 | Acura CSX Type S Carbox Industries Placing Roof Vinyl 09
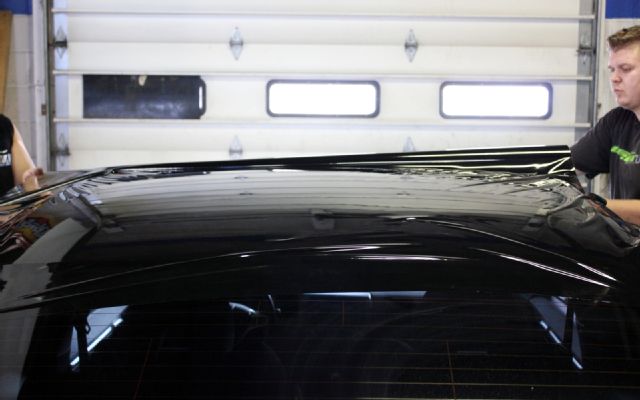 | Acura CSX Type S Carbox Industries Roof Vinyl Applied 10
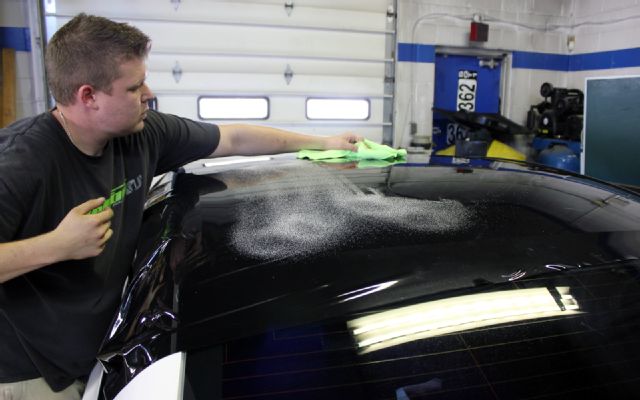
Once the vinyl is applied, you need to wash the vinyl surface to remove any fingerprints so that you can look for any imperfections. You should be in a well-lit area so that you could spot any bubbles, creases, or bumps. Ideally, you want the vinyl to be just as smooth as the painted surface underneath.
 | Acura CSX Type S Carbox Industries Vinyl Cuts 12
 | Acura CSX Type S Carbox Industries Vinyl Trim 13
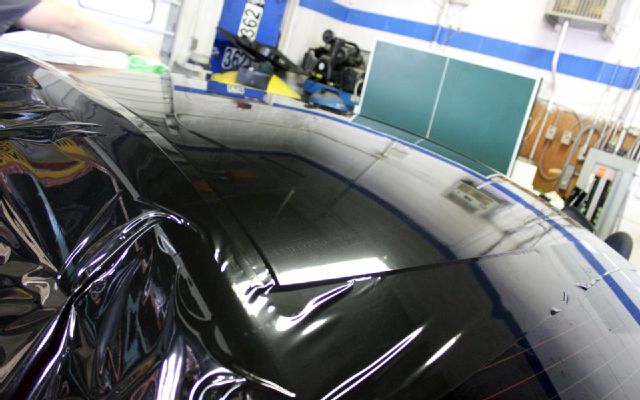
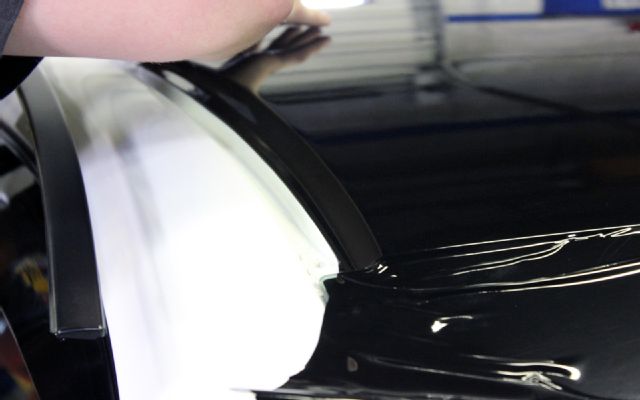
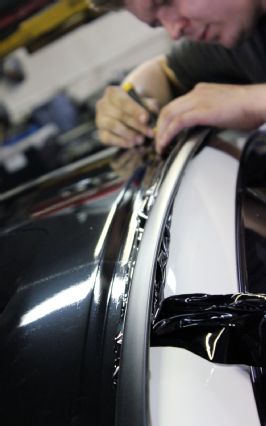
Once satisfied with how the vinyl is applied, it’s time to start making your cuts. In areas where you need to reinstall trim or moldings, you want to leave approximately an inch of extra vinyl, which will stay hidden underneath the trim pieces. Of course this varies widely depending on the car, however, the goal here is to not have any visible seams. In areas where there are rubber gaskets instead of removable trim, you would want to leave 1-2mm of extra vinyl and then carefully tuck it underneath the gasket. This is where you need to have a steady hand, and where Norb’s surgical precision makes the job look easy.
 | Acura CSX Type S Carbox Industries Vinyl Stretched In Seams 14
 | Acura CSX Type S Carbox Industries Extra Vinyl For Seams 15
 | Acura CSX Type S Carbox Industries Smoothing Vinyl 16
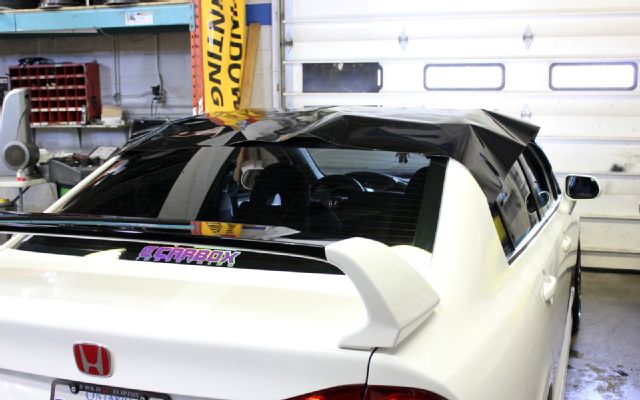
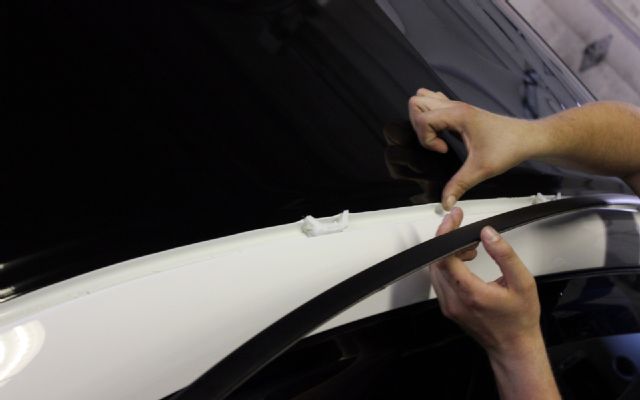
Once everything is cut to spec, it’s time to reinstall any pieces that you’ve removed, take a step back, and enjoy your newly wrapped roof!
 | Acura CSX Type S Carbox Industries Vinyl Wrap Finishing Touches 17
 | Acura CSX Type S Carbox Industries Vinyl Wrap Finishing Touches 18
For a professional like Norb, you could expect a job like this to run you about $170 and take just over an hour – which is definitely less time and money than repainting. However, if you wanted to do something like this yourself (especially for the first time), you would want to make sure and give yourself a full afternoon to complete it. Not to mention that if you ever wanted to go back to your original color, you simply remove the trim pieces, peel the vinyl off, and give your roof a good polish and wax, and you’re back to square one!
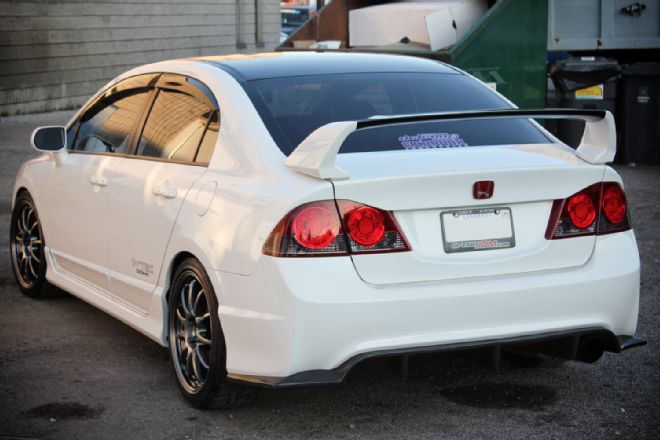
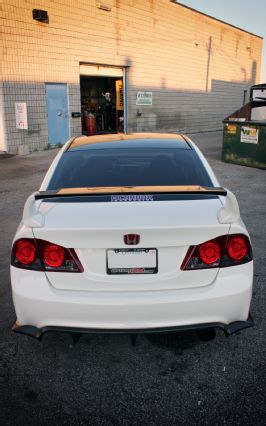 | Acura CSX Type S Carbox Industries Vinyl Wrap Rear
To check out some of the other wrapping jobs done by Norb and the boys at CarBox, including full vehicle wraps, be sure to check out their Facebook page: facebook.com/CarboxIndustries
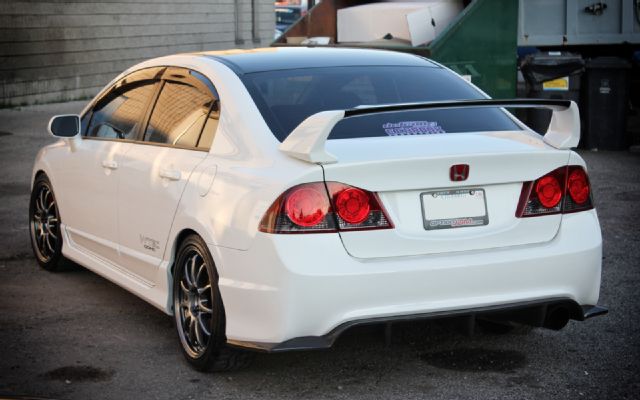 | Acura CSX Type S Carbox Industries Roof Vinyl Wrap