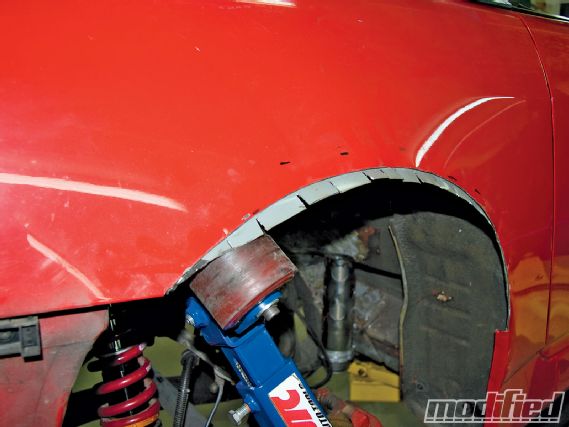
There are plenty of cars fitted with rear overfenders and widebody kits that look the part, but on closer inspection they're primarily serving cosmetic purposes. To achieve the extra wheel/tire clearance that an overfender affords, it's necessary to cut the outer and inner quarter panels to allow for adequate compression travel.
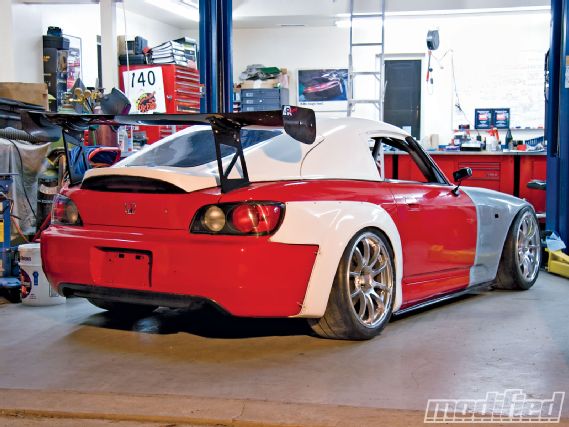 |
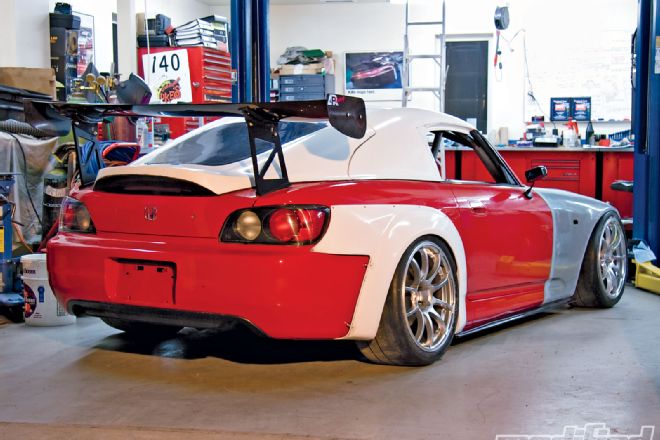
Project Honda S2000 - Going Wide The Right Way
|
Project Honda S2000 - Going Wide The Right Way
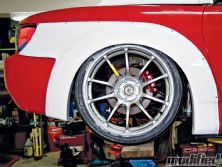
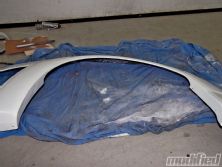
To fit the Advan RZ 18x10 +35 with the Kumho 710 285/30R18, our S2K needed more room in the rear than a simple quarter panel roll/flare would allow for. Consequently, we contacted the helpful folks at A&J Racing and ordered a set of Spoon rear overfenders. There are several other overfenders available on the market, but we chose Spoon because it shields the tire from the bottom of the rocker around and down to the bottom of the rear bumper. This helps to minimize aero drag and offers a clean look. When ordering the Spoon rear overfender, be sure to specify whether you need the stock AP1 rear bumper or Spoon rear bumper version.

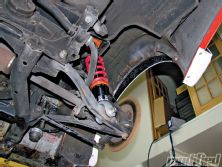
The first step in the installation is to determine how much of the quarter panel needs to be removed to provide full compression travel; on our S2K, this worked out to 2 inches. We marked several 2-inch marks across the top and then used a piece of welding filler rod to shape the desired arc and marked it out. Using a 3-inch cut-off saw, we made the cut in just the outer quarter panel. Next, we cut the inner panel, leaving a 1.5-inch flange to flare out to meet the outer quarter and help make welding easier. (It's much easier to weld an edge to a flange, as opposed to an edge to an edge.) By notching the inner fender flange and using the Eastwood fender roller, it was possible for us to flare the inner quarter to meet up perfectly with the outer quarter. Before proceeding any further, we mounted the wheel/tire and fully compressed the suspension to ensure there was adequate clearance all around. We lucked out, and no alterations were required.
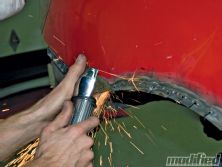
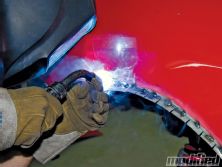
It's now possible to clean the surfaces and weld them together. The excess flange can be cut down with a 3-inch cut-off saw, and then use an angle grinder to remove excess weld and achieve a nice flush finish with the outer quarter panel. Finally, a half round file was used to remove any high spots and get a smooth finish and edge on the joint between the inner and outer quarter panel. With the work on the quarter panels complete, it was time to mount the rear bumper cover and continue cutting. With the rear bumper cover marked, we used the 3-inch cut-off saw (again), a file and sandpaper to get a beveled edge. This deletes the rear bumper mounting tab, but the bumper is now short enough that the OEM three-clip mount provides plenty of support along with the lower screw-in mounting point.
 |
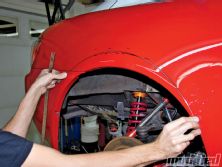
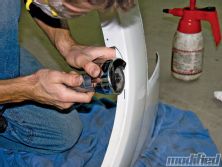
Using a fender roller, we were able to form the inner quarter to meet the outer.
|
Using a fender roller, we were able to form the inner quarter to meet the outer.
The Spoon overfenders come with a large flange for less aggressive fitments; for our setup, however, this flange needed to be reduced. Using a compass to get an even line to follow, we used the 3-inch cut-off saw and removed the excess material from the flange. Use 150-grit sandpaper to get a beveled/smooth edge after cutting. We were then ready to mount the overfender.

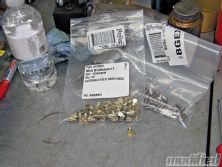
With the overfender in position, we marked the mounting holes and drilled them with an M-size drill to correspond with the 5mm riv-nuts. Next, we installed the riv-nuts with a Huck Riv-Nut setter and bolted the overfender in place with some 16mm M5*0.8 stainless button head bolts. These fasteners have a low profile and allow for easy removal/replacement of the rear overfender should things go wrong on track. Fortunately, the mold Spoon uses to make these fenders offers a great finish and no filler is required to get a flush fit to the quarter panel-impressive stuff.
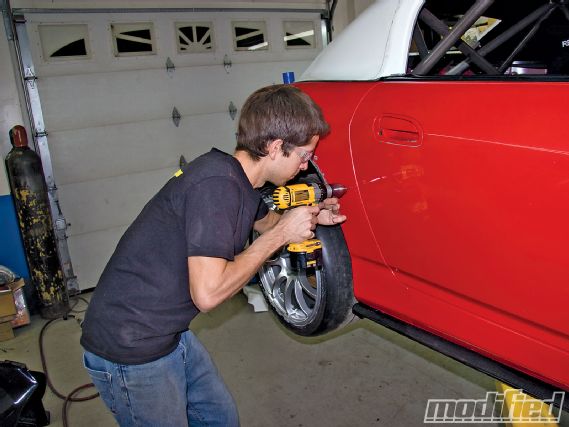 |
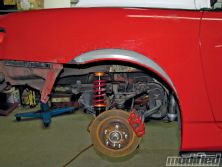
Installation of the 5mm riv nuts requires some drilling and fitting of the threaded ends, which can seem like a tedious job, but it allows for easy removal of the overfender.
|
Installation of the 5mm riv nuts requires some drilling and fitting of the threaded ends, which can seem like a tedious job, but it allows for easy removal of the overfender.

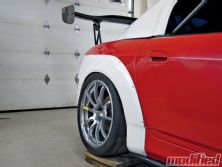
We finished off the install with some aluminum stand-offs that maintain a gap at the rear of the fender extension, allowing for the high pressure in the wheelwell to be extracted, which helps improve downforce.
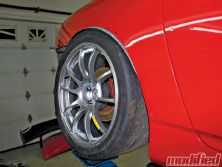
The final step was to modify the Downforce CF side sill to work with the Spoon overfender. With some careful marking and cutting, it's possible to get a tight fit of the side sill to the overfender. With everything in place, the final product fits like a charm. The Spoon overfenders give the added clearance necessary to run a 285/30R18 on a 10-inch +35 rim with no rubbing or interference (static camber set to -3).