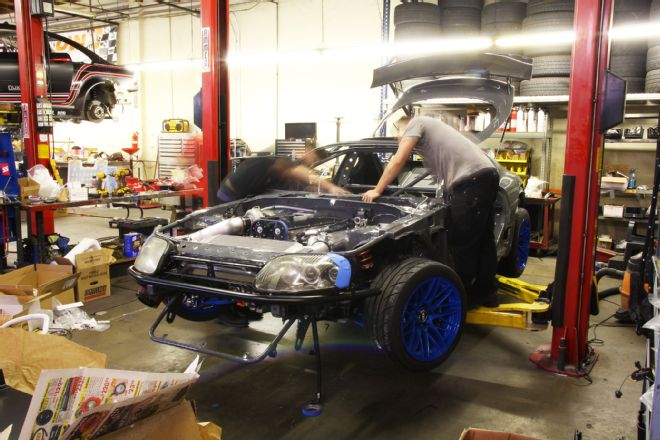
Team RAD Industries is getting close, now over the hump and hurtling toward the finish line in building Dan Burkett’s Formula D Pro 2 Toyota Supra Mark IV. The car is back from paint, which triggered the tedious process of piecing it back together before tuning and testing can be done and graphics applied.
Formula D Pro 2 Supra Build — Part 1
It’s a little bittersweet for us, because while we all can see the light at the end of the tunnel and are super stoked for Dan to begin his competition season, it also means our time with him is almost done. We had a lot fun going to the shop to document this collective effort — to see this team create its destiny — and when it’s all over we can’t deny it will be a little sad.
Formula D Pro 2 Supra Build - Part 2
Before we get all weepy, though, we have another couple chapters’ worth of story to unspool. We head back over to Kings Auto Body to watch them paint the Supra, and then Dan walks us through some of the finer points of putting his machine back together.
Formula D Pro 2 Supra Build - Part 3
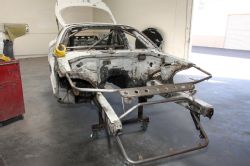

We finished Chapter 3 by dropping the car off at Kings Auto Body for a color refresh. Before the handover, Burkett and crew removed anything that wasn’t already welded to the chassis and then proceeded to chip away any leftover factory insulation, plus clean up the welds with a wire wheel and Scotch Brite pads. Kings also gave the Mk IV a once over using wax and grease remover.
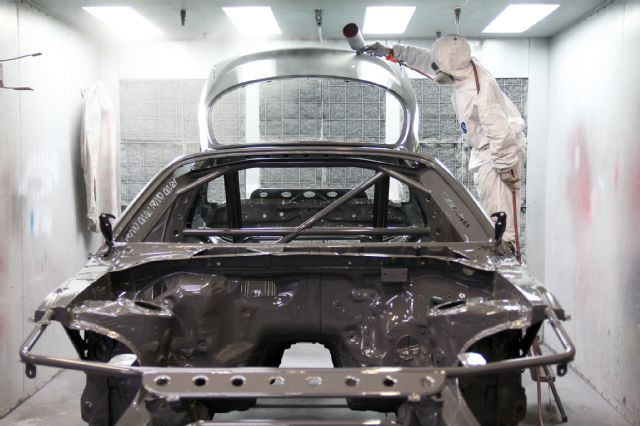 | Spray Hatch
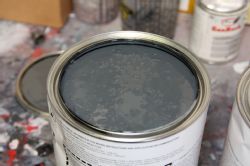
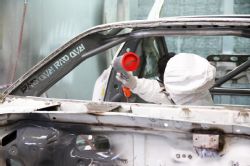
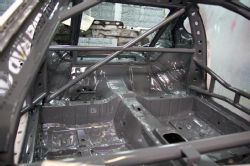
The chassis received a few coats of a darkish gray Burkett decided on, which should serve as a good contrast for the blue wheels and bright livery on the way. In the painting booth, the color is applied via gravity-fed high volume low pressure (HVLP) spray gun, with the interior getting worked on first before paint is applied to the exterior surfaces and other parts of the shell. The doors, hood and flared over-fenders are sprayed separately.
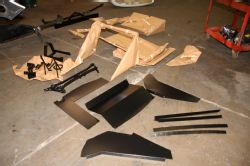
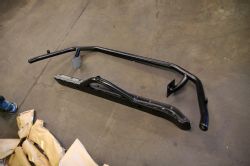

A bunch of other metal parts from the Supra, some fabricated, some stock — like the ducting for the intercooler and radiator, front bash bar, rear bumper, fuel fill tray and pipe, etc. — received a black powder coat finish instead of paint. Embee Performance in Santa Ana, Calif., expertly handled that job.
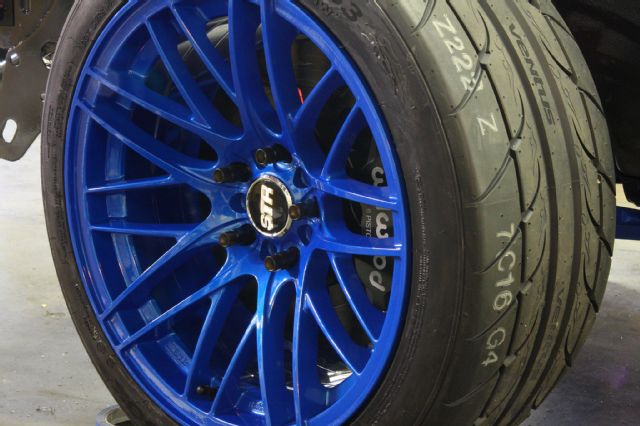 | Hankook Ventus R S3 STR Wheels
And since we’re on the topic of color palette, now seems a fitting time to introduce the running gear Dan will rock on his Toyota drifter. STR Racing, wheel sponsor for the likes of Forrest Wang, Kenny Moen and Odi Bakchis, has signed on as the team’s rim provider, Burkett opting for STR 511s in a custom blue. Those will be shod in Hankook Ventus R-S3 rubber, one of the most popular tire lines for Formula D pros.
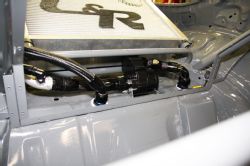
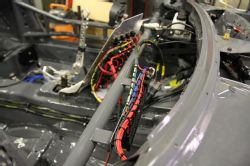
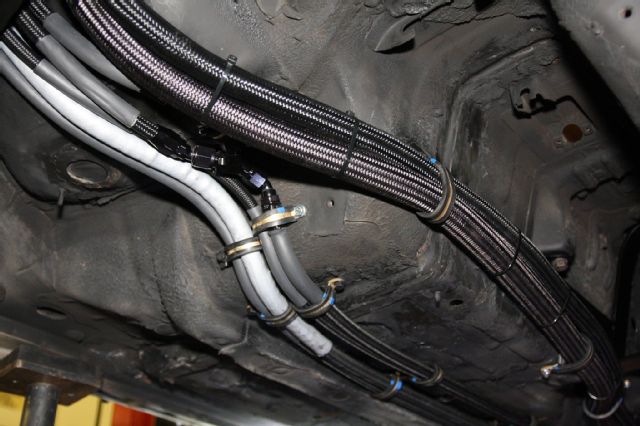 | Lines
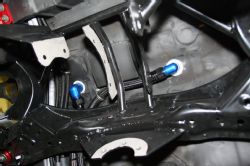
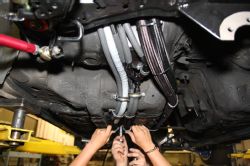
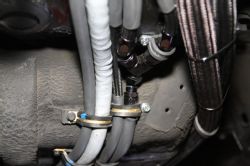
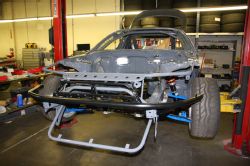
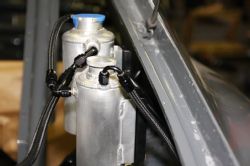
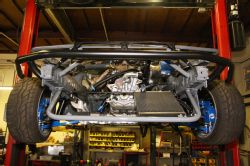
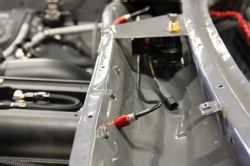
With the Supra back at RAD Industries, the team began running hoses under the car from the components in the trunk to the engine compartment. These lines consist of a -20 from the water pump to the motor, a -16 from the motor to the radiator, a -8 for fuel to the pressure regulator (FPR), a -6 fuel return, and finally two -6 lines for the power steering fluid (the -6 hose to the rack is of the high-pressure variety, whereas the one back to the pump is not). All are secured under the car via P clamps.
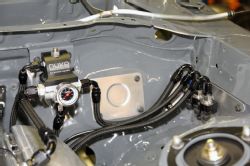
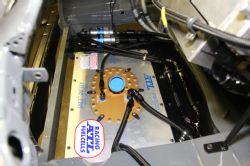
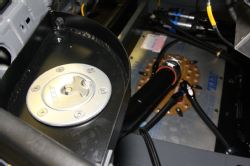
In the trunk, Dan has installed two fuel pumps and the same number of pre-pump fuel filters next to the cell; there’s an additional pre-rail filter under the car. Under the hood, lines run from the FPR to the rail, while near the regulator are a trio of lines and fittings for the fuel pressure sensor, oil pressure sensor and manifold absolute pressure (MAP) sensor.
 | Oil Cooler
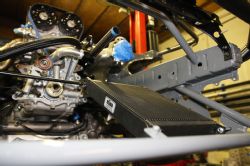
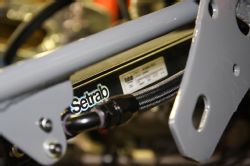
A Setrab oil cooler is mounted to the front of the car, sort of the lower part of the “V” if this was an actual V-mount setup. Burkett cut out flow-through holes in the intercooler ducting in order to feed air to the mini heat exchanger.
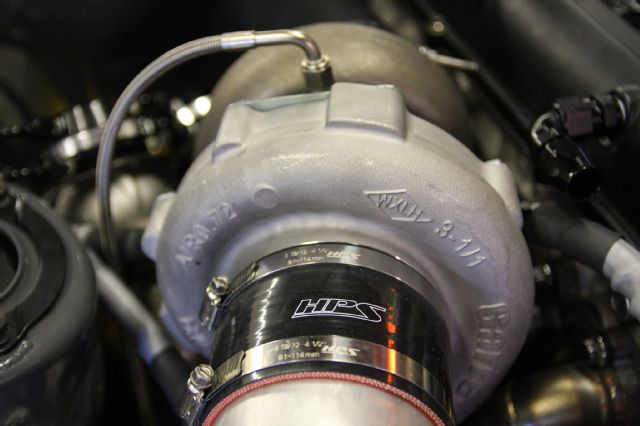 | Coupler
HPS Performance Silicone Hoses is one of the latest partners to sign onto Burkett’s program. The team sourced couplers for the turbo and some of the fuel cell plumbing from HPS.
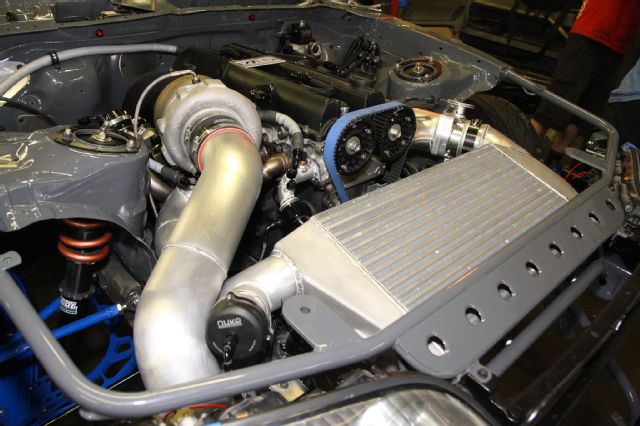 | Intercooler Plumbing
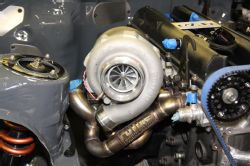
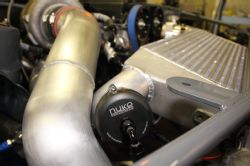

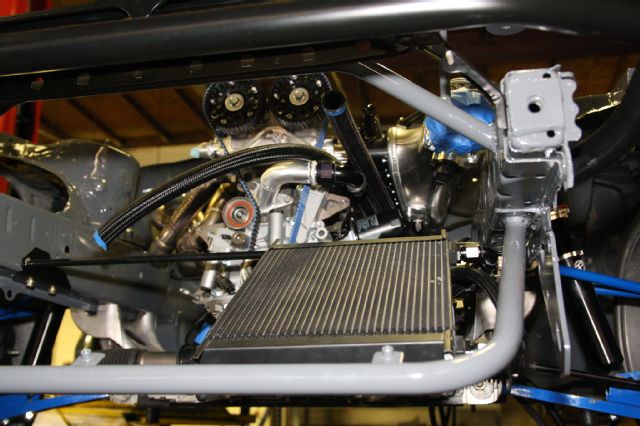
Did we mention the Garrett GTX4088R turbocharger arrived? It did, ready to rock, so the crew went ahead and fastened it to the Future Fab manifold, as well as fabricated charge plumbing and installed the Nuke Performance blow-off valve and Turbosmart wastegates.
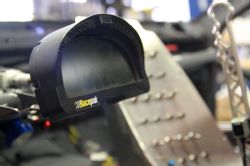
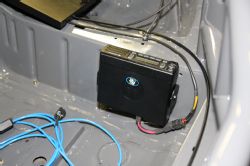
Since last time, team member Ryan Clemens has been busy wiring up the combo switch/fuse panel we showed in the previous chapter. The crew has also mounted the Racepak display over the steering column and a Motorola CM300D two-way sourced from sponsors Racing Radios behind the driver’s seat.
 | Coil Pack Bracket
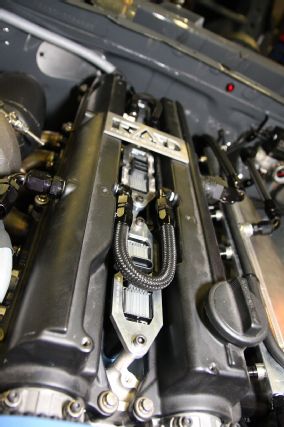
Igniting the mix in the 2JZ will be six GM LQ9 coil packs, and to secure them to the head Driftmotion sent over a set of their LQ9 coil pack brackets.
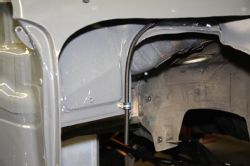
 | Fire Supression Nozzle Trunk
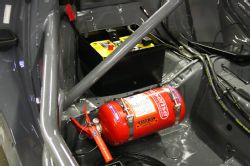
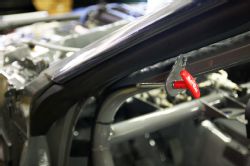
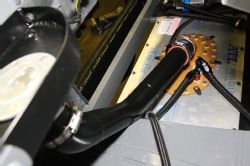
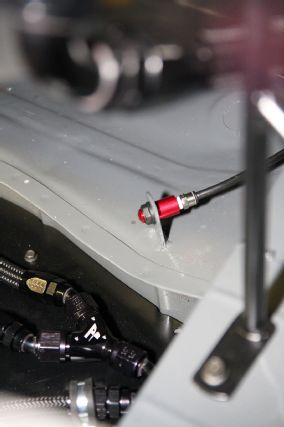
Finally, we close this installment by taking a quick look at the Fire Sense fire suppression system from SPA Technique. The setup is comprised of a tank of suppressant chemical, which Dan mounted behind the passenger seat, and four nozzles with hard lines, one spraying into the trunk, one onto the driver, and two into the engine compartment.
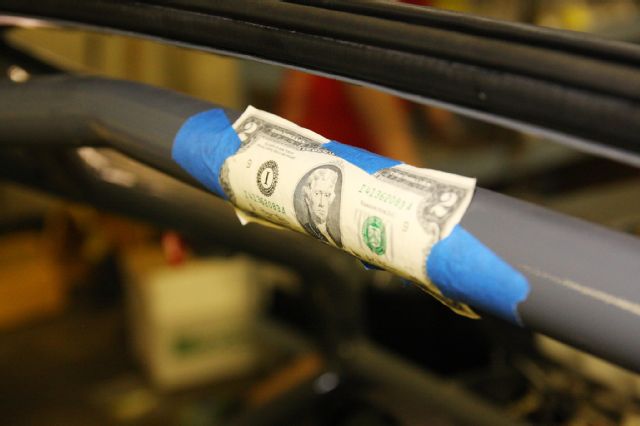 | Good Luck Charm