
I've been lucky enough to watch a few pro drift cars get built over the years. There was the Gary Castillo-developed RS*R Honda S2000 that ran in Formula Drift (FD) way back in 2005. Years later there was the Serious Badass Nissan S13 getting pieced together for the Anaheim round of D1 GP USA's 2009 season. I was also a fly on the wall when Castillo's Design Craft Fabrication assembled the Bridges Racing Lexus SC300 for the 2012 FD championship. And there were others.
I say lucky because all have been fascinating stories of engineering challenge and human drama. Few tales in motorsport are more interesting than a race team thrashing their way towards a critical deadline, whether that's the end of a race or the beginning of a racing season.
 | Rad Dan

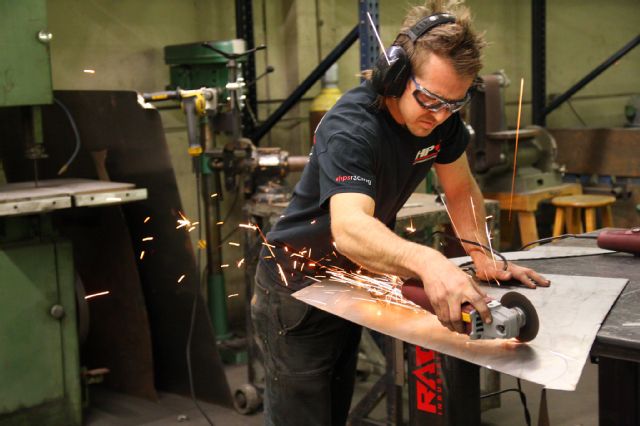
So when the opportunity to document fabricator and driver Dan Burkett building his 1995 Toyota Supra for FD's 2015 Pro 2 Series, I couldn't say no. Burkett and his wife Renee operate RAD Industries, a race shop in Orange County, Calif., and he had a different Mark IV Supra he built featured in the June 2011 issue of Super Street. He's honed his sliding skills most recently behind the wheel of an FC RX-7 in Just Drift's Top Drift pro-am championship, finishing second in points in 2014 with two podium finishes - one an outright victory - under his belt.
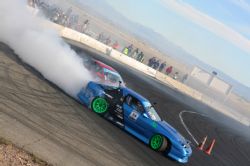
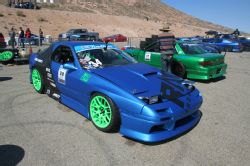
As for why he chose the fourth-gen. Supra - a fairly uncommon platform thus far for pro drift (save for Fredric Aasbo and his famed Japan Auto machine from his early days competing in the US) - his justifications are as personal as they are practical.
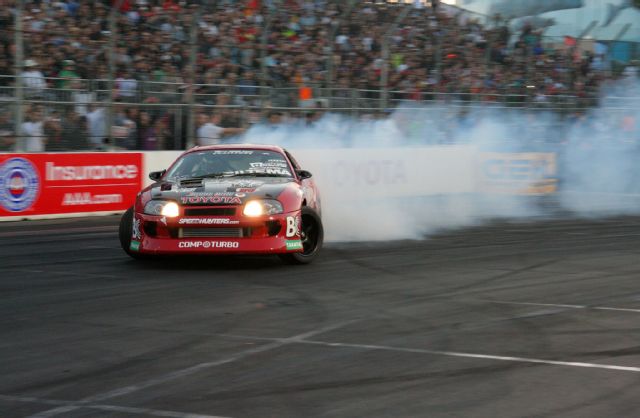 | Toyota Supra Japan Auto Fredric Aasbo Qualifying
"It's 100 percent my favorite car that's feasible to make into a drift car," Burkett explains. "It came with a good motor; with minimal modifications you're at the power level you need [to be competitive in pro drifting]. It has a proven chassis for any form of racing. When you're going sideways, looking for forward bite, it's going to have what you need."
There's also the issue of wheelbase, which Burkett admits is an important reason for going with the Mk IV. Last year when he drove the Mazda, while he was able to perform relatively well, he still found the car to be somewhat twitchy, which he attributes to the 95.7-inch space between the front and rear wheel centers. A longer wheelbase should offer smoother transitions, particularly in the chase position. "I needed something 98 to 106 inches, which just happened to be where the Supra ended up. With a 100.4-inch wheelbase, it was meant to be."
10 Keys to Building a Competitive Drift Car
Building the car for FD's Pro 2 is essentially the same as building it for the series' top tier of competition. Started in 2014, Pro 2 is the primary bridge for pro-am drivers to step up into Formula D's Pro Championship, using the same rules and regulations. Comps feature a Top 16 bracket for head-to-head tandems, and for 2015 will share the spotlight at four FD rounds: Orlando Speed World, Fla., in June; Evergreen Speedway, Wash., in July; Texas Motor Speedway in August; and Irwindale Events Center in October.
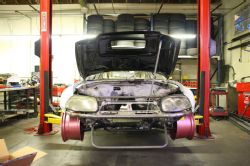
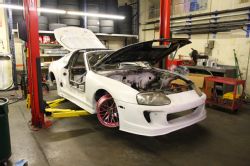
The goal for the moment is to get the Supra ready for paint. That means first getting as much fabrication work the car will need out of the way. There's also a fair amount of test fitting many of the parts and components that will become part of the finished drift machine. Let's dig in.
 | Roll Cage Rear
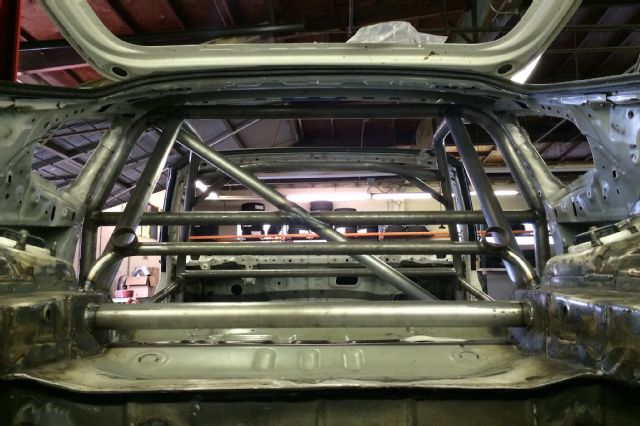
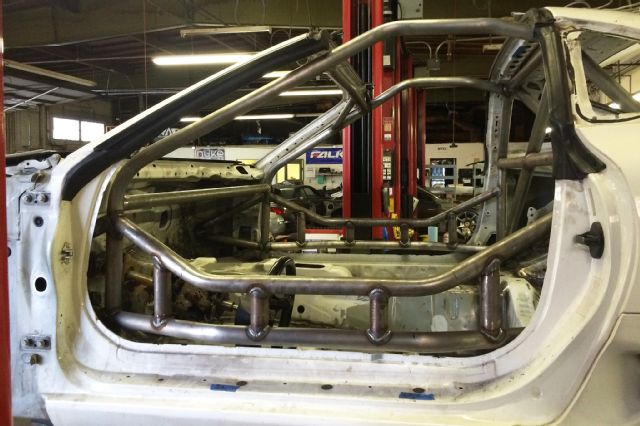
The Supra was already gutted to just a rolling chassis by the time I show up. Much of the roll cage is already installed, or tack welded ahead of being more permanently secured. Like any cage, when finished it has to protect the driver if the car turns over, runs into an obstacle, or is struck by another car, and also withstand the forces from the weight of the car coming down on and sliding along on its cage. A good cage also will serve as one of the vehicle's primary chassis braces - stiffness that will allow the suspension to do its job.
Formula D-spec cages are generally made from seamless mild steel tubing, and will have a main hoop as the central element of the structure. From just behind the driver's seat, the main hoop extends the full width of the cabin, starting from the floor on both sides of the interior and getting as close to the roof as possible. Within the plane of the main hoop, FD mandates a diagonal lateral brace tube and a horizontal shoulder, or "harness," bar.
 | Door Bars 1
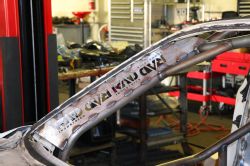
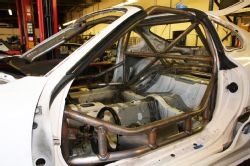
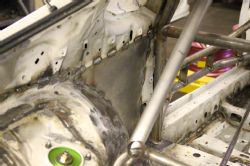
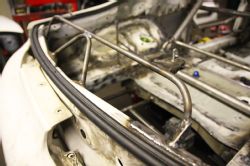
Burkett went with a side hoop layout for the rest of the roll cage, where tubes extend from the top corners of the main hoop on each side forward along the ceiling (adjacent to the side windows) and drop down to the floor just ahead of the doorways following the A pillar. A single horizontal tube across the top of the windshield connecting the side hoops is also a requirement, while rear hoop supports extend from the top of the main hoop back to the rear shock towers.
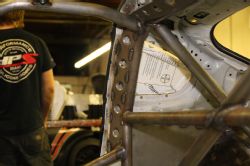
Wherever possible, FD encourages the use of gusseting to distribute the loads, and this cage has all kinds of custom gussets. Finally, all FD competition cars need to have side protection, which at a minimum is two bars extending across each front door opening. The bars can either run horizontally parallel or in the shape of an X; parallel bars require a minimum of two vertical tube sections that need to connect the upper and lower bars.
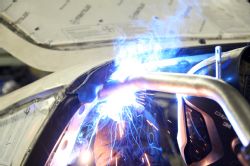
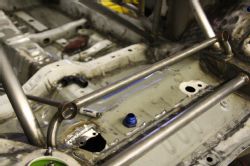
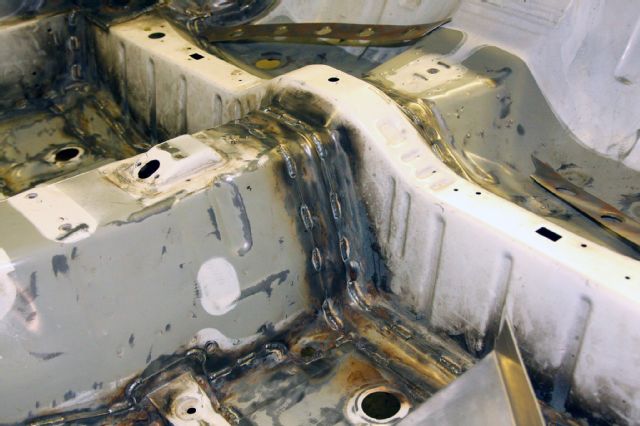 | Stitch Welds
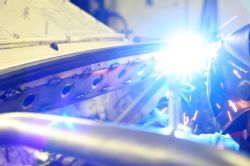
Note the stitch welds throughout the car, which add several bead welds along a seam to reinforce the OEM's spot welds. These should keep the chassis pretty rigid as well. Since he had the welder fired up, Burkett also covered up some holes with thin plate to prevent tire smoke from seeping into the cabin during competition.
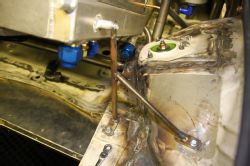
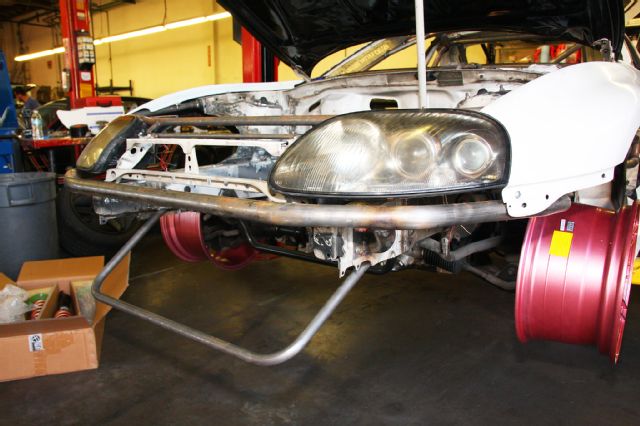 | Bash Bar Front
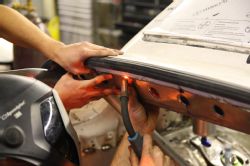
Burkett lopped off a sizable portion of the forward unibody ahead of the wheel wells and welded in a bash bar - a tube that will be tougher than the stamped metal that came on the car. Bash bars are also easier to repair on location, as well as provide mounting solutions for not only coolers and radiators but also body panels and, in this case, headlights.
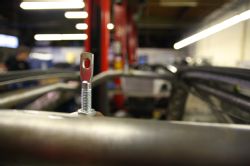
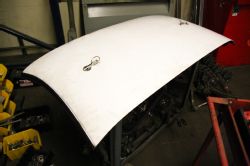
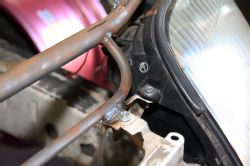
Fabricators - always thinking outside the box. Here, Burkett has welded in tabs to repurpose quick release hood pins for use with the car's targa top and rear hatch.
 | Radiator Ducting
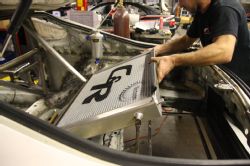
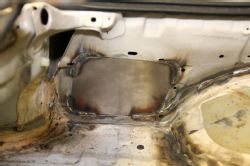
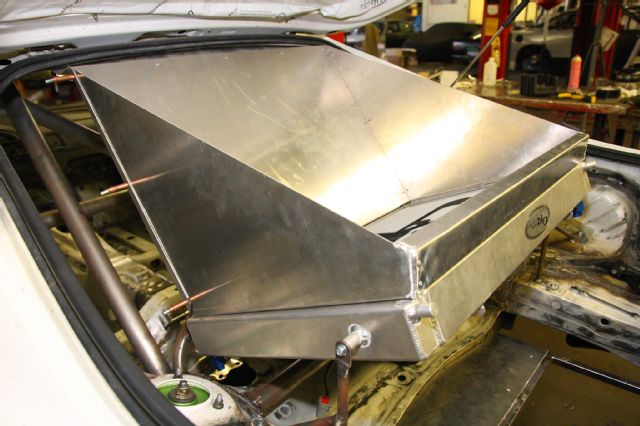
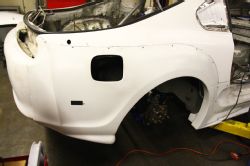
Like several other cars in the Formula D big leagues, Burkett has chosen to run his radiator at the back of the Supra in the trunk. He's hoping the custom setup will improve efficiency, but at the very least he's been able to shift some bulk to the back of the car in an effort to make weight balance as close to 50/50 as possible. Burkett created and welded in upper and lower supports for the C&R Racing rad, which will sit at an angle, with a pull fan sucking in through aluminum ducting that will eventually draw air through a large opening in the rear hatch polycarbonate window.
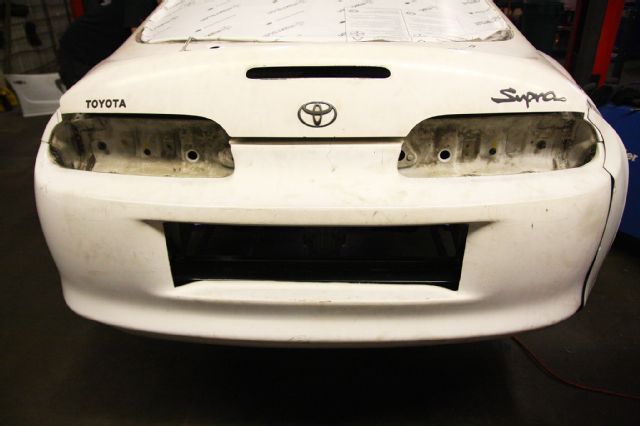 | Bumper Cover Cutout Rear For Air Exiting Radiator
Air will then exit through a hole in the rear bumper.
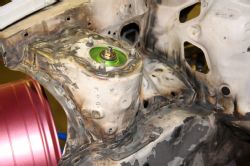
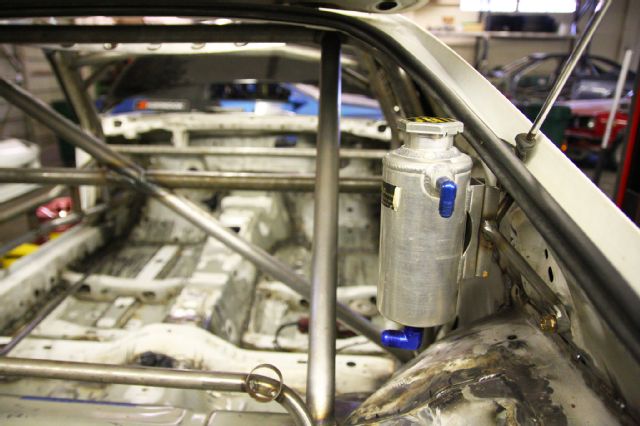 | Radiator Catch Tank
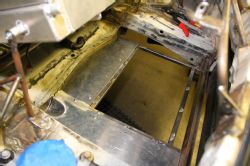
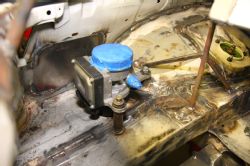
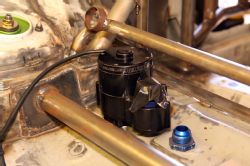
In fact, the cargo space at the back of the Supra will be home to a few items that are normally elsewhere in the car. An electric water pump and one-off overflow catch tank will supplement the new rad location. Burkett also plans to run the power steering fluid pump from the hatch. And he's also cut out a portion of the floor and added bracing for the vehicle's fuel cell.
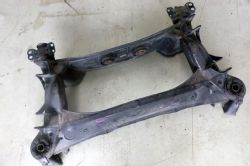
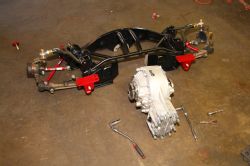
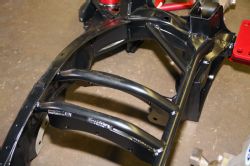
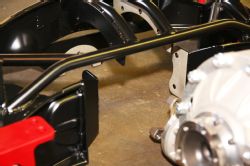
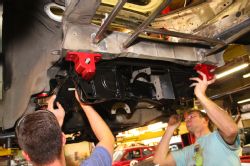
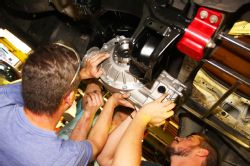
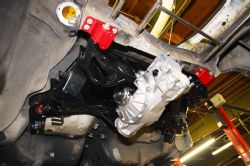
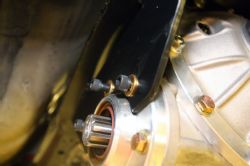
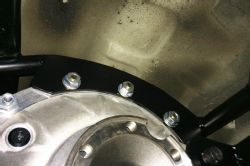
Under the tail end of the Supra, Burkett aims to run a burly Winters Performance quick-change rear, which required some alteration to the sub-frame. Maybe "some" is an understatement - tubes now reinforce, and in some cases completely replace, portions of the stamped rear sub-frame. He also welded in plates to mount the Winters diff, and the whole shebang was test fit.
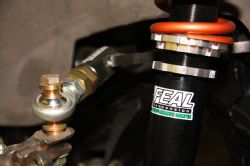
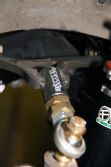
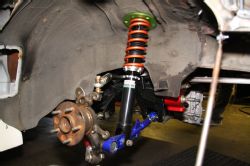
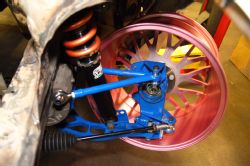
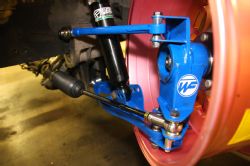
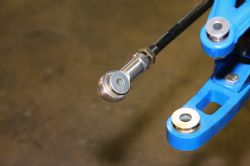
The Feal Suspension coil-overs, Wisefab front lock kit, and Battle Version arms are installed for the moment, again just to see if everything gels together. The Wisefab bits should have the Supra more sideways than a wino on a bender in Napa Valley.
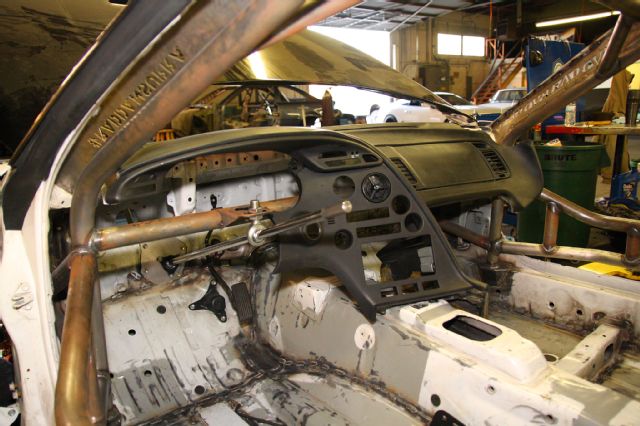 | Dash Modified
Burkett is hoping to use a factory Mk IV Supra dash in his machine because he's a big fan of the way it wraps around the driver, but he already sees it will require a fair amount of hacking (which is breaking his heart).
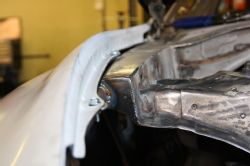
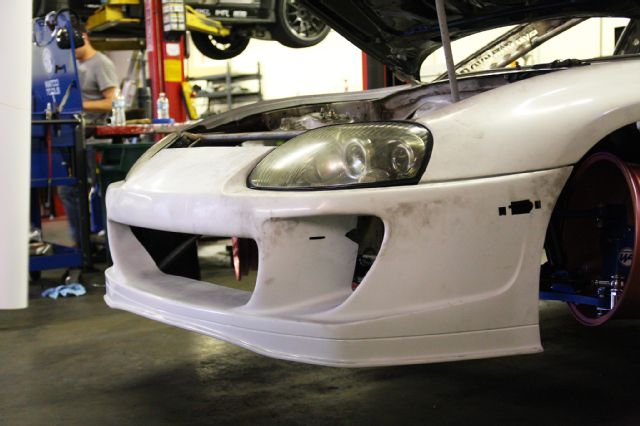 | Shine Auto Bumper Cover Front
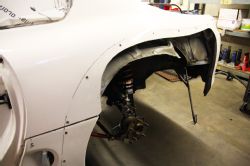
We'll end this first installment with a look at the Shine Auto Project body kit that will adorn the Supra when it's finished. The setup boasts rear fender flares 50mm wider than stock, but for a proper fit Burkett also decided to cut away some of the OEM fender metal underneath just so the tires have clearance.
NEXT TIME: In Part 2, the march to paint continues. Burkett works on the rear firewall and test fits the front sub-frame, steering rack and column, engine, transmission, brakes, and rear GT wing.
PROJECT PARTNERS - none of this would be possible without the generosity of: Team RAD, Aero Tec Laboratories (ATL), APR Performance, Battle Version, Anthony Borrelli at OC Welding, Brian Crower, DeatschWerks, Driftmotion, The Driveshaft Shop, Feal Suspension, Future Fabrication, Megan Racing, MILCO, Nuke Performance, Optima Batteries, PurOl, Race Tech Services (RTS), Sparco, SPA Technique, Treadstone Performance Engineering, Turbo by Garrett, and STR Racing.