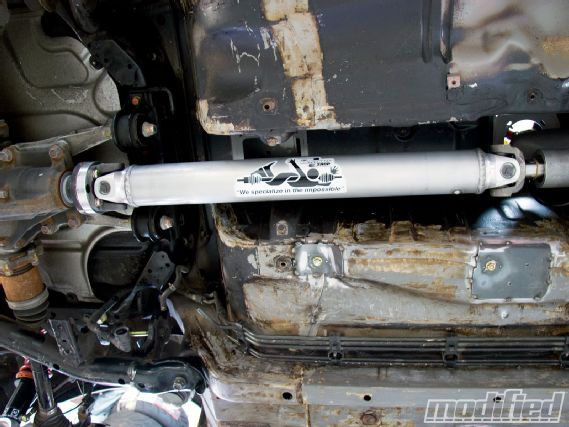
Project S2000 After fitting the Quaife 60G sequential gearbox in the last installment, we were in need of a custom prop shaft to mate the output of the 60G (25 tooth spline Ford Type 9) to the S2000 AP2 rear differential (we swapped out the AP1 for an AP2 rear subframe). Fortunately, The Driveshaft Shop was able to produce a perfect solution consisting of a slip yoke to the gearbox, aluminum shaft and AP2 diff flange. On the scales this prop shaft dropped a substantial 5.2 lbs compared to the OE prop shaft (10.4 lbs versus 15.6 lbs). The aluminum shaft is not only lighter but also allows more torsional twist, limiting shock loading at the diff and gearbox and helping to prolong drivetrain life. The Driveshaft Shop had all of the necessary parts in stock to build our custom prop shaft and had it ready to ship out the next day - impressive, to say the least.
 |
Honda S2000 Project - The Build Continues
|
Honda S2000 Project - The Build Continues
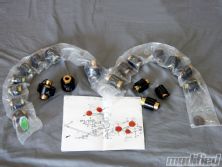
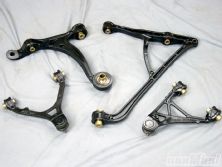
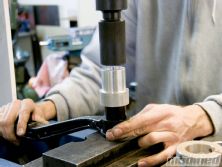
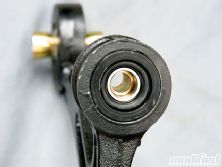
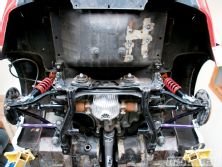
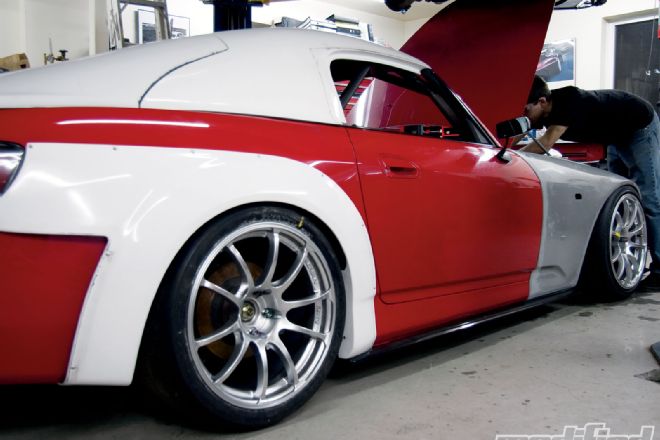
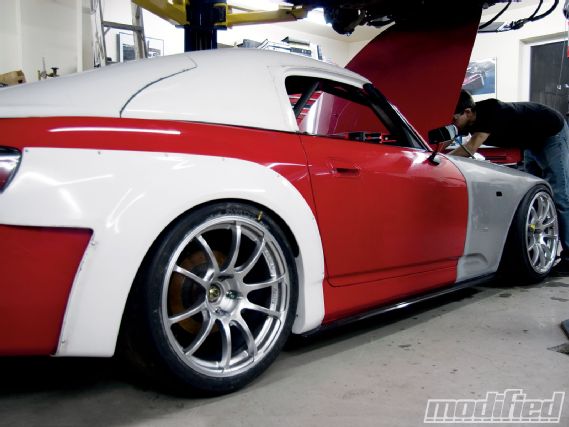
We then fitted ASURA Designs' spherical bearing suspension, a well-designed kit backed by a two-year warranty that comes with anodized aluminum carrier bodies, plated spacers and motorsports-grade, made-in-the-UK spherical bearings. This kit also features a unique design that uses a rubber seal to shield the bearing from dirt and debris, which helps to prolong service intervals. The bearings are available and installed by ASURA Design (you ship your control arms to them) or as a complete bearing set to be installed locally. We found the installation to be a straightforward affair, but keep in mind that access to a hydraulic press and a lathe to make the necessary pressing pieces is a must. Once the bearings are pressed in, reinstalling the arms on the car is a typical procedure (outlined in the factory service manual).
If you're serious about on-track performance, spherical bearings are a must-have upgrade. They provide a level of response and feedback to the driver that simply can't be achieved with compliance (rubber or polyurethane) bushings. By removing almost all compliance, the spherical bearings are able to maintain your desired alignment and suspension geometry. This results in improved stability, predictability and driver confidence - not to mention more fun behind the wheel. It's also much easier to work on the car (making spring or alignment changes, for example) without having to fight the spring stiffness of the rubber bushings or worry about tightening all fasteners at ride height. In our experience, we've been able to run more aggressive toe settings with a spherical bearing suspension (in this case, 0 degrees rear toe) which helps to reduce rolling resistance and tire wear while maintaining stability.
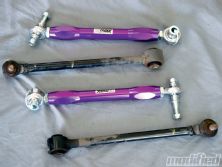
We also fitted a T1R rear anti-bumpsteer kit. The ASURA Design spherical set doesn't include the inboard rear toe arm point, so this is the perfect opportunity to fit an adjustable toe arm. The T1R arm allows for much quicker and more precise toe adjustment than the factory eccentric bolt by using a Lh/Rh thread combination similar to a turnbuckle. This also allows for a wider range of camber and toe settings to be used. The anti-bumpsteer portion of the kit allows for the outboard height of the toe arm to be adjusted using a supplied array of shims.
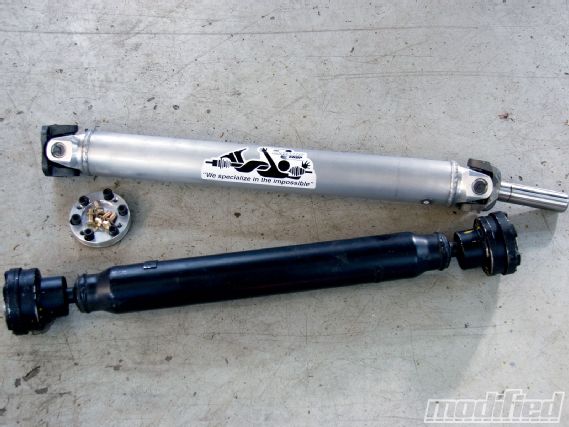 |
The Driveshaft Shop aluminum prop shaft dropped 5.2 lbs and reduced shock loads in the diff and gearbox.
|
The Driveshaft Shop aluminum prop shaft dropped 5.2 lbs and reduced shock loads in the diff and gearbox.
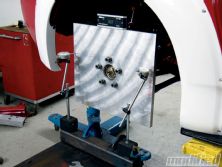
To find the ideal setting, we mounted our custom-built, bumpsteer-measuring jig and cycled the suspension. With camber set to -3.3 and toe set to 0 at our target ride height (13 inches from center of the lower damper mount bolt to the bottom face of the Moton upper spring perch) we were able to reduce toe change to just 0.027 inch (less than 1/32 inch) total variance over 4 inches of suspension travel. We found the best results with one shim in place and mirroring the camber eccentric bolt position with the toe arm eccentric bolt position. As a caution, the shims used to adjust bumpsteer increase the moment (force applied at a distance) on the upright and, consequently, the stress the mounting pin experiences. Be sure to inspect them regularly and replace as necessary.
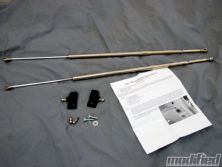
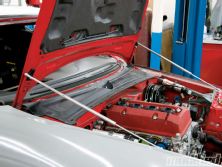
Finally, we installed ScienceofSpeed's stainless steel hood dampers. Our planned hood ducting will pass through where the OE prop rod was located and though it's possible to use a prop stick/broom handle all it takes is a wind gust to lift the hood and drop it on your head (plus, you can never find the prop stick when you need it). The SoS kit is hands down the best S2000 hood damper on the market. The CNC aluminum mounting bracket with stainless steel ball stud secures to an existing hole in the hood as well as to the hinge bolt, ensuring the orientation doesn't change or allow the bolt to back off keeping your fenders safe. The bodies are constructed using stainless steel gas charged dampers and nickel-plated lightweight aluminum extensions. The finished product looks great and all parts are lightweight with a quality feel. Installation took less than 10 minutes with the included instructions, and the 75-degree hood-opening angle allows unrestricted access to all areas of the engine bay.
 |
Honda S2000 Project - The Build Continues
|
Honda S2000 Project - The Build Continues