 | The Wunderdog Gets Tucked for a Clean Look with the Help of Wiring-Master Chase of Chase Bays
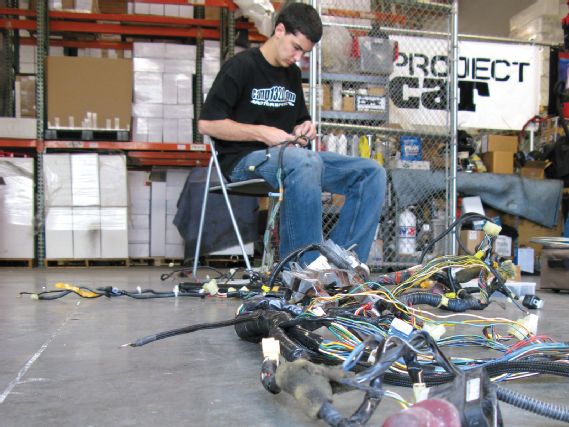
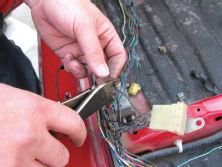
Being that good Ol’ Jonny Wong had Chase Bays mildly “tuck” his bay, we knew exactly who to contact for pointers on our full tuck. After laying out the build to Chase, he couldn’t resist the opportunity to battle one of his own previous masterpieces. The term “Wire Tuck” is loosely thrown around these days; it seems everyone who does them has a different style, plan of attack and parts preparation. Since wiring is wiring (generally speaking), the process we’re about to show you in this article can apply to practically any car. The basic idea is to hide and re-route wiring around the bay to give it a hot rod clean look. Before getting started, be sure to map out what you want to hide, such as the fuse box, engine harness connectors and other accessories. Also plan to do this over multiple days and lose the fear of wires, if you’re patient and pay attention to the color coding in the wires you‘ll come out with clean result. Also, not all cars need the wires to be extended so try doing a mock up with an un-loomed harness before chopping and extending.
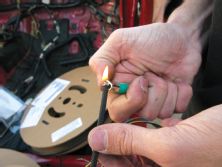
TOOLS NEEDED: Wire Strippers, dikes (diagonal cutters), 18 gauge wire (approx. 20 ft), corrugated plastic loom, 3 rolls of electrical tape, soldering iron, solder, 1/8 & 1/4 heat shrink tubing, clean nylon loom, zip ties (assorted sizes)
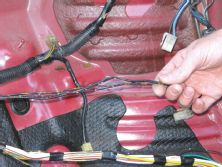
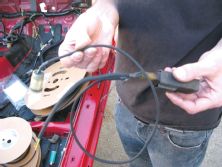
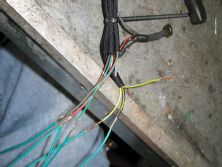
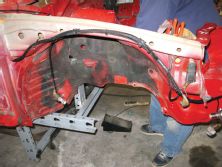
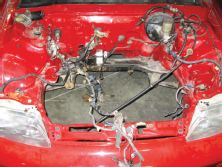
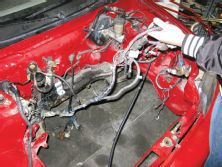
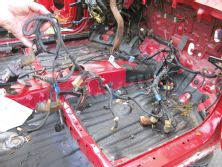
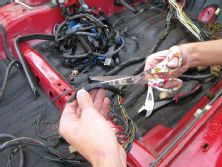
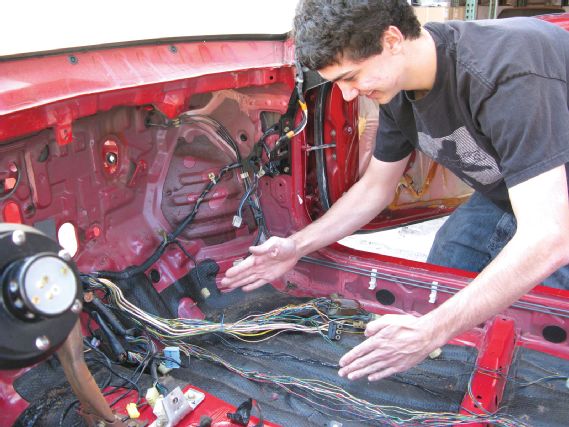
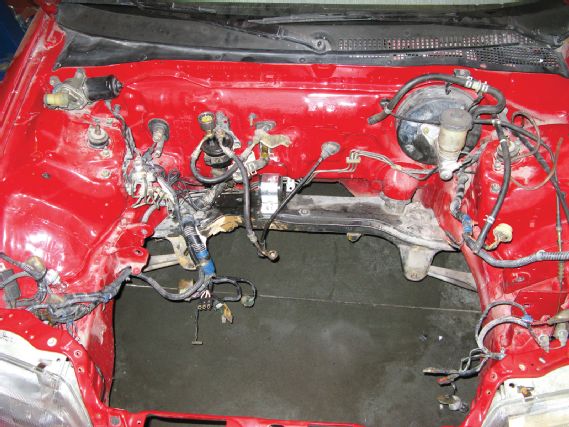 | 01 With the engine removed, start by identifying what portions of the wiring need to get tucked. Our car is being built for show, so we want to tuck and re-route everything for minimal visibility. This will include the wiring for the headlights, the fuse box, the battery and the engine harness connectors.
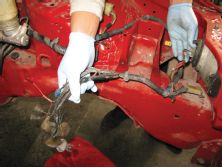
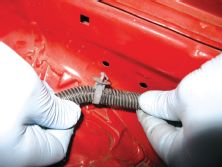
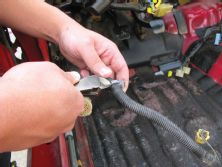

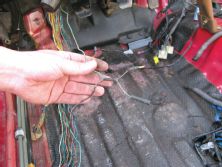
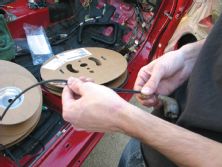
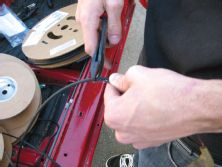
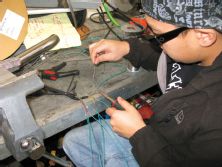
 | 14 After removing all the tape from the passenger side, Chase took a few minutes to re-organize the wires. This photo illustrates Chase measuring how long to extend the wires. Unless you’re a wiring master like Chase, we recommend using a measuring tape instead of your hands. Our extension to run the headlight through the fender well was two feet but you should take your own measurements so your wires are custom tailored to your car.