 | Hiding Your Stopping Components
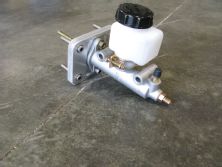
To go with our show theme, the Project Car staff wanted to do something wild with the brake setup. We rolled with the idea of moving the proportioning valve inside the car to get rid of the unsightly lines along the firewall. For starters, we talked to Chase from Chase Bays about his off- the-shelf brake line relocation kit which would help us do this without the need to custom-fabricate new hard-lines. Once again, Chase didn’t want to do just the same old thing he always does, and before we knew it he was pitching his still-in-production brake booster delete kit to us. It wouldn’t be Project Car without taking things over the top—especially when challenged by the superstar of Super Street. So, working closely with Chase, we decided to machine an adapter plate in-house which would allow the use of a single line Wilwood racing master cylinder. This would delete the cumbersome two line factory master cylinder together with the butt-ugly vacuum booster in one swell swoop.
TOOLS NEEDED: Flare tool, 10mm line-wrench, drill bits or Unibit, electric drill, needle-nose pliers, metric sockets and a ratchet.
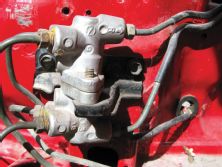
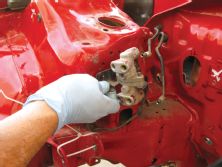
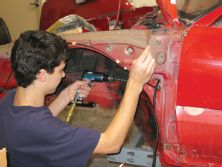
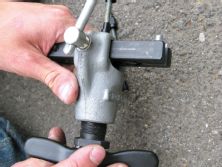
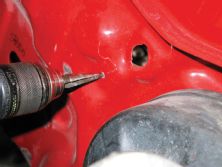
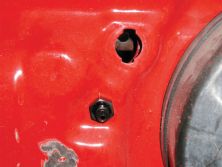
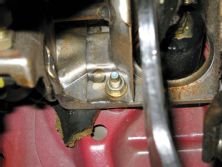
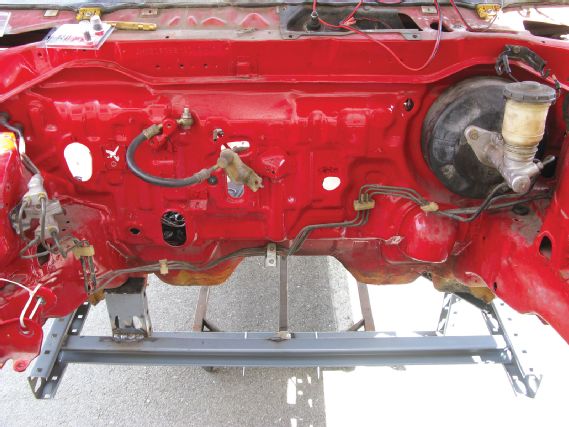 | 01 First off, familiarize yourself with your brake setup. We have the proportioning valve (far left and looks like a mechanical spider), the brake booster (living large and in black), and brake master cylinder (the aluminum piece with a reservoir attached).
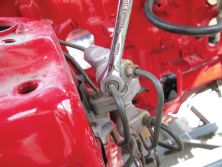
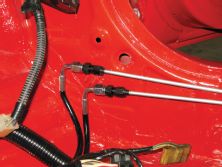
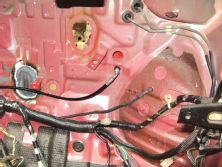
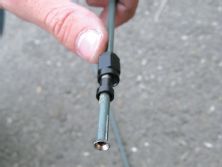
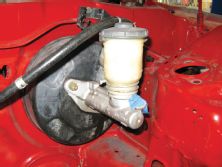
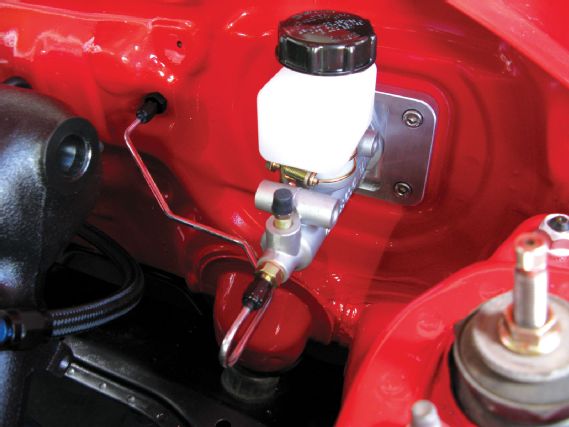
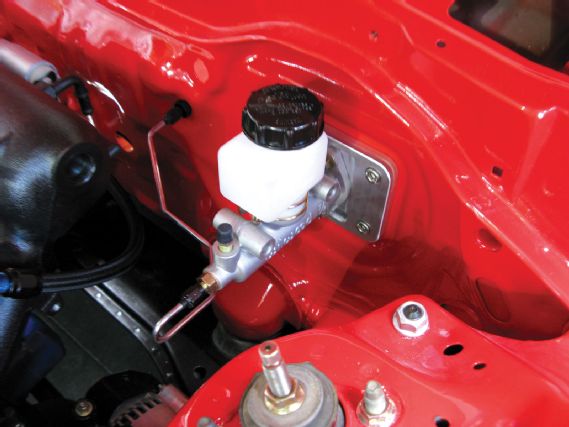 | 21 After mounting the new master cylinder, the final step is to attach the hard-line from the Wilwood master cylinder to the bulkhead on the firewall. Although not pictured, the single line from the new master cylinder is split inside the car to feed the two inlets leading to the proportioning valve. For more information on the availability of a DIY brake tuck kit for your Honda, please contact Chase Bays directly.