 | The Basics of Installing Aftermarket Suspension Bushings
Building an older car is a lot of work and typically filled with plenty of challenges. But in the end, the classic looks of an Ol’ Skool ride and the major props that go with it will set you apart from the crowd. One thing about older cars, and even many newer ones, is that the bushings are almost assuredly shot, as was the case with our little CRX. So for little dough, we purchased an Energy Suspension master bushing kit to freshen everything up. Not only does a new bushing kit transform the handling of the car, but it makes everything underneath look custom. Energy Suspension makes bushing kits for most any car you’d want to build or restore, so the basics of replacing bushings is universal.
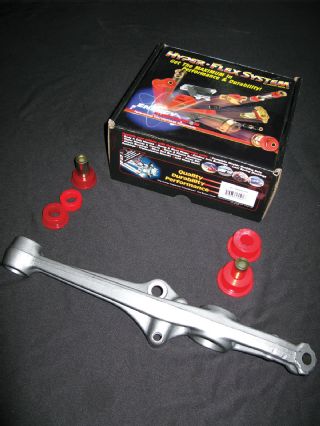 |
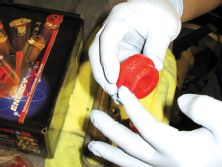
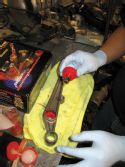
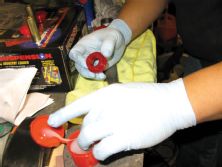
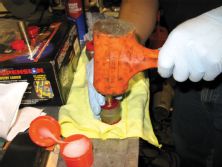
01 Here you see our lower control arm (LCA) after having the old bushings removed. We then blasted and powdercoated the arm to keep it blinging. Along with this beautifully refinished piece you see the Energy Suspension Hyper-Flex bushings we are about to install.
|
01 Here you see our lower control arm (LCA) after having the old bushings removed. We then blasted and powdercoated the arm to keep it blinging. Along with this beautifully refinished piece you see the Energy Suspension Hyper-Flex bushings we are about to install.
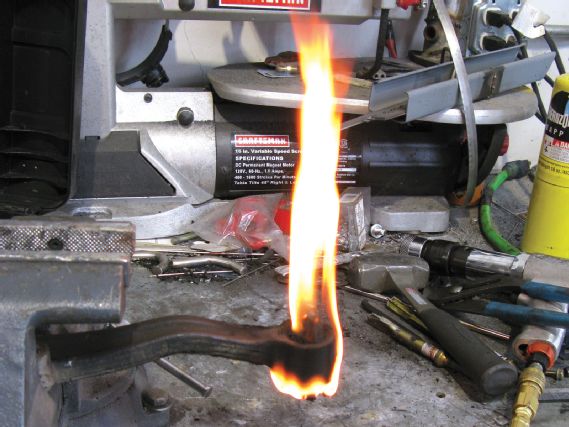
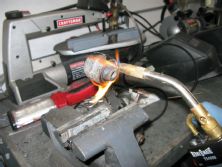
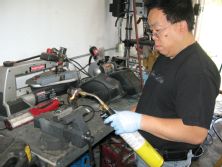
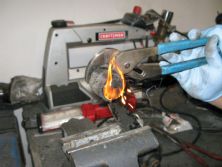
TOOLS NEEDED: Jack, jackstands, metric socket set and wrenches (for removing suspension components), vice and/or bench press, needle-nose pliers, hammer, chisel, torch (optional) and air hammer (optional).
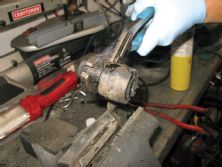
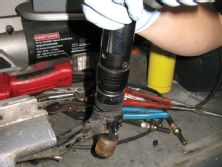
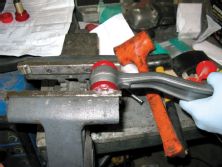
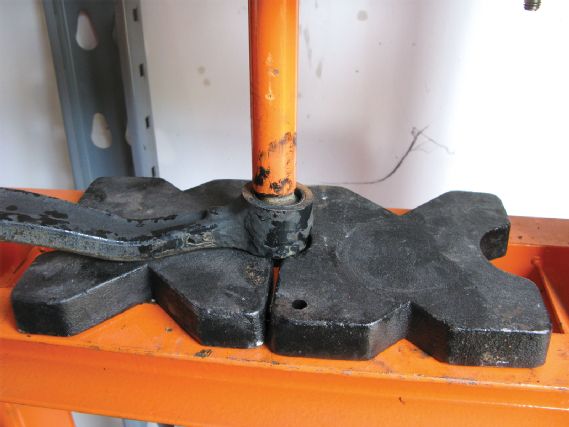 | 02 Initially we put the LCA into our bench press to push out the old bushings.

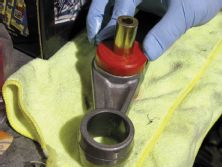
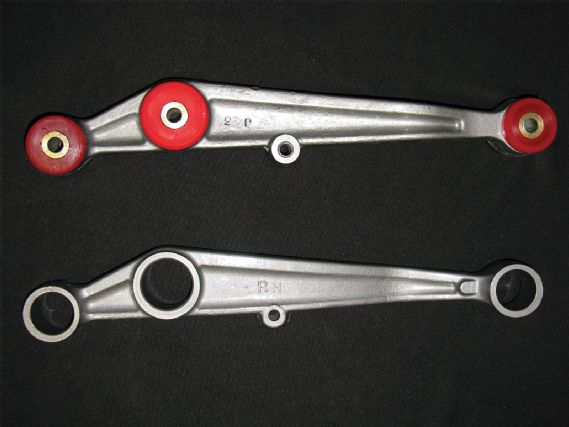 | 13 Here’s what the finalized LCA looks like next to a bare one. The red polyurethane bushings really add a nice touch.