 | Brembo Sport Rotor Installation - Tech
Your vehicle’s brakes are the most essential safety equipment on your car, alongside the tires it wears. However, both these items will wear out with use, particularly with hard use if you like to get the most out of your car. So when it comes time for replacement, we always suggest that you look for high performance parts to enhance or improve the ability of your car.
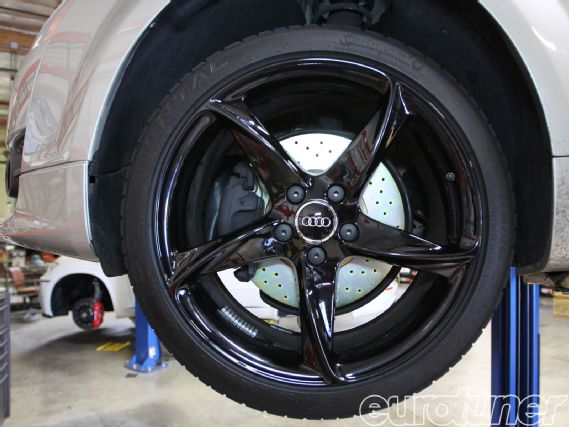
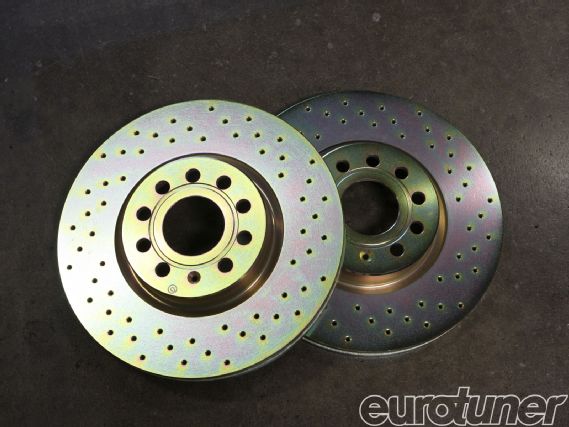
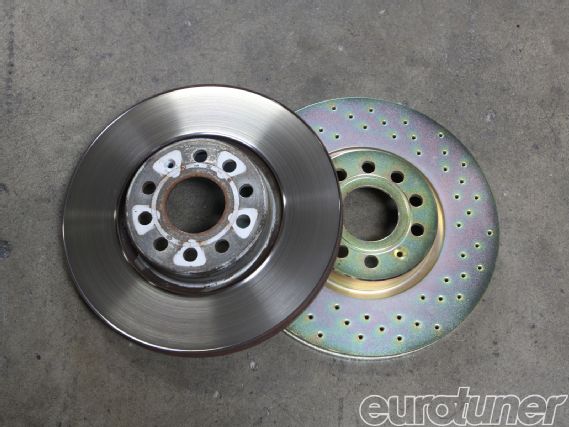
Today, we’re looking at the front brake rotors on our ’08 Audi TT project car. The stock parts were becoming slightly worn, so we decided to replace them with Brembo Sport rotors. They offer superior metal construction as well as cross-drilling for improved pad bite. The drilling also happens to look far better than stock, giving it the knock-out punch.
 | Brembo Sport Rotor Installation - Tech
The only caveat is that drilled brakes do sound slightly louder on application, so be aware of that trait. You should also replace your pads with the rotors to ensure both surfaces bed properly. However, our pads had been recently fitted, so we skipped that step here.
We visited our friends at Supreme Power Parts in Anaheim, CA (www.supremepowerparts.com) where the expert technicians had the rotors fitted in about 20min.
The rotors are the identical 311mm diameter as the stock parts, requiring no modifications to fit.
Fitting
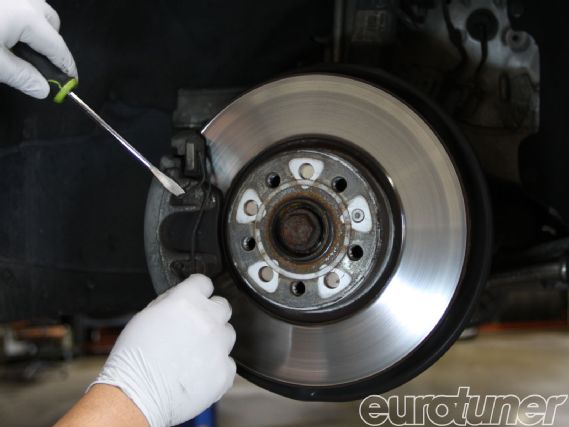
To start the process, remove the spring clip in the caliper with a screwdriver. It should come out fairly easily but will be a pain to refit, requiring you to put tension on the spring
 | Brembo Sport Rotor Installation - Tech
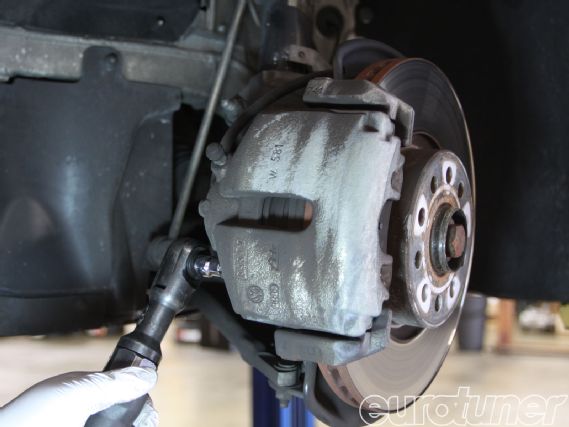
Next step is to undo the two 7mm allen bolts on the back of the caliper, securing it to its carrier
 | Brembo Sport Rotor Installation - Tech
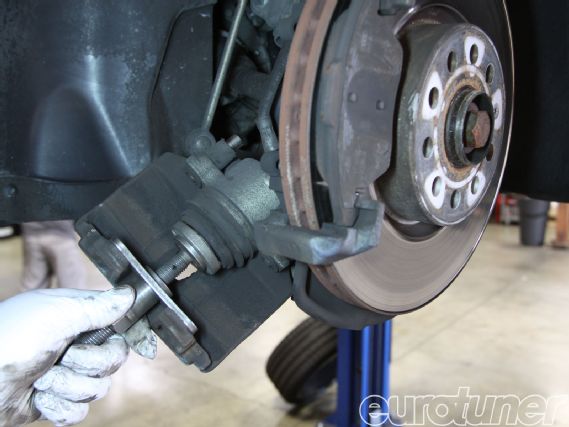
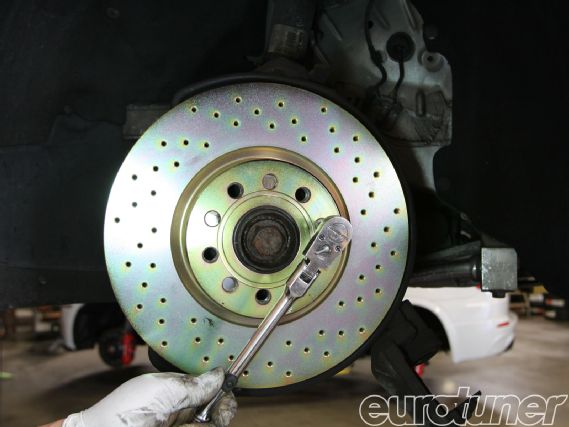
Now you should pull the caliper from the carrier. It might be tight if the piston is out, so use enough force as necessary. You will then want to push the piston back into the caliper, ideally using the correct tool as seen here. However, you can push it back with large pliers or a screwdriver if you take care not to damage the piston or its rubber seal. Once done, carefully support the caliper so it doesn’t put stress on the brake line
 | Brembo Sport Rotor Installation - Tech
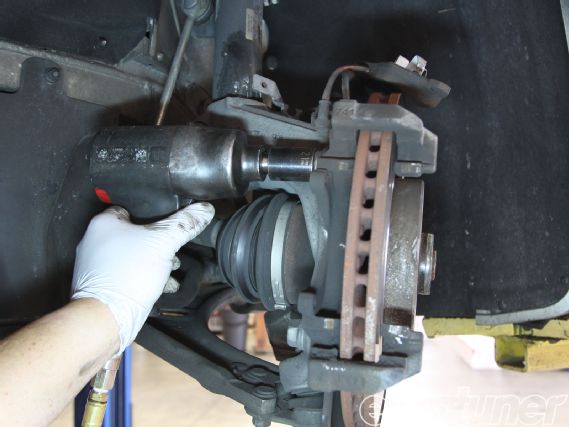
Undo two 21mm bolts from the back of the carrier and remove. This may drop to the floor once the bolts are out, so mind your toes
 | Brembo Sport Rotor Installation - Tech
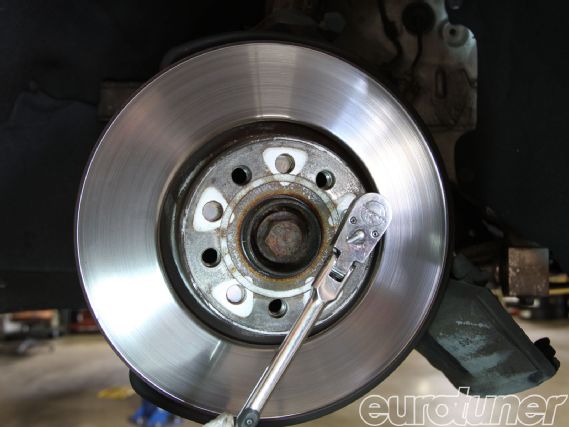
The stock rotor is secured to the hub with a T30 screw. Undo this and remove the rotor. Some rotors might be tight onto the hub, so screw a wheel bolt into the hub and loosen the rotor with a rubber mallet. The bolt will prevent the rotor falling when it comes loose
 | Brembo Sport Rotor Installation - Tech
 | Brembo Sport Rotor Installation - Tech
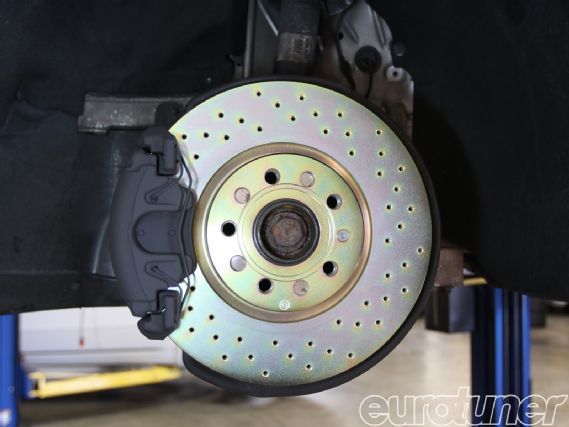
Fit the new Brembo Sport rotor with the same T30 screw. This doesn’t need to be over-tight because the rotor is also held in place by the wheel bolts. You need to ensure the rotors are fitted in the correct direction if you have curved internal vanes or exterior grooves. Instructions are provided with the rotors but our drilled discs had no problems.
 | Brembo Sport Rotor Installation - Tech
Refit the carrier and caliper as before, referencing the correct torque specs before doing so (we used an air gun…). Supreme Power also painted our calipers black so they looked smarter under the wheels with our new cross-drilled rotors
 | Brembo Sport Rotor Installation - Tech
The new rotors (and pads) must be bedded-in before you can use them properly. This is designed to ensure the new brakes are working effectively. However, it’s a difficult process that can attract attention, so find a quiet road to complete it.
Full instructions are provided with the rotors but most brake manufacturers have different bed-in techniques according to their materials and preference. For Brembo, it’s recommended you slow the car from about 60 to 30mph, with pedal application for 3sec, up to 30 times, with a half-mile between each application to allow the components to cool. This should gradually increase the temp of the components without inducing thermal shock. After this process, drive the car for several miles with little or no braking to cool everything. After that, you should have a firm pedal and good stopping power.
 | Brembo Sport Rotor Installation - Tech
For more info visit www.brembo.com